Hello, my sweet friends!
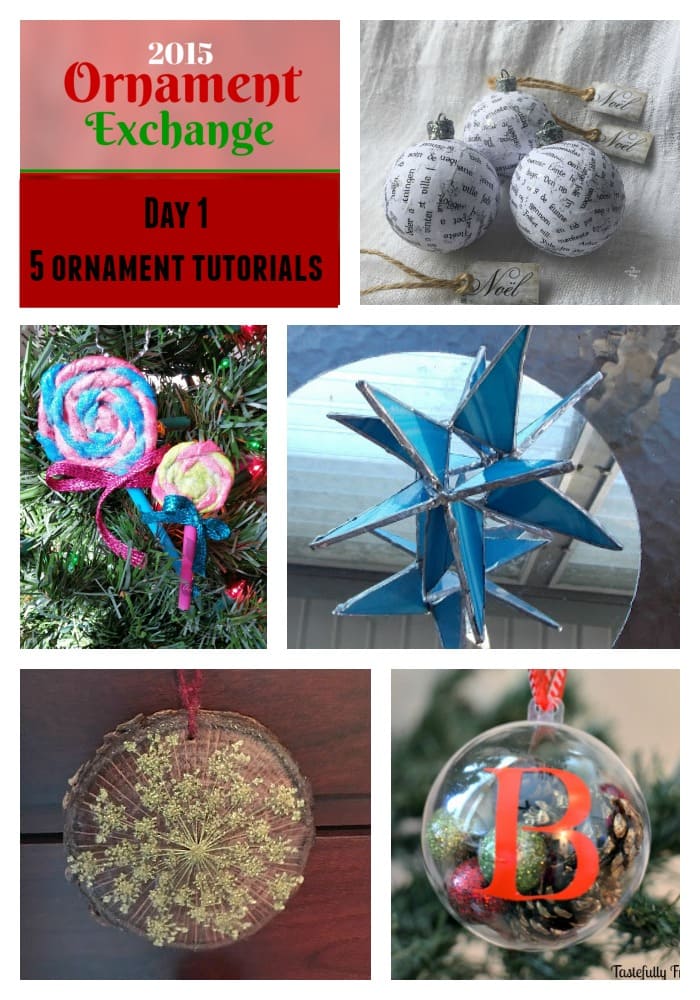
Welcome to the first day of November and the 2015 Ornament Exchange! Erlene, at My Pinterventures, partnered 80+ bloggers to exchange ornaments and we want to share our creations or special finds with you! Over the next 14 days, a group of ladies will be sharing our ornament tutorials or our shopping finds to give you lots of holiday inspiration.
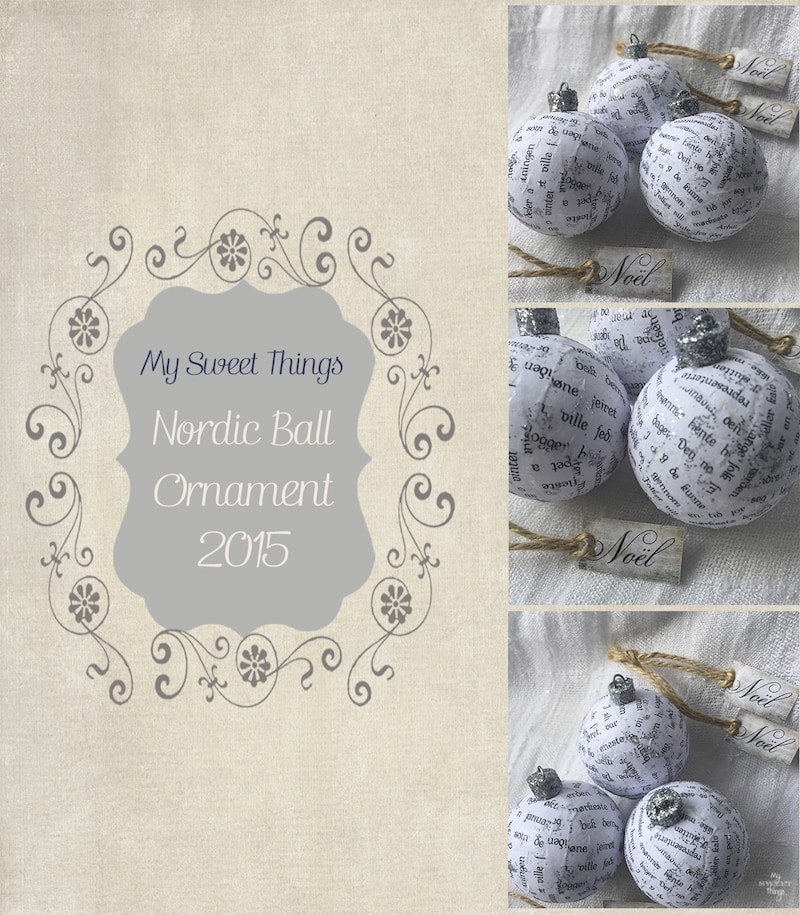
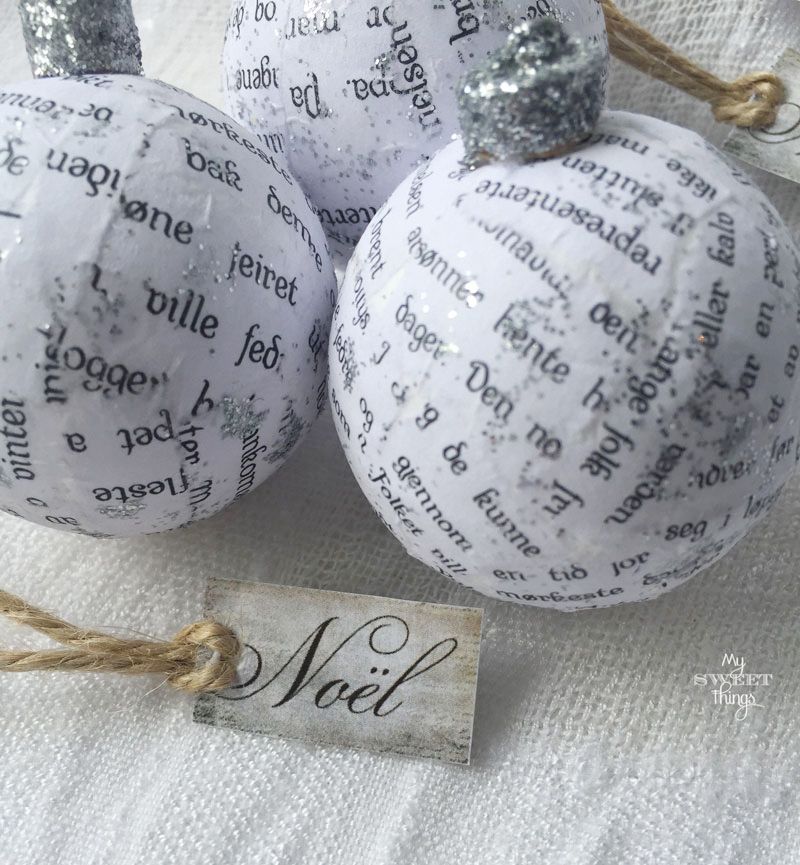
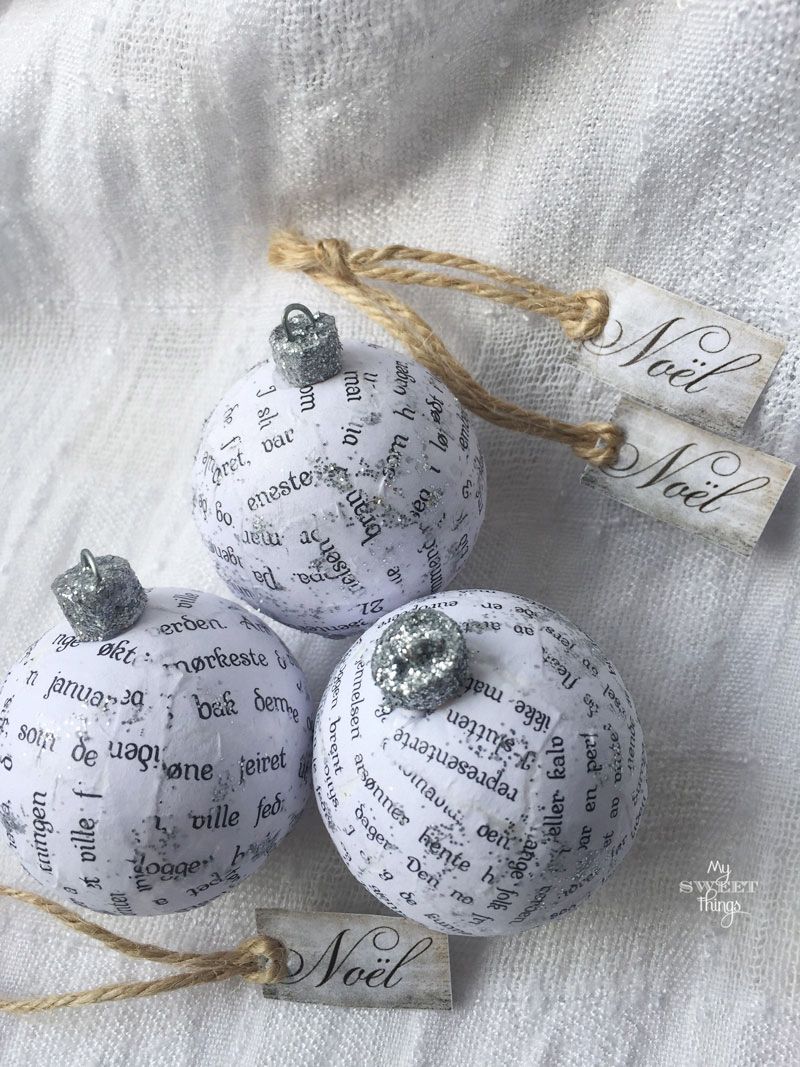
Nordic Ball Ornament
I was paired with the sweet Ellen from The Chilly Dog blog. You have to stop by and see the beautiful things she does! She lives in Arizona and I know she doesn’t have too much snow there and she likes silver, so I decided to make something that can make her think about snowy Christmas.
Well, let’s see what I figured out for this Christmas ornament exchange
How to make a Nordic Ball Ornament for a Christmas Ornament Exchange
I already had on hand the materials I was going to use so I only needed to buy some small Styrofoam balls.
I will provide some affiliate links for your convenience in case you want to try your own nordic ball ornament. You can read the full disclosure here.
- Styrofoam balls
- ModPodge
- Brush
- Glitter
- Wine corks
It’s really easy to do but there are some extra steps that make the result worth the effort, so I decided to make a step by step tutorial with lots of pictures. Serve yourself a cup of tea or coffee.
Ready? Let’s go
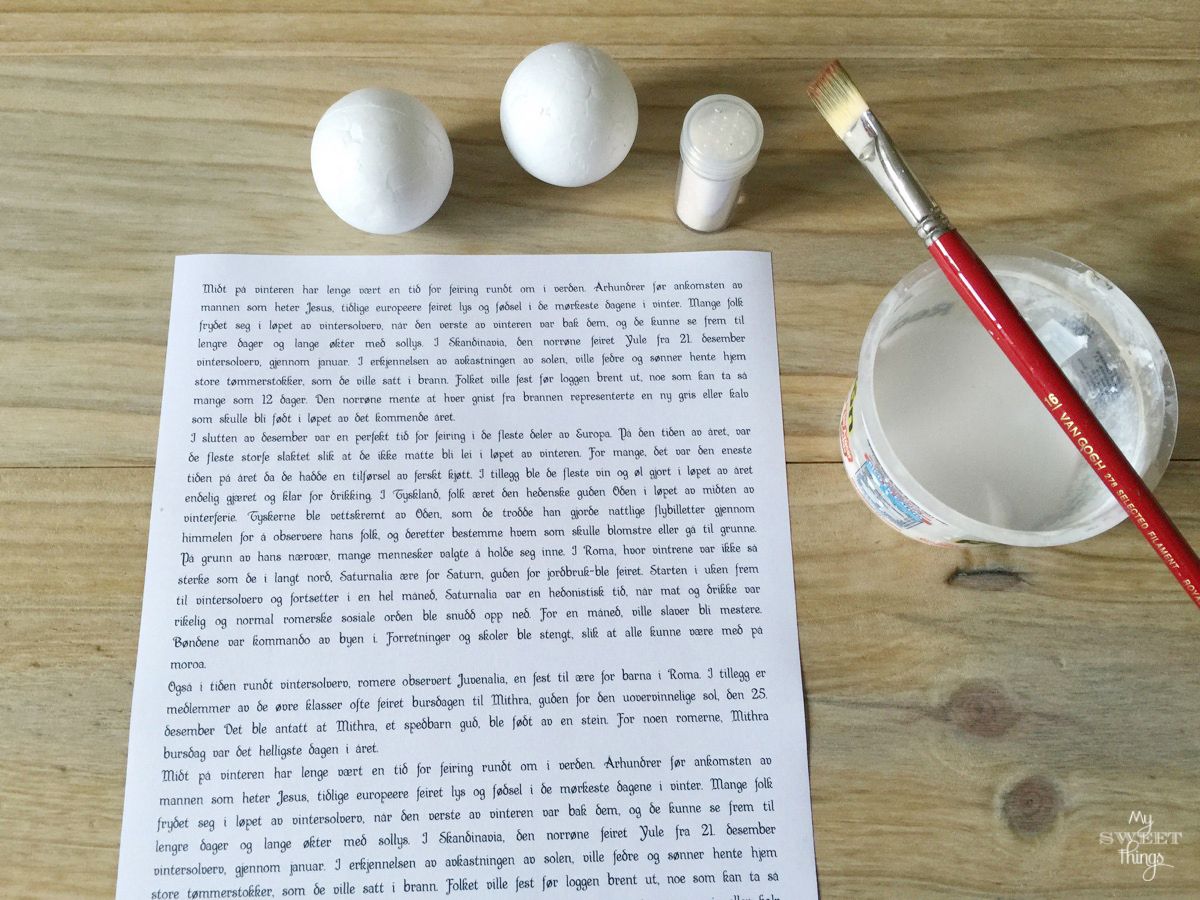
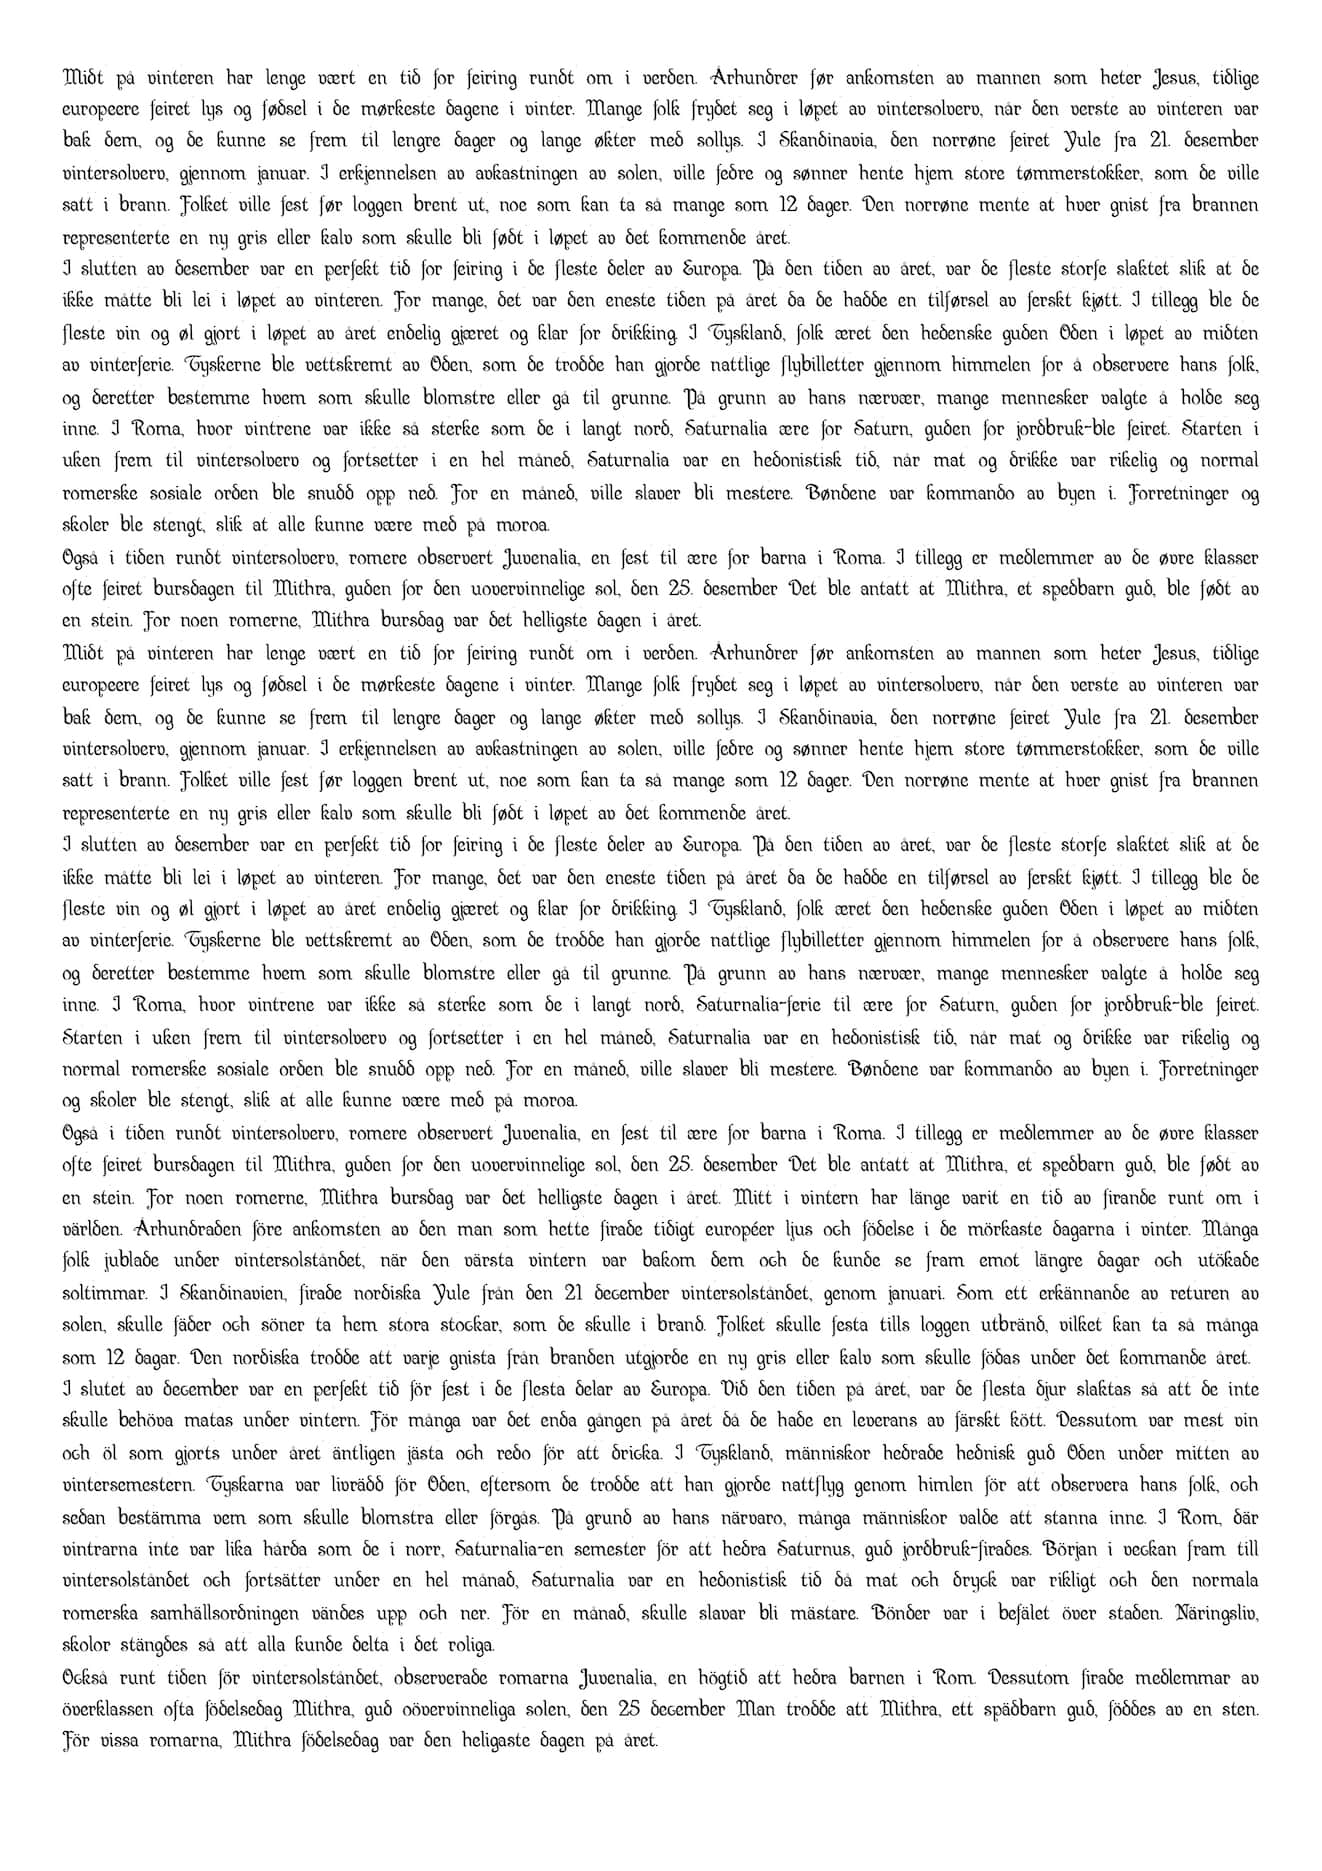
Print a paper with some wording about Christmas on Swedish. You will find the one I designed and used at the end of this post.
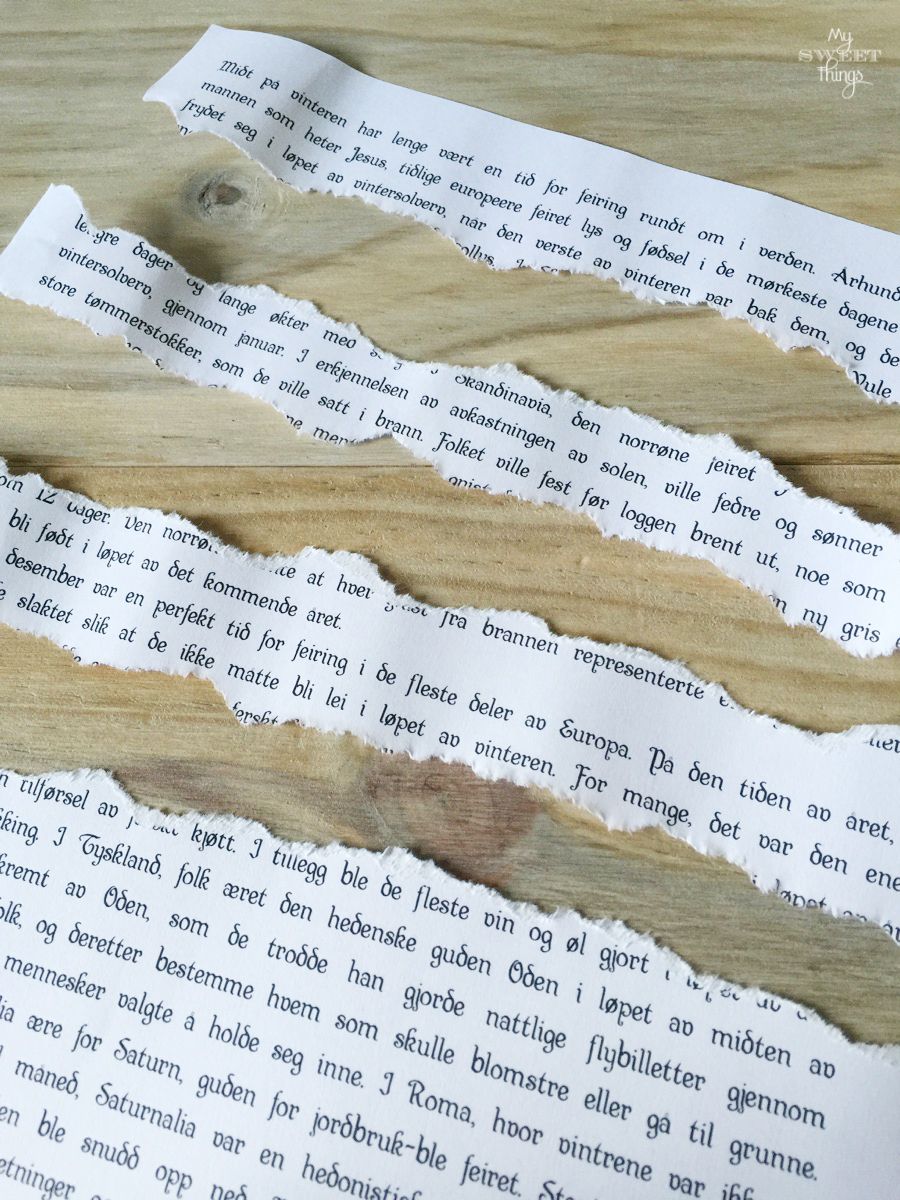
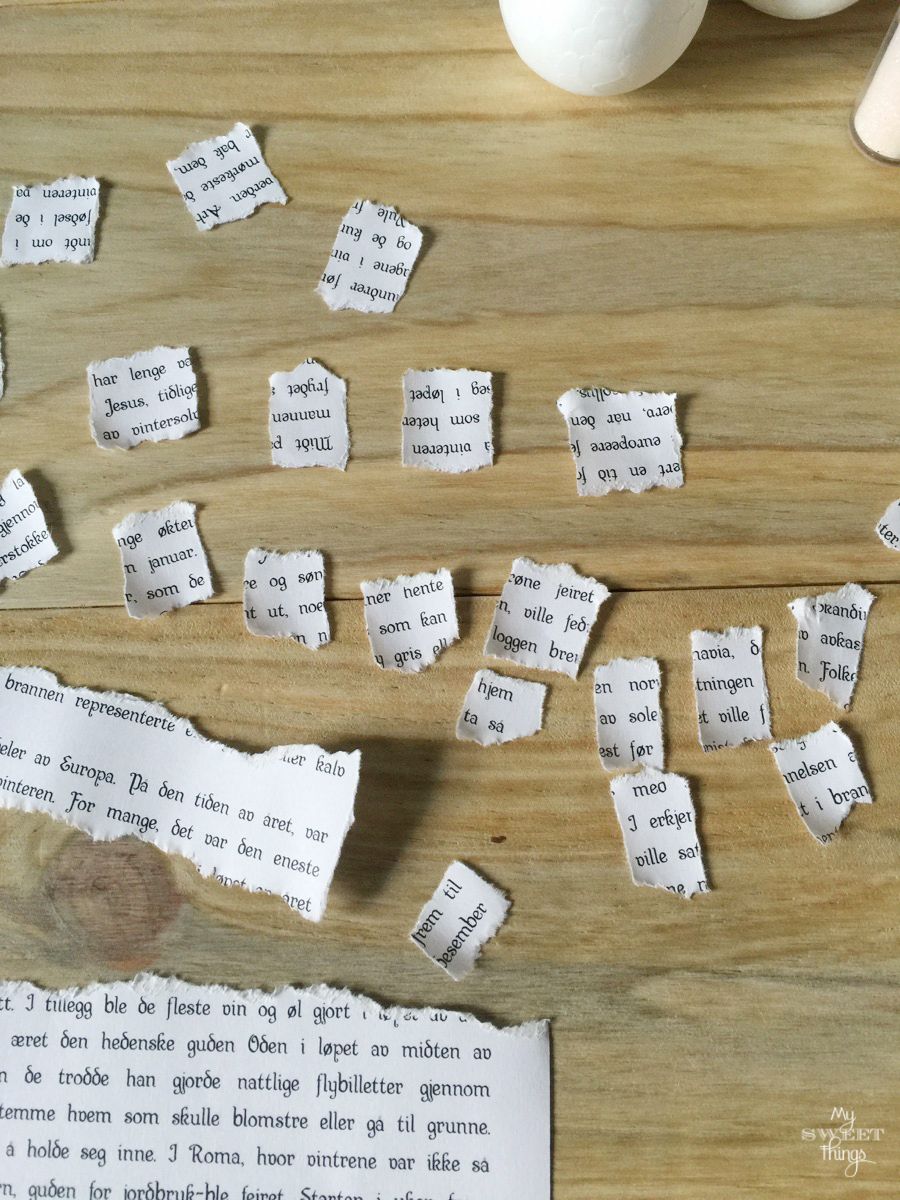
Tear the sheet in stripes. Don’t cut it because the finish will be better this way.
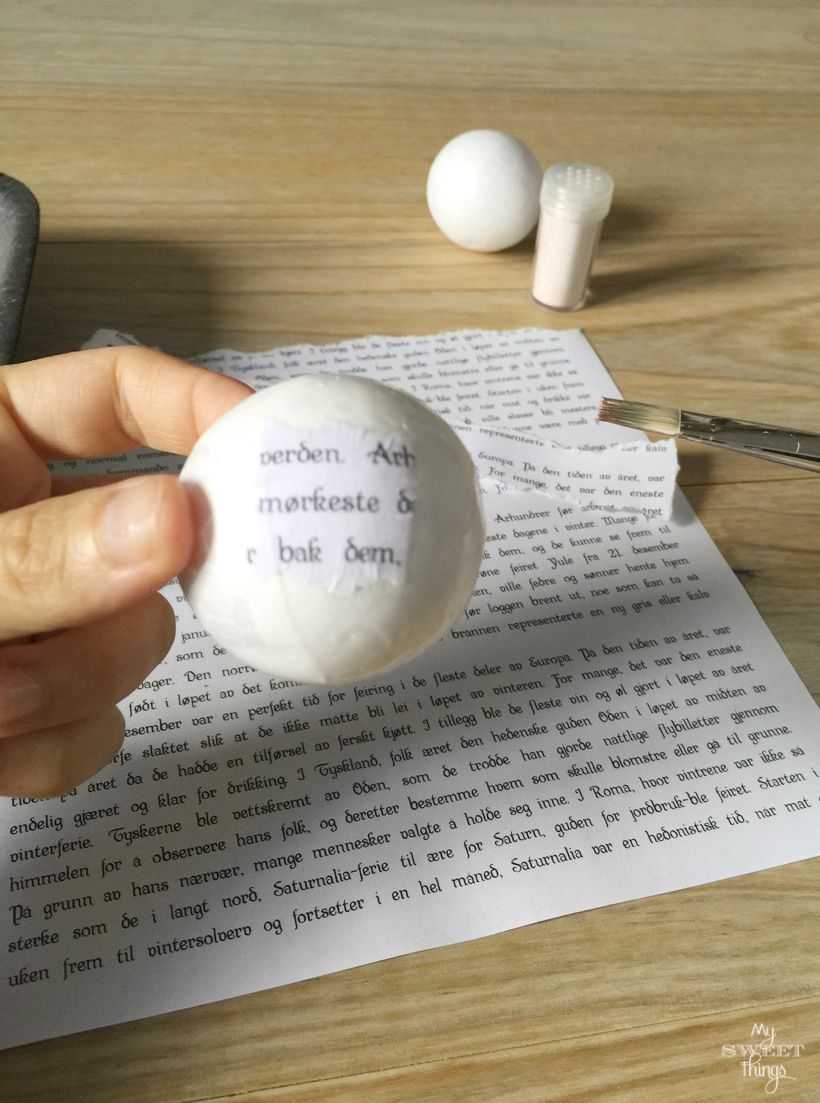
Tear each one on smallest pieces, which are easier to deal with.
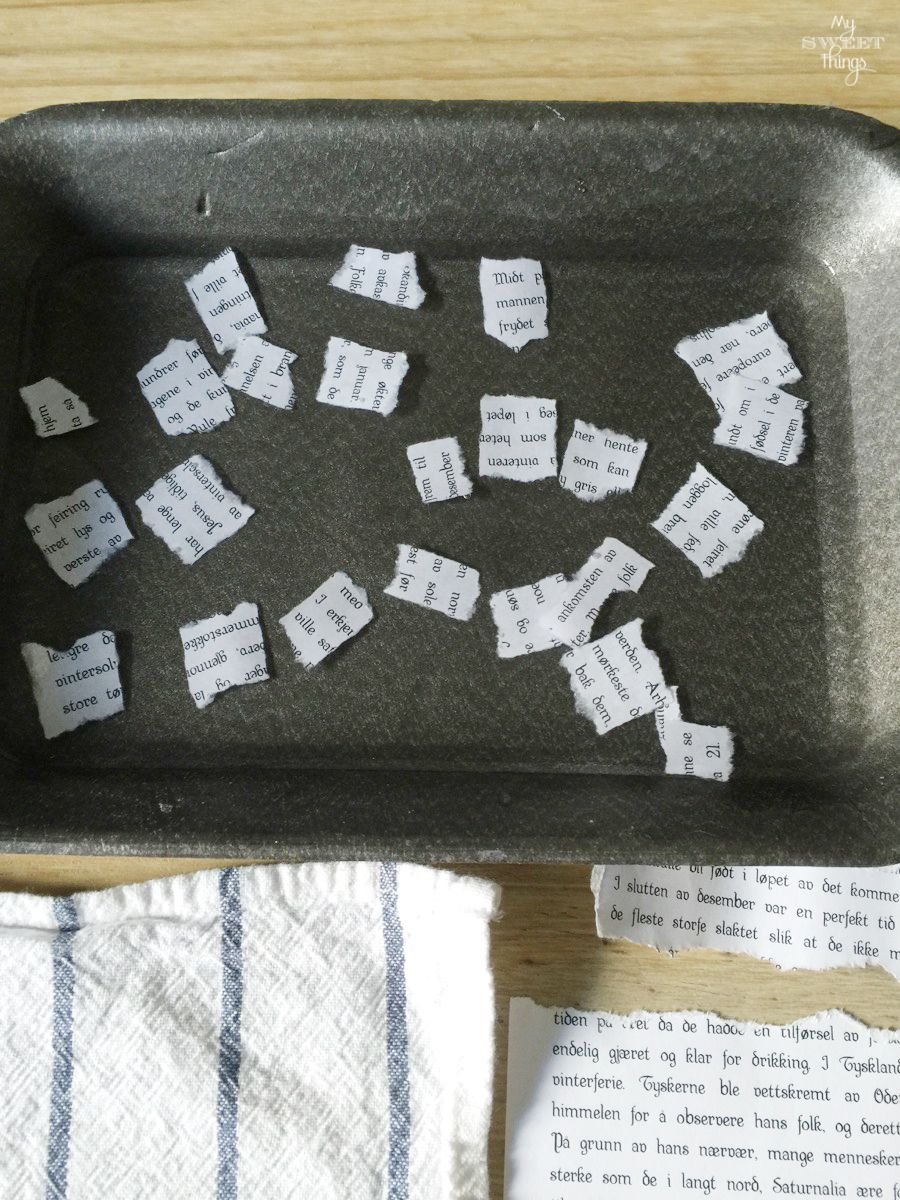
Add some water inside a container and let the papers soak in it, this will make the cellulose softer and easier to bend
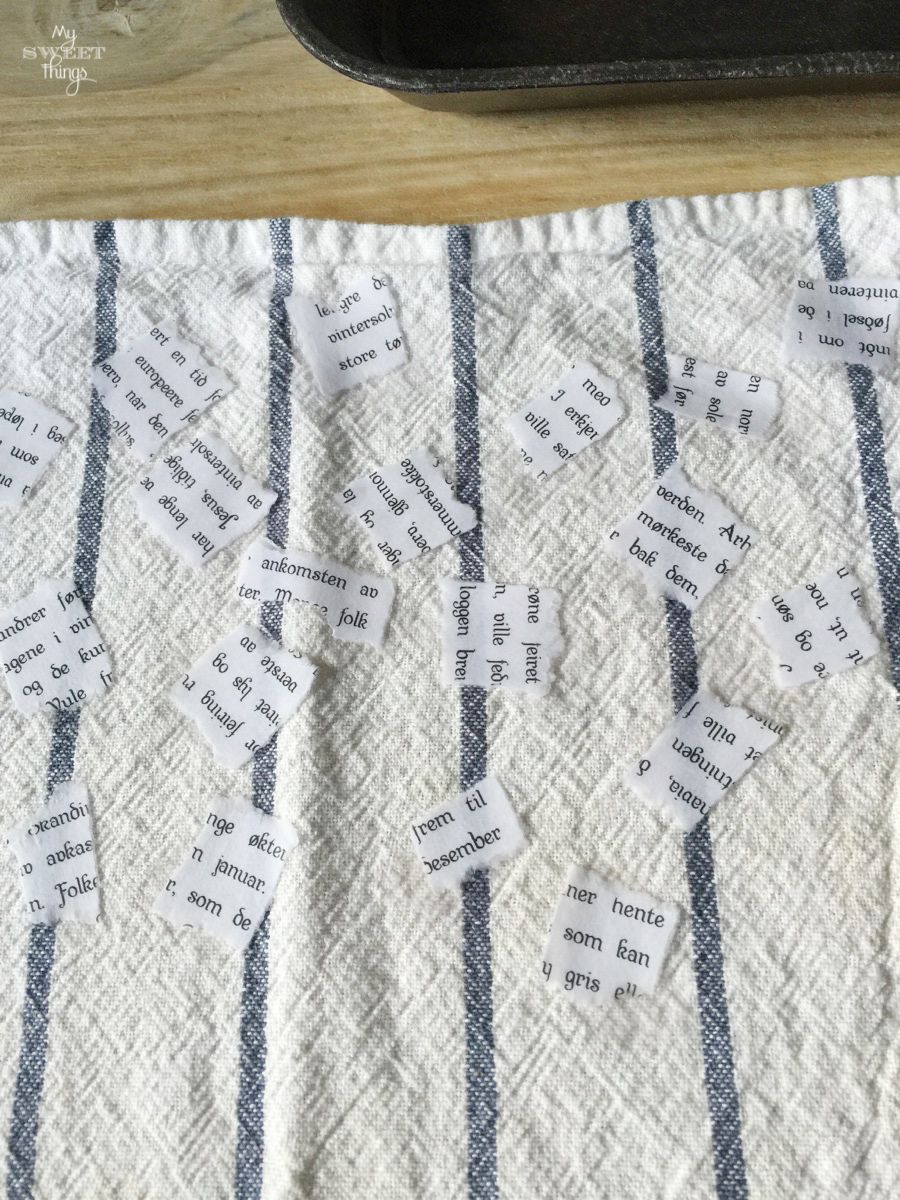
Let them rinse on a kitchen towel. You don’t want to dry them, just get rid of the excess of water
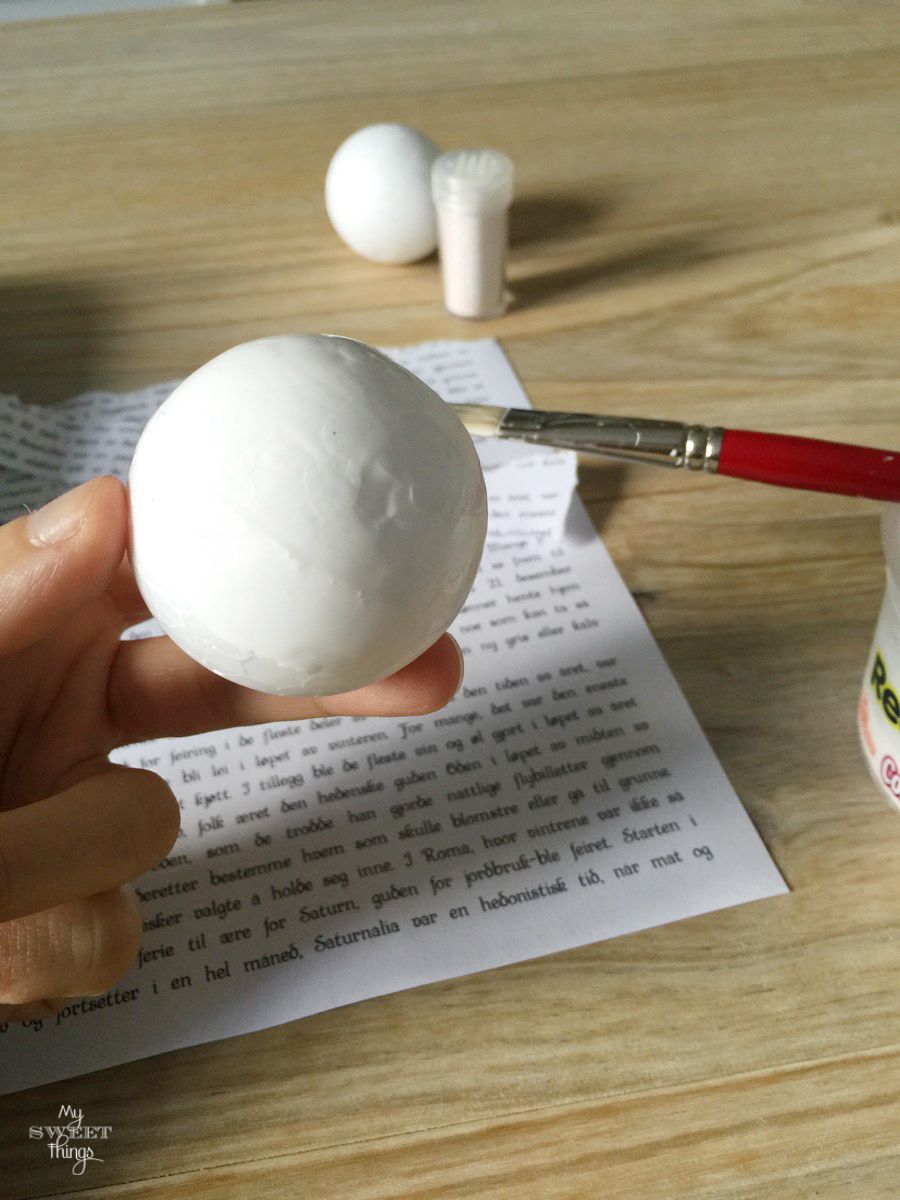
Apply some white glue or ModPodge on the ball
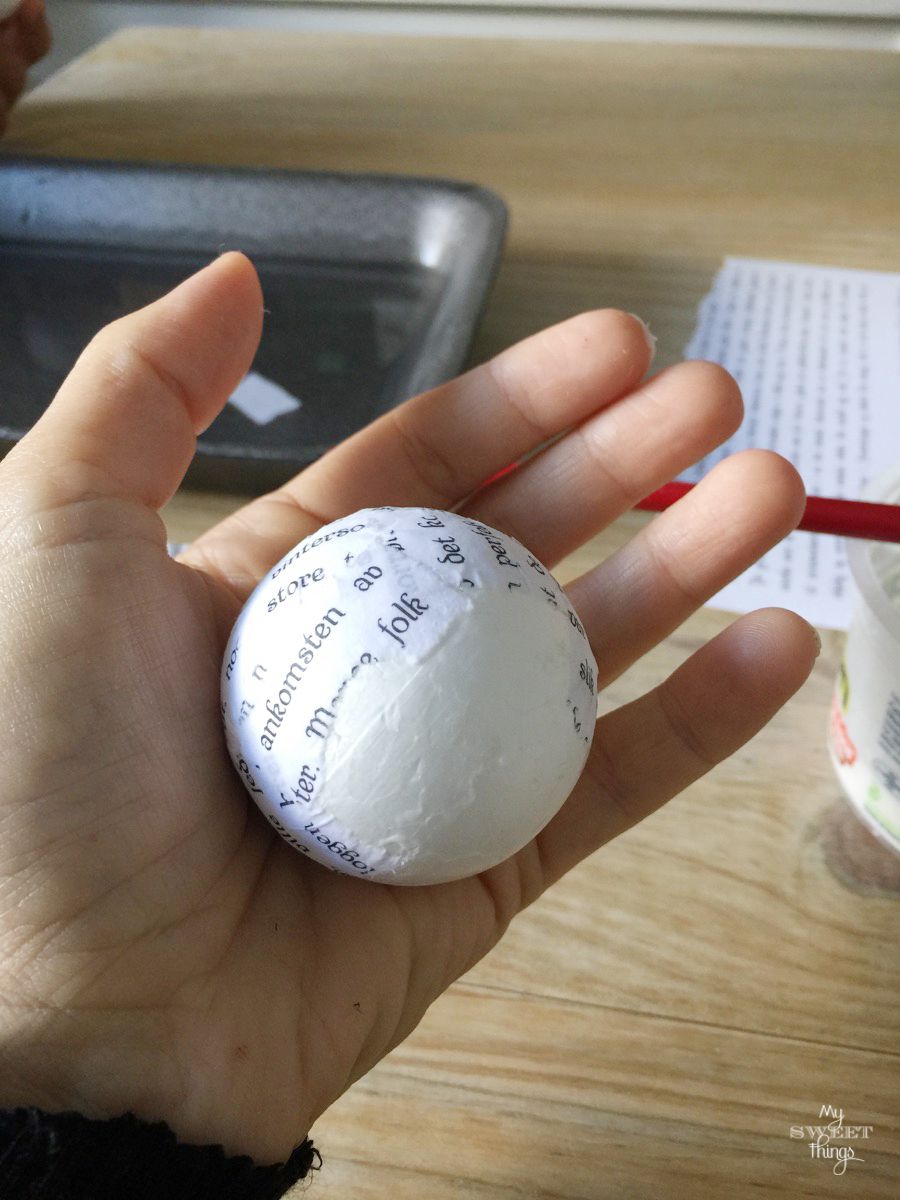
Glue one piece of paper on it
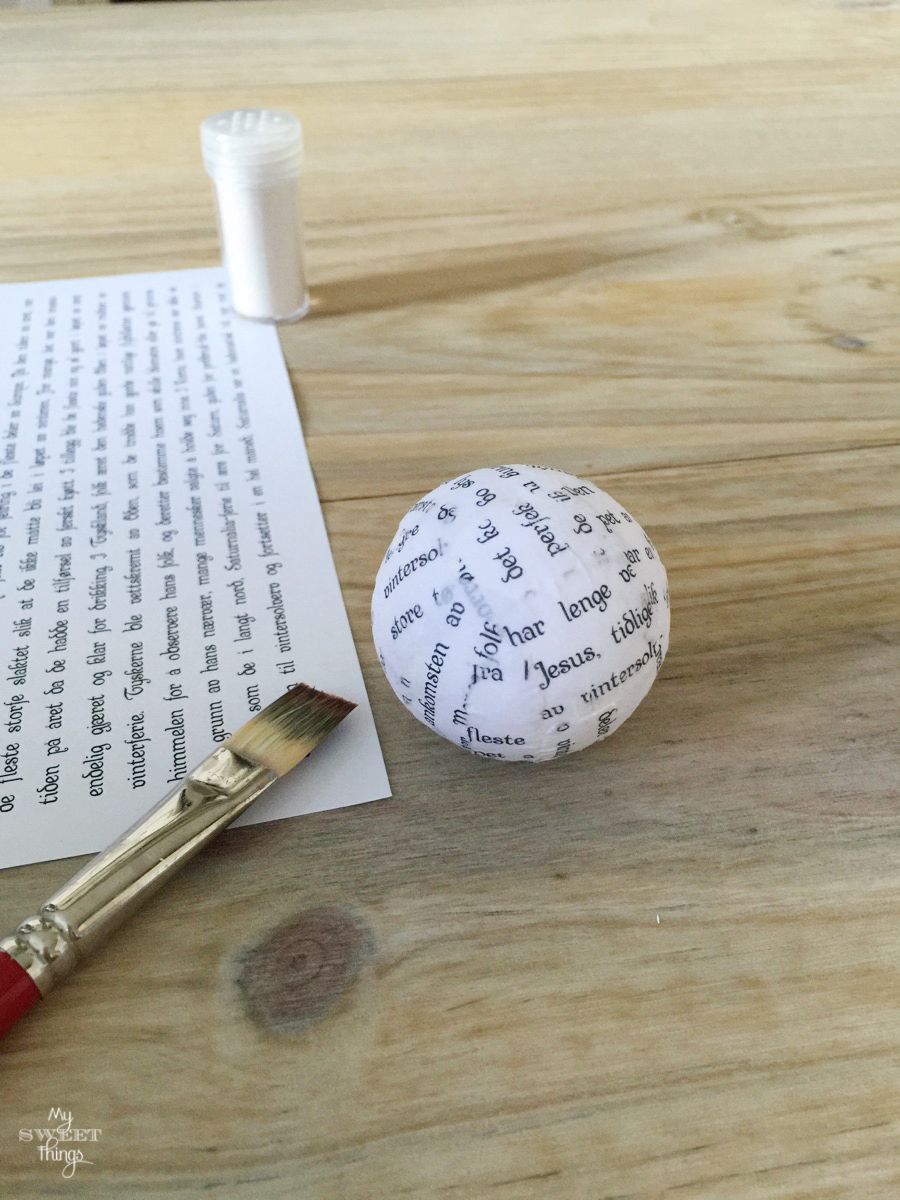
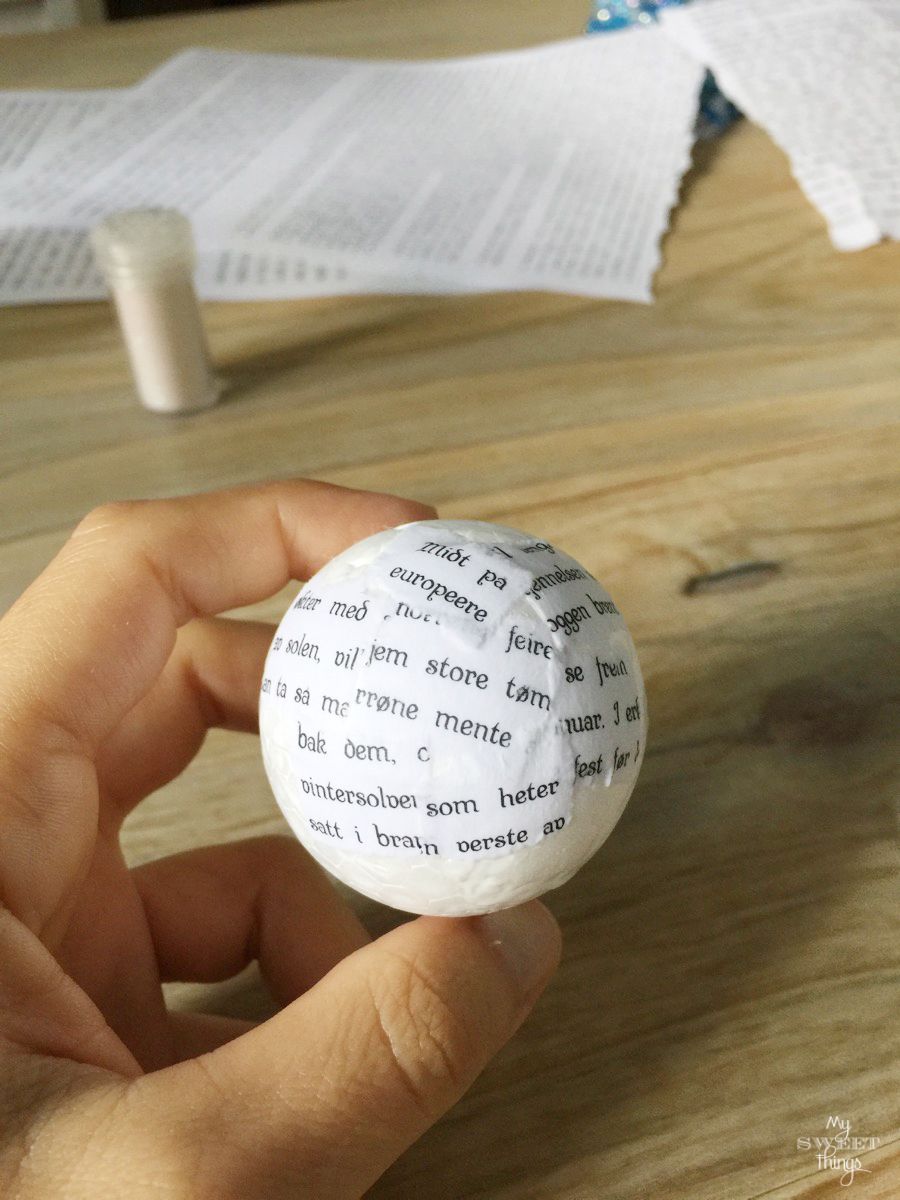
Keep glueing pieces and handle the ball carefully. Remember the paper is wet so therefore delicate
Once you finish one, let it dry and repeat the process with more balls
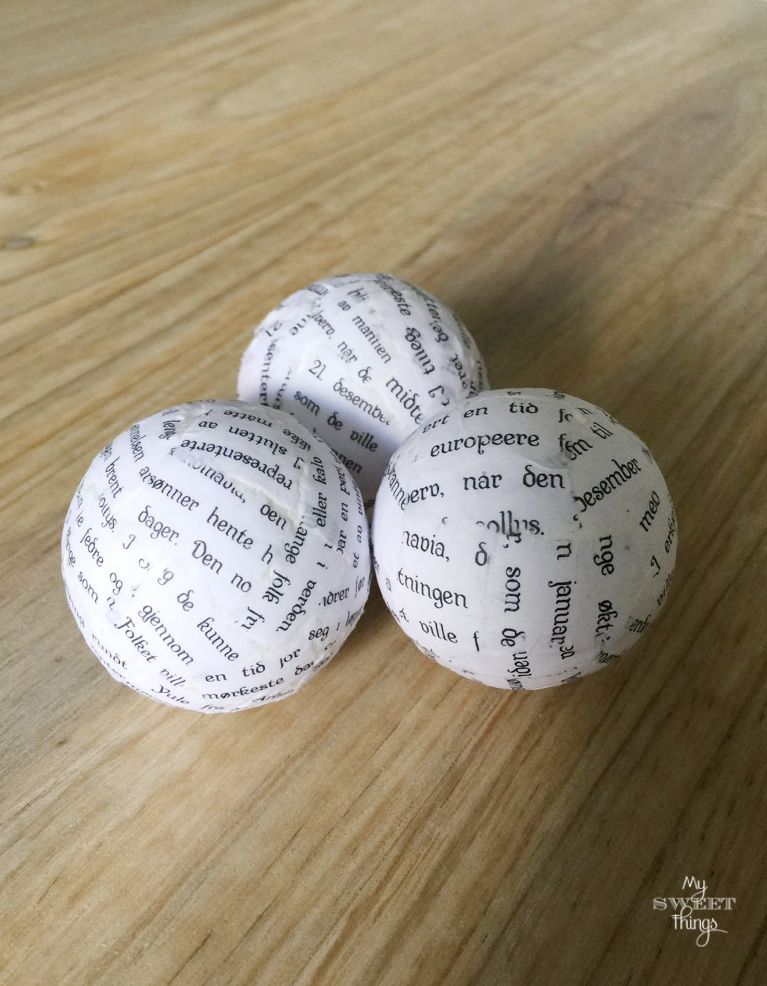
It’s beginning to look like a Nordic ball ornament, right?
Once you are done with all the balls you want to make, let them dry.
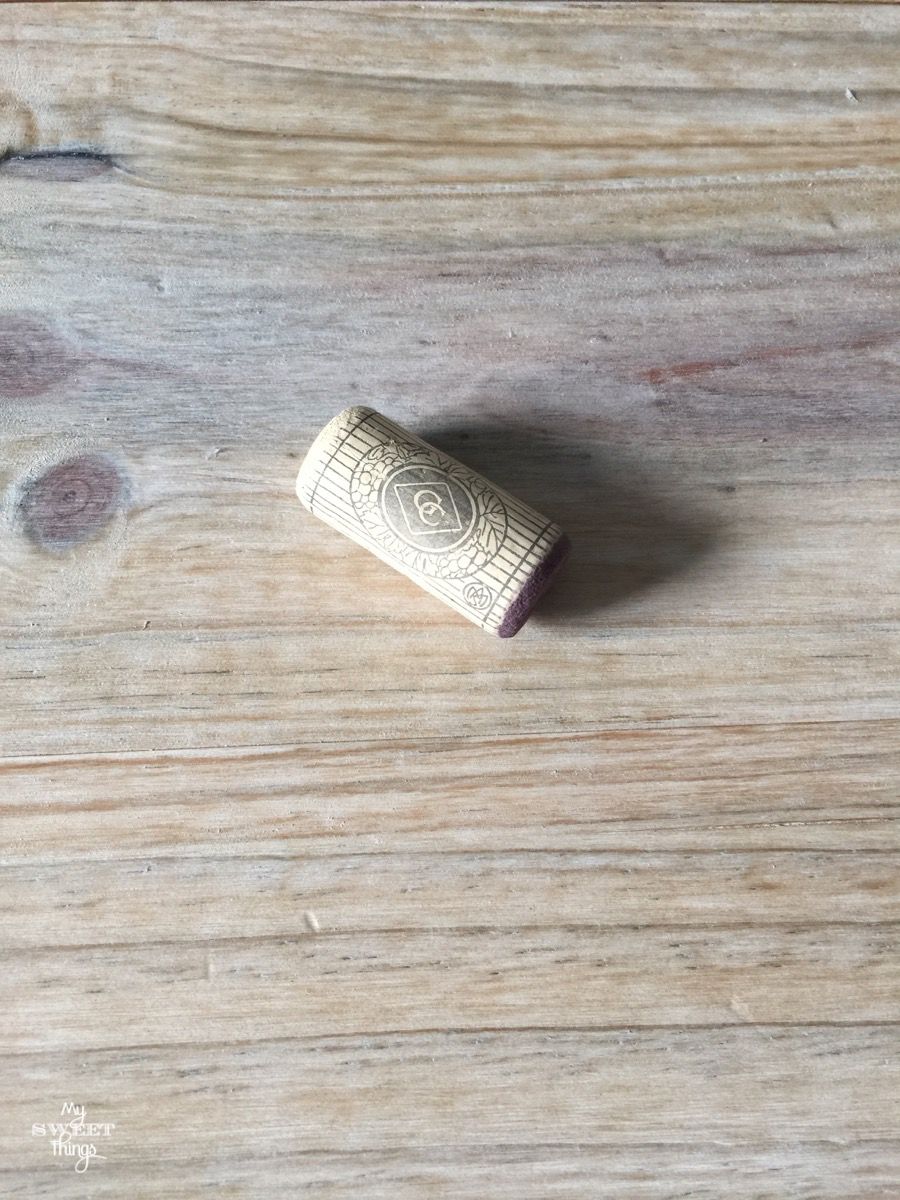
In the meanwhile, take a wine cork
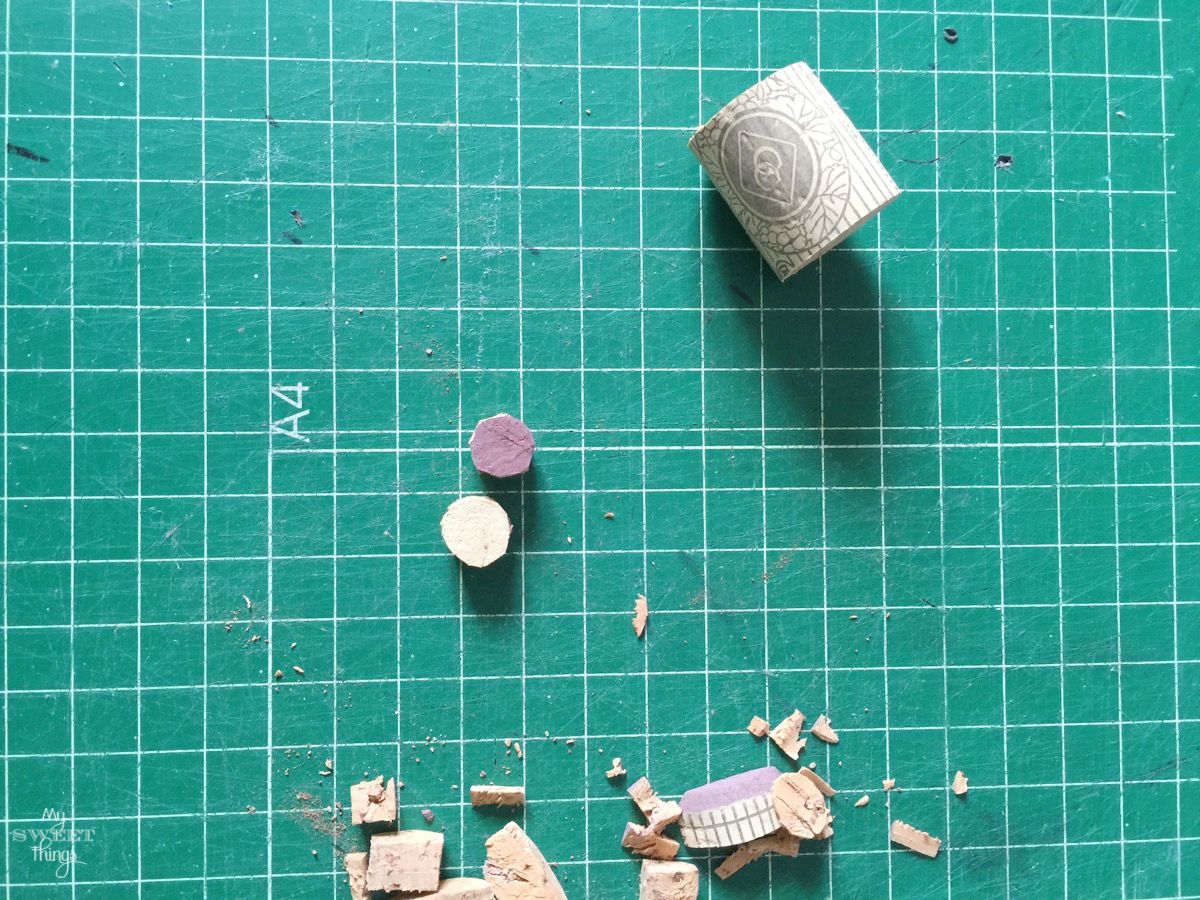
Slice it, and then cut a circle to make the hanger
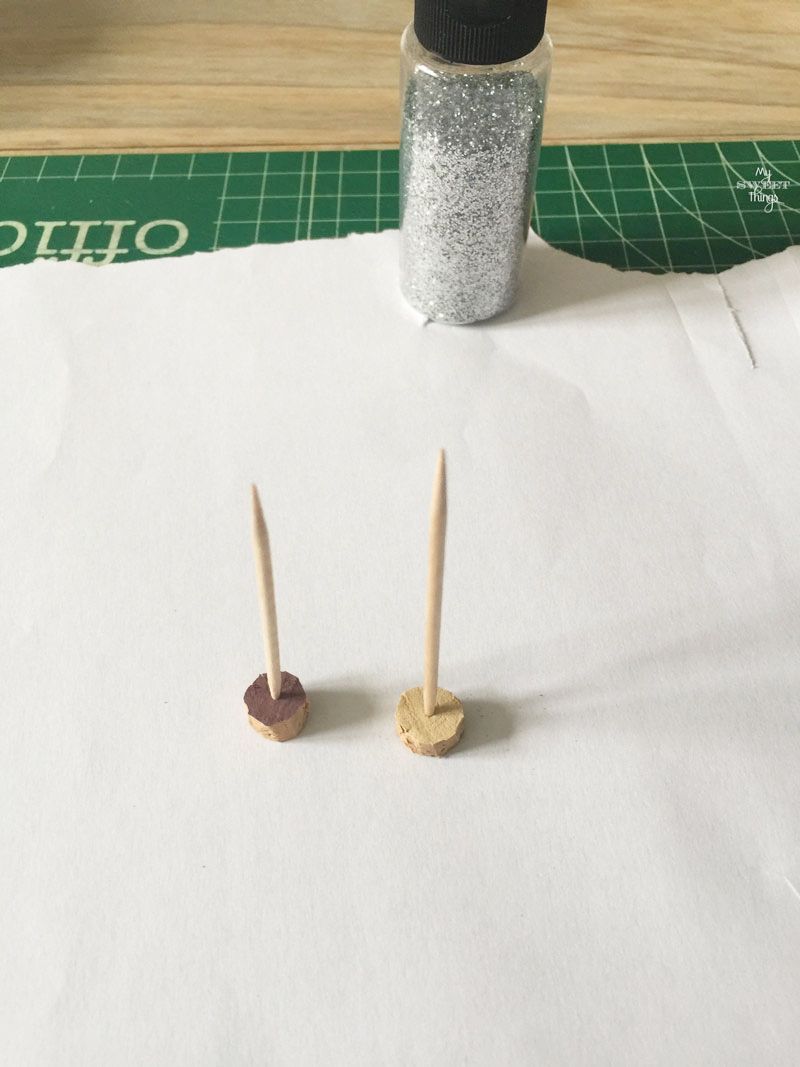
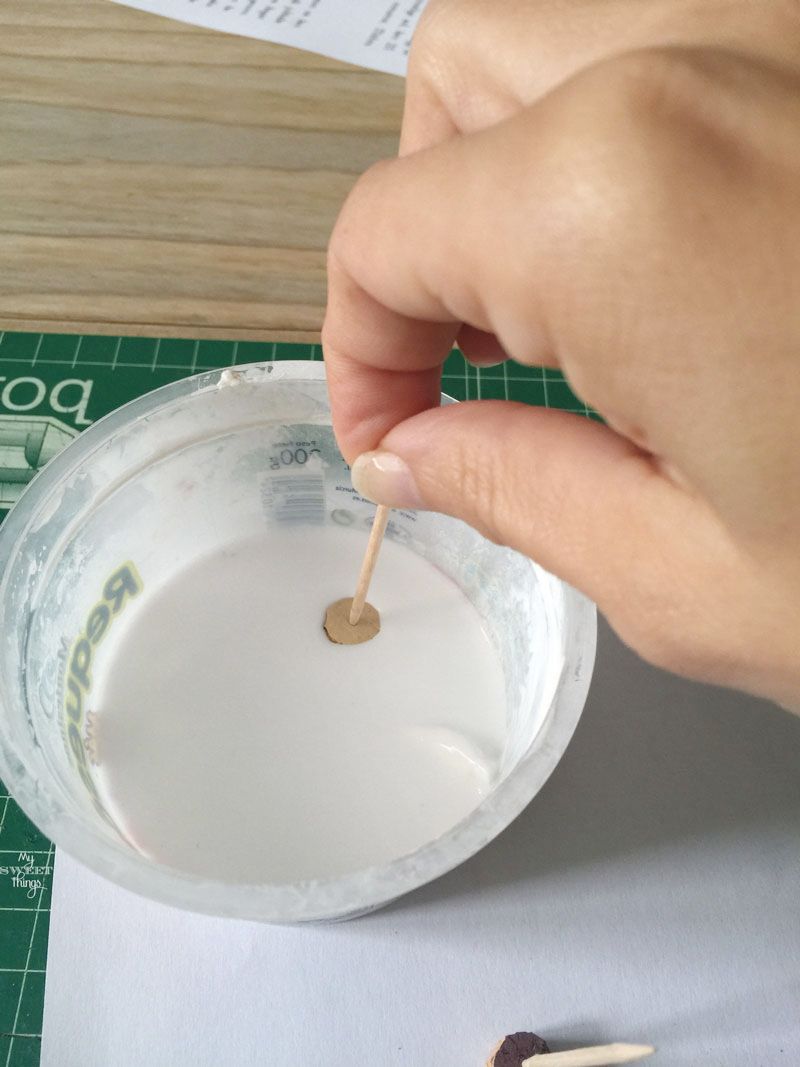
Stick a toothpick to hold the little pieces
Put them in a bowl with glue
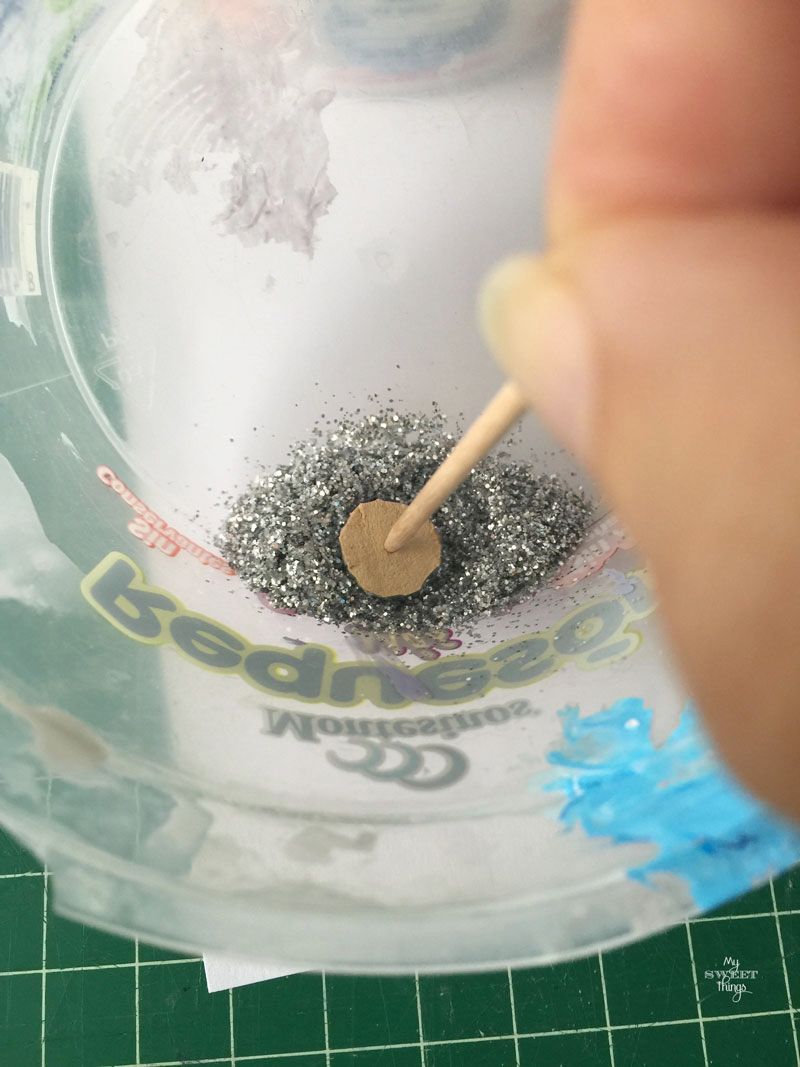
Do the same into the bowl of glitter and let it dry
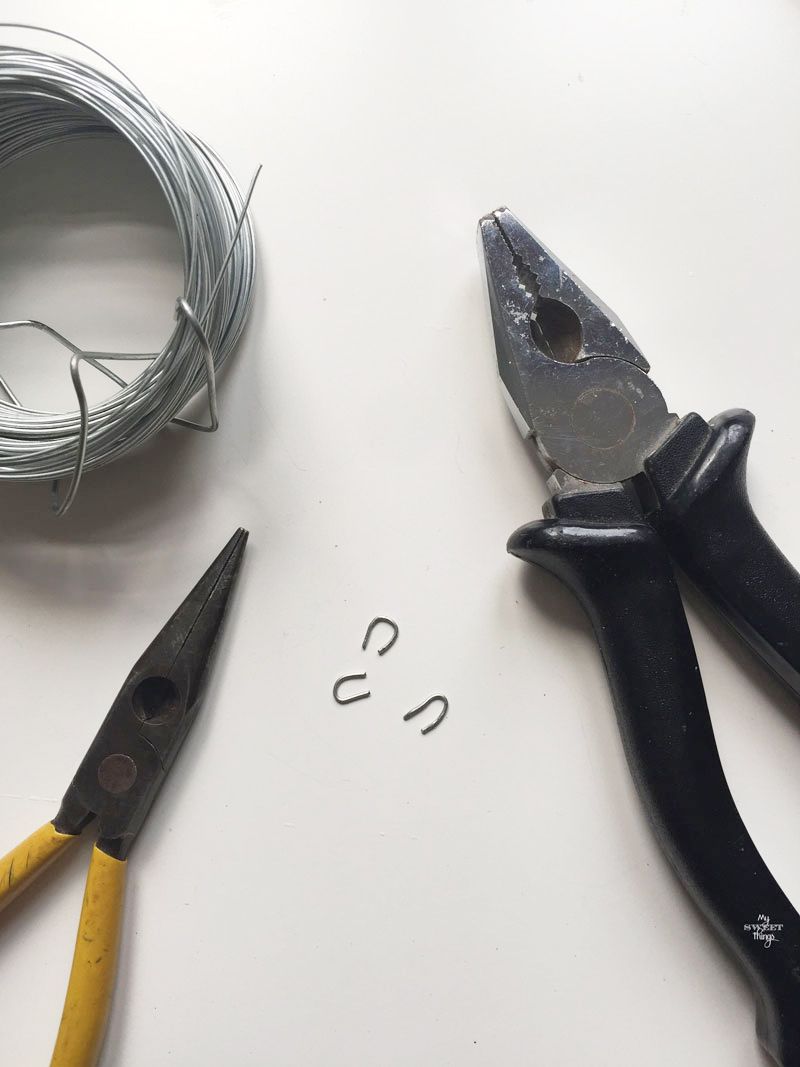
Cut a little piece of wire (I used some pliers)
Add the curved wire to the silver top, and hot glue everything to the ball
Now you can add some more glitter on the ball if you like extra sparkle like me. It also helps filling the little gaps they can have.
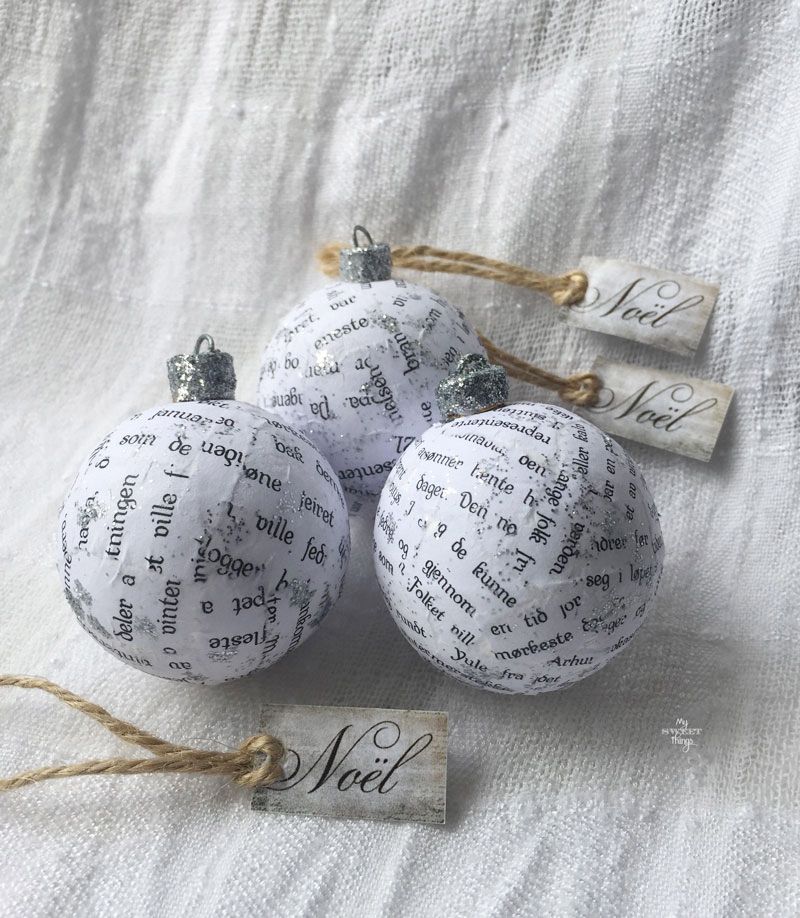
You have your ornaments ready. You can print or write some tags for extra decor.
I really love how they turned out!! These are (for me) the cutest nordic ball ornament you can DIY.
Also, they are so cheap to make that you can make tons of them.
Also, adding a name on the tag would be a lovely way to show family and friends where to seat on a Christmas lunch.
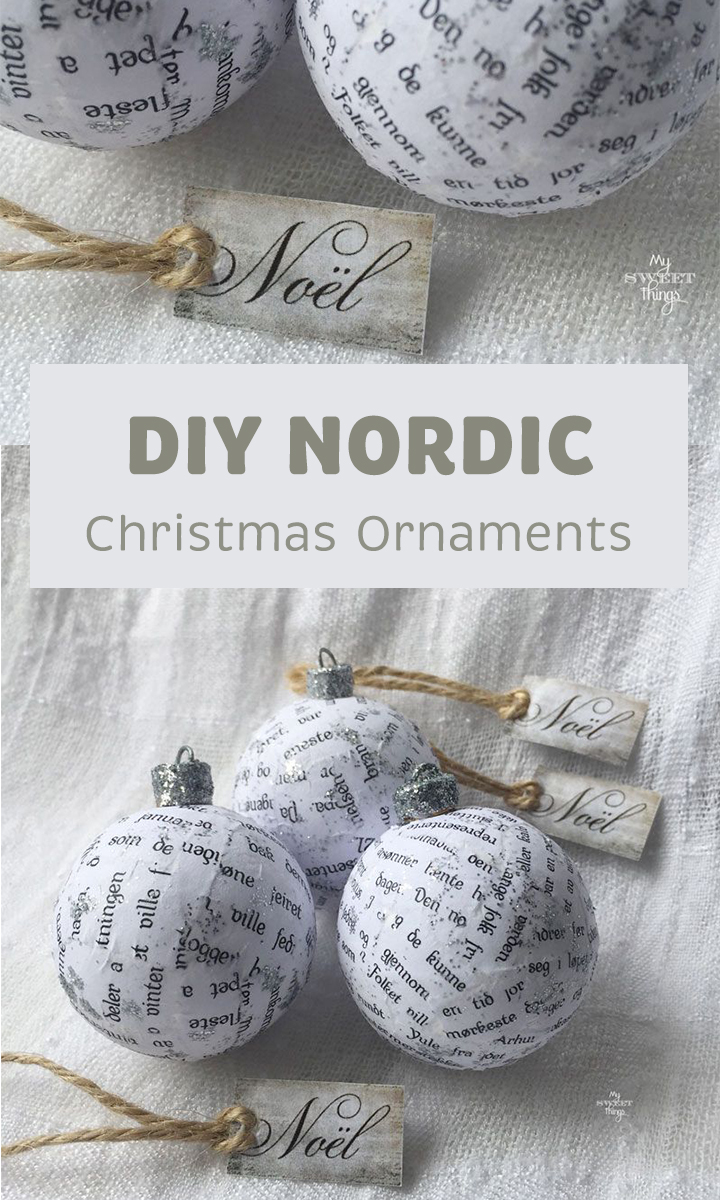
If you liked this Nordic ball ornament don’t forget to Pin It and share it it with others. Remember, sharing is caring!!
This is the text I designed so you can print it in case you want to make a bunch of them too.
I have to say that my girls helped me with this project; we did one ball each one and we had lots of fun!
Now you can go and check out the other ladies’ ornaments here! I hope you like them as much as I do!
Pili

Do you love DIY, recycling, home decor, furniture transformation and all kind of crafts? Then we have the same passion! I would love to share all my crazy ideas and projects with you so I would love if you SUBSCRIBE for my post e-mails.
I also share interesting content on Facebook and other social media, and I would love to hear from you! Not following me yet? Don’t be shy and stop by to say hello. Follow me on FACEBOOK, PINTEREST, INSTAGRAM, TWITTER, +GOOGLE.
Featured at:








Oh Pili this is really getting me in the mood for Christmas. Thank you for sharing this idea with us at #AnythingGoes.
Hi, Sue! It’s raining here and I’m also in mood for Christmas
I love everything nordic Pili, and these would go great with my xmas deco! How fun to make and not hard at all!
Thanks for the idea!!!
One of the best things is that they don’t break if they fall…
Pili, These ornaments are beautiful and look like a lot of fun to make!!! 🙂
Yes, Keri, perfect for entertain kids for a while.
Beautiful and easy to make – perfect for Christmas!
That’s the kind of project I like most!
Very cute–great idea. I love that they won’t break. Glass and kids don’t mix! I think this would be neat to do with specific words that describe certain people, then give them the ornaments!
That idea is great, Tara! Thanks so much for stopping by and comment
Gorgeous ornament! Happily pinned!
Many thanks, Terri!! And welcome to my crazy corner!
Pili, these area absolutely stunning. A lot of work for sure, but the result is so beautiful and winterly. I hove how you used Swedish words. Pinning! Just love them.
Many thanks, Mary! It takes longer to explain than to do it, and it you have helpers is even quicker! Thanks for pinning 😉
I love these! And the cork idea is absolutely genius! Fantastic idea, thanks for the tutorial!
Many thanks, Marie! It took me a while to find something I could use to hang the ball… Welcome to my crazy corner 😉
You have made such a pretty Christmas ornament!
Thanks for sharing this at Cooking and Crafting with J & J.
Have a nice week and hope to see you again.
Julie xo
I appreciate your visit, Julie!
I feel like I have been a little bit naughty by peeking at my present before Christmas 😉 It’s just beautiful!
Haha not naughty at all, Ellen!! I’m really glad you like it, it’s made with love 🙂
I love these! They make very pretty ornaments and would be so easy to make, and I like the idea that when dropped they don’t break.
Yes, Linda, since there are kids at home all ornaments must be that way… no other survived
Super cute project! This is my fav time of the year!!! [TUT]
Mine is summer, but if Christmas wasn’t so cold it would be my favorite too! I love making ornaments and decorating for the holidays
So Pretty! You make it look easy. 🙂
It’s easy indeed, Joy!
Pili, I love the Swedish print decorations and ModPodge is always so fun, I love getting messy sometimes. These are so pretty! Thank you for sharing on the #OMHGWW this week!
Join us next week to share as a Featured Link!
Hope you have a great week!
Karren
Many thanks, Karren! I love them too since here in Mallorca we don’t have any snow and they make me think of a nordic country.
I’ll be there next week!
OMG this is such a fun idea! How cute!
Thanks for joining Cooking and Crafting with J & J!
Thanks so much!!
These looks so wonderful, what a beautiful job you did! Congrats to you on a successful project! 🙂
Many thanks Kati! The truth is I had an idea at mind and it ended up quite close to it
Such a nice idea, Pili. I’m looking forward seeing your creations.
Thank you so much for adding it to #tiptuesday!
Thank you, Debbie, you’ll keep seeing them
These are so cute! I am participating later in the month too. Such a fun challenge. I love how you tried to incorporate your partners colours into the ornament.
Thanks for linking up at Turn It Up Tuesday!
Hi, Hil! You’re right, it’s so fun! We will be seeing lots of different ideas, looking forward to see yours!
Thanks for stopping by!
What a great idea! Such a fun thing to take part in, and lovely to receive something from a new friend. Look forward to seeing all the ornaments as they are unveiled!
Yes, Sarah, as a new blogger I was really excited to meet other bloggers and this has been a wonderful way to do it. Thanks for stopping by!!
That’s such a great idea to use book or newspaper strips!! I LOVE those!!! Hope you’ll link up to my craft/recipe party again on Thursday at 7pm. EST. I can’t wait to pin it!
Thanks so much, Denise, I love the way they look too!!
Such a fun and cute idea for the Christmas decorations and such a lovely way to get the children involved!! 🙂 x
Many thanks, Evija. The truth is that the kids enjoyed it a lot, and we have now some friends asking us to do some more with them
These are beautiful! I call myself a lapsed crafter as I used to spend every spare minute making until I became a Mum, but I think I should make an exception for Christmas ornaments! Great to find your blog 🙂 #WAYWOW
Yes, Rebecca, motherhood change so many things… And I love being able to share my passion with my girls.
Thanks for stopping by!
These are gorgeous! A great way to use old pages from books and recycle wine corks.
I wanted to thank all your efforts on setting up this lovely exchange event, Erlene. I appreciate you stopping by!
I absolutely love these, they look gorgeous. A great addition to the Christmas decorations 🙂
Thanks for linking up to Marvelous Monday on Smart Party Planning. I will be featuring these next week!
Thank you so much, Catherine! It’s always a pleasure to party with you
Just popping by as I too am participating in the ornament exchange. What a delightful ornament. You are truly clever and crafty.
Thank you very much, Laura. I love to recycle so I always try to use what I have on hand
These are so darn cute! Love them!
Many thanks, Stacey!!
Thank you for sharing with us at #JoyHopeLive!
Thank you, Mary!
These look great. I was a bit dubious when I saw how few parts to there this was, but they’ve come out really well. I love the glittery tops, they really set of the simpleness of the baubles themselves. I bet your house is awash with festive-crafty-goodness at Christmas. Can I borrow you to come and decorate my house?
Sally @ Life Loving
#LifeLovingLinkie
Sally it seems more complicated than what it really is! Do you have snow there? Then yes, I would love to come and help you decorating the house! We don’t have any snow here in Mallorca 😉
great idea indeed…looks super cute with all the glitters..
Yes, I love glitter so much!! I’m like a little girl 😉
Pili, I love this! The ball turned out gorgeous! I’m thinking about using your idea for my family this Christmas. Making each member of the family a ball with a word that means something to them. Such as for Levi the word Faith, for Bruce the word Strength, for Georgia the word Love. It could be a new tradition for us, a new start. Thanks so much for sharing all you do! Pinning!
That would be a wonderful idea Nikki. They would see then over the years lots of memories as a family
These are so charming! Thanks for sharing!
My pleasure, Cecilia. I’m glad you like them as well
Hi Pili, I’m popping by from Shoestring Elegance & the What to do Weekends party to let you know I’m featuring your adorable ornament at our Party! Congratulations! Feel free to come by and pick up your Featured button!
Thanks for sharing with us!
Theresa
Thank you so much, Theresa!! I’m honored to be featured there! You know I love your party and I’m there each week
Awesome! I did something similar with book pages on Styrofoam pumpkins for fall and I waned to try again for christmas. Thanks!
Hi, Amber! Just glueing some pieces of paper can change its entire look, isn’t it fun?
I am part of the ornament exchange and i just stopped by to look at your ornament. I just love it. How creative.
Thank you some much for stopping by, Amy! It’s so simple but so cute at the same time… I’m thinking about making some for us
I want to make these now!! Thanks for sharing with #frifree4all