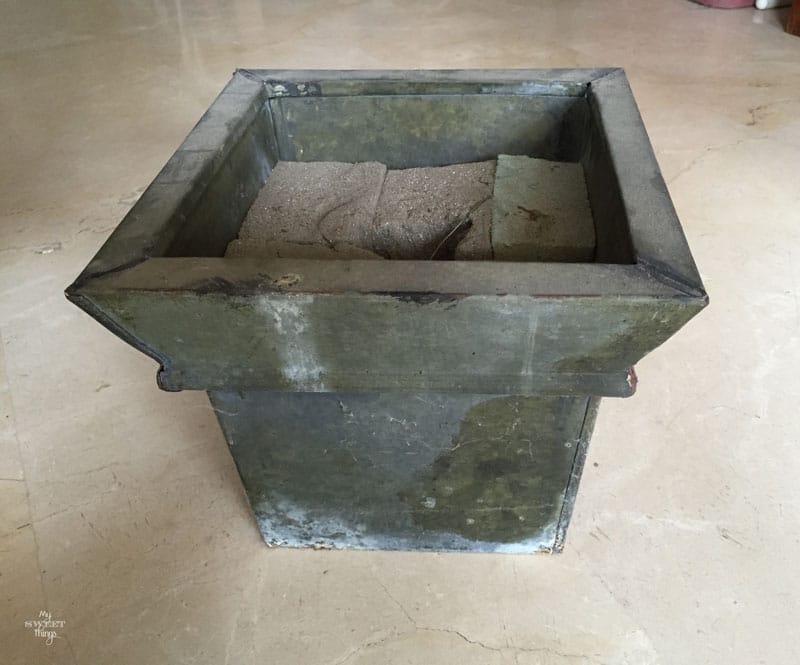
You know I love hanging around flea markets… there are treasures waiting to be seen and rescued. That is exactly what happened with this flower pot, as soon as I spotted it I thought, baby you’re coming home with me.
Imagine my family faces when they saw me with this
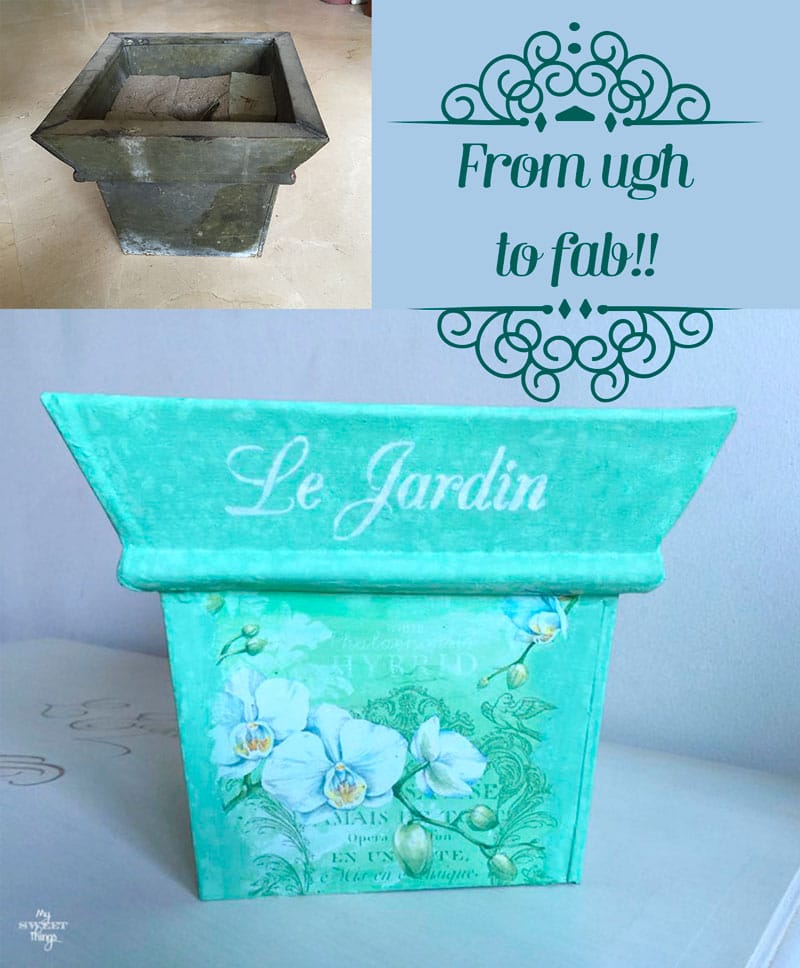
I know, it was really ugh but it had potential!
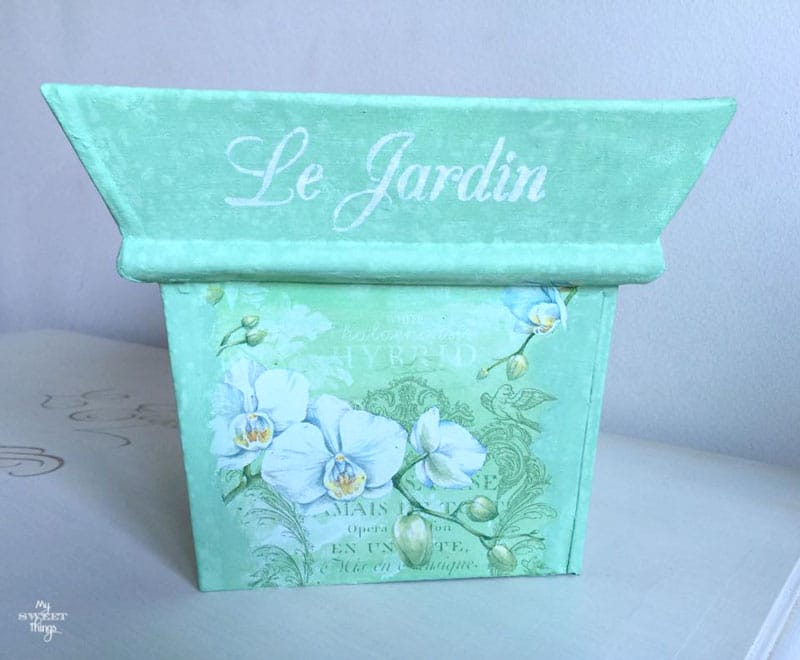
It sat for almost a year waiting for the inspiration, until one day I received a present from Marycruz, a friend of mine. There were lots of pretty things and one of them was a lovely napkin. It was green with a beautiful white orchid, which is one of my favorite flowers. And I knew it, it would fit on my flower pot!
The first thing was to clean it. It had rust in most places and I didn’t want to get it again, so I used my white DIY chalk paint for a first layer, then I varnish it to avoid getting more rust and another layer of paint.
Sorry I don’t have pictures of the process but I did it some time ago and didn’t remember to take some of the process.
Once it dried, I took the napkin and removed the two white layers. I keep them, you’ll see soon what for 😉 I teared the printed napkin to fit, instead of cutting it because this makes it integrates best and hardly notice the borders.
I watered down some white glue and brushed it to one side. Then I placed the napkin and with a plastic bag smooth the surface to remove air bubbles.
I did the same on all sides and waited to dry. On the meanwhile, I started (I should say “we” because the girls are always involved in painting) playing with some paint to try to achieve the same color or the napkin, it’s so fun!! I don’t remember which colors I mixed to get it, but I do recommend you to experiment.
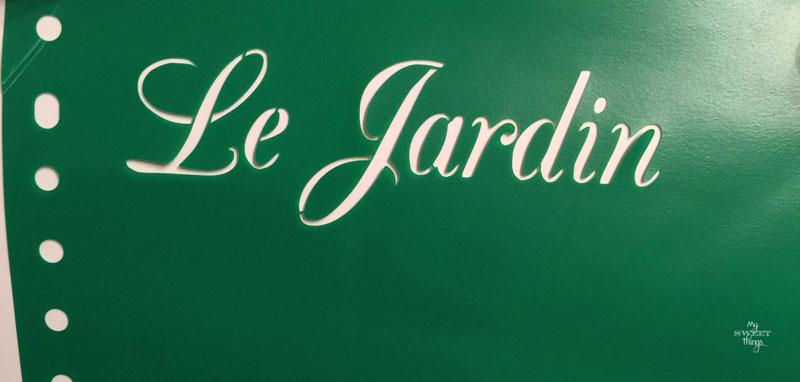
When it was all painted I felt it was missing something, and I decided to stencil the words “Le Jardin”. I used my Cameo, but you can use also a blade. If you want the text you can download it from here.
I protected it with two layers of varnish and it was done.
I have to tell you that I love it! A new flower pot rescued from trash!
I hope you like it too as much as I do! If you liked this post maybe you want to check some others projects.
Enjoy your week!
Hugs,
Pili
Do you love DIY, recycling, home decor, furniture transformation and all kind of crafts? Then we have the same passion! I would love to share all my crazy ideas and projects with you so I would love if you SUBSCRIBE for my post e-mails.
I also share interesting content on Facebook and other social media, and I would love to hear from you! Not following me yet? Don’t be shy and stop by to say hello. Follow me on FACEBOOK, PINTEREST, INSTAGRAM, TWITTER, +GOOGLE.
Linking up to these parties
Featured at:



Pili, this flower pot looks beautiful!! I’m glad you rescued it!! I’m going to be collecting napkins now. :)Love this!!
Great Keri, they are easy to work with and there are some pretty ones!
Pili, this doesn’t even look like the same flower pot! I love the way you upcycled it and gave it a fresh feel. It’s beautiful. I hope you have a happy day, CoCo
Hi, CoCo! I know, it doesn’t seem the same but it is! Love working on this challenging projects!
Thanks for stopping by and welcome to my crazy corner 😉
This oneis really from ugh to fab! I could have seen it sitting next to the garbage can. Bravo for you for giving it a glorious new life!
Maybe someone took it from the garbage can and sold it at the flea market lol. But I really don’t mind, the worst they are the more I like them… call me odd.
Pili what a nice colour you used and the napkin was perfect for it! Did you put a plant in it??? I like the shape of it too, you can now use it for what ever, it looks fab!!!
Hi, Katrin! In fact, I sold it to a German lady who felt in love with it so I don’t know if she has plants in it. If I had kept it I would have probably placed a pot inside to avoid any damage.
Great repurpose! Your planter turned out gorgeous, love the color and the pretty napkin. I have a few planters that could use a makeover. Love the chalk paint and napkin idea!
Thank you so much, Linda! The napkin was really pretty so I couldn’t go wrong using it.
Pili, you have an eye for potential of a project to be made. This one turned out beautiful, if I had not seen the before, I would never have imagined the outcome. Just Fab!!
Thanks for sharing on our #OMHGWW, I appreciate your stopping by each week!
Happy New Year!!
Hi, Karren! Sometimes it takes time to me seeing how I can transform a piece of furniture or other stuff, and it was the case of this one. But I agree, I love how it turned out finally.
Thank you so much for visiting!
that is amazing! I’m not often a big fan of re-purposed stuff but this is beautiful and I’m quite envious! I hope you find the perfect spot to put it in and admire it every day x
Leanne, my house is full of repurposed stuff! I even sell it because I can’t keep everything for myself, I would need a castle! And this is what I did with it, the woman who bought it felt in love with it.
Oh my gosh…I love how this turned out!
Thanks for joining Cooking and Crafting with J & J! Happy 2016!
Thank you so much, Jess!
Wow! That is beautiful. Sometimes i wish I had the time to sit down and do things like this. Someday my tiny person will be grown and i will have time to make things pretty like you did.
Thank you so much, Erica! I think there is a perfect time for everything, and maybe your time for DIY has not come yet.
Glad having you around here!
This is a beautiful transformation, how lovely. Your website is full of very inspiring things!
Thank you so much, Amy, glad to hear you find my things inspiring!!
Welcome to my crazy corner
Pili, I cannot believe that these 2 pots are the same one! I love the shape, but it was looking really rough. The color of the facelift reminds me of the aging color that copper gets, a patina of sorts. I love the napkin that you have placed on the front, it’s just gorgeous. You have a great eye for completely changing a piece, this is a treasure!
You’re right Nikki, it reminds me of the patina too, I really love that color.
When I spotted it at the flea market I bought it for its shape, I knew I could do something to make it looks much better and I am really pleased with the result.
Thank you for visiting, love to have you here
Pili..it looks brilliant indeeeeed :)..I love the soft green you chose and the orchid. You really have a wonderful touch!
Indah, the napkin was really beautiful, so I just needed to get that color too.
Thank you so much for your comments, I really appreciate them!
Amazing transformation! Turned out beautifully. I can just imagine the looks on your families faces when you bought that home 🙂
Thanks for sharing with us!
~Laurie
You’re right, Laurie, you can’t imagine their faces lol. But they were really pleased with the after 😉
Happy weekend!
Muy bonito, me gusta.
Anne.
Muchas gracias, Anne! Que pases un estupendo fin de semana.
Privacy Overview