Hi all!! I am convinced that nowadays all of us have heard about chalk paint. The original brand Annie Sloan Chalk Paint isn’t really cheap, and here in Spain it is not so easy to find it and the price increases a bit more. So I made a research and found Diane’s blog, which is absolutely fantastic and really helpful and of course I suggest you visit it, and I decided to give handmade chalk paint a try.
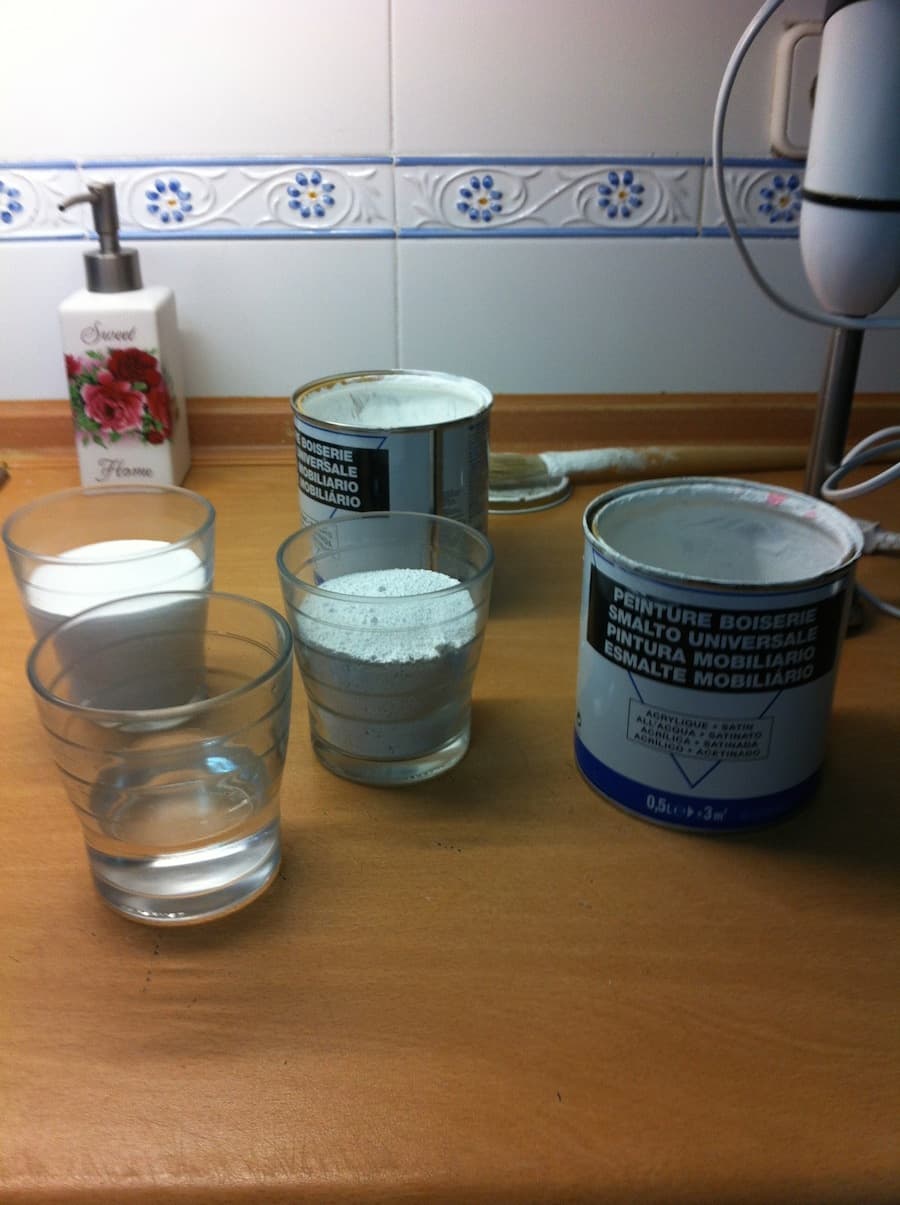
We need few supplies. I added some affiliate links for your convenience, you can read my full disclosure here.
1. Acrylic paint water based
2. Plaster of Paris
3. Water
4. Measuring glass
5. Mixer (it is not a must but I highly recommend it)
I made some changes regarding the original recipe, and this is the one that I use. The steps are numbered because when I tried to change the order the results weren’t as expected:
1º. One glass paint
2º. One glass Plaster of Paris
3º. Half a glass of water
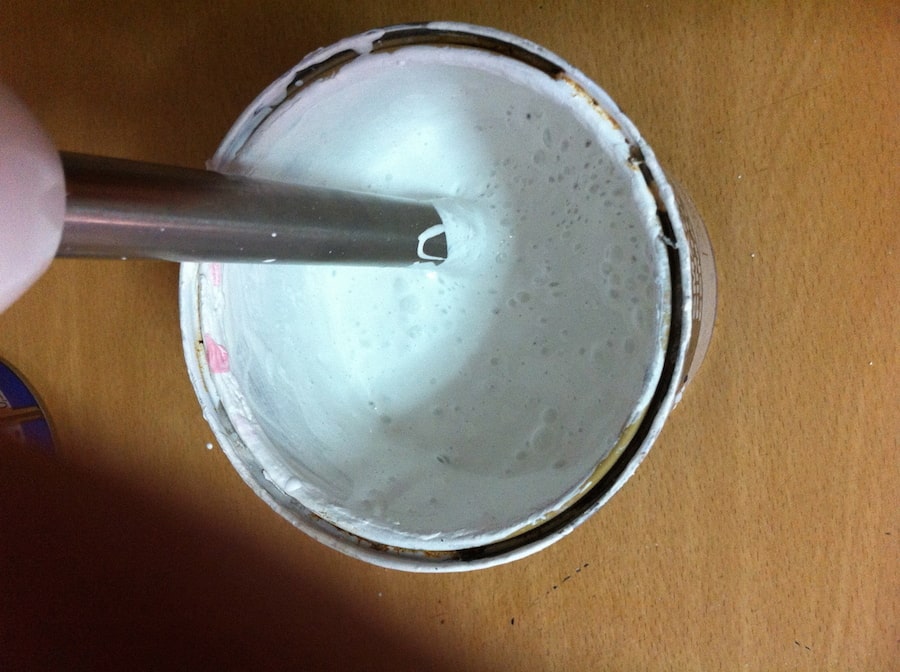
Add the water in a container (I used an empty paint can), then add Plaster of Paris and mix immediately. You don’t need to mix too long, just to mix water and plaster properly with no lumps.
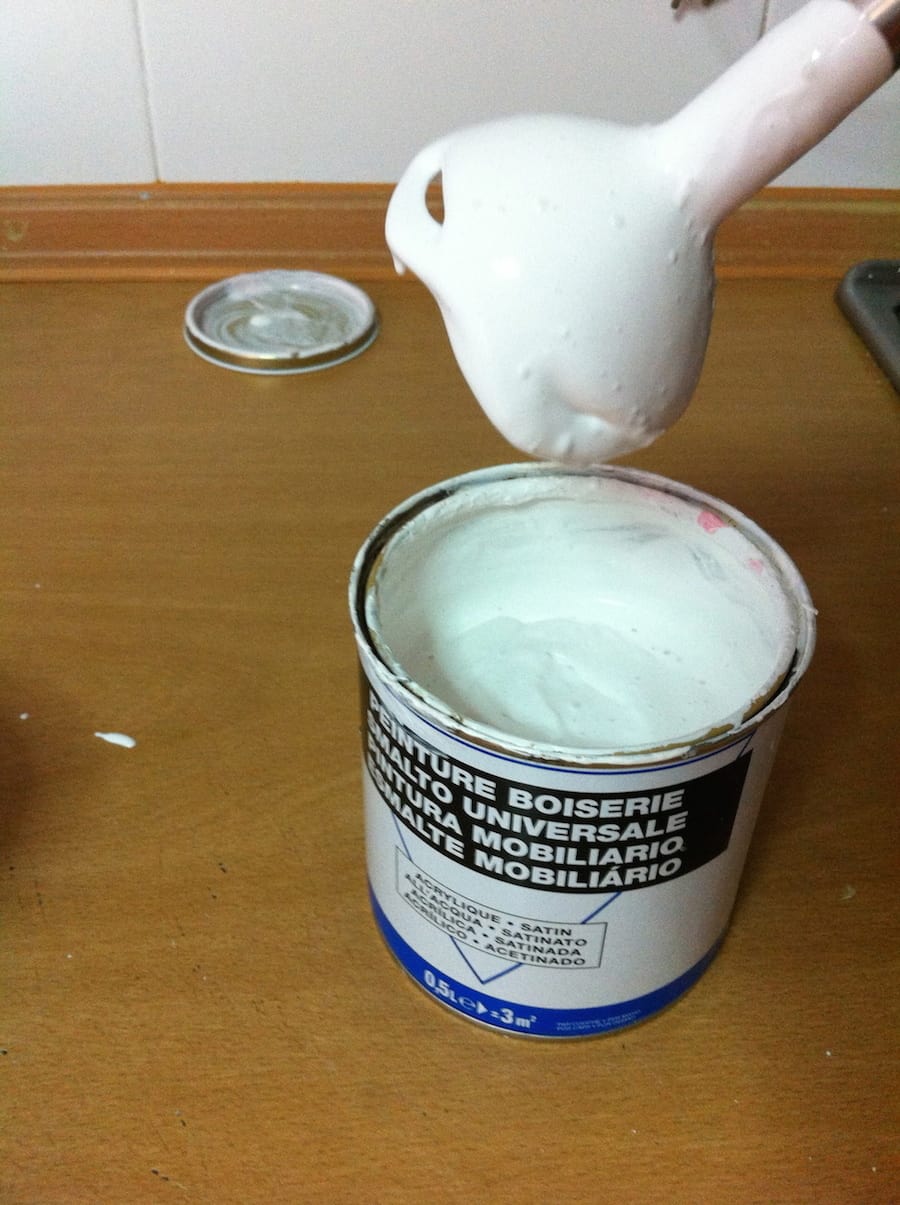
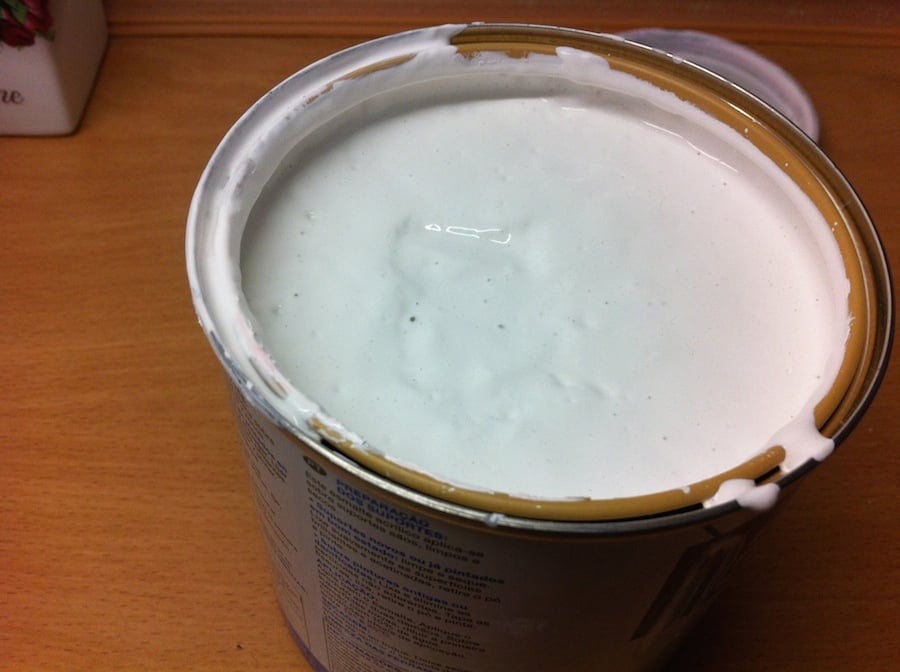
Don’t stop mixing and add the first glass of paint, and keep mixing, it won’t harden. This is the texture at this point:
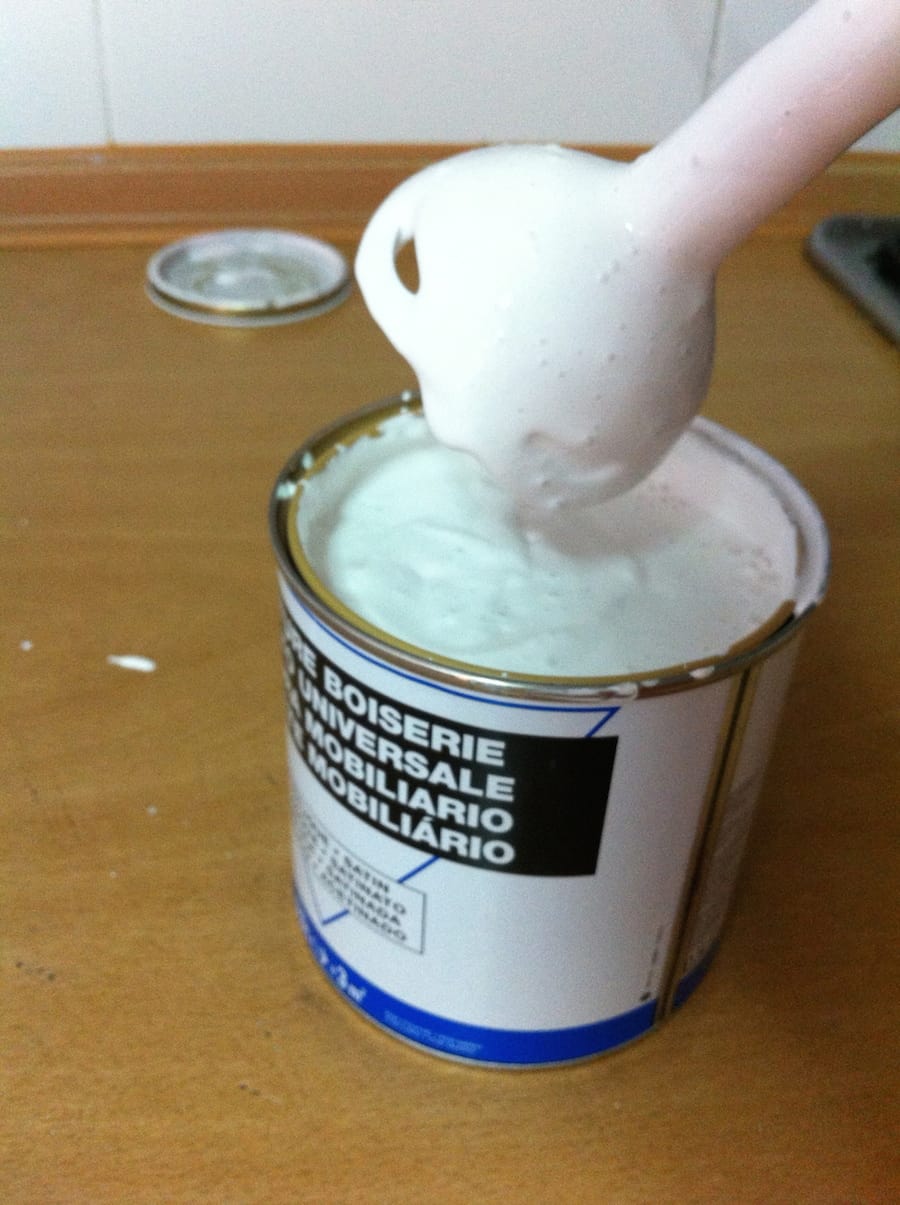
And here the texture with the second glass of paint.
Now you can fill the container with paint one more time (remember, 3 glasses of paint, 1 Plaster of Paris and 1/2 water) and mix all together. The texture is different now, it’s more runny.
And that’s all, you can start using your chalk paint. I recommend you to clean the mixer quickly because if it dries you will sweat to get it clean (don’t ask me how I know that…)
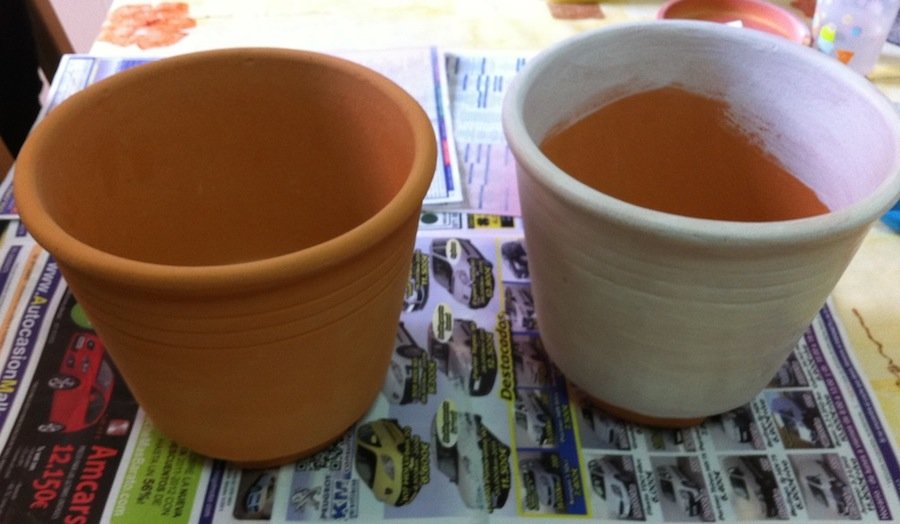
With just one coat…
Well, you have your own chalk paint and if you haven’t try it yet you can do it now, you will love the result!
Hugs,
Do you love DIY, recycling, home decor, furniture transformation and all kind of crafts? Then we have the same passion! I would love to share all my crazy ideas and projects with you so I would love if you SUBSCRIBE for my post e-mails.
I also share interesting content on Facebook and other social media, and I would love to hear from you! Not following me yet? Don’t be shy and stop by to say hello. Follow me on FACEBOOK, PINTEREST, INSTAGRAM, TWITTER, +GOOGLE.
Featured at:


Pretty! This has been an extremely wonderful article. Many thanks
for supplying this information.
Hi Painter in Brandon! I’m glad you found it useful, and thanks for stopping by
Hi Maria! I’m not much of a DIYer, but this seems very doable. It looks really nice!
Angela, thank you so much for visiting! You can keep the recipe for any moment you may need to paint something.
Have a wonderful week!
Brilliant! We just did this recently, and when I say “we” I mean I hired someone to paint my daughters dresser and she made her own chalk paint. It sure isn’t as hard as I thought it would be.
Hi Chellie! It’s not hard at all, it’s even fun 🙂 The only things I don’t like to paint are spindles of a chair, they are really time consuming and spray paint is better.
Thanks for stopping by!
Wow! I didnt even know we could make this on our own! What a fun project.
Thanks for linking up at FTAF!
Yes, Erica! It’s so fun to do it!
Thanks for stopping by!
I have heard about chalk paint, but I have not used it. The huge plus for me is that you don’t have to sand before using. Have you found that the paint adheres to any surface? Does it chip with use or does it have a strong bond? Could I use this to repaint my kitchen cupboards? They need done again. UG! Not my favorite job! LOL
Yes, Nikki, it adheres to anything! That’s the best thing of it. It creates a hard surface but I like to protect it anyway. Depending on the surface I just use varnish, or polyurethane for extra protection
I love this! Thanks for linking up to From the archives Friday.
Erica
Thanks so much, Erica!!
Hi Pili! This post has been chosen as one of our Weekly Featured Favorites! You’re on a roll with us, lol, we love your posts 🙂
Hi, Ashley!! It’s great to hear that, thank you so much!! It love to be part of the party
Wow, I didn’t realise you could make chalk paint yourself!
I love painting furniture and have tried Annie Sloan paint and Rust-o-leum paint so far 🙂
http://www.numbertwentysix.co.uk
I really don’t like AS too much, call me odd. I prefer America from DecoArt, and of course the handmade one works wonders!
Does it harden in the can after storing?
If you close the can as you would do like with the store bought one it doesn’t dry. It may get a bit thicker after some weeks, but you can add a bit of water and stir and it will be like the first day you made it
Privacy Overview