Hey, my sweet friends!!
Last Monday of the month, and that means another series of Int’l Bloggers Club Challenge!! Welcome! If you are new to the blog and ask yourself what is this about, let me explain it. A group of bloggers around the world teamed together to share our crafts, traditions and how’s life in different parts of the planet. Last month we talked about Valentine’s Day and I shared how I did a paper heart pouch for my loved one.
This month we wanted to go one step further and decided to make something different. But what? We normally share the things we like to do except for our styling flat lay photographs post, that was a real challenge! Then we thought we could do something that would challenge us even more. It could involve power tools, sewing machine, electricity… plenty of possibilities to choose from because we all have things that scare us.
I decided to go for power tools, I have some and I enjoy a lot with my woodworking projects. There are some that still intimidate me though and please don’t laugh. I can manage a big table saw but a simple jig saw makes me feel nervous.
Don’t ask me why, maybe it’s because I have a blade moving around but it makes me sweat. I am gaining confidence though, I have used it recently and I’m still in the learning curve.
Another tool that didn’t make me feel confident was a simple nail gun… come on, you promised not to laugh. I can’t take off my mind the image of a class mate with a staple in his finger when we were kids, ugh.
There are so many projects you can do with a nail gun… So I decided this was the perfect opportunity to overcome my kind of fear about it and use it! I have to specify that there are two kinds of nailers, brad nailers and finish nailers. The difference? Not too sure because here where I live I couldn’t find any, but from what I read brad nailers have smaller nails (or brads) than the other.
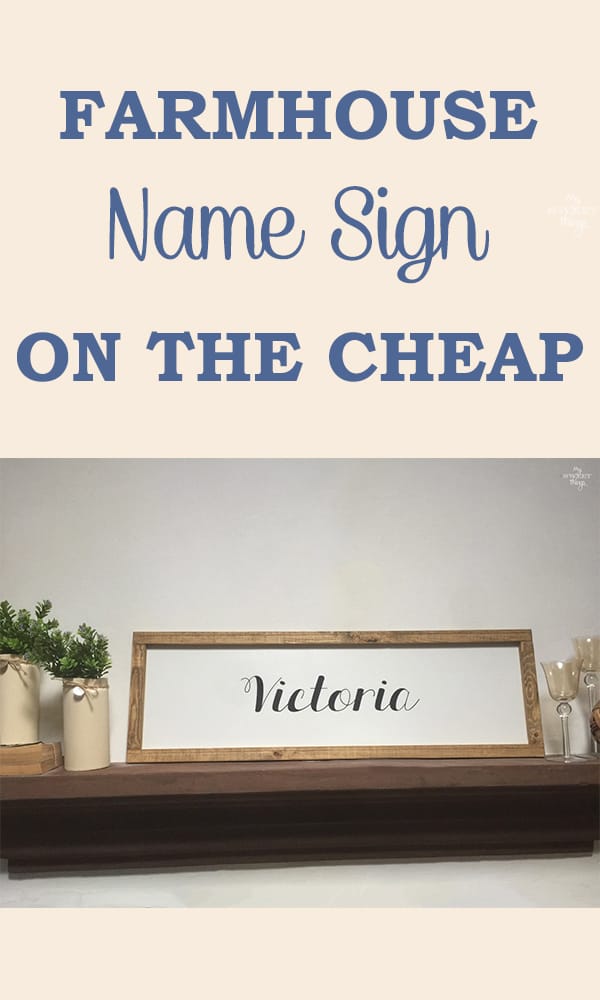
If you are Pinterest addicts as me, probably you’ll have seen those gorgeous farmhouse signs with names or quotes on them. I just love them, all of them. A dark wood frame contrasting with the white inside is just perfect for me.
This is what I used and what you’ll need in case you want to try your own version. I am going to share the “cheap” version, I’ll explain later what I mean. Also, you’ll find affiliate links for your convenience, you can read the full disclosure here.
- Wood strips
- 3 mm white plywood board
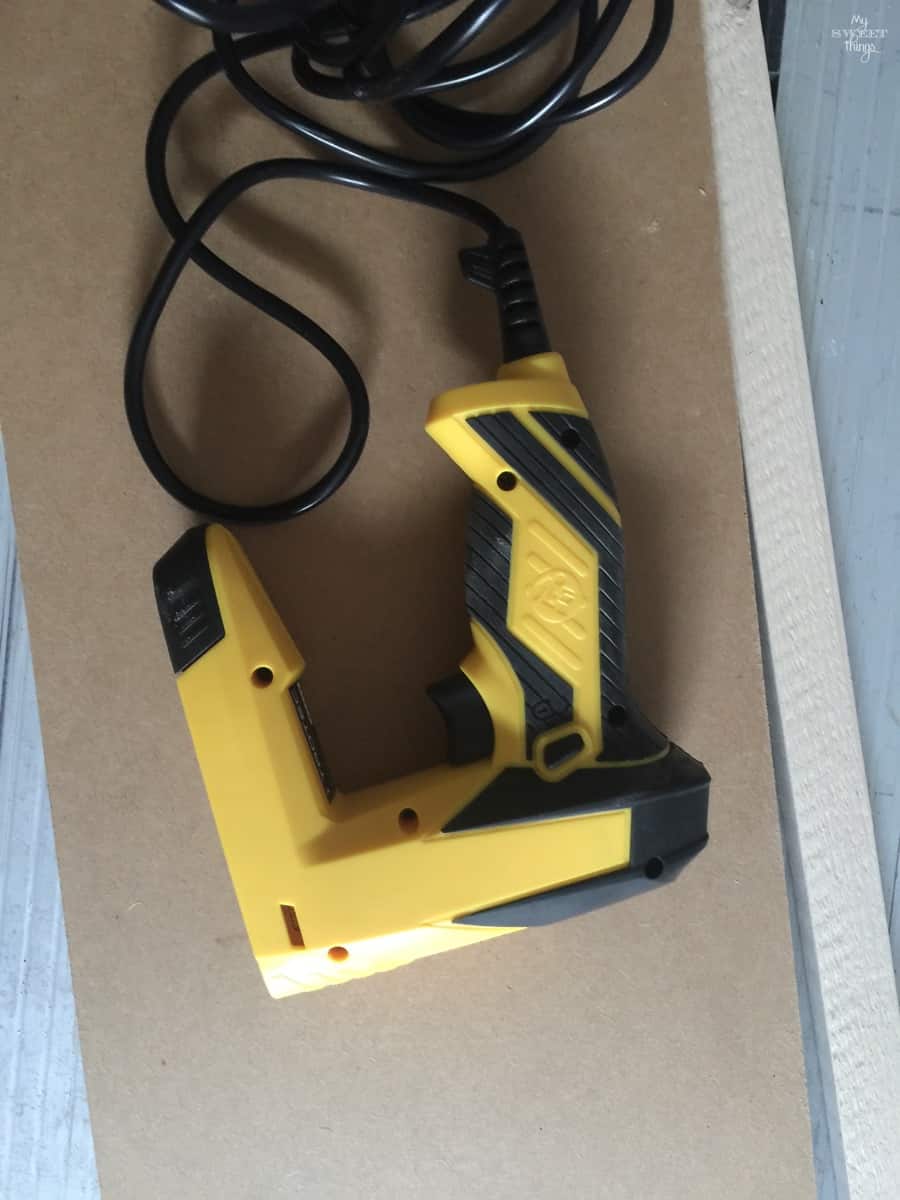
- Brad nailer
- Nails
- Glue
- Clamps
- Stain o “magic liquid“
- Laser printer
- Paper
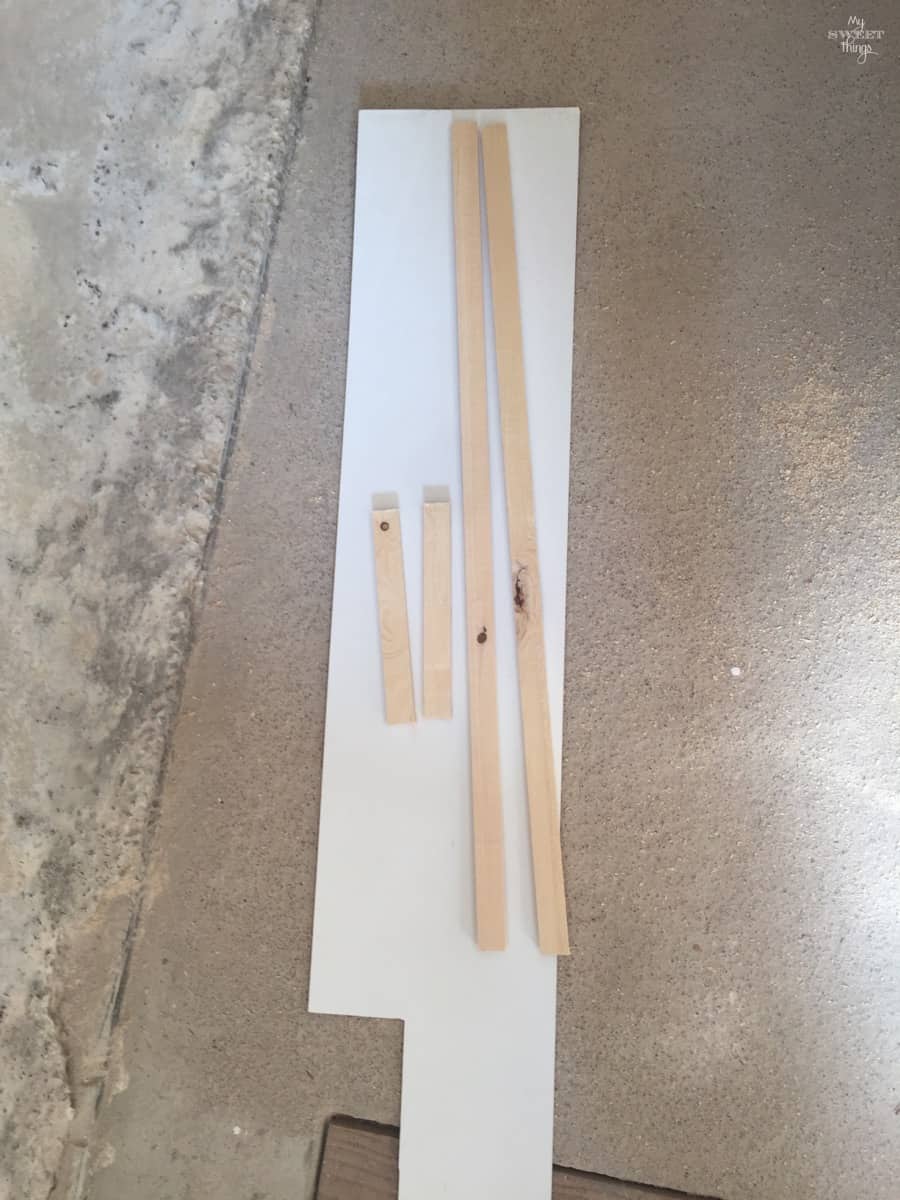
I had some scrap wood laying, the longest would determine the length of the frame, and I cut the other one to fit the width.
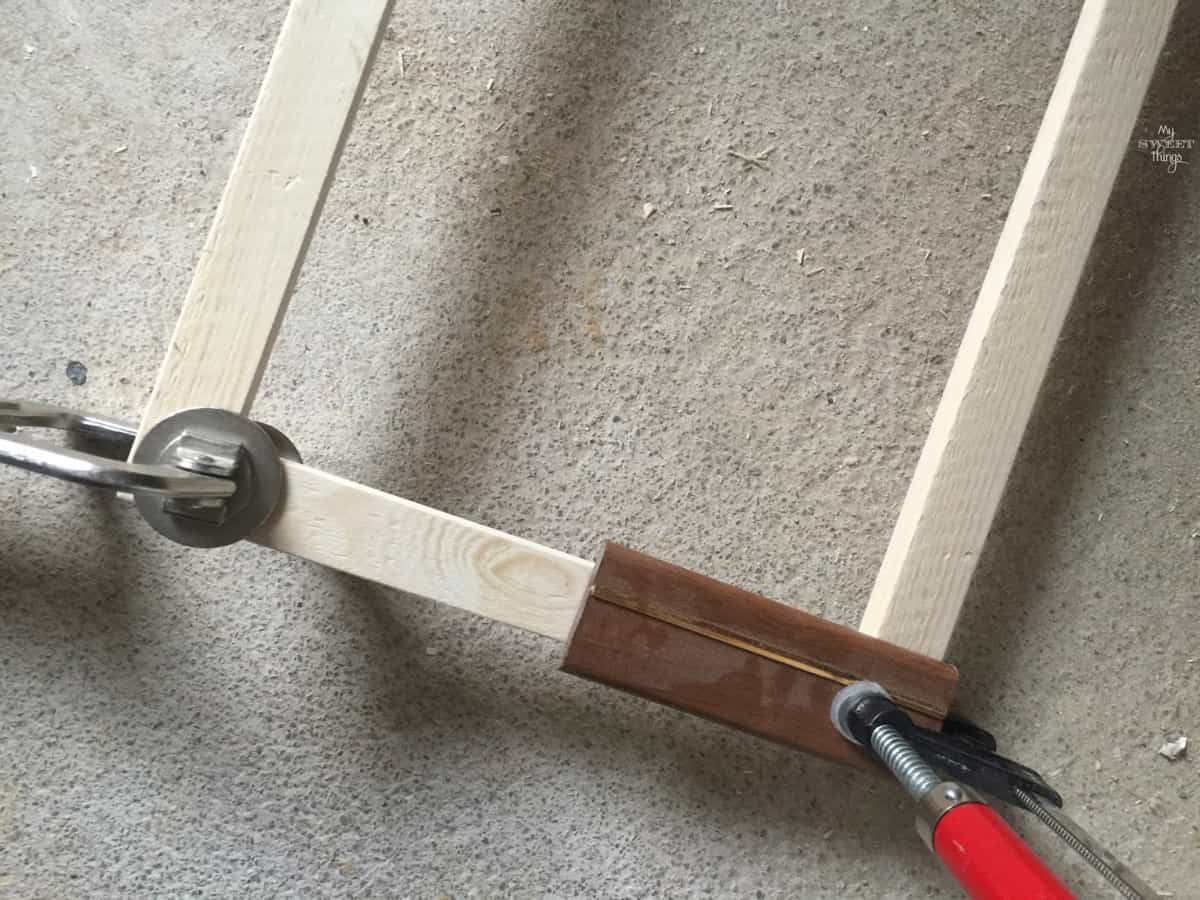
I glued the frame and added some clamps until it dried.
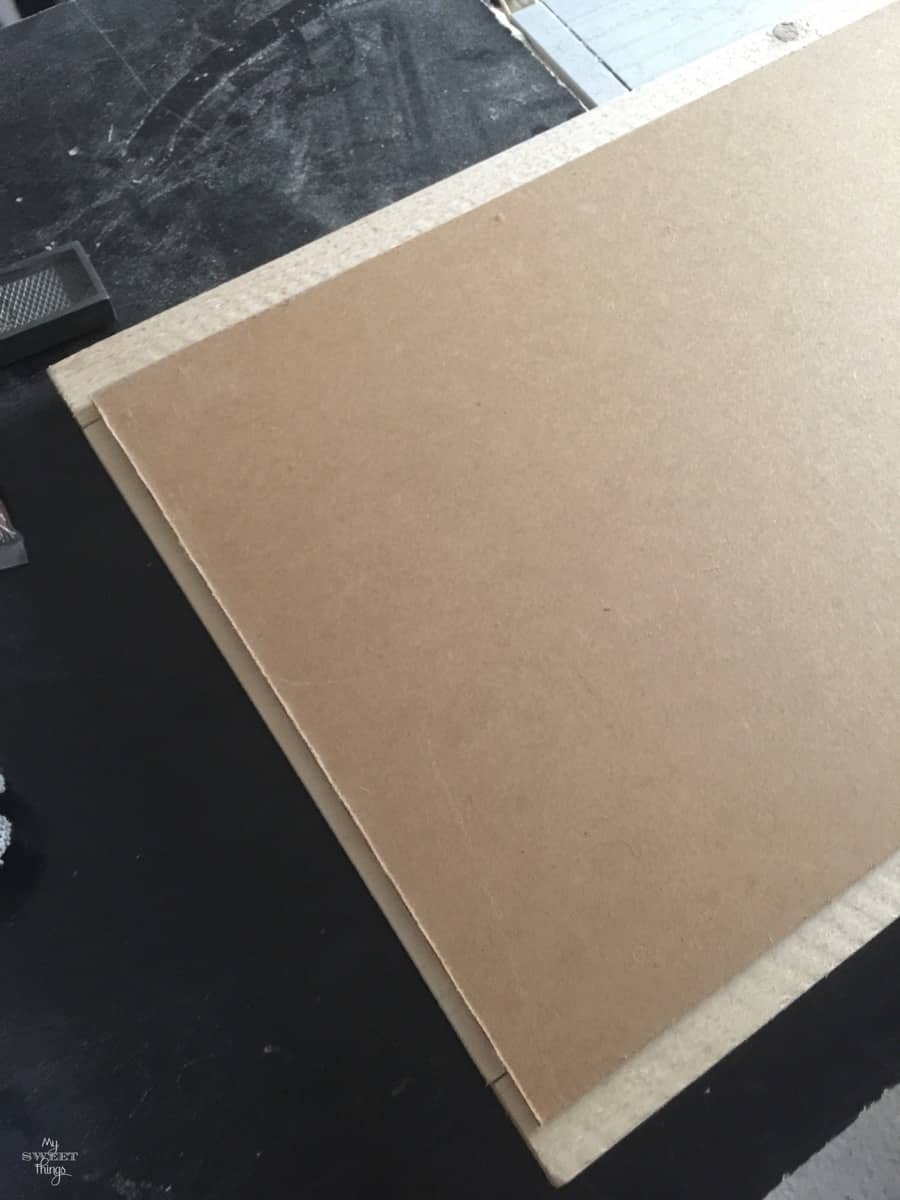
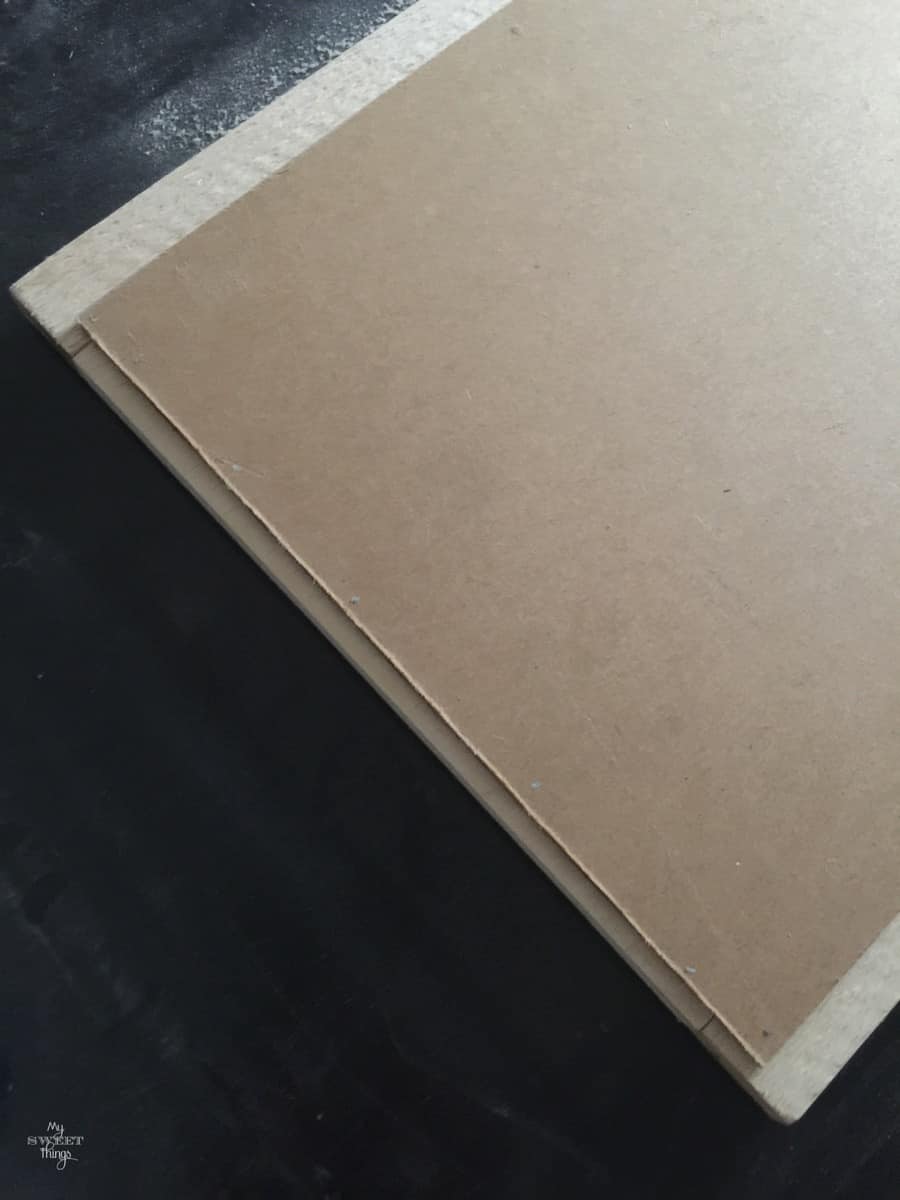
Once it was dry, I cut the plywood to size.
The moment was approaching, I was going to nail the plywood to the frame.
I measured again to make sure everything fit and I didn’t mess it. It was time to plug in the nail gun and shot!
Whoo-hoo!! Can you see those nails?
I was super excited and kept nailing all along the edges.
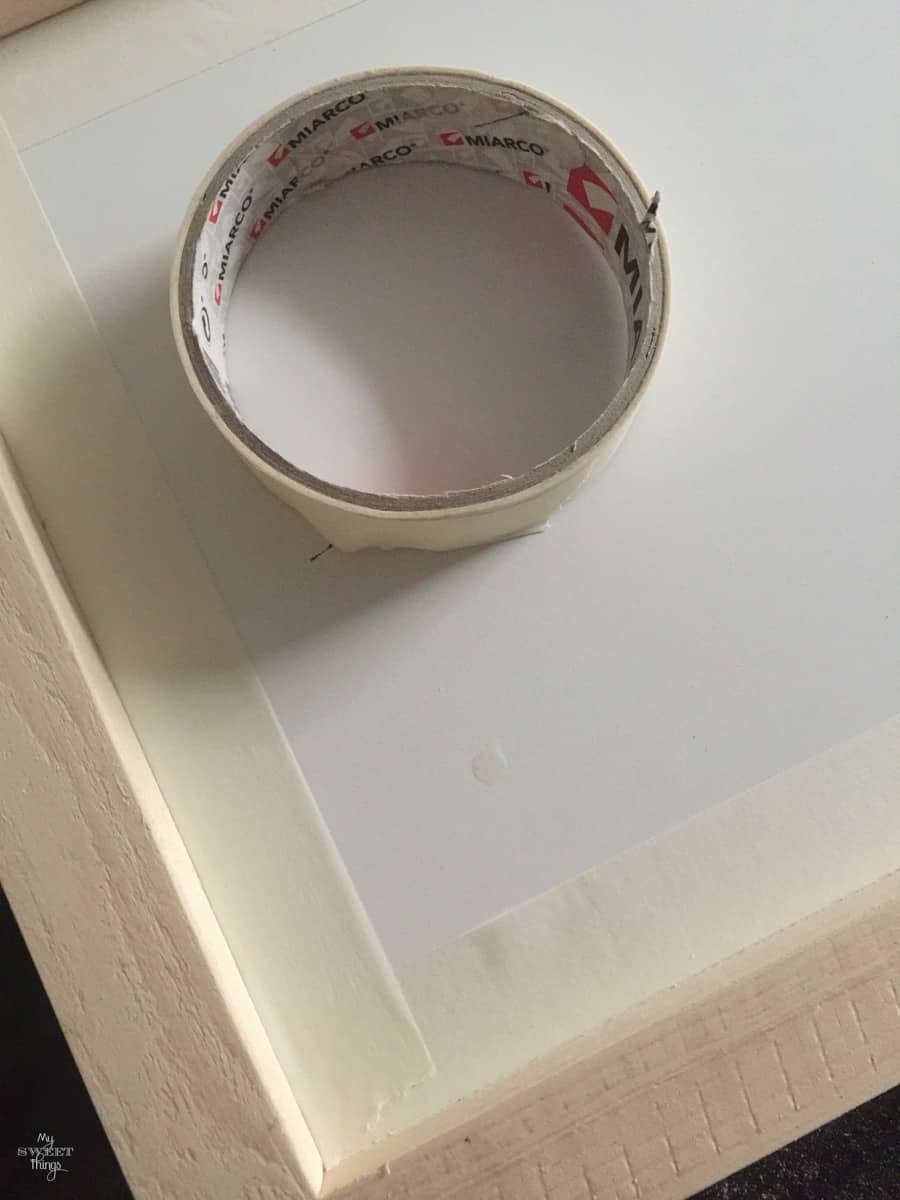
In fact, I was so nervous and excited that I FORGOT to stain the frame previously. Oh well, next time. I took painter’s tape and taped around the frame.
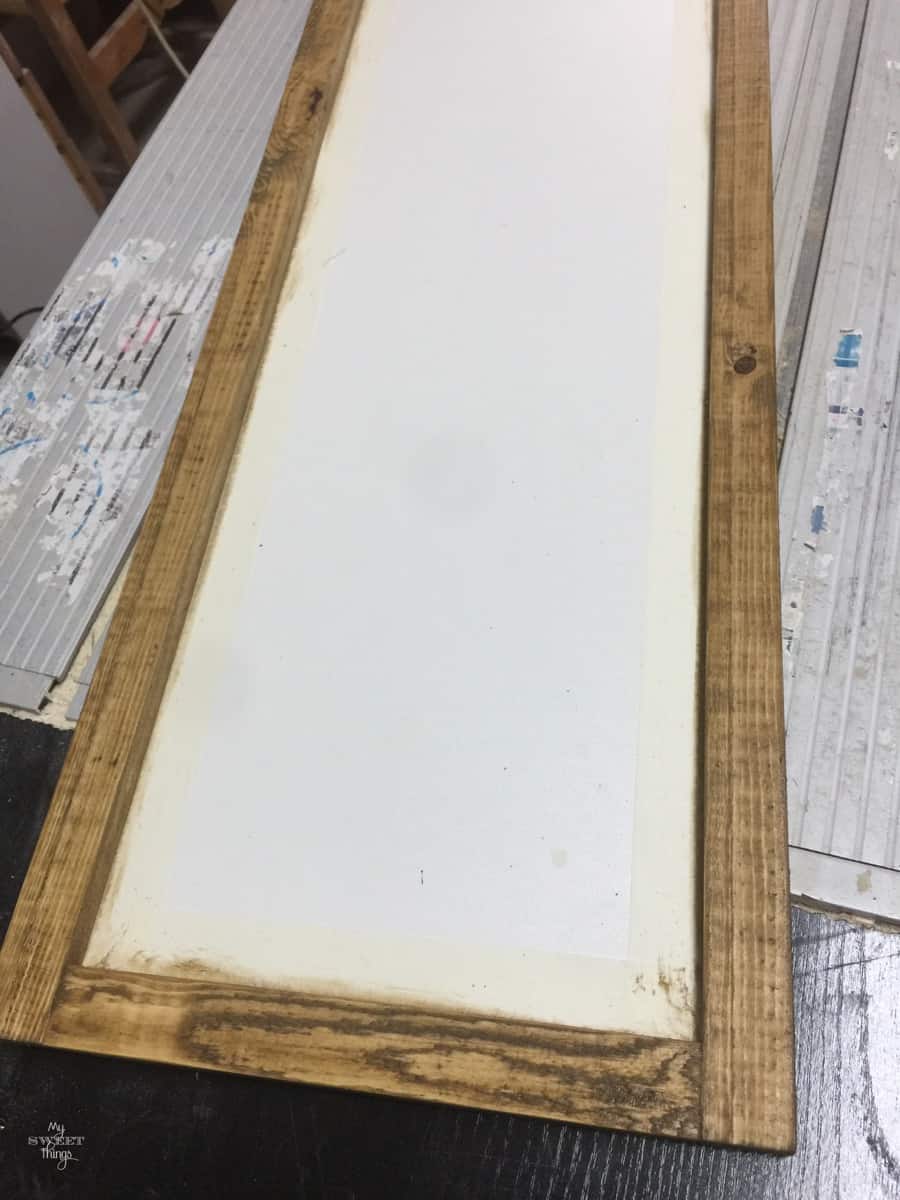
I was in a rush to finish it because we had a birthday party next day, and I decided to dye it with oak stain instead of using my “miracle liquid“.
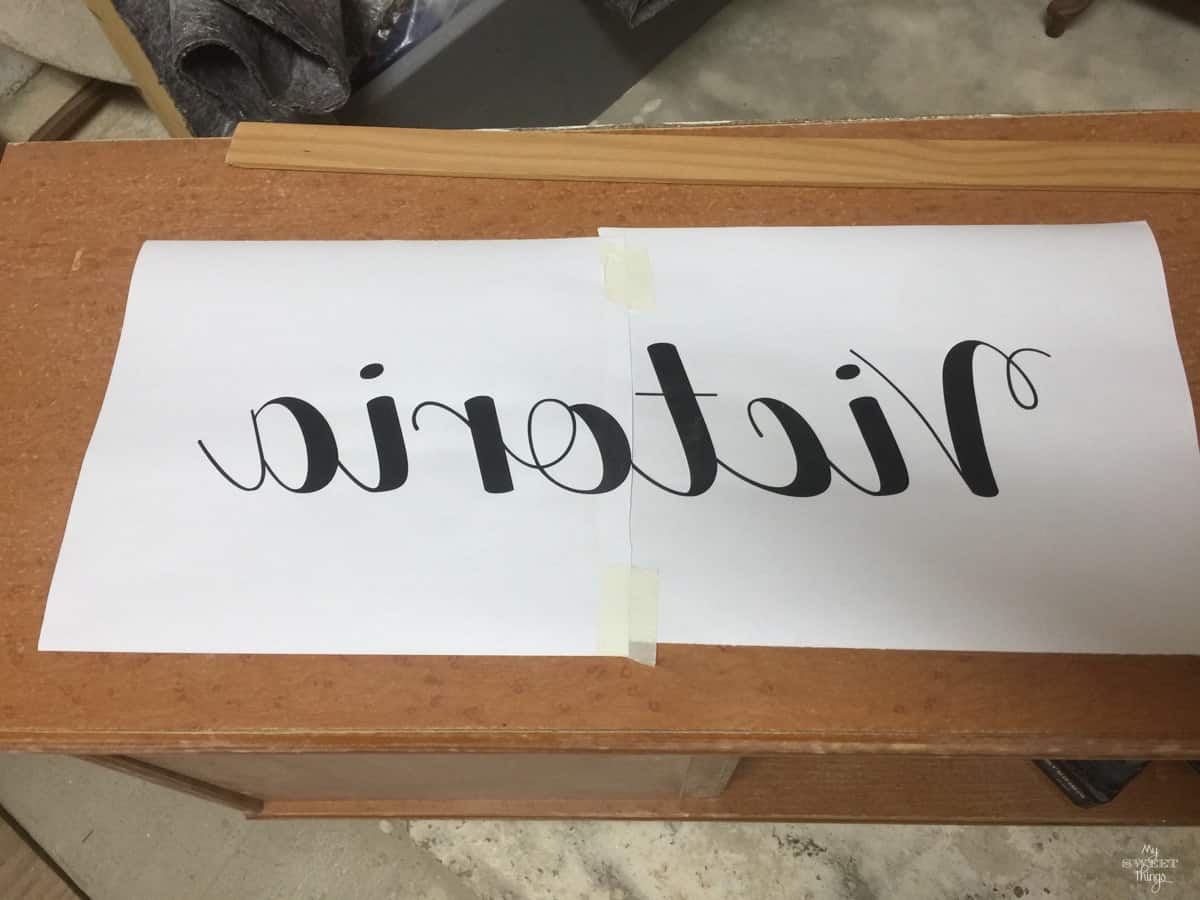
While the stain was drying, I printed the name I wanted to add in the sign.
Remember I told you I did this one on the cheap? Some people use their Silhouette Cameo and vinyl to do it, but I transferred it on wood with just paper.
You can see a full step by step tutorial on how to transfer on wood here.
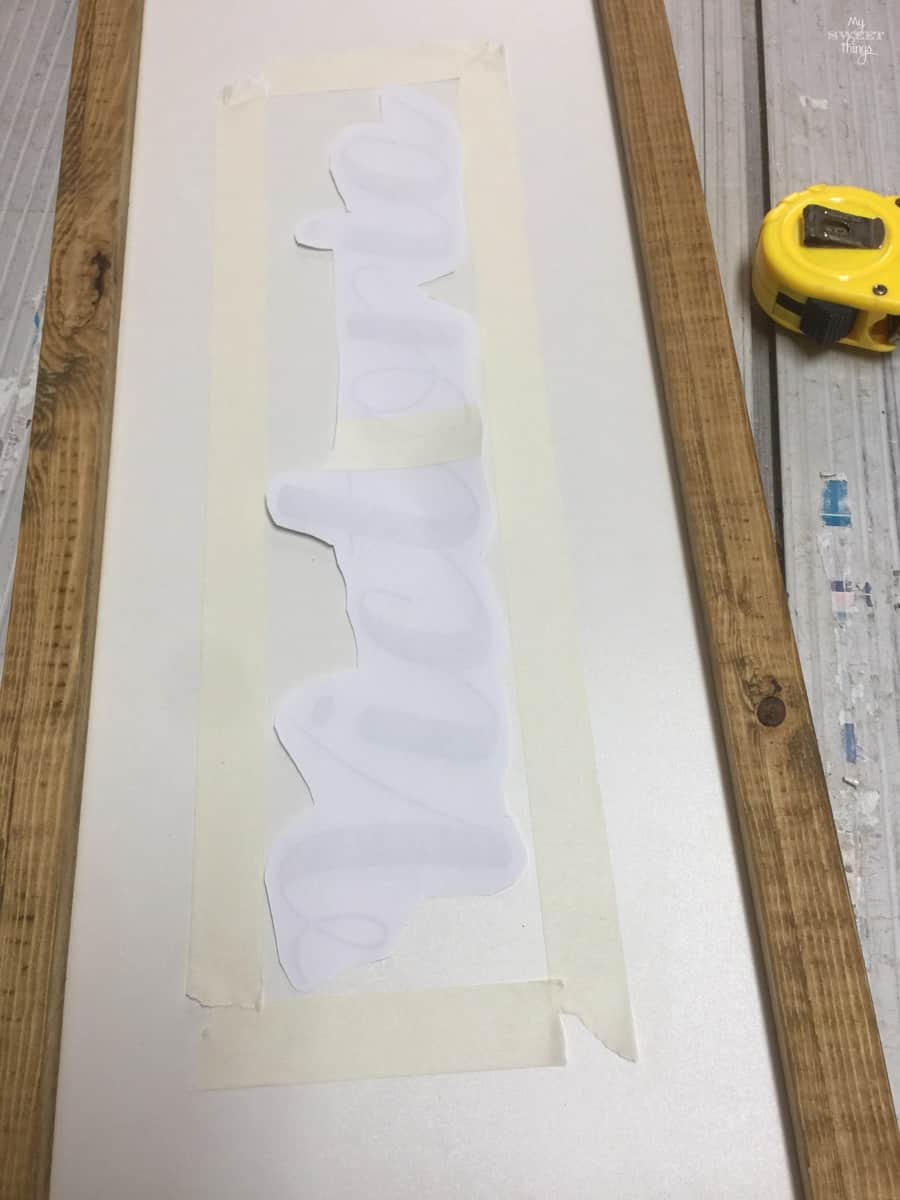
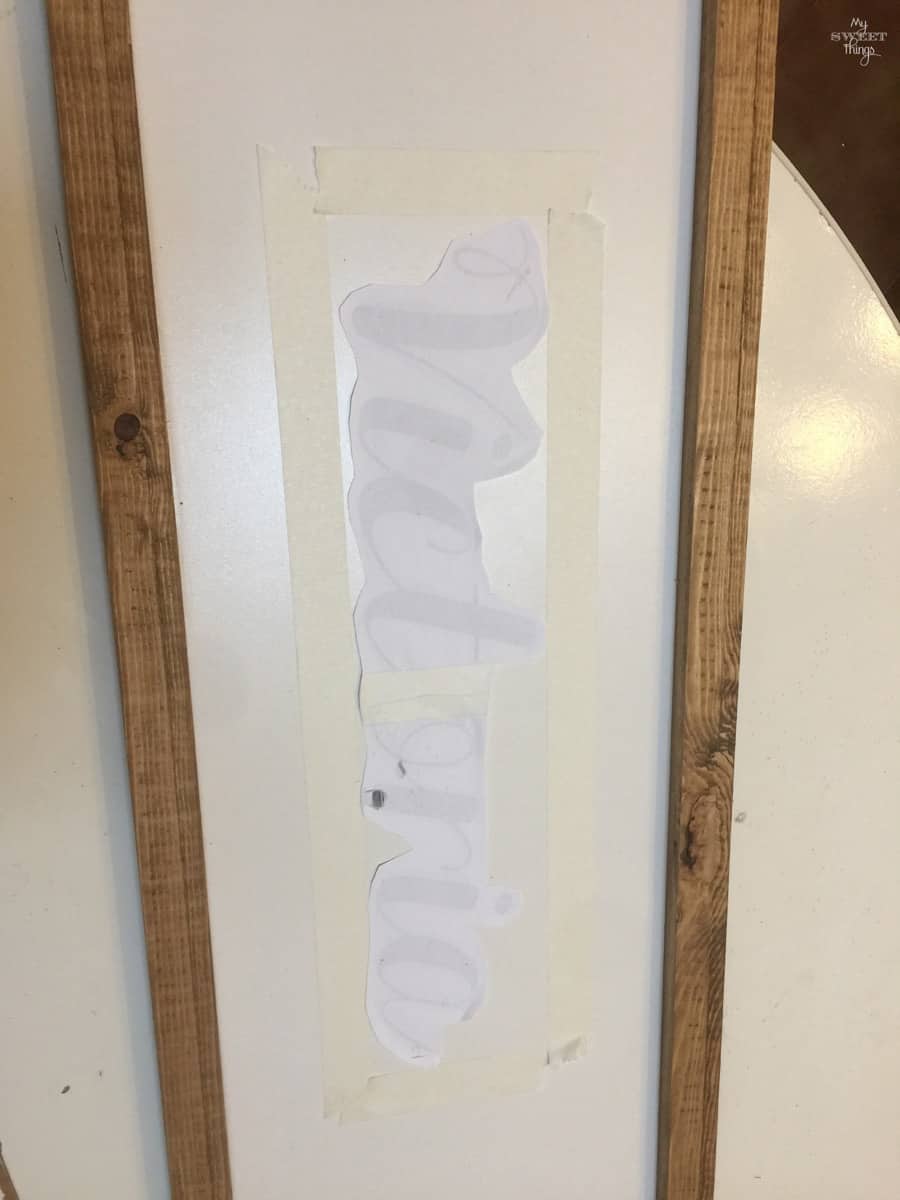
I trimmed the paper and measured, using some painter’s tape to make sure the letters were centered. I admit I’m not too good eyeballing.
Then I glued it in place.
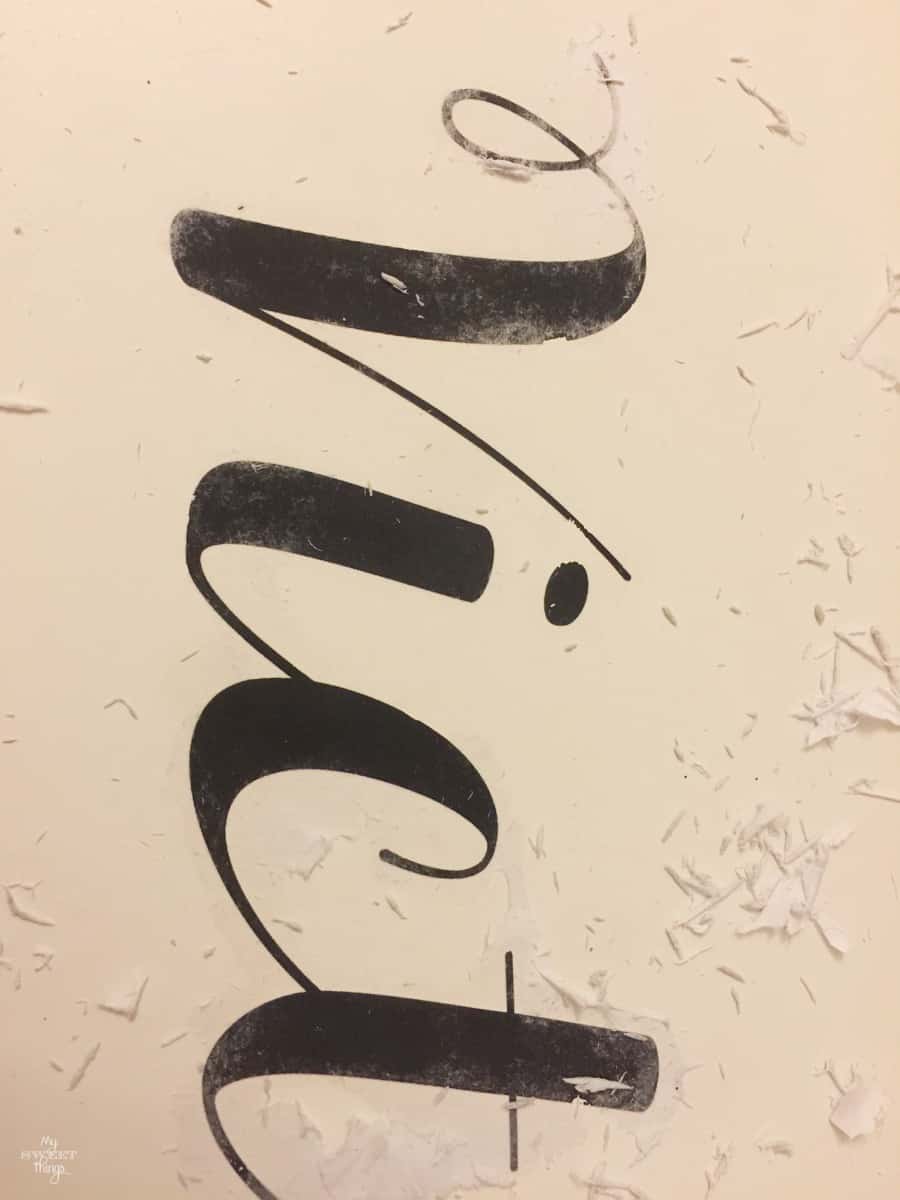
I waited for a few hours to dry (less than recommended, but I was on a hurry) and began to rub all the paper off until I finished.
Ta-da!!
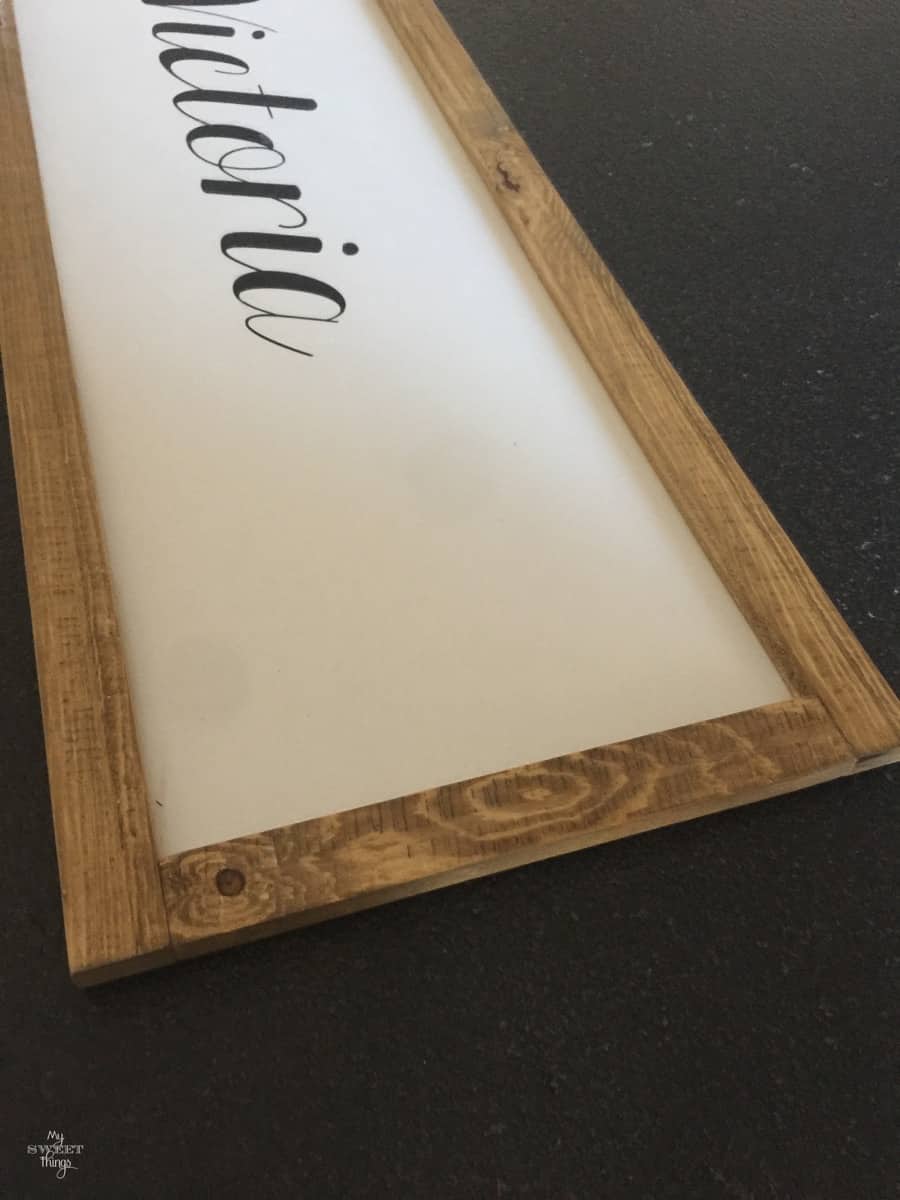
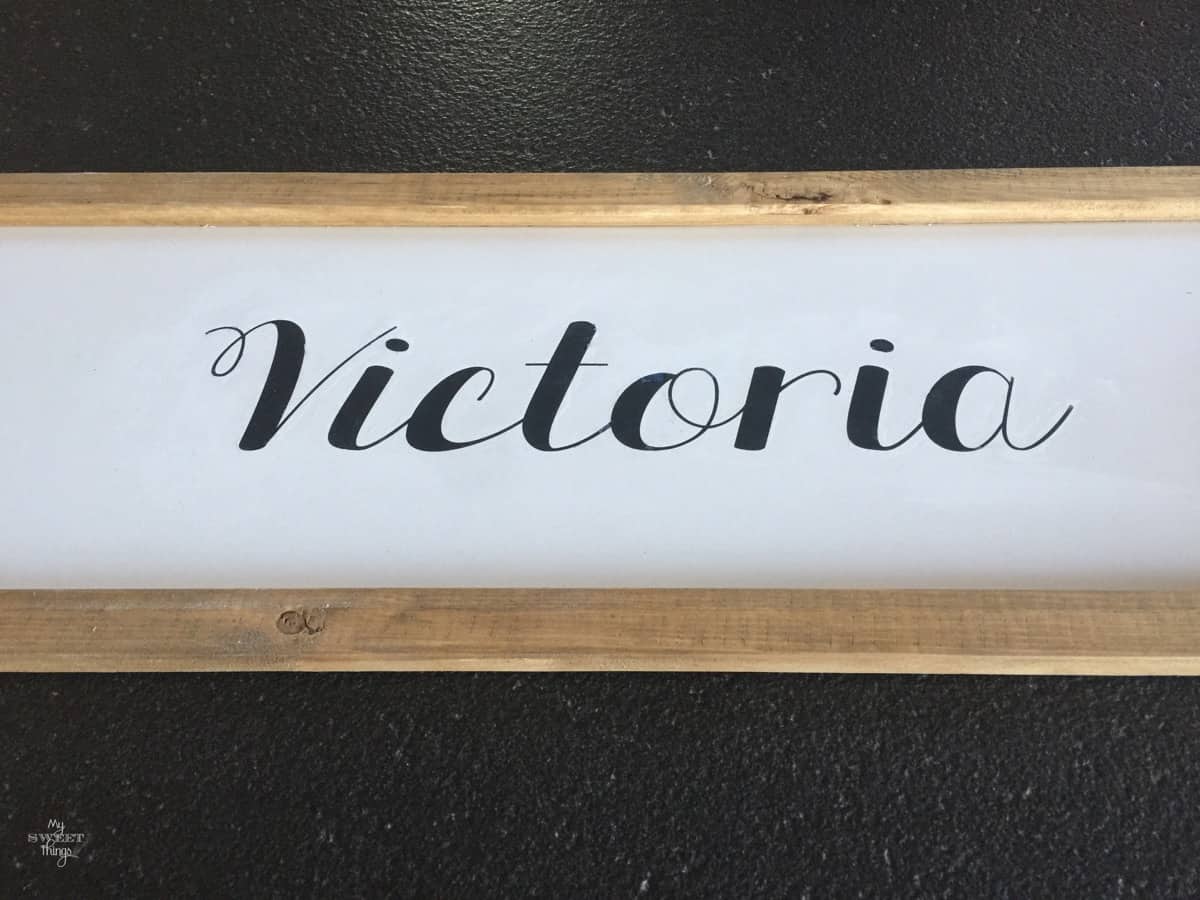
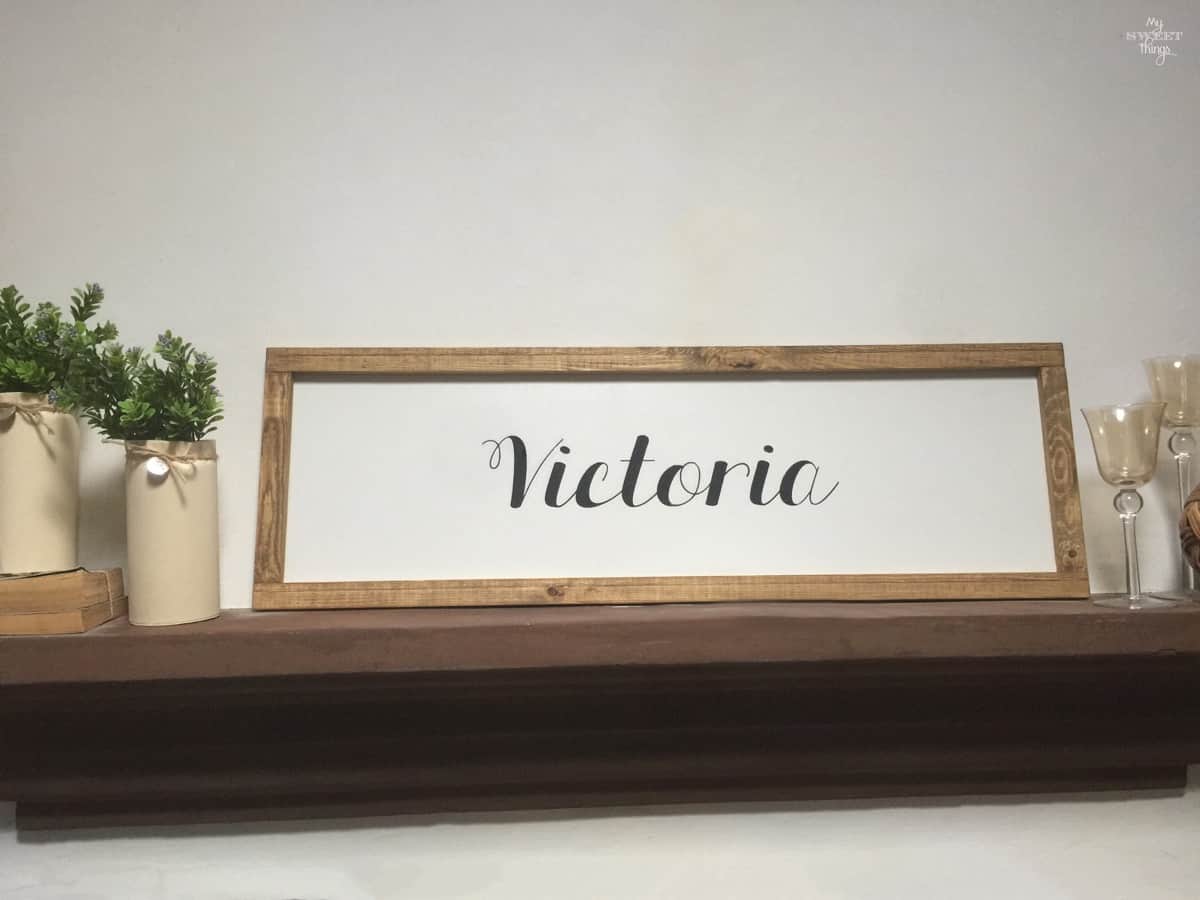
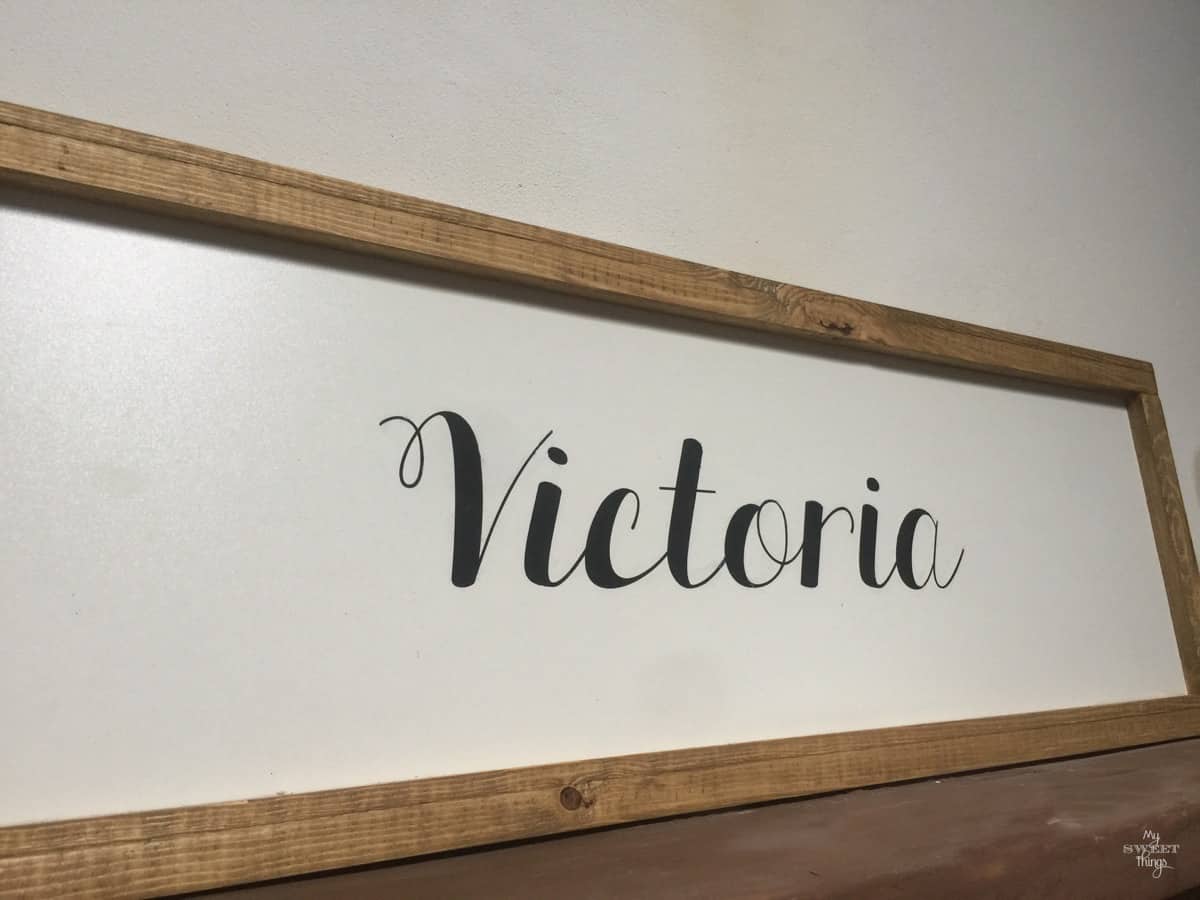
Here it is and I love it.
I like the contrast of colors.
Not to talk about the typo, I find it so elegant.
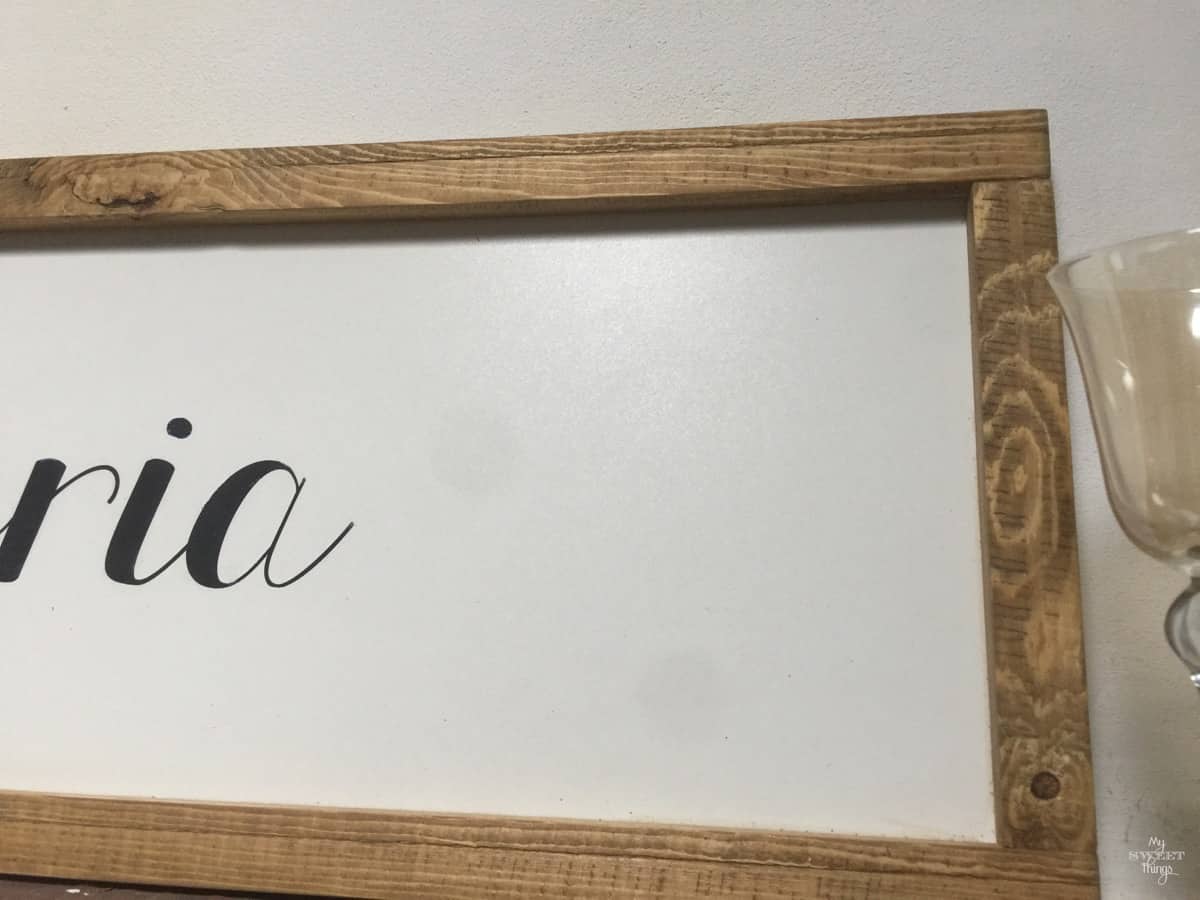
It is a big sign and not so easy to take pictures.
It says farmhouse to me!
My daughters are now asking for one for each, I guess I will use my nail gun more often from now on.
Please don’t forget to stop by their blogs to see what they’ve done this month.
Thanks for visiting!
Have a wonderful week,
Pili
Now




A nail gun frightens me too. The hubby has one that works off of the air compressor and every time he uses it I grab all the fur babies just in case. It’s so powerful and looks real dangerous. Love how your huge farmhouse sign turned out Pili. Here’s wishing you many more projects with your Brad Nailer
Mine is not that powerful, I wanted it for small projects but I’m kinda hooked so who knows in the future lol.
It certainly does say farmhouse, and in a big way. That frame is a beauty. I would never attempt something like that Pili. I would mess it up so bad, those angles always have me stumped. I know Victoria will love this!
I am sure you can make it too Mary, you do so many and different beautiful things. These are simple straight cuts, nothing about angles here at the moment lol.
Gorgeous Pili! I would love to make one of these awesome signs as well and I am scared of any kind of saws and guns… except the hot glue gun, that one I can manage. I just see fingers flying around, haha.
ahaha the glue gun is my friend too, even I burned some fingers quite a few times. That sign goes with your style.
Well I see you have been busy lady lately.Every project you do comes out so well. Good job with nailer.
At least you can hold it to use. My hands have gotten so bad with arthritis can’t use many tools, hardly can type any more. Your frame looks great.
Pili, your farmhouse sign is gorgeous and you did such a wonderful job on it! Great job using the nailer!! I’m sure Victoria loved her new sign.
Privacy Overview