I know you may be thinking what I mean with “How a headboard and a chair ended up together” but you will find out soon… I am really excited to participate in this month’s Fab Furniture Flippin’ Contest because I absolutely loved participating last time but this round is special too because the theme is Mix and Match and I had the perfect project for it! The sponsor this month is Fairfield World, an upholstery dream company they have batting, fabrics, interfacing, foam fillers, reclining bench and pillows. Please note while this contest is sponsored all opinions are mine and mine alone!
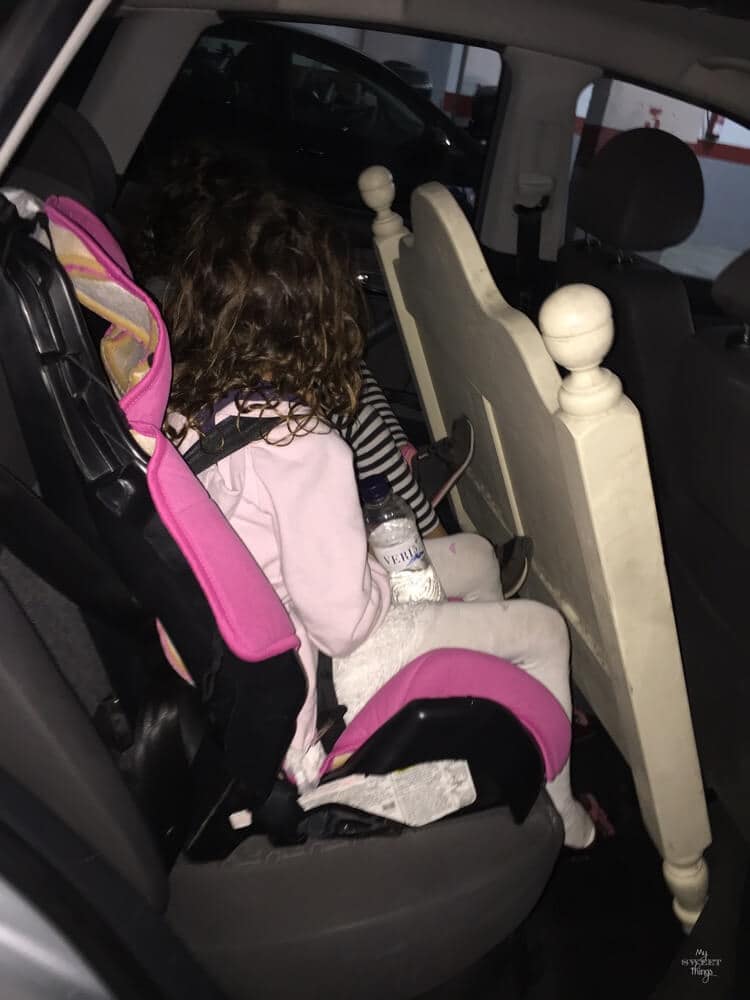
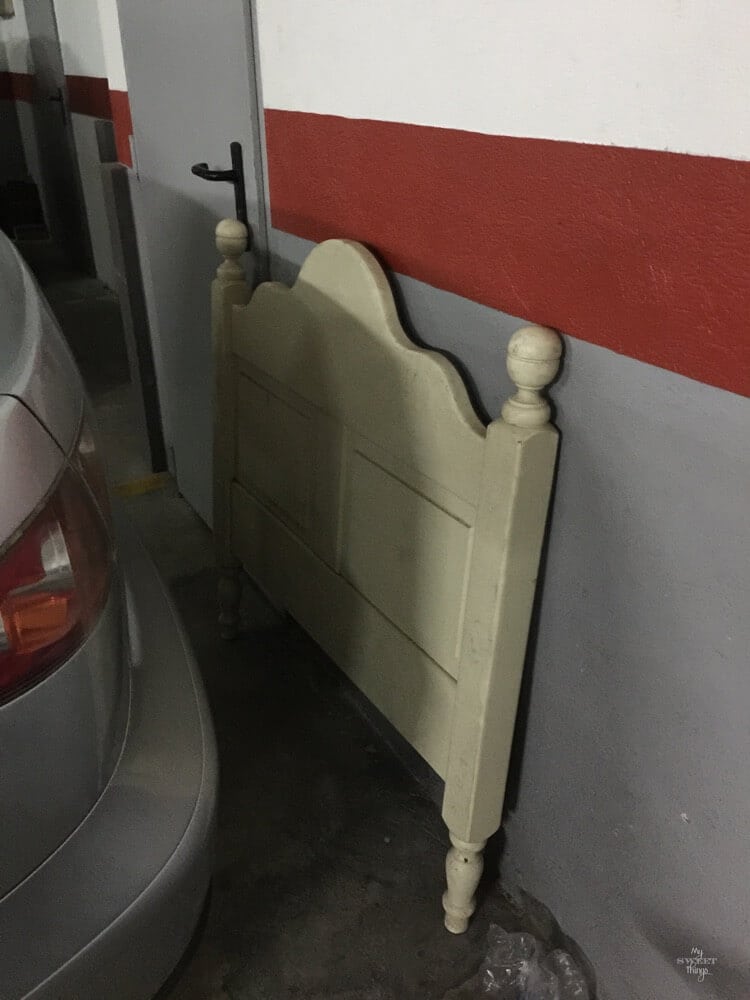
So back on the title of this post, it all began with a headboard we found next to a dumpster some weeks ago when returning home with the girls. We were lucky to make it fit in the car!
It was filthy but it looked nice and I had a clear idea of what to do with it.
I had found these two babies long ago next to another dumpster… I know, somehow I attract things.
Have you seen those legs? Aren’t they pretty? Love cabriole legs!
I must confess this is my first project on my own without any help from hubby because he’s out for work, and I had never used power tools alone… There’s always a first time for everything!!
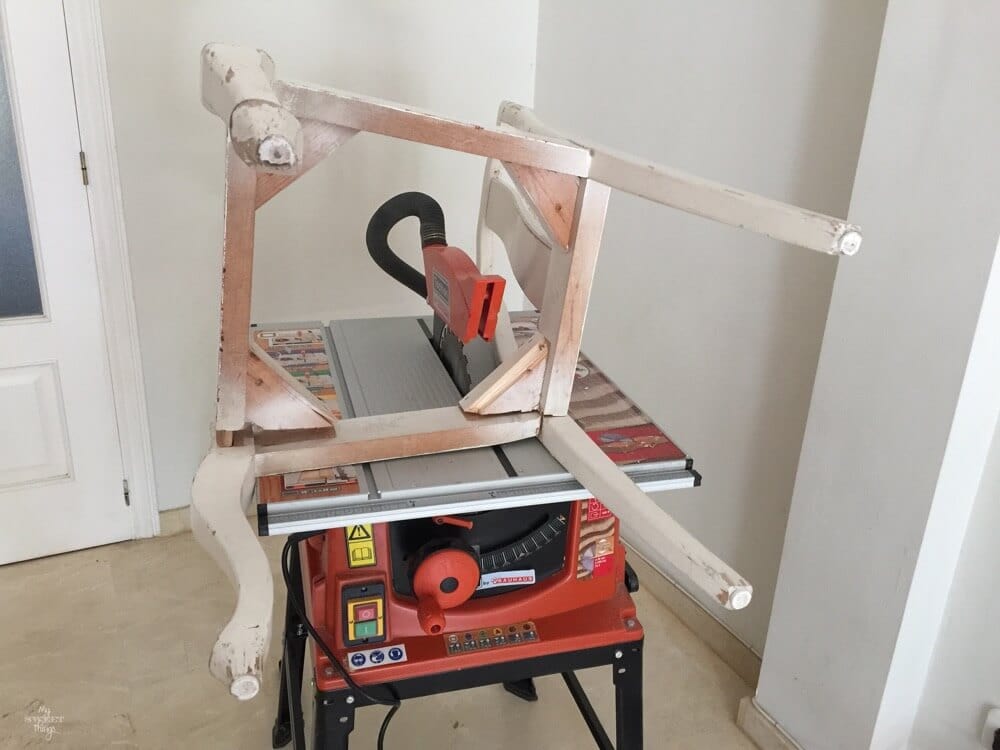
I thought it would be easy to take the chair apart… naive of me. There was no way, an elephant could have sit on them and they would have resist.
Plan B, cut them.
Not as difficult as I thought, and I was feeling more confident about the saw.
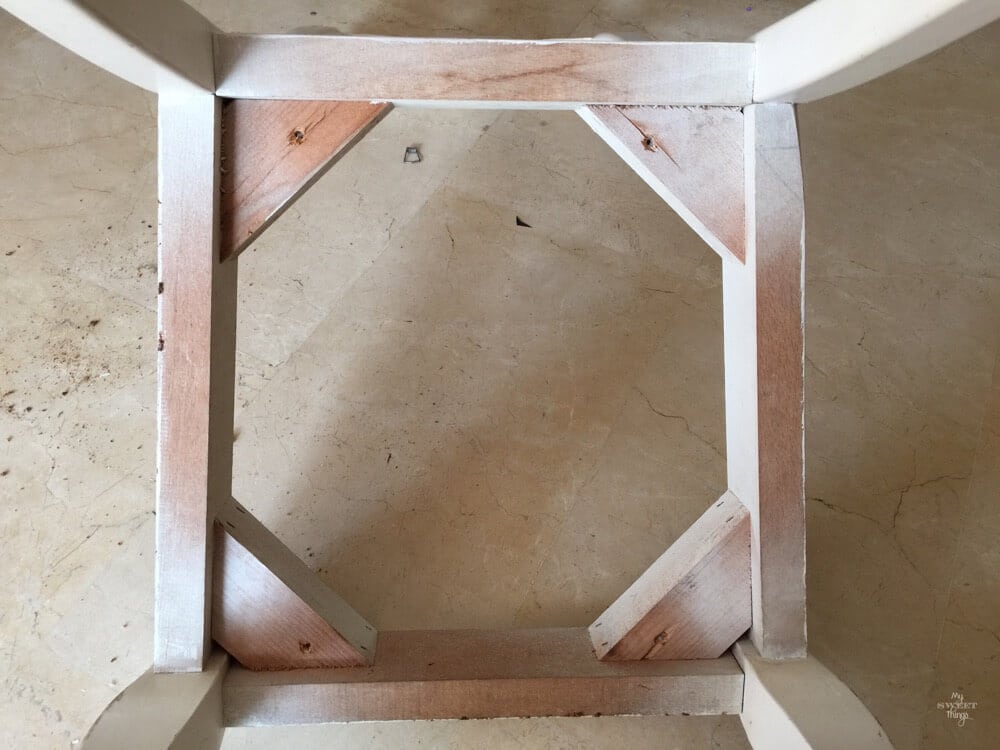
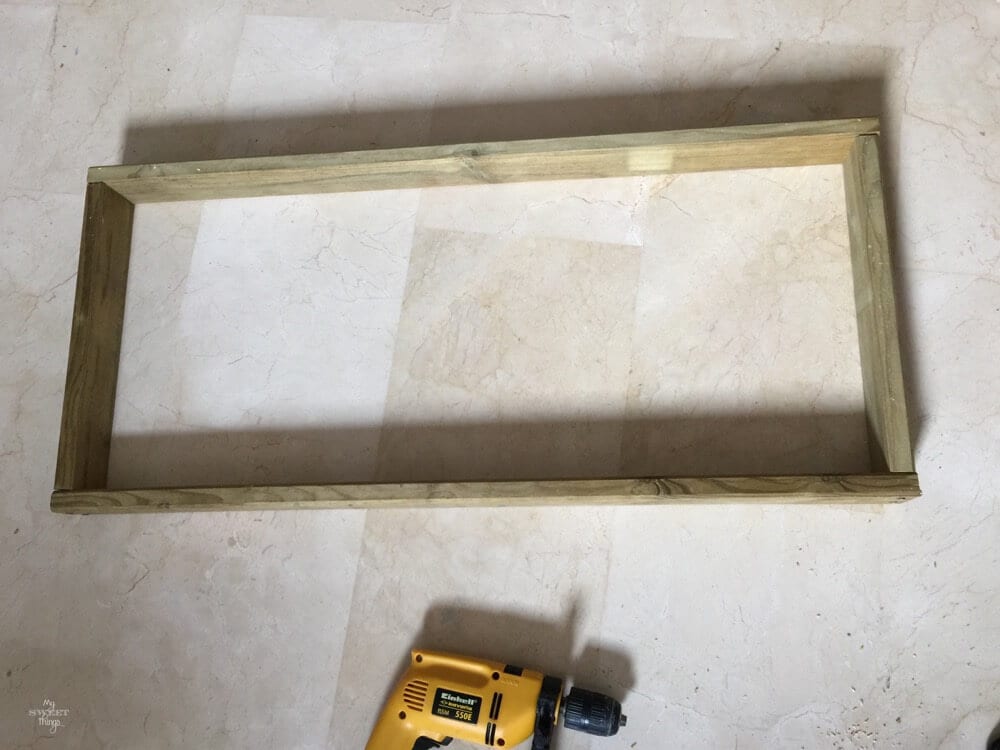
I remembered I had seen on Pinterest lots of benches, and the common thing about them was that they had a frame for the seat, so I cut some more wood and used some screws to make it steady.
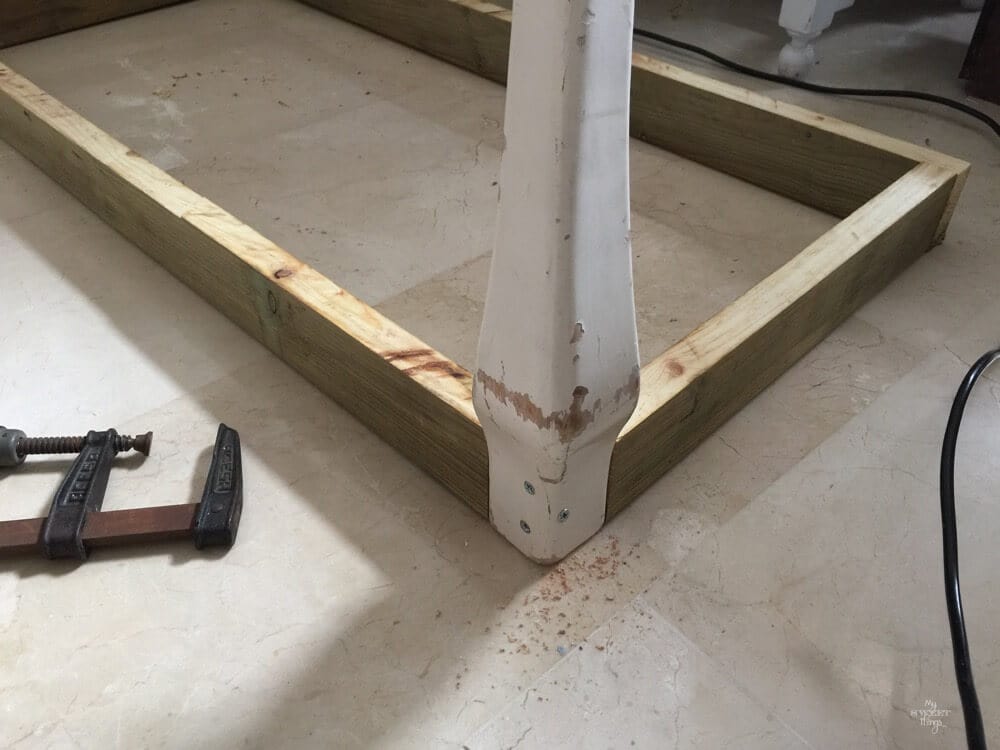
Then I took one leg and asked myself how in the world was I going to use it, and after some thinking, I realized I was wrong making that frame. Unscrewed everything and cut again the wood to fit.
I used some long screws to keep it in place, two on each side of the leg.
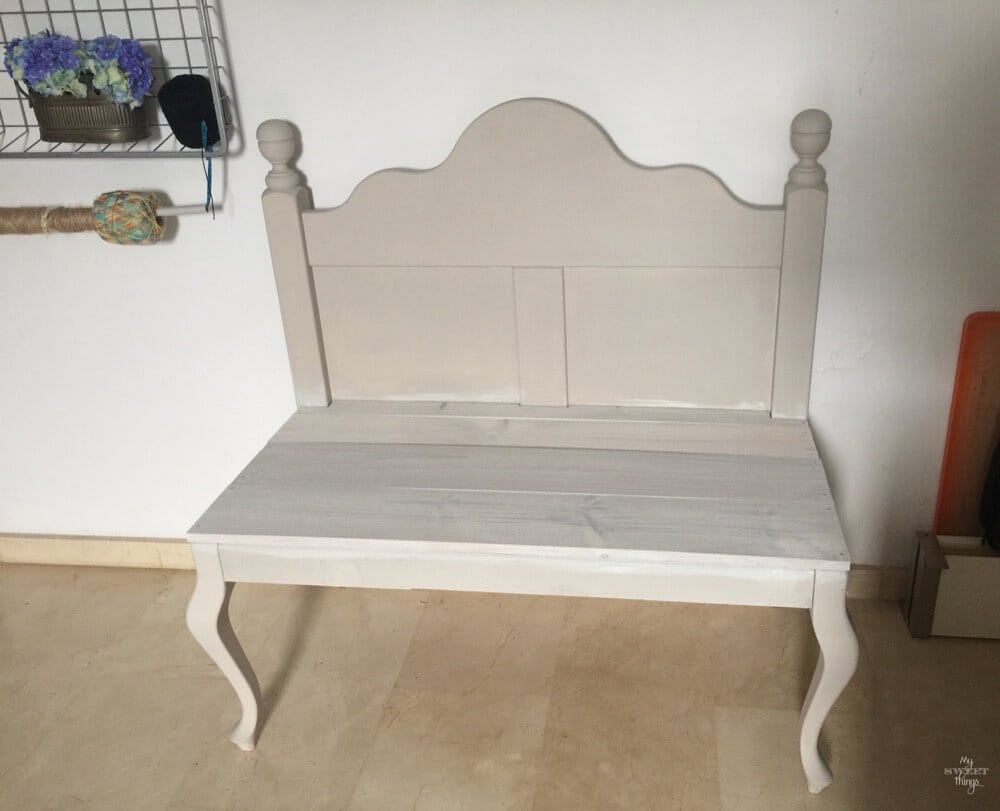
The shape was more or less finished! I just needed some wood for the seat. Don’t look too much around please, we live in an apartment so no fancy garage to work.
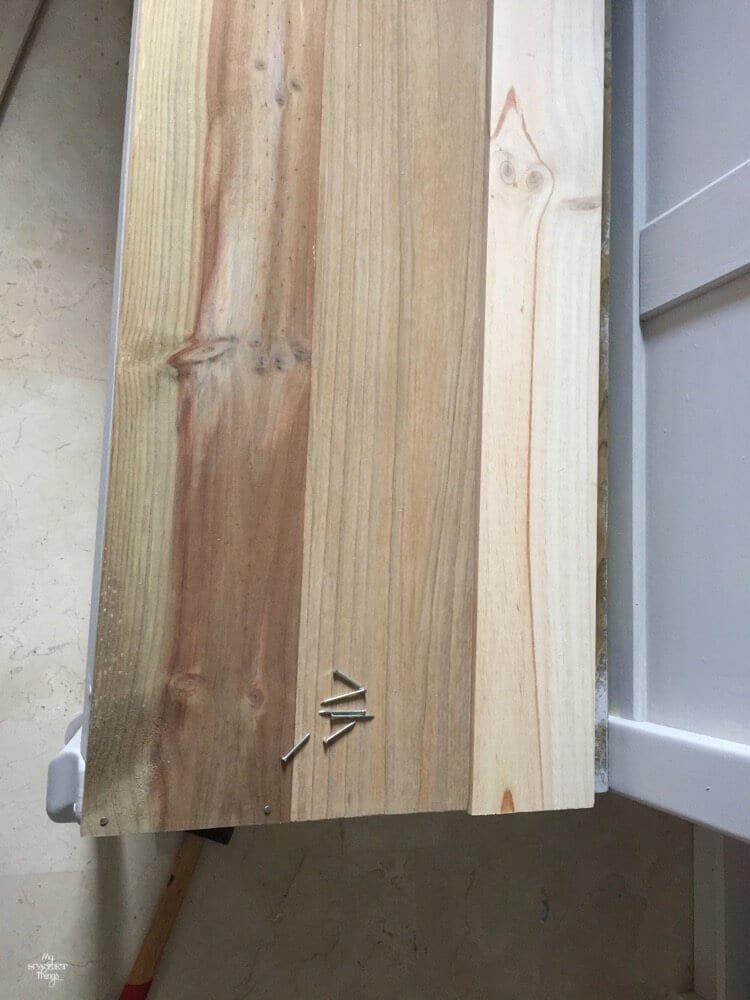
I cut the wood to fit the frame and used some long nails to keep it in place.
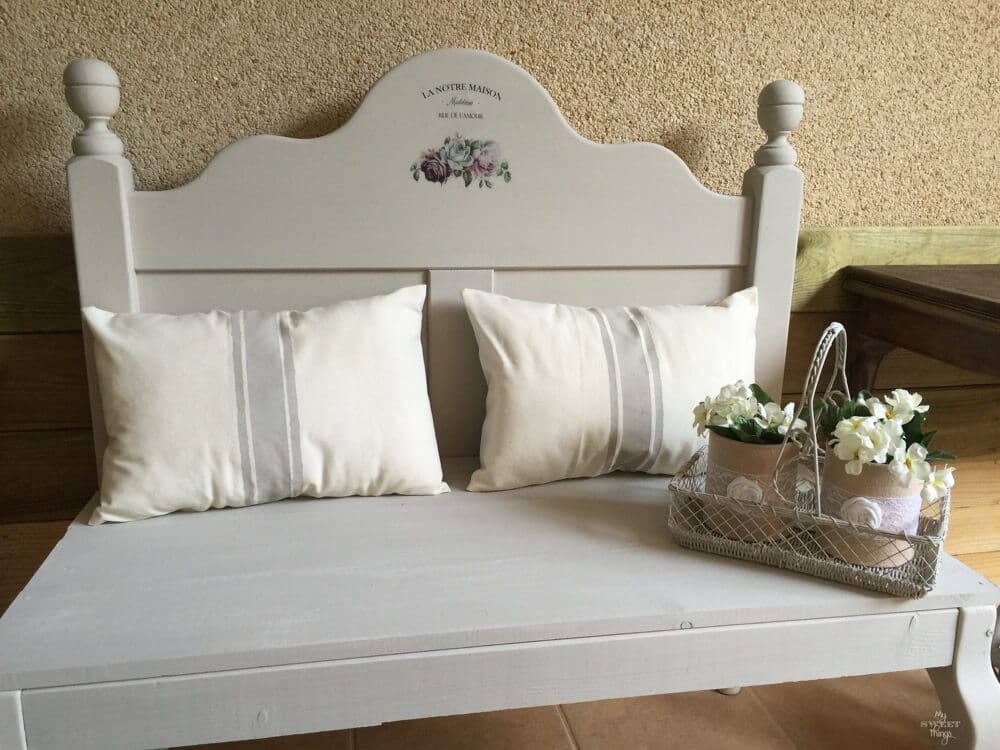
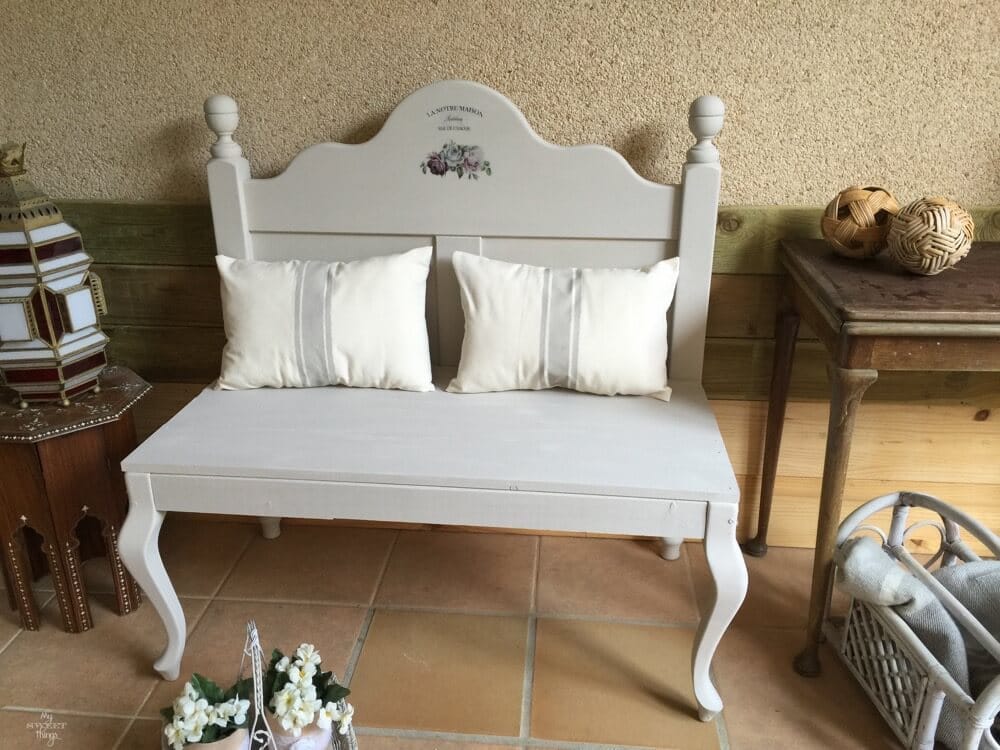
Then I painted it using some “Primitive” Americana Chalky Finish. It was almost done but I wanted some more details.
I designed an image and transferred it to the bench. You will find a full tutorial on how to transfer on wood here. I also made two slipcovers for the pillows with a grain sack style using the same color of the bench.
I really love stripes as you may have seen on this footstool and tray.
My daughters were really excited when I finished it as they saw me working on it, and they wanted to try it, even I tried it and I can assure you it is sturdy. I am so happy with it!!
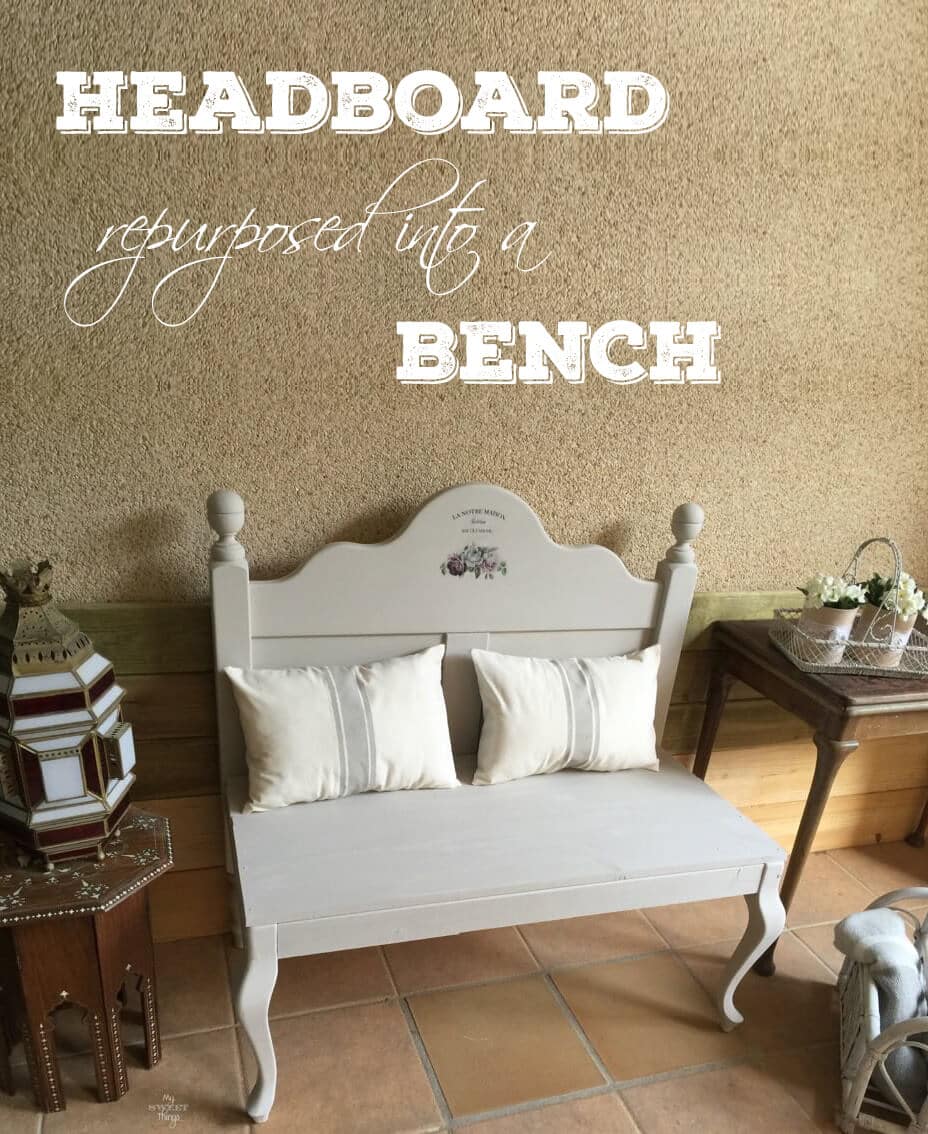
So this is my project and I am sure you understand now what I meant with “How a headboard and a chair ended up together” 🙂 What do you say, do you think who throw away the headboard could have imagined it would end up looking like this?
You can see some of the projects our hosts have done this month, like Colleen‘s and Charlotte‘s.
The Fab Furniture Flippin’ Contest is open only to the entrants who have signed up through the group Facebook page. If you are an active, furniture flippin’ blogger, and you’d like to participate in future contests, we’d love to have you! Please contact us at info@fabfurnitureflippincontest.com to find out how!
Thanks so much for visiting!
Hugs,
Pili
Do you love DIY, recycling, home decor, furniture transformation and all kind of crafts? Then we have the same passion! I would love to share all my crazy ideas and projects with you so I would love if you SUBSCRIBE for my post e-mails.
I also share interesting content on Facebook and other social media, and I would love to hear from you! Not following me yet? Don’t be shy and stop by to say hello. Follow me on FACEBOOK, PINTEREST, INSTAGRAM, TWITTER, +GOOGLE.
Linking up to these parties
Featured at:








This is so cute! Love how you repurposed both pieces!
Hi Anissa!! Thank you so much, I really like how it looks too!
Pili, Oh my goodness!!! You did such an amazing job on this!! I love how you took 2 different things and repurposed them into 1 awesome sauce bench!! Love those chair legs!! You’re so creative on putting this together!! The graphic is lovely and those pillows are a nice touch!! Awesome job Pili!!! 🙂
You are so sweet Keri!! Your comments make me feel always as if I could do everything! Now I have to think of something for the other chair 🙂
You go girl! You used those power tools like a boss! The project came out so beautiful. In essence you made the bottom all by yourself. Congrats Pili on a job very well done!
Hey Mary! The boss is out so I had to take charge of the tools. And the best part is that I liked the experience! I have to plan something else, lots of things around here to repurpose!
Pili, fabulous makeover as always!! Well done, I love seeing your projects and this one definitely does not disappoint! 🙂
Thank you so much, Evija! I wanted a bench for so long but never dared to try, I am so happy I did it!
Wow Pili, amazing!!! Love it so much and how come you always find all those amazing things on the street? Here nobody throws away anything, lol! Good for you using those power tools, I must admit I would have not have it in me to make this! It’s beautiful and I love the colour and those pillows too!
No idea, Katrin, I want to declutter my house but I keep finding things curbside all the time! I know, the easiest would be not taking them home but I can’t, lol! Now I’m hooked, I’m scanning the house to search for the next project 🙂
Wow! You are brave and talented to use a saw by yourself! I wouldn’t know the first thing about measuring or screwing legs on. What a unique, wonderful piece. I bet your husband was so proud of you!
Hi AnnMarie! I had some troubles measuring too, but nothing as important as any more time or woodcuts could not solve… My husband has seen pictures of it, and he loved it too.
Thanks for visiting, have a wonderful week!
Pili! I love, love, love your bench! And you used chairs for the bas! How unique! It turned out absolutely beautiful and you should be proud! I bet your husband is too! I hope you have a great week!
Smiles!
Terry
The Curator’s Collection & Making Broken Beautiful
Thank you so much, Terry!! Your comment is an honor with the beautiful things you make!
Have a wonderful week!
I am always amazed at your talent Pili. I don’t think I could ever do anything like this but I love looking at your handiwork. Thank you for sharing with us at #OvertheMoon and have a lovely week.
I am amazed too that I could do it by myself, now I am hooked and looking for other things to do!
I hope you have a great week, Sue!
You did an excellent job. And in an apartment no less. Looking at the bench one would never believe this was your first time using power tools. Can’t wait to see your next project.
Thanks, Debra!! I try to work while my neighbours are out or they will hate me! A new world has opened ahead me and can’t wait to make more things.
Having made a few headboard benches myself, I am totally impressed with yours, Pili! I’m especially impressed that you made this in an apartment. Just shows that nothing will stop you from expressing your creativity!
That’s very kind, Marie!! Thank you so much, you are one of my references regarding woodworking, love what you do!
Your bench turned out beautifully! I LOVE a great headboard bench.
thanks for sharing at Talk of the Town.
gail
ps please be careful with the table saw-doing cross cuts can be dangerous with kickbacks.
Thank you so much Gail! I had no idea of what cross cuts were so I had to ask a friend who explained it to me. Many thanks for the warning!
Pili, you did a wonderful job with this! Thanks for taking us through the process and for sharing at Snickerdoodle Sunday!
I am really happy with it, Beverly!! Thank you so much!
This is SUCH a neat idea!!
I would love for you to share this on my FB Group: https://www.facebook.com/groups/pluckyrecipescraftstips
Thanks for joining Cooking and Crafting with J & J!
Thanks, Jess!
What a combination!! I love the legs and how well they match the headboard. You can’t even tell these were two separate pieces:) I live in an apartment too, and crafting can be super difficult. I would love for you to share this on my link party:)
http://www.twentysomethinginthe2010s.com/peace-love-link-up-001/
Hi, Ashleigh! Sorry, I was so behind the comments I missed the invitation. I will stop by next Friday for sure!
First off, thank goodness it fit in the car! The girls are making sure it doesn’t go anywhere! LOL I love the picture of them with the headboard!
Second, thank goodness you grabbed it cause this bench is gorgeous! I love the cabriole legs on those chairs, the curviness has always been one of my favorite styles.
I love how you married the curviness with the straight lines of the bench. This could work for the inside or outside patio. You did an incredible job, especially since you did it on your own! Incredible!
My girls deserve a place in heaven, Nikki!! Maybe because they are still young but when I stop the car and grab some junk to take home they even encourage me, they are not ashamed of mommy doing so lol.
I also like the contrast between the cabriole legs and the straight lines of the bench, it makes it special!
Hugs,
Pili, I’ve seen a similar project on Pinterest, but yours as always, is superior by far! Thanks for sharing at Five Star Frou-Frou this week. Hope to see you again on Friday! Love, Mimi xxx
I love mine too, lol! Thank you so much, Mimi!
You really knocked it out of the park with this project, Pili! I’m sure your family is very proud of you! And to think your beautiful bench was made out of throwaways! Thanks for sharing, Cynthia
Thank you so much for your kind comments, Cynthia!! My family is really proud of me, and I am really happy to be able to make beautiful things for them.
What a great repurpose, Pili! It certainly came together perfectly!
Thank you for sharing with Homemade and Handcrafted! It’s featured and shared!
Have a great week! Hugs~
Many thanks, Robin!! I need a bigger house now I feel confident about power tools 😉
Hugs,
What an awesome repuprose Pili! Love how you put this together. You really rocked the power tools! Thanks so much for sharing at Vintage Charm.
I am hooked now with the power tools, Tuula! Can’t wait to work on something else!
Love your project, Pili! I’ve pinned and facebooked it 🙂
Thank you so much, Diana! Glad you like it too!
This is gorgeous! I think we’ve all seen lots of “chairs turned into benches” and they just don’t look right: like they literally look like two chairs screwed together. You took that idea to a WHOLE new level, this is gorgeous!
Hi, Tarah!! You know what? That was my first idea, but as I wasn’t able to take the chairs apart I had to think of something else, and the lightbulb moment came 🙂 I am glad the chairs were so sturdy!
Thank you so much for taking the time to stop by and comment, have a great week!
Just wow!!! I have no other words. WOW!!!
That comment is a honor coming from you Michelle, thank you so much!!
Hi Pili, really love your bench. I am hooked on repurposing too. I am a beginner and took a chair apart also. I was tempted to saw the piece but ai have a miter saw and the shape and bulk of the chair was not going to work on that table, since most woodworking projects call for wood glue as well as screws, I remembered that I could loosen the glue at the joints after I removed the screws. A hair blower on high melted the glue enough to jiggle the legs loose. It took a while but it did not mar the wood at all. Hope my discovery will help you with your next project. This one was soooo pretty.
Privacy Overview