It is the last Monday of the month and that means it is time for another Int’l Bloggers Club Challenge, this time our theme was baskets and I am going to be updating a basket with chalk paint.
Last month we took a summer break but the previous one we used a household item and repurposed into home decor. This time our sweet Keri is not joining us because she is pregnant and is taking some time for herself, isn’t that great news? So if you have a moment and stop by her blog and congratulate her I am sure she will be happy.
If you are new to my blog and you don’t know what this Int’l Bloggers Club Challenge is, a group of bloggers around the world teamed up together to share our crafts, traditions and how’s life in different parts of the planet. You may find some affiliate links for your convenience, you can check my disclosure here. Also, DecoArt provided the paint but all opinions are 100% mine and only mine, I loooove all their products.
Baskets.
Who doesn’t have lots of baskets around? Plastic, metal, fiber ones, it doesn’t matter. They help us to organize and decorate our homes.
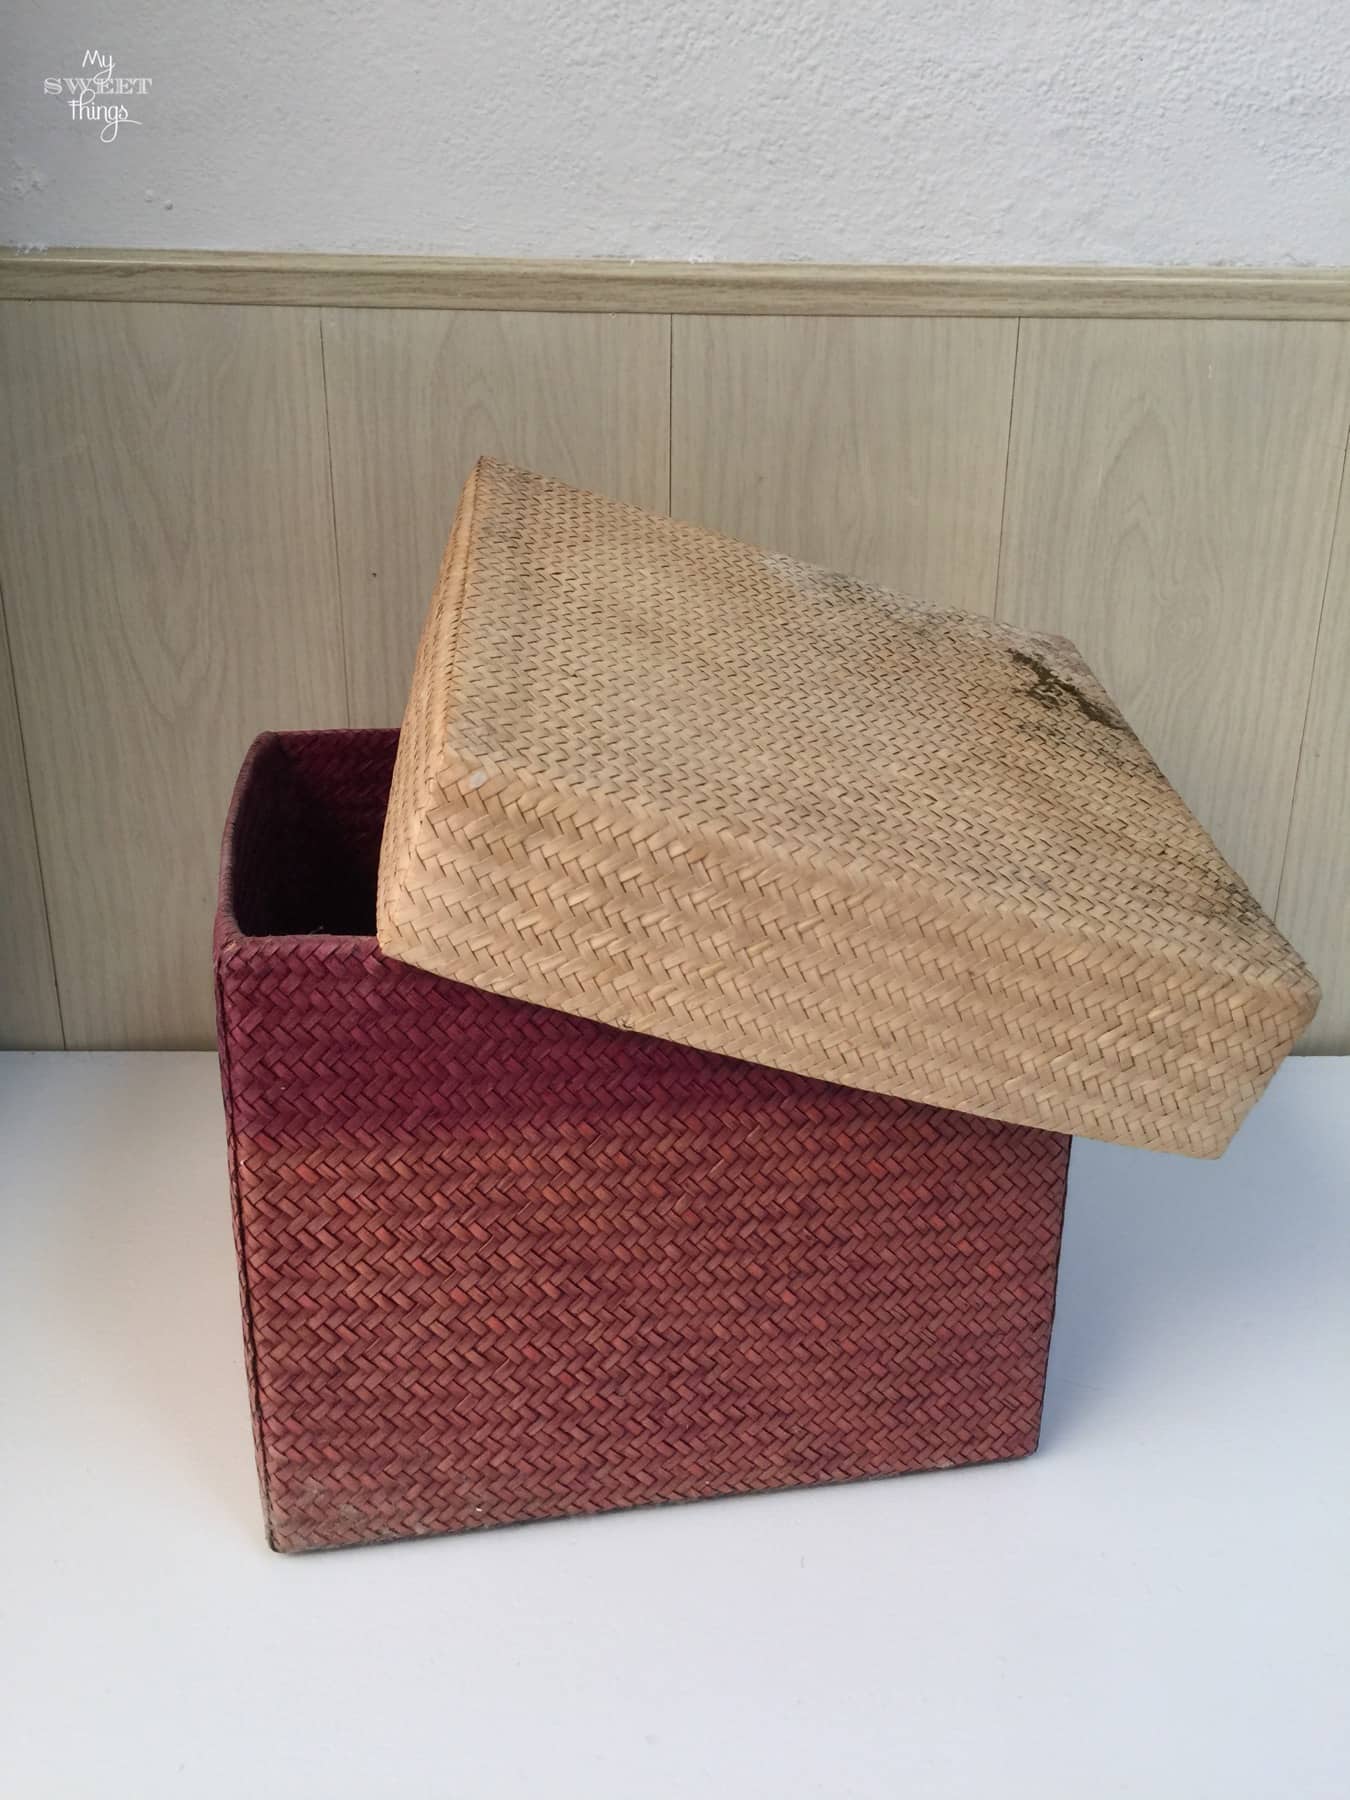
I had this one I had bought in Thailand 16 years ago. The color had faded a bit and as we were using it for bathroom storage it had some mold on the top.
I washed it with water, soap, and vinegar and let it dry in the sun.
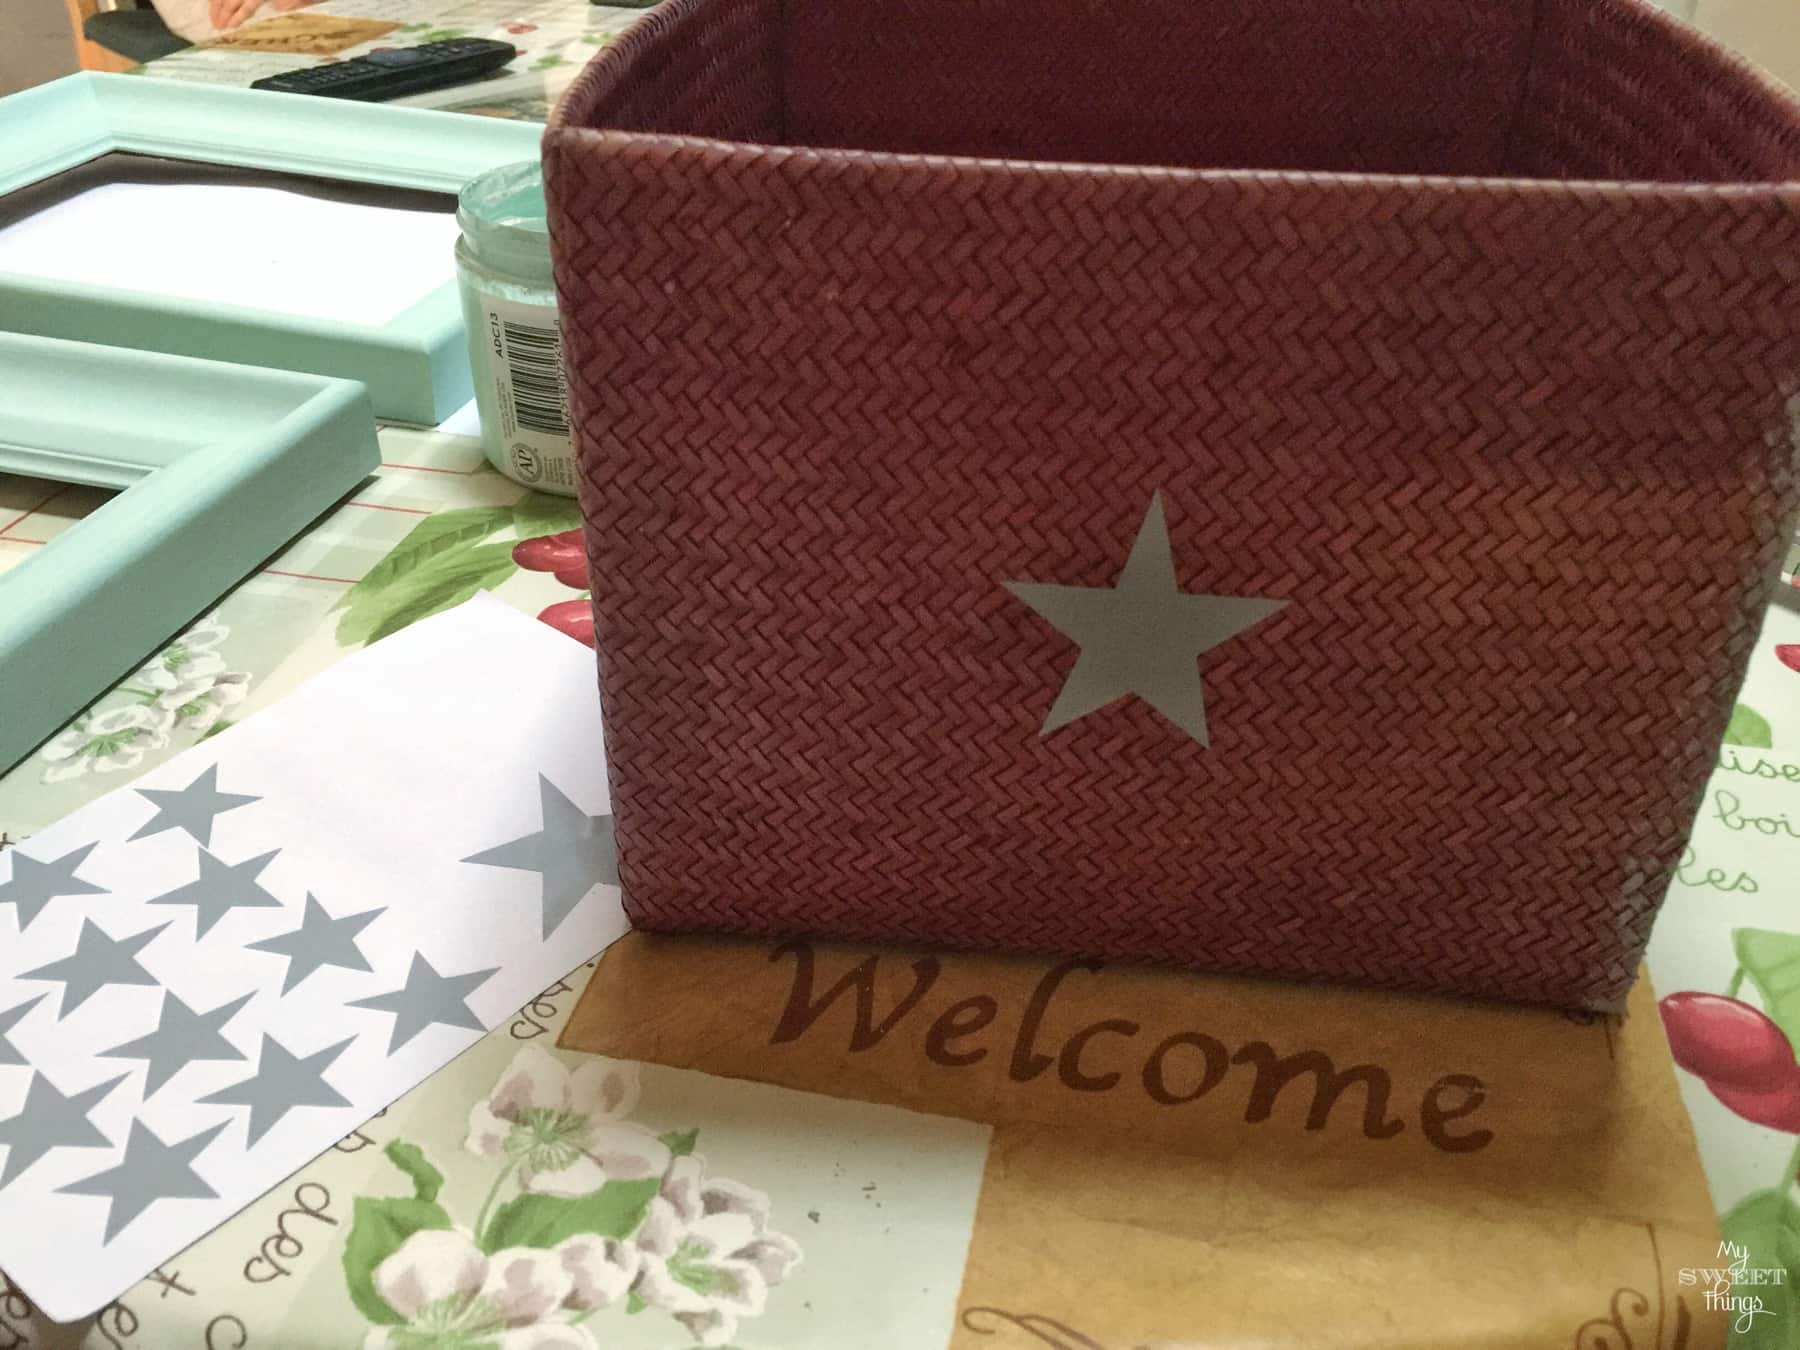
Then I took some wall stickers I had left from the girls’ room and stuck them in the basket. I made sure the sticker didn’t leave any gap so the paint could go under it creating bleed.
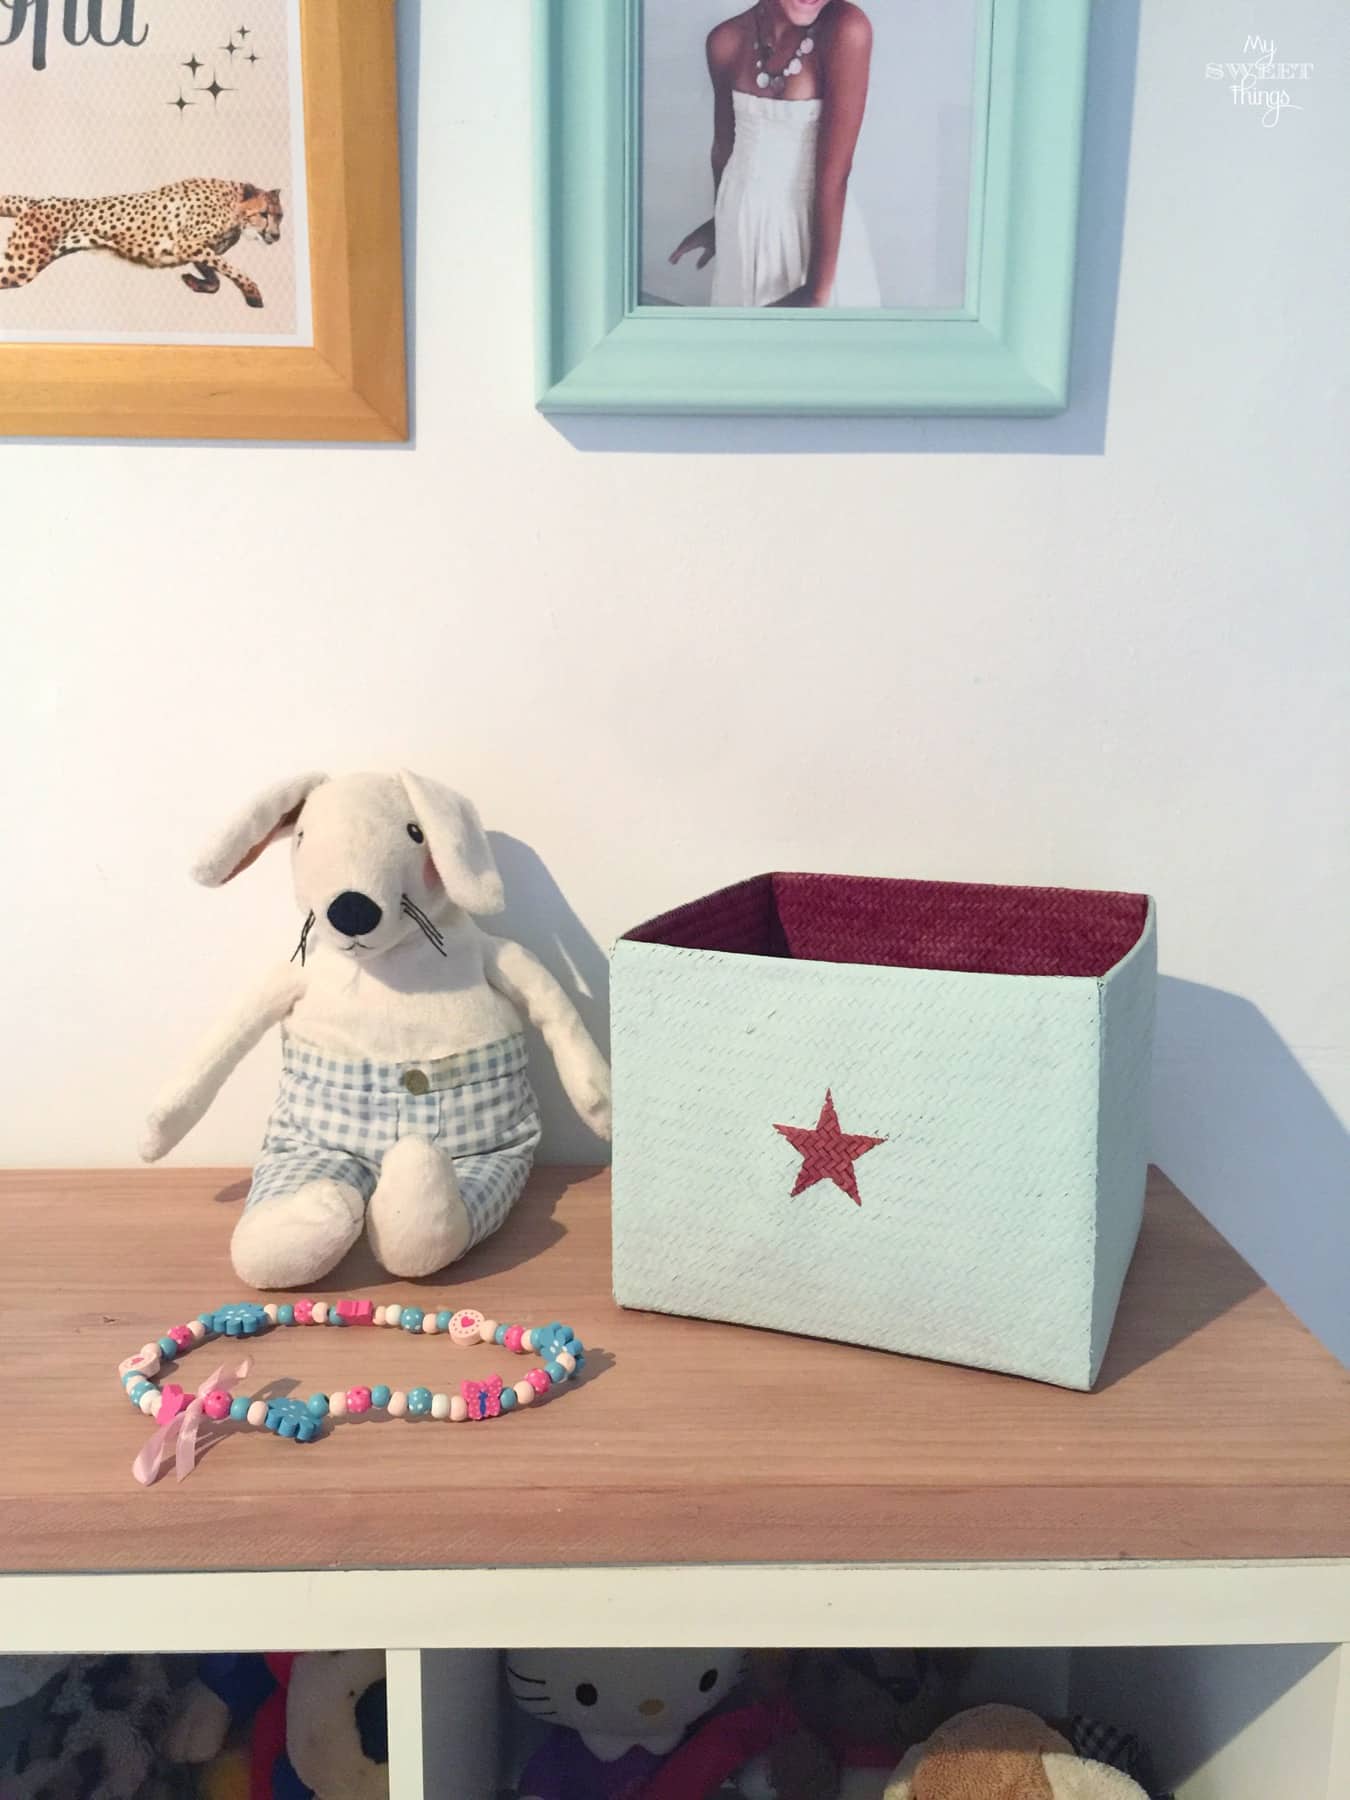
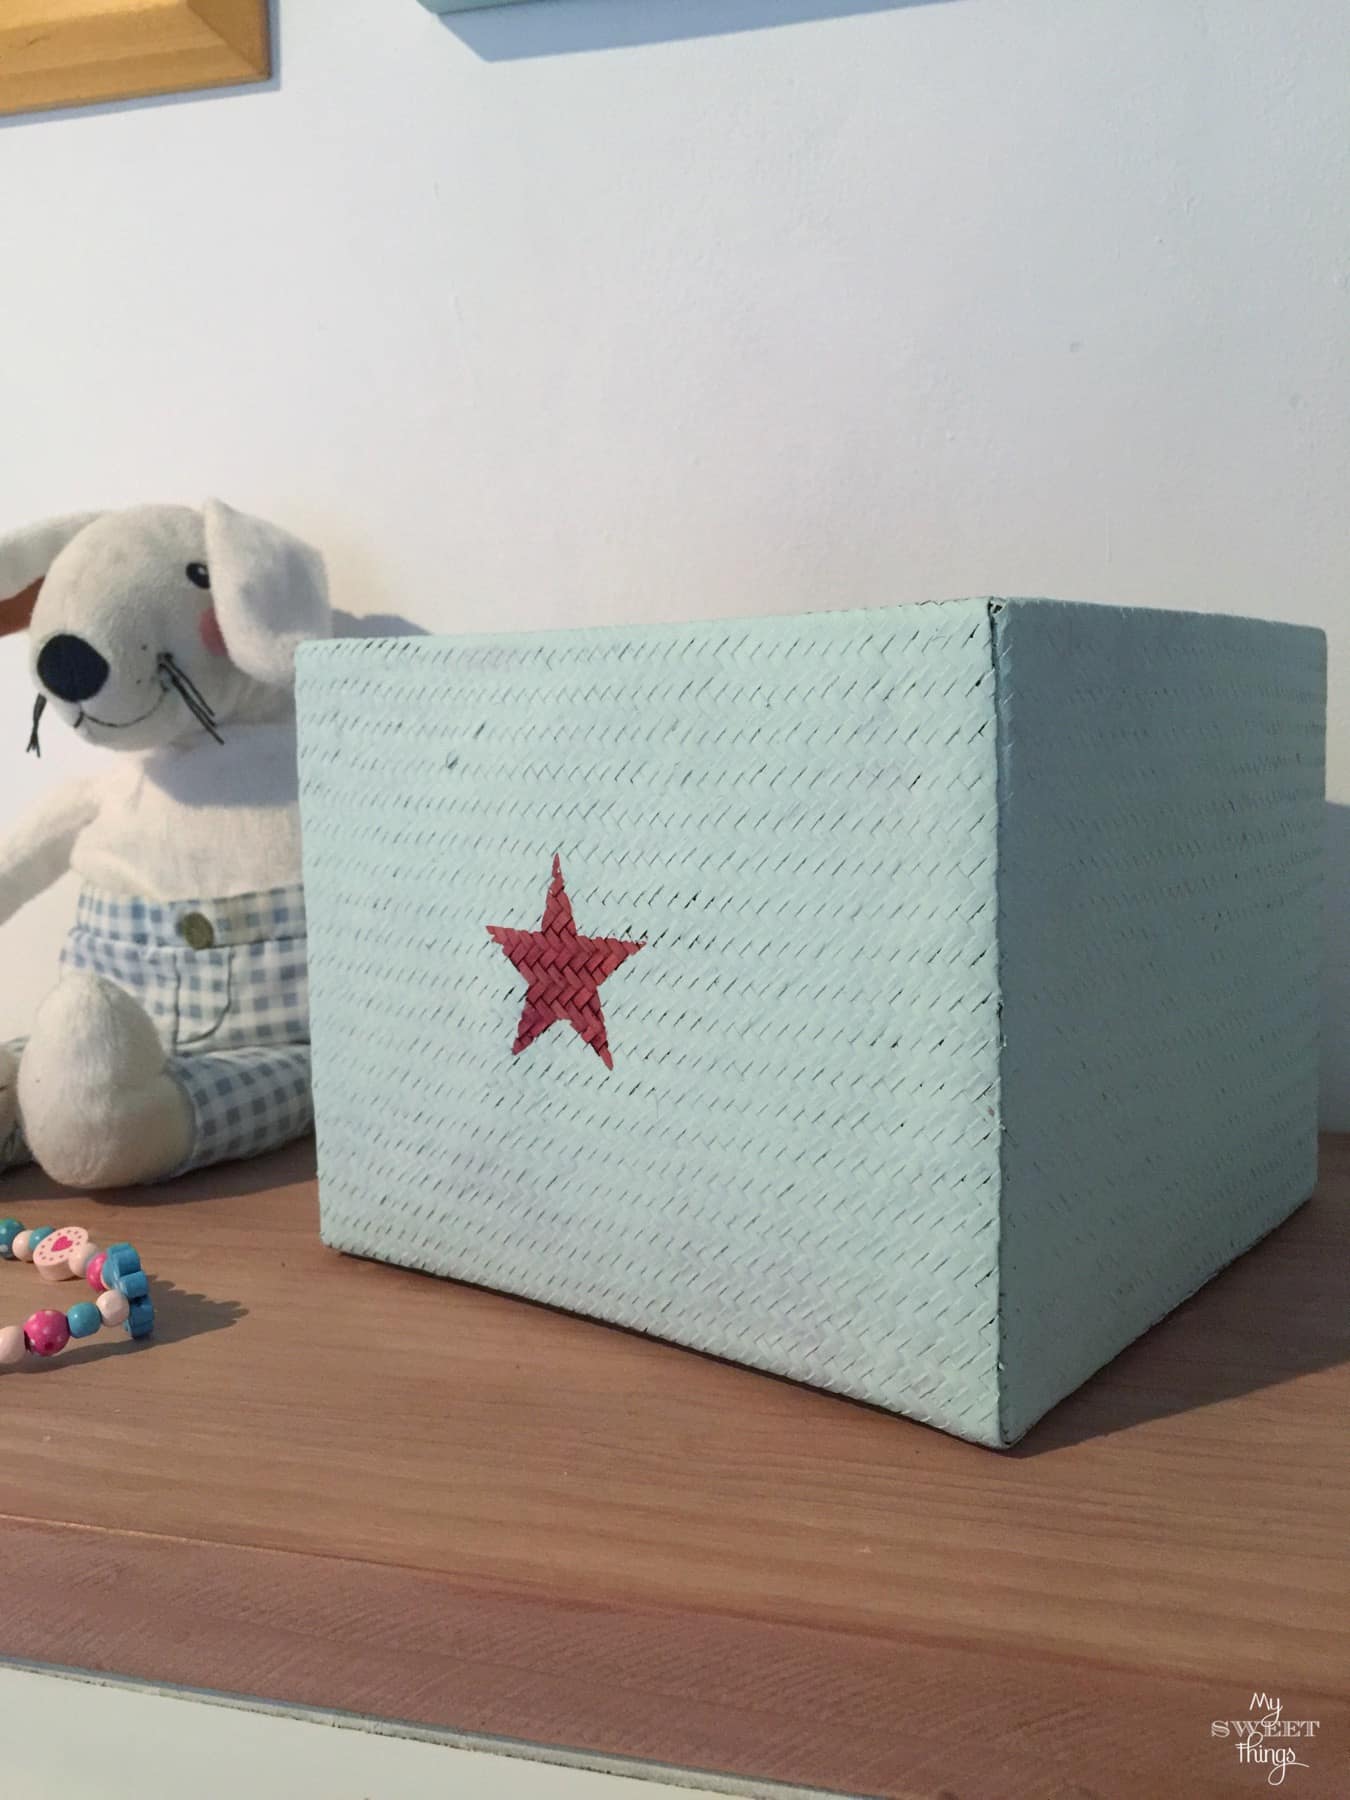
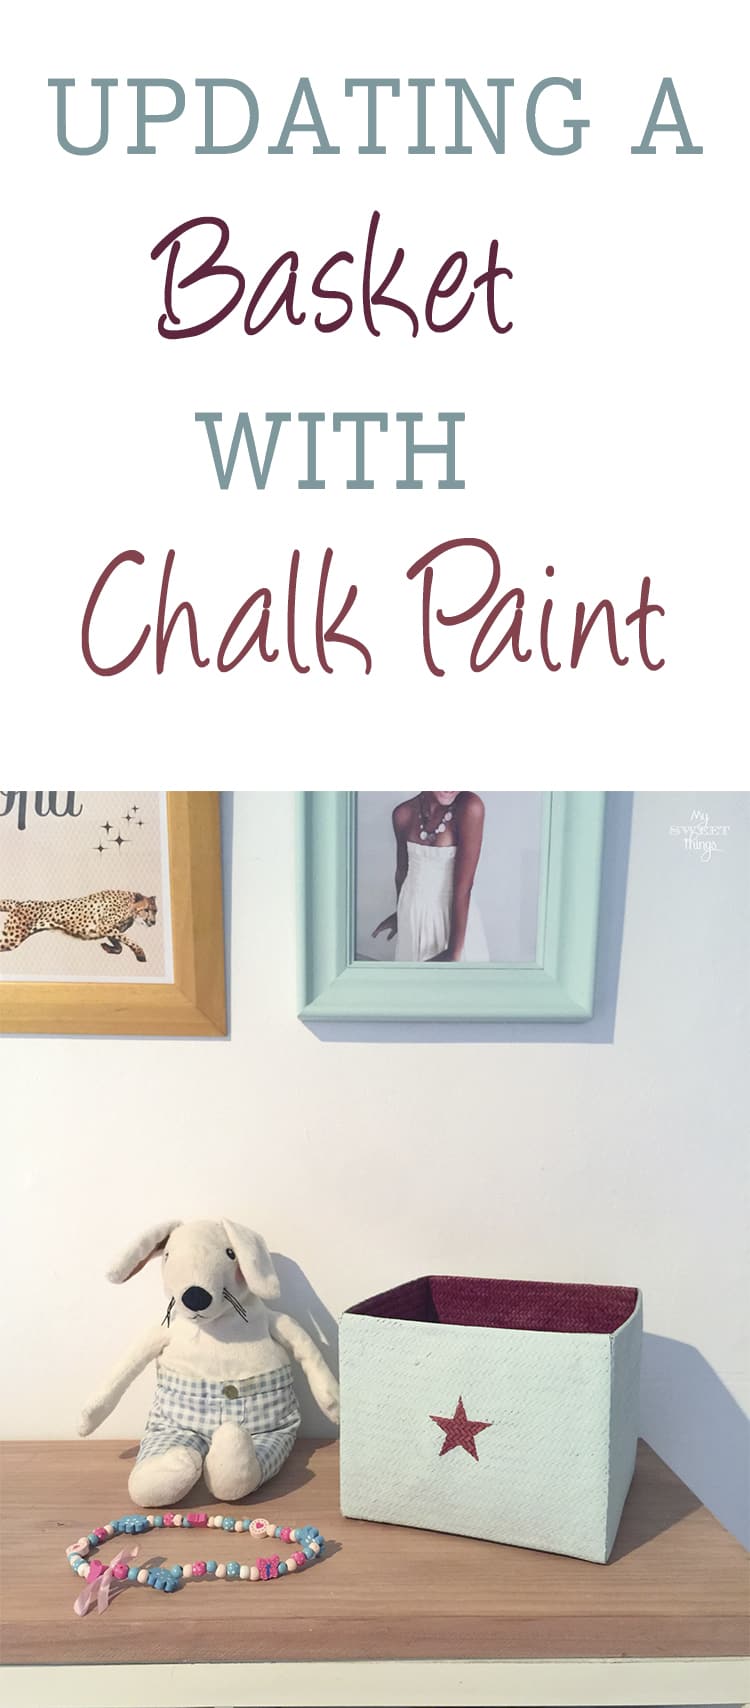
I only used the stars for front and back, letting the sides completely painted. I chose a pretty color called Refreshing but pictures don’t make justice, you should see how pretty it is!
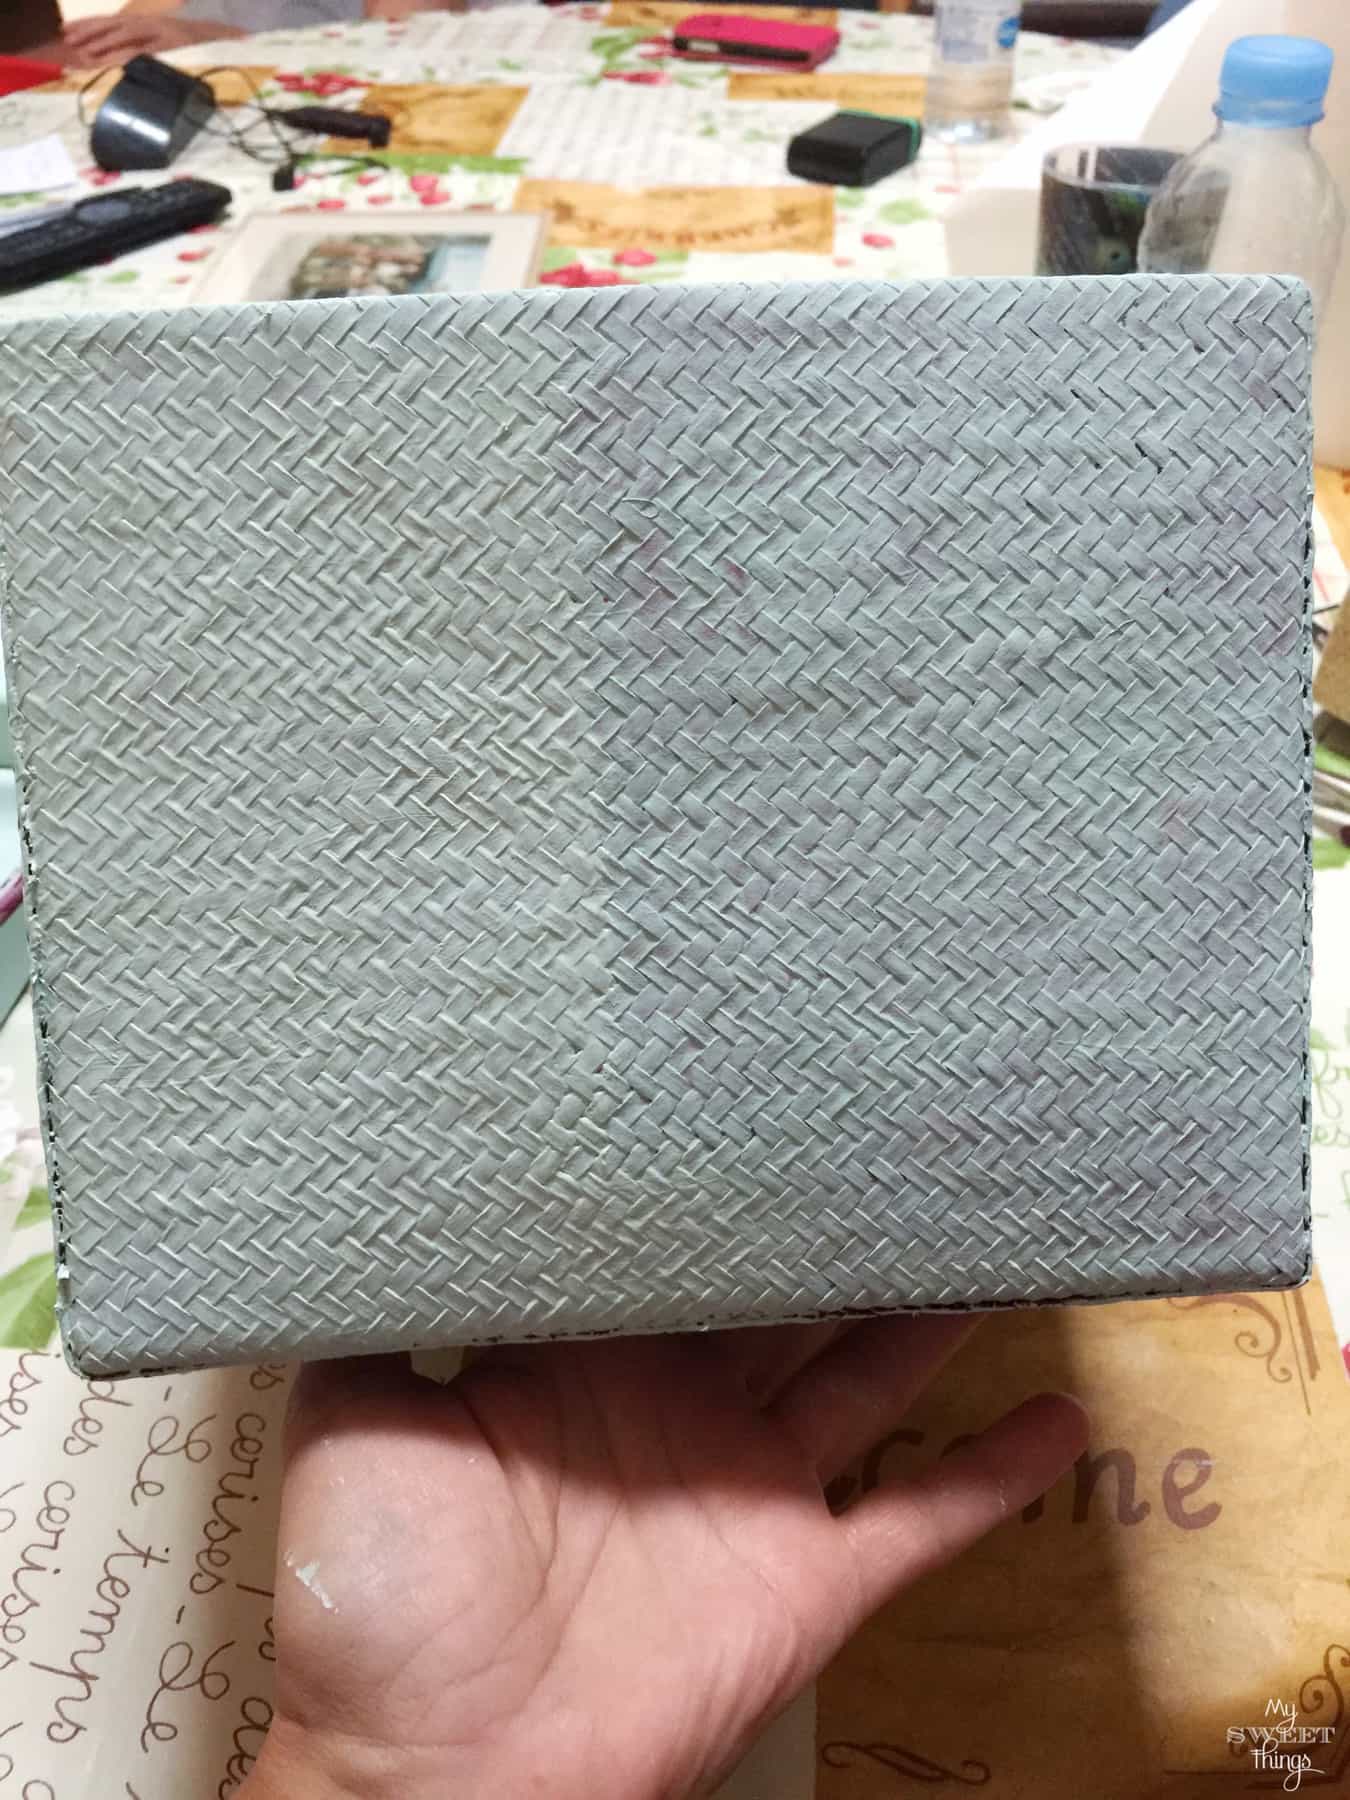
I gave two coats because I wanted to cover the dark color below completely. The picture below will show you the difference; only one coat on the right and two coats on the left.
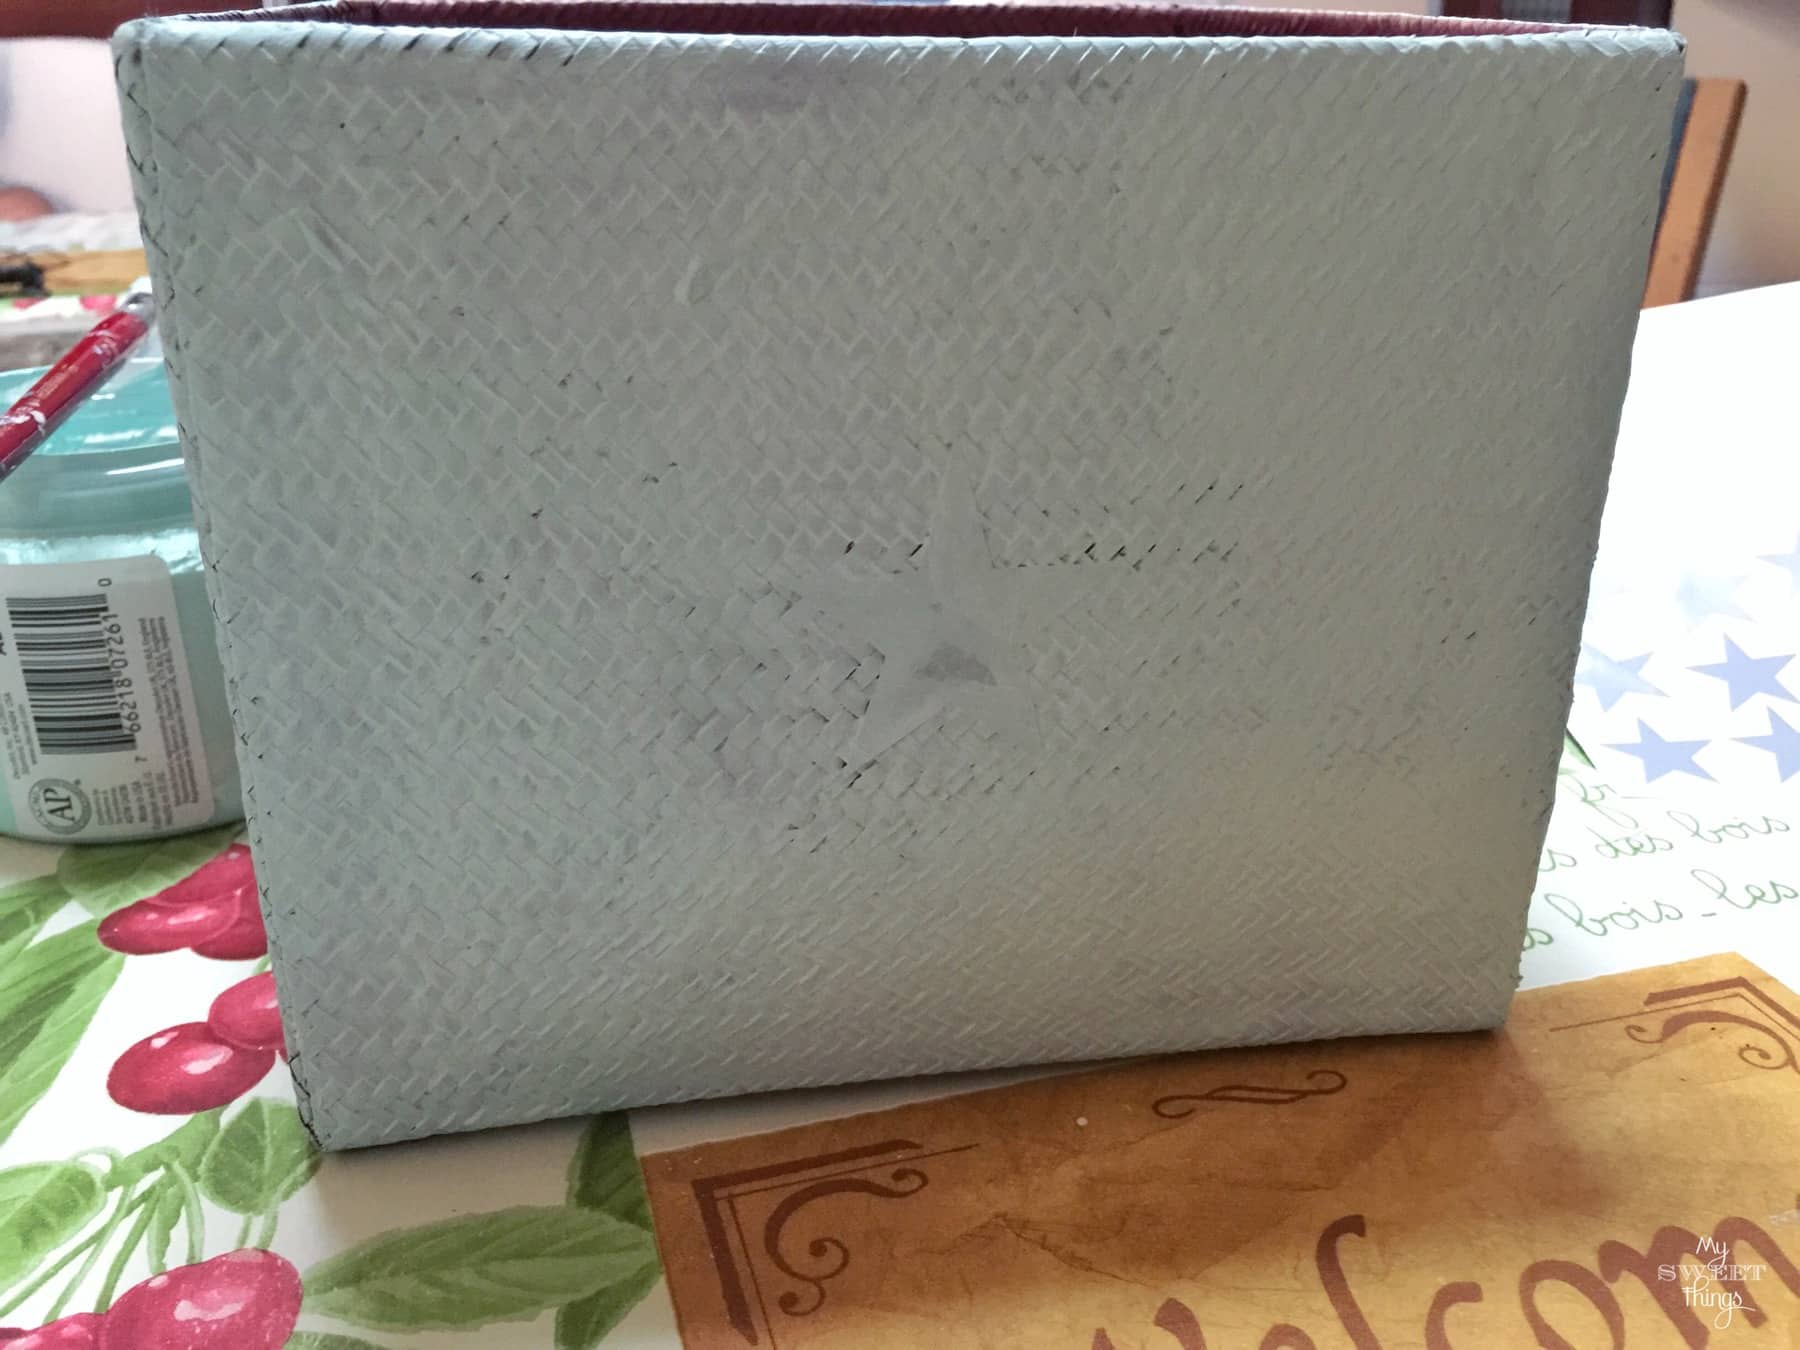
Once it was all painted, I removed the stars before the paint was dry.
Ta-da!!
Isn’t it the cutest basket in the world? Lol, my daughters think so!
It is so bright, if you are in a bad mood you just need to look at it and it will cheer you up 😉
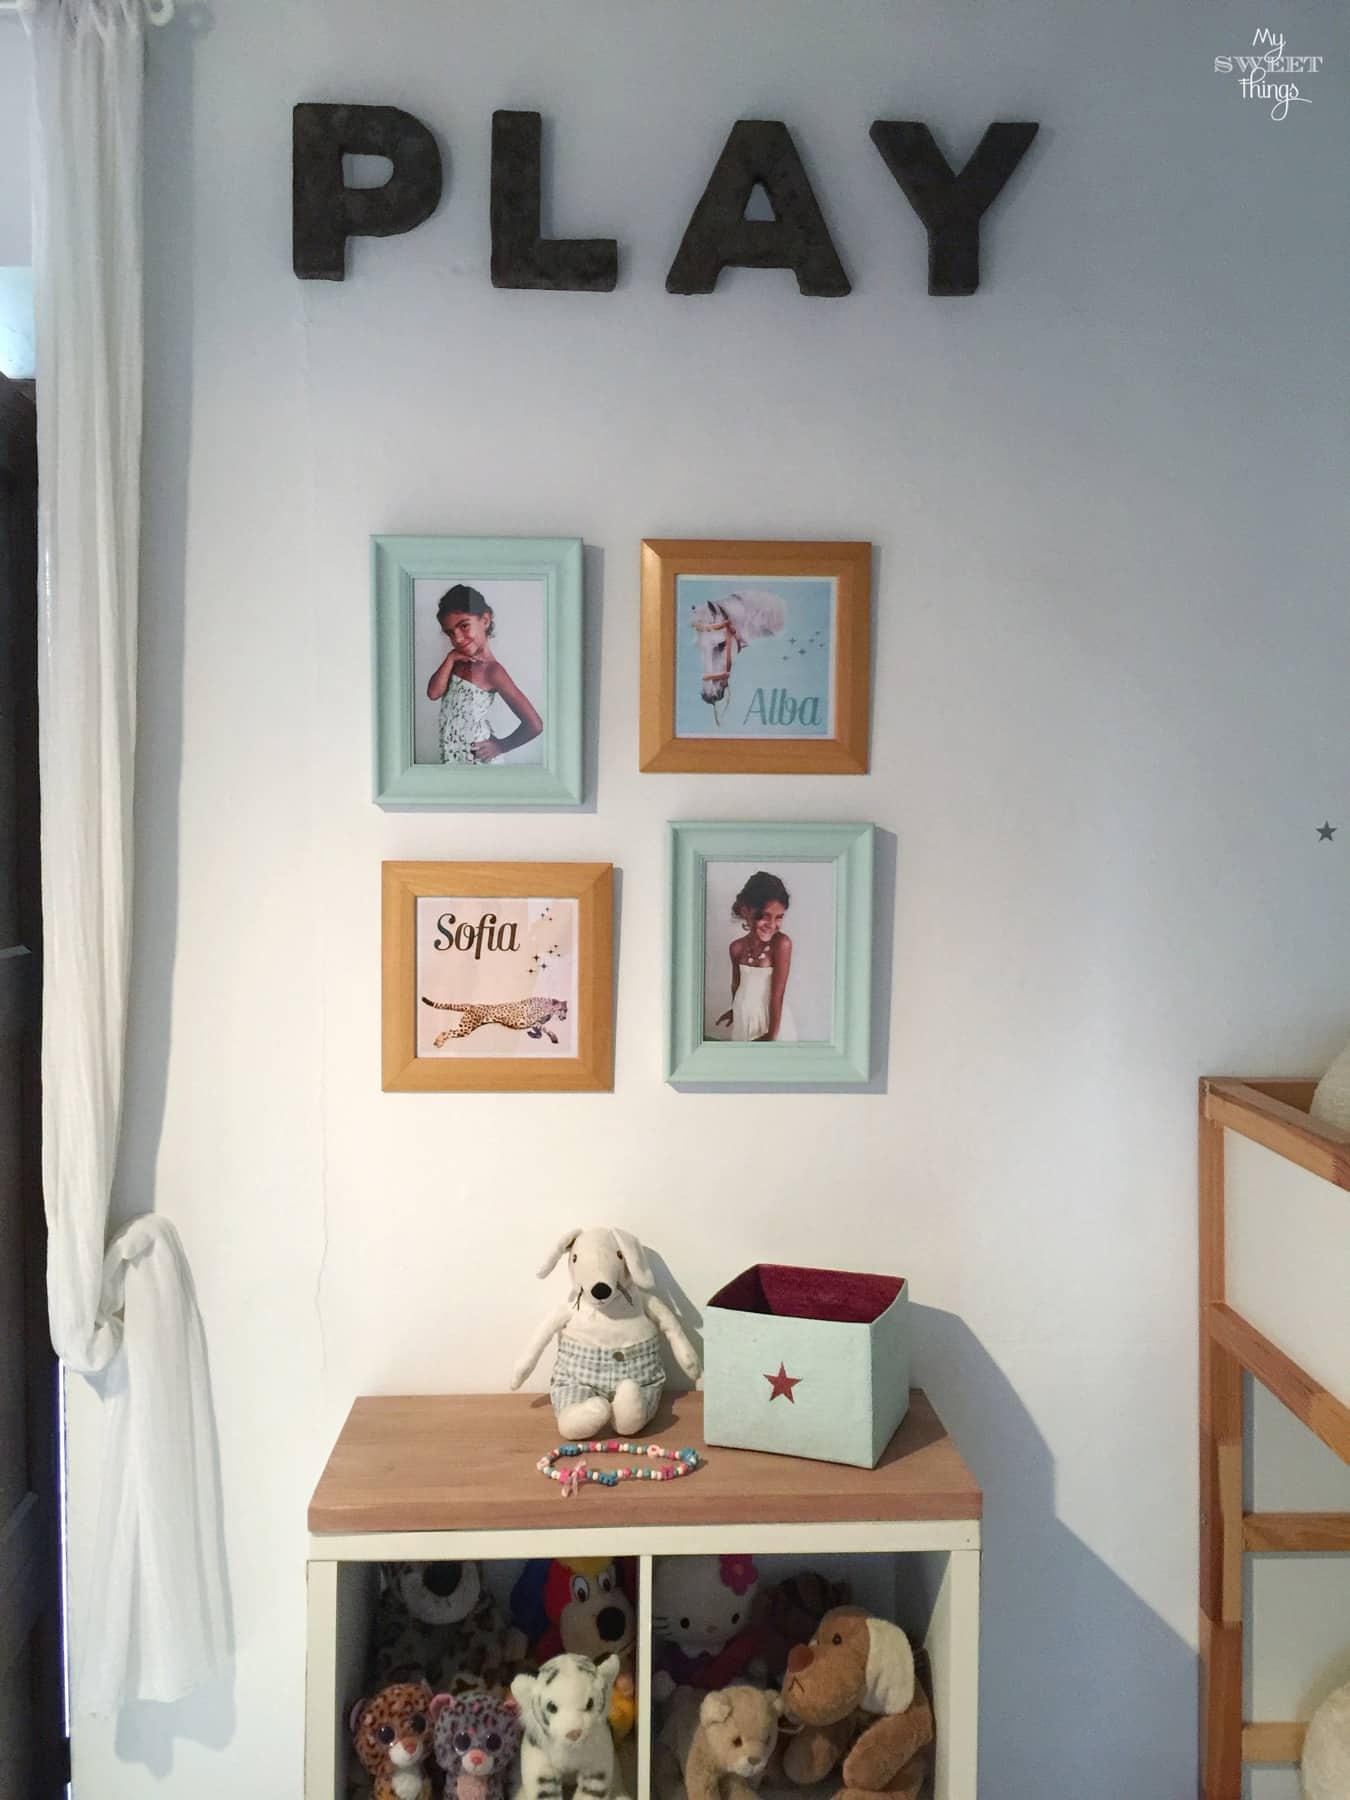
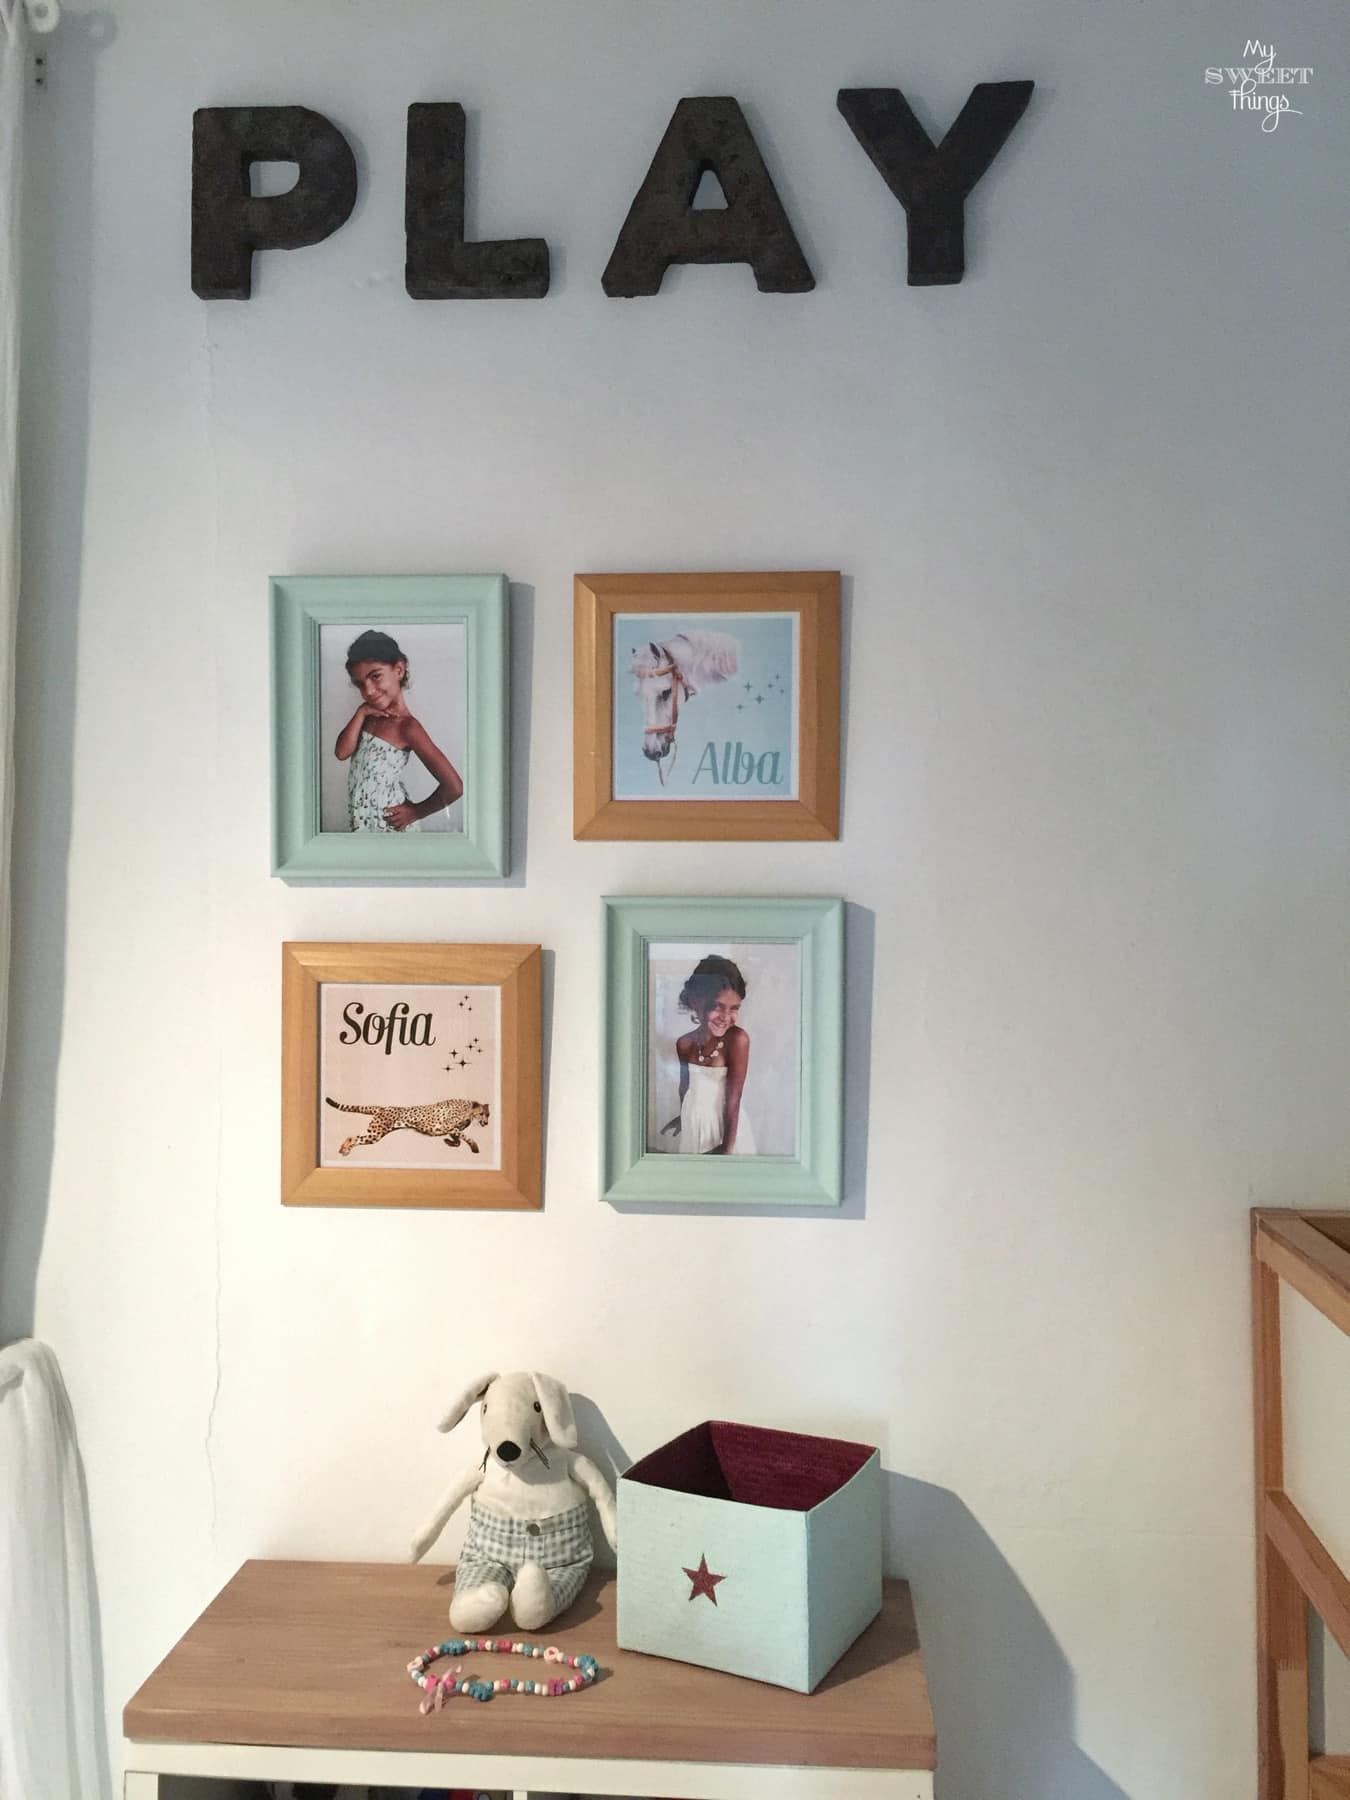
I also painted two of the frames in the same color as part of the room makeover that I will share soon.
Now the basket will stay safe far from the water in the bathroom and they can use it for their stuff.
I hope you enjoyed this transformation and how I updated a basket with chalk paint. Remember you can Pin It for later clicking on the image below.
Thanks for stopping by and don’t forget to visit what my friends did this month.
Hugs,
Pili


What a cute little basket Pili! Perfect for your sweet girls room and I just love that colour you chose for it! It´s happy and just so sweet. It´s amazing how you can easily change up an old basket into something so pretty!
Love this, Pili! A fresh coat of paint and it’s completely different which boggles my mind every time! That’s a gorgeous color for sure 🙂
I love this time of the month and seeing how unique everyone’s projects are. Your little basket turned out lovely after her chalk paint makeover. She’s got a whole new lease on life and I’m sure the girls will fill her real quickly. Their bedroom makeover sounds interesting too, I can’t wait to see what you come up with Pili
Pili that is such a pretty basket. I really like how the red is on the outside as a star and also on the inside of the basket. The room looks really pretty from the pictures you have shown us.
I think this is just the cutest thing. You are so creative Pili. I honestly don’t know how you keep coming up with so many great creations!
Pili, what a fun way to give the basket new life!! I really like your technique for the star application. Thailand is awesome! Love the basket you got from there. Thanks so much for the shout out, you’re so sweet!! 🙂
I love the update! I didn’t know you could use chalk paint on baskets, this opens up a lot of possibilities. Thank you for sharing the idea!
Thanks, Diego!! You can use chalk paint on almost every surface, and baskets look really nice with it.
Privacy Overview