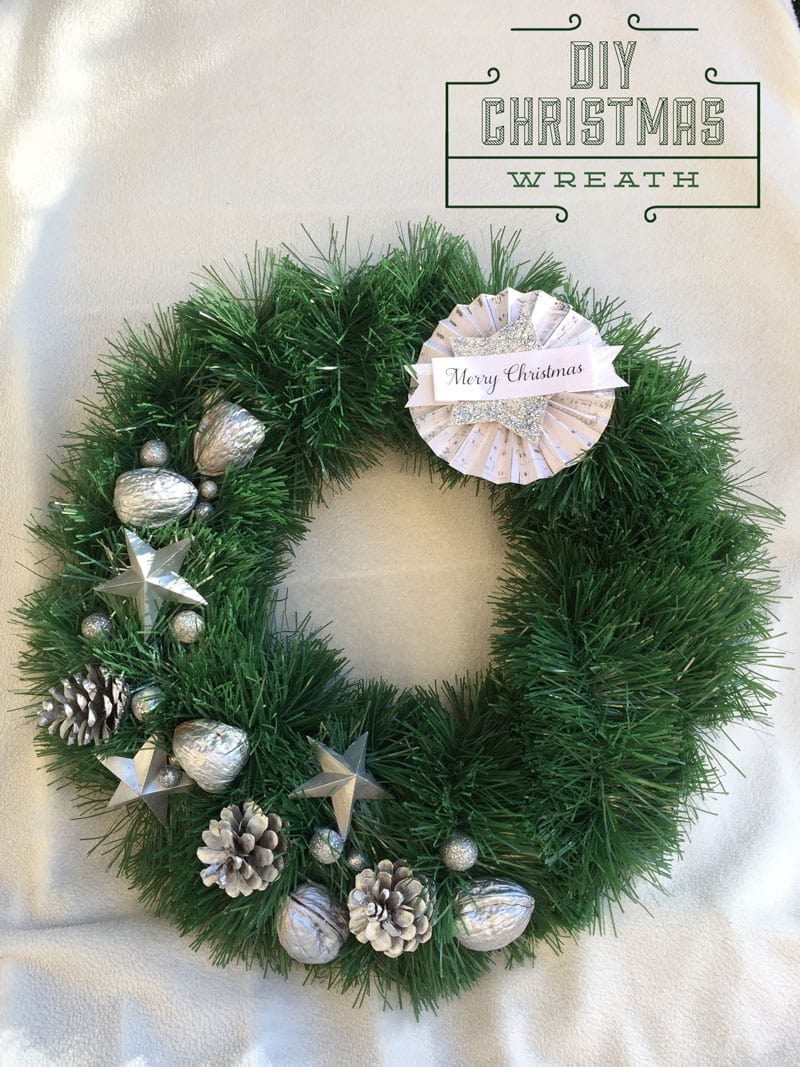
We’re just at the beginning of December but my mind is on Christmas; planning meals, activities to do with the kids, finishing decoration… and talking about decoration, a Christmas without a front door wreath is like a beach without water, right?
We made ours last year and I’m still in love with it, so I thought I could share it in case you don’t have one and want to make it.
Basically, you need cardboard, scissors, nuts, pine cones, tinsel, spray paint, glitter and hot glue, but you can add baubles to replace any of the previous or just add them.
Wrap the tinsel around the cardboard, and hot glue all the elements you want to add. I previously sprayed paint in silver all I wanted to use.
The nuts are empty, we opened them carefully and ate the inside, and with some hot glue we put it back together and spray painted.
The stars are made out of regular plain paper. You only need to draw a star (I love 5 point stars), cut it and fold it. If you add a drop of hot glue at the center, backwards of course, it will hold the shape.
The little balls are made out of dough, covered with glitter.
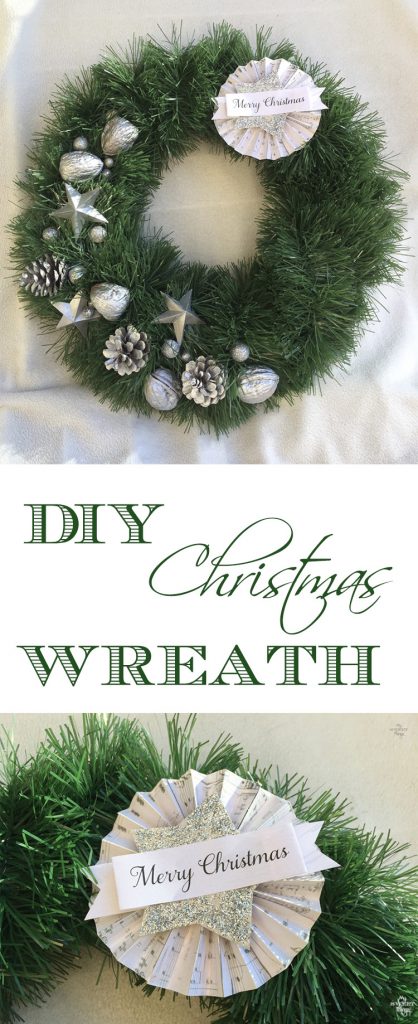
For the rosette, I printed a music sheet of paper and folded in an accordion shape. I printed as well “Merry Christmas” in regular paper and Miss S cut it. Meanwhile, Miss A draw another star on a cereal box and cut it, added some glue and glitter on top. Have I ever told you how much I love glitter? lol
Here it is in our front door.
This year it is not alone, it has a new friend, our Christmas bauble tree.
Isn’t it easy?? Now, if you don’t have a wreath is because you don’t want, no excuses.
If you liked it you can Pin it for later.
Maybe you want to see more handmade ornaments for Christmas, so you can check this and this.
Hugs,
Pili
Do you love DIY, recycling, home decor, furniture transformation and all kind of crafts? Then we have the same passion! I would love to share all my crazy ideas and projects with you so I would love if you SUBSCRIBE for my post e-mails.
I also share interesting content on Facebook and other social media, and I would love to hear from you! Not following me yet? Don’t be shy and stop by to say hello. Follow me on FACEBOOK, PINTEREST, INSTAGRAM, TWITTER, +GOOGLE.
Linking up to these parties
Featured at:


Pili, I love this wreath!!! All the different elements you added gives it such an elegant flare!! It looks great on your door, next to the bauble tree!!
Keri, I love the wreath too lol! I don’t know why, but mixing green and silver is dreamy for me on Christmas.
Thanks for your comments!!
Oh how lovely is your front door!!! The wreath is so clever, I’ve never thought of using cardboard for wrapping the greenery around, great idea! And I really like all the little details you added to the wreath Pili, the stars don’t look like paper at all!
Thanks, Katrin!! We use cardboard all the time; it’s free and easy to work with, what else can we ask for?
I must confess I love the wreath too! The stars don’t look as they are made out from paper, that’s the best thing!
I love the wreath, you did a great job!
If you have time, I would love for you to share this post over at the Holidays Celebration link party that is live right now! (http://keepingitrreal.blogspot.com.es/2015/12/holidays-celebration-link-party-5.html)
this is gorgeous Pili – I love the folded stars and the simplicity of it. That bauble christmas tree on the floor is a wonderful contrast! Thanks for sharing at the #OverTheMoon link up 🙂 ~Leanne
Hi, Leanne! I love the stars too, they don’t look as made out of paper, right?
Thank you so much for your kind comments 🙂
Thanks for Pili for sharing your cute wreath craft at Cooking and Crafting with J & J!!!
Many thanks, Julie. It’s so kind of you to visit and leave me your comments. Enjoy your week!
Hi Pili, this is a great wreath and so easy to put together. I would love to spray paint some items white and add to a wreath!!
Thanks for stopping by to share your projects!!
Have a great day!
Karren
Hi, Karren. The spray paint trick is so cheap and easy, and at the same time it can change dramatically any item you have. Don’t doubt to give it a try!
Thanks for the visit!
This is SO pretty! I’ve pinned it!
Thanks for joining Cooking and Crafting with J & J!
So kind of you, Jess!
Pili, this is just adorable, You were able to make a stunning wreath from practically nothing. I like how you painted all of your decorations the same color to match and how the girls make the little balls and add glitter to them. A beautiful wreath indeed!
Mary, thank you so much. You know it can be a challenge when trying to make something pretty out of almost nothing, but most of the time seeing the result worth all the effort.
It makes me happy that the girls love to craft with me.
those are some large nuts! 🙂 Awesome wreath! love the simplicity when so much is going on this time of year. Fresh and eye catching!
Haha, as you can tell we love nuts!! I think sometimes less is more…
Thank you so much for your comment, I really appreciate you stopping by!
I kept thinking “why didn’t I think of that” Thank you for sharing your diy!
JEM
#JoyHopeLive
Hi, Janelle!! It’s really easy, you can use what you have on hand to make one 🙂
Thanks for visiting!!
What a darling idea, and really simple. And so cute. Thanks for sharing your idea at Your Inspired Design Link Party #16.
Glad you like it too, Carol! Sometimes less is more!
I appreciate you stopping by!
I love this wreath. Traditional but with a modern touch. The silver accents really make this wreath beautiful.
Thank you so much, Connie! I really love how silver pops out of the green garland too.
Such a pretty wreath. I love that you shared how you found or made each detail. Thanks so much for Linking up to Welcome Home Wednesdays! Have a Merry Christmas!
As you see it is really easy, Tracy. I love to explain how I do it in case anyone wants to do something similar for themselves.
Thank you so much for stopping by and leave me your comments!
Pili, I love a gorgeous wreath, but they are so expensive to buy, I love this idea, I never thought about using garland, it’s really inexpensive and you can make the wreath any size you want and as full as you like! I love the decorations that you added too, they are so simple, but so lovely! And I really need to make some of those 5 pointed stars, you’ve done some cool things with them, on this wreath as well as the wall decor in another post. So simple but so cool!!! Merry Christmas!
You’re right Nikki, the best thing about handmade is that you can make it your way. If you need a bigger wreath then you cut a bigger circle of cardboard, or if you love pinecones you can add them… you will have a wreath of the style you like at almost no cost.
Happy Holidays, I hope you are enjoying with your family!
I am definitely trying this next year! It looks just as good as any shop bought one! Thanks for linking up with #frifree4all
Thanks Hayley, it is also cheaper than the bought ones!
Your wreath is gorgeous Pili, love how the silver looks against the greenery and the little music sheet rosette just balances everything out so beautifully.
I was happy that the finished result looked better than what I had envisioned, I really like the silver against the green too.
I would never imagine that under this wreath there is a cardboard! It looks so fluffy, perfect for your christmas decoration!
I love working with cardboard because it’s free and it is great to use as a base for other projects.
Privacy Overview