Hey, friends!
Some weeks ago I heard about a trash to treasure blog hop and it caught my attention. I have plenty of trash in my house because my favorite shops are flea markets and dumpsters, so that sounded a fun thing to participate. This is my first time but there are many other talented bloggers involved that I can’t wait to see what they have to share today. Don’t forget to stop by their sites, I promise the visit will be worth!
Without much ado, welcome to the Trash To Treasure Blog Hop Outside Edition!!
Meet the bloggers
Kimm at Reinvented
Kim at Hunt and Host
Victoria at Dazzle While Frazzled
Pili at My Sweet Things
Randi at Dukes and Duchesses
Ashley at 3 Little Greenwoods
Courtney at All Things New Again
Lisa at The Purple Hydrangea
Tonya at Hey There Delyla
Denise at My Thrifty House
Wendi at H2O Bungalow
Jeanette at Country Design Style
Sam at Raggedy Bits
I have to warn you this will be a long post with lots of pictures. I used a new tool that took me a bit to understand how to use it properly -yes, I am that smart- but now I couldn’t live without it. You will find some affiliate links for your convenience, you can read the full disclosure here.
Ready to see my trash?
I found these twin headboards sitting by the dumpster close to my house.

I knew what a was going to do with them because I love headboard benches so much. Do you remember my romantic headboard bench?
I had different leftovers from other projects so I used them to build the frame. The first thing was to measure everything and cut the legs.
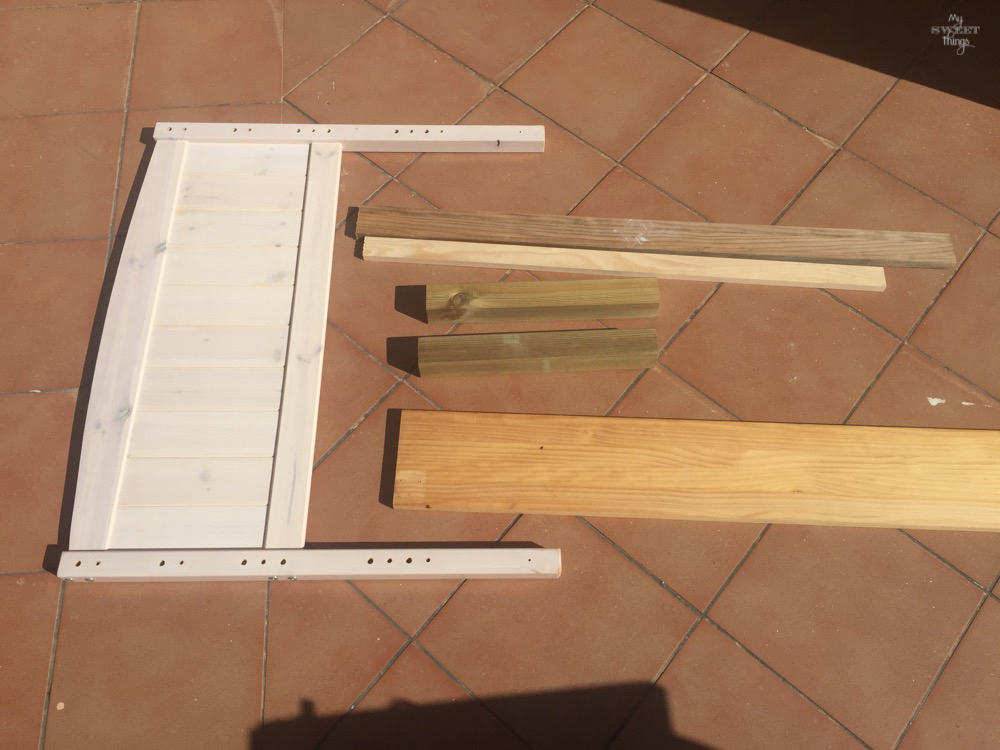
Once I had the legs cut to the height I wanted, I measured the distance between them to cut the front apron.

This piece of wood worked great. I cut it to the desired length and then split it in half to use it for the other bench. I sanded both too.
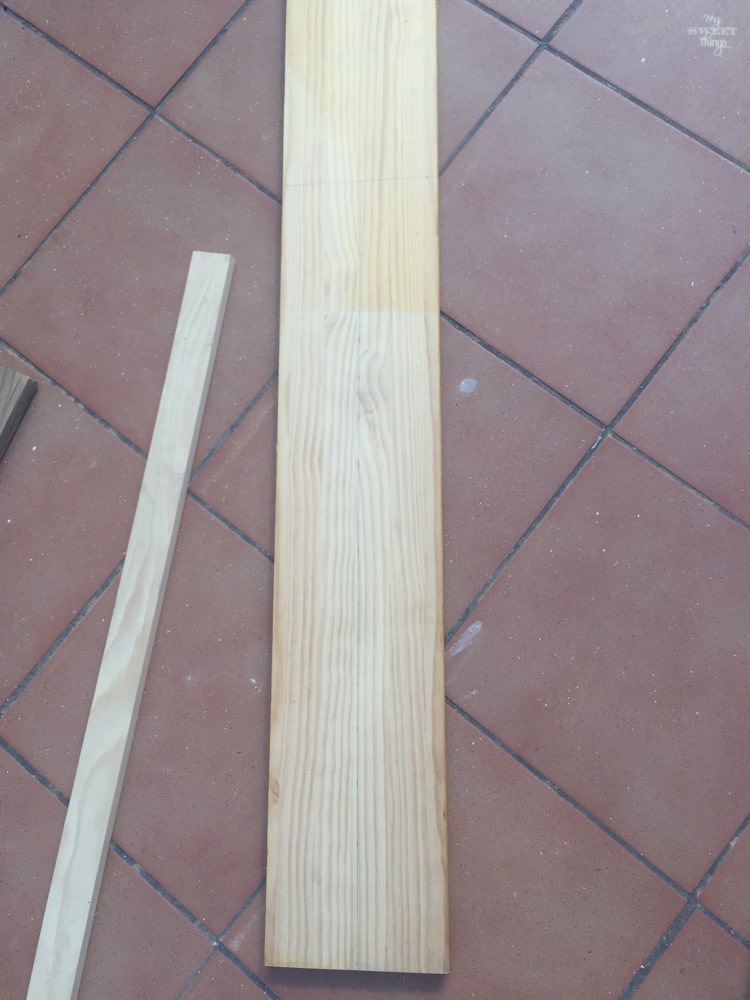
Just checking it fit

I didn’t want the front apron aligned with the legs but kind of in the middle, so I took a wood slat to raise it and trace a line where I wanted it.

Here is where my new tool came into scene. It’s called Kreg Jig and it’s awesome for woodworking projects! If you are wondering why it took me a while to make it work I will say in my defense that all the tutorials I read were using inches instead of centimeters, but know I realize it doesn’t matter. You only have to adjust this blue thing and drill the same number (which will be the wood thickness)
In this case, the wood was 22 mm thick so I set it here

And again 22 mm for the drill.

These are the pocket holes that make any joint really sturdy.

I screwed the apron to legs.

Then I made cuts for the sides of the benches and sanded them.

As this wood was thinner, I set the thickness to 19 mm both the Kreg Jig and the drill. Remember, you need to match the same number on both things.

I did the same for the sides and I had the frame ready.

I bought a big piece of wood for the seat. I placed it on top of the bench frame and trace it beneath it to know where to cut.


It was time to do something with the bazillion holes they had, so my little daughter was willing to help. We used some dowels and wood putty.


I repeated the whole process for the other bench but this time was faster because I had already all the pieces cut and sanded. Meet the benches before painting them.

For the paint job, I decided to use a custom mix of Old Fashioned Milk Paint. I promise to update the post with the exact amounts of each color but I have all the notes in a box packed because I am moving AGAIN!!
Anyway, the color is beautiful and it would be perfect for the beach front apartment the benches were going to be.
If you have not worked with milk paint let me tell you it’s so easy and the results are amazing. Just mix the same amount of milk paint and water and stir, then let it sit for a while until the air bubbles disappear and you are ready to go.

The first layer usually doesn’t look that great but wait until the second one, that’s when magic appears!!
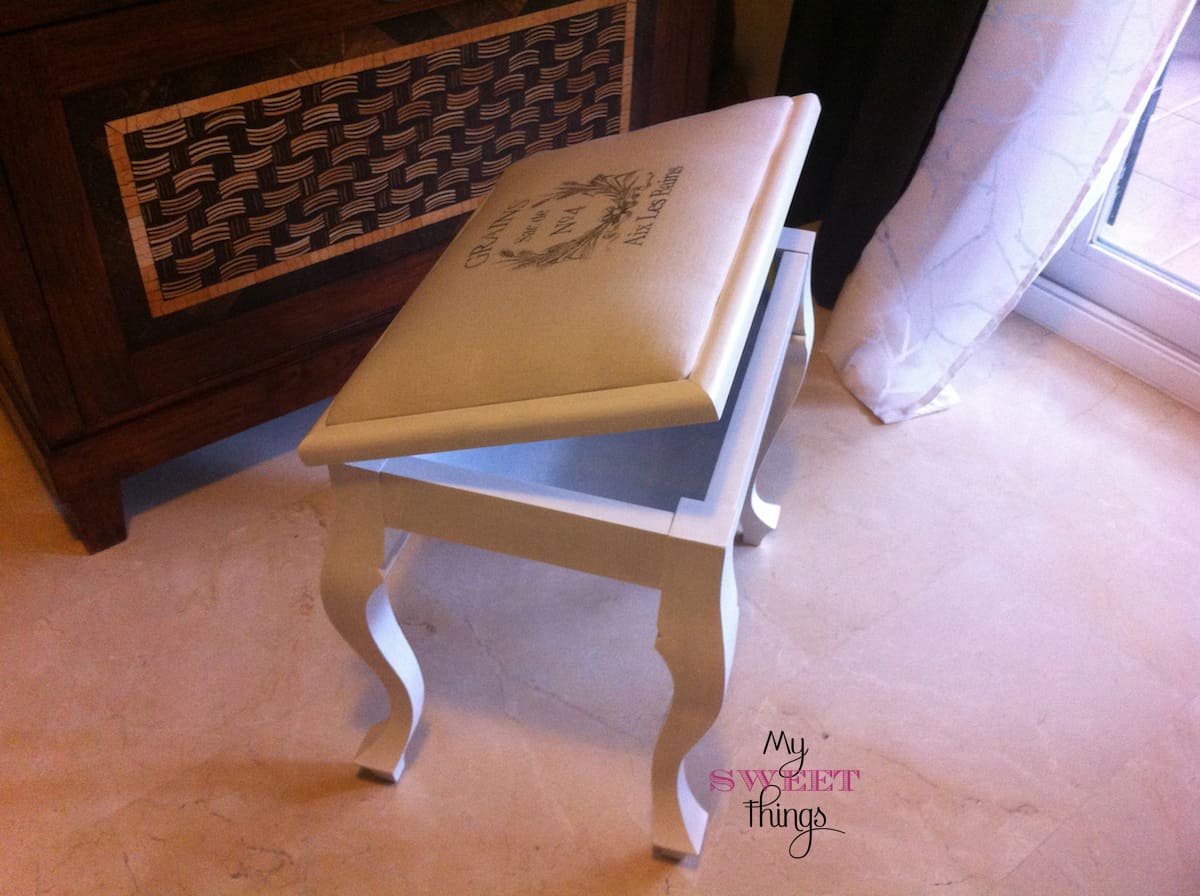
Please, meet my favorite twin headboard benches ever.
Ta-da!!

Another shot, the color changes with the different light. Thanks to my nephew Martin that took this pictures for me. You have to check his Instagram, he is really creative and have lots of cool pictures.

I also made the little table but that will be another post.


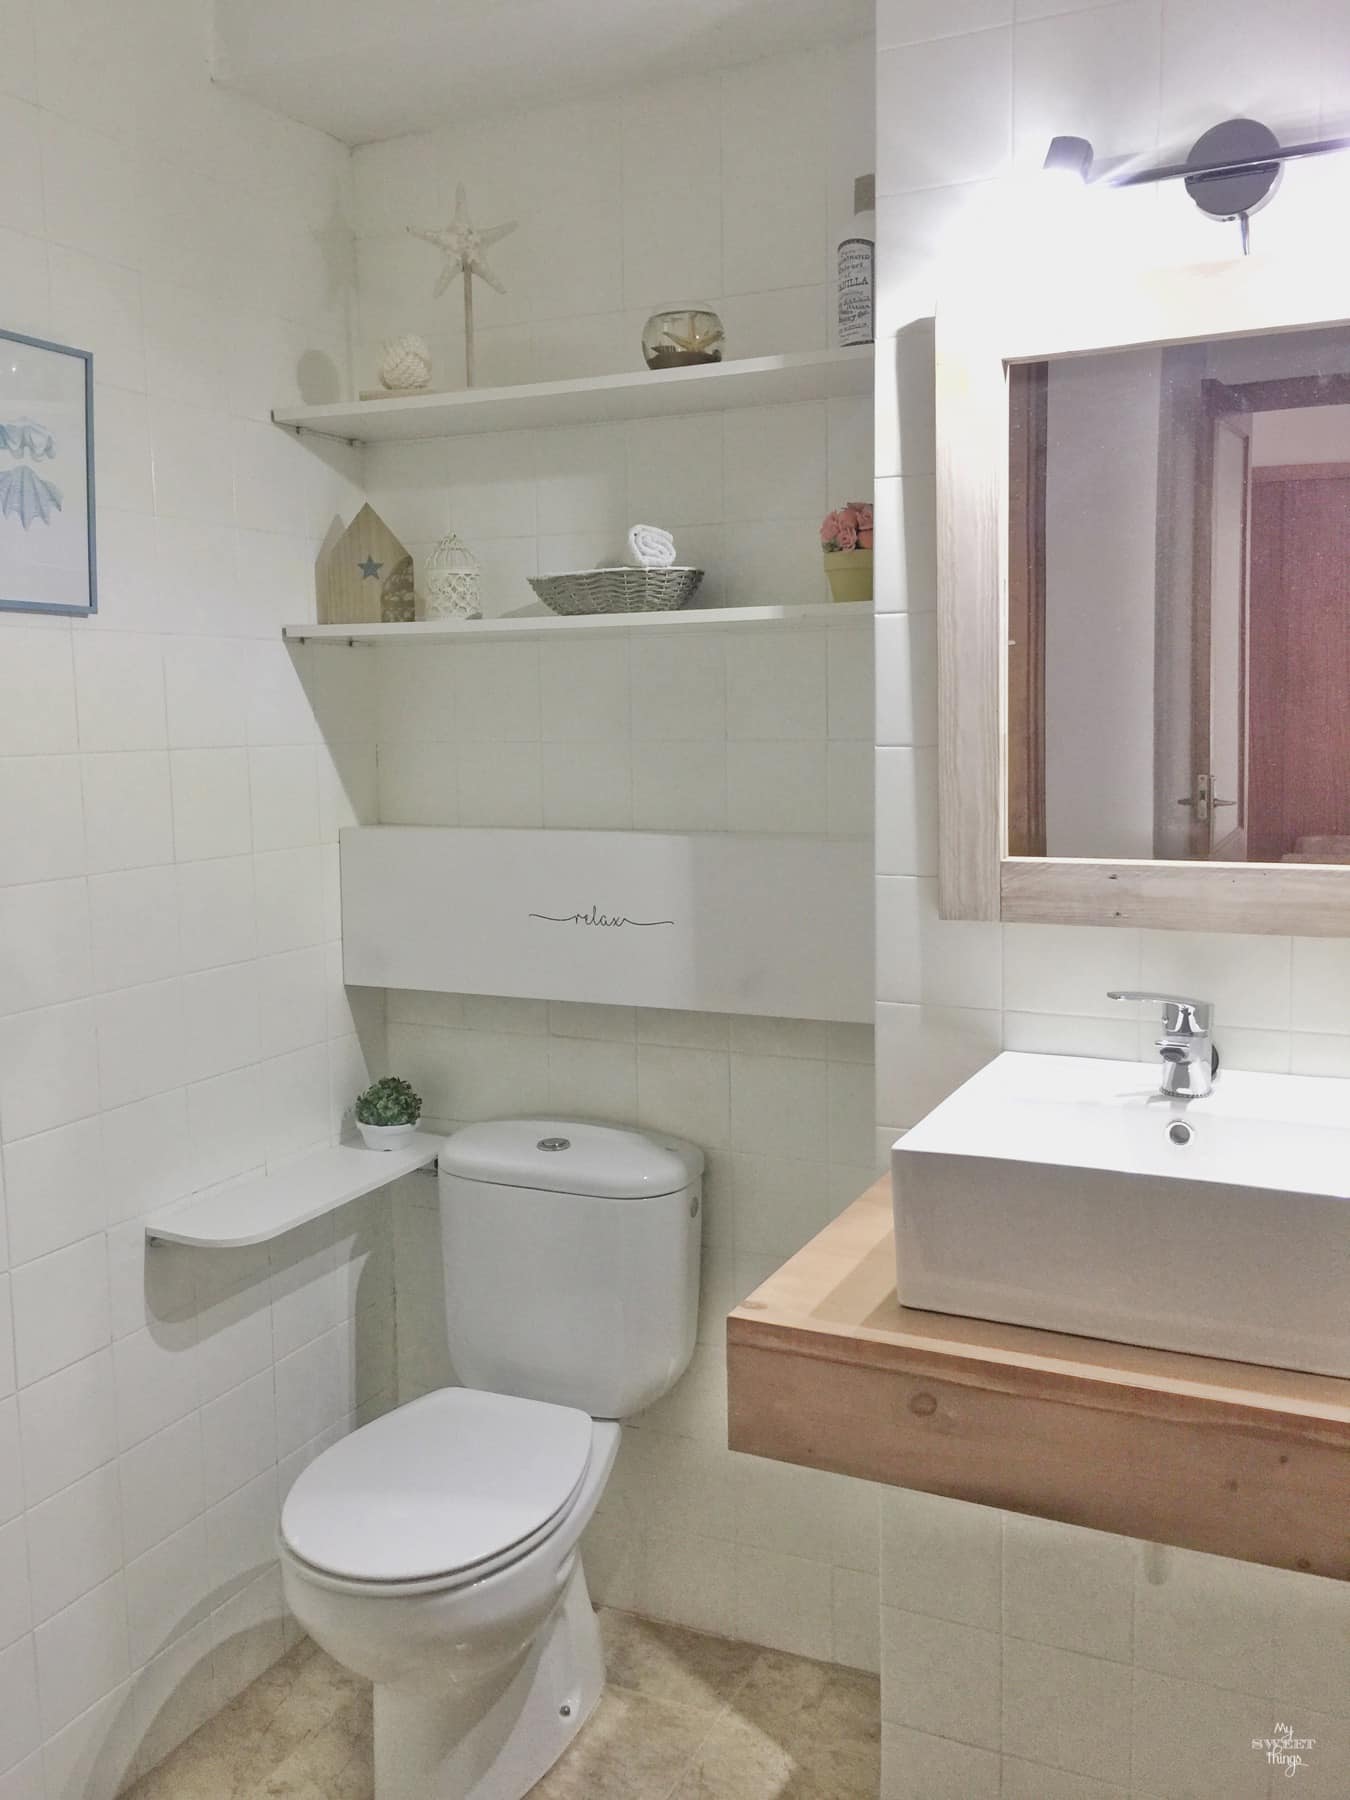
These are the views, it’s a lovely place in the north of the island and the apartment is for rent so in case you’d love to spend some time there just let me know and I’ll give you the phone number of the owner.

I hope you liked my trash to treasure transformation and remember to Pin It for later.

Thanks so much for stopping by!
Hugs,
Pili


Do you love DIY, recycling, home decor, furniture transformation and all kind of crafts? Then we have the same passion! I would love to share all my crazy ideas and projects with you so I would love if you SUBSCRIBE for my post e-mails.
I also share interesting content on Facebook and other social media, and I would love to hear from you! Not following me yet? Don’t be shy and stop by to say hello. Follow me on FACEBOOK, PINTEREST, INSTAGRAM, TWITTER, +GOOGLE.
Linking up to these parties
Any content on this website is created for inspiration purposes only. Creating with my suggested methods, products used and tools fail under your own risk. Please ensure you are following proper guidelines with anything used, and you receive professional guidance if you don’t know how to do something. For more details you can read my complete disclosure
I love this project! You created a whole “room!” Don’t you just love the Kreg Jig?? Pinning and Sharing
what a great makeover, those benches are so well made and I love your color choice!
I love what you did with the twin headboards Pili. They look gorgeous. We’ve been saving to a Kreg Jig and I’m so glad you shared how you used it. I would’ve struggled with inches too. Thanks so much. Good luck with the move Pili
Wow Pili, these twins are gorgeous and you always amaze me with your talents!!! I love the colour too and oh my that view!!!
Pili this is an amazing project. I have seen the Kreg Jig in action and I want one too! The benches turned out great and the color is perfect for a beach apartment. The whole space looks all ready for it’s first renters.
Oh and good luck on the move!
Pili this is an awesome project! yay for you getting a Kreg Jig! I couldn’t do without mine. You’ll find that you start looking at things and figuring out how they are constructed so you can make them too. Love your benches 🙂 Pinned!
Your benches turned our beautiful Pili! The color is perfect for a beach front apartment. Good luck in your move, and be safe!
I really want to learn to use a Kreg jig!Thanks for sharing the details! Love the way your benches turned out.
These turned out so beautiful!! I just love the colour you chose and boy do I need to get my hands on a kreg jig!! All the best for your move!
Now’s that a smart recycle!!
We could use those on our patio!
Jodie
http://www.jtouchofstyle.com
Pili, the headboard benches look amazing!! I’m so glad you were able to use the Kreg jig for this project, yay! Love the color on the benches. And wow what a view that apartment has, I mean wow!!
Wow, Pili! Your benches are amazing! Such a gorgeous color. Looking forward to reading the “recipe”. And how nice you had a helper. 😀 Happy Mother’s Day to you! Cynthia
Great job, Pili! This is inspiring. I need to go find me some headboards!
Privacy Overview