Hi, friends!
It’s last Thursday of the month and you know what it means, right? Time for another Thrift Store Challenge! It’s that time when we get together and share our finds on thrift stores, flea markets, free finds, anything cheap works! and how we transform it into something for our homes.
Last month I showed you my floating under counter storage boxes and today I’ll be sharing something I love to make, a headboard bench.

The Rules:
- Upcycle an item(s) from a thrift store, resale store, or garage sale into a new piece of decor.
- There’s no monthly theme.
- There’s no budget to stick to.
Meet the Hosts
Vintage headboard bench tutorial
Hubby came home one day with a surprise for me. Let me tell you I’m getting used to it, love this kind of surprises, forget purses and flowers!
He brought this beauty
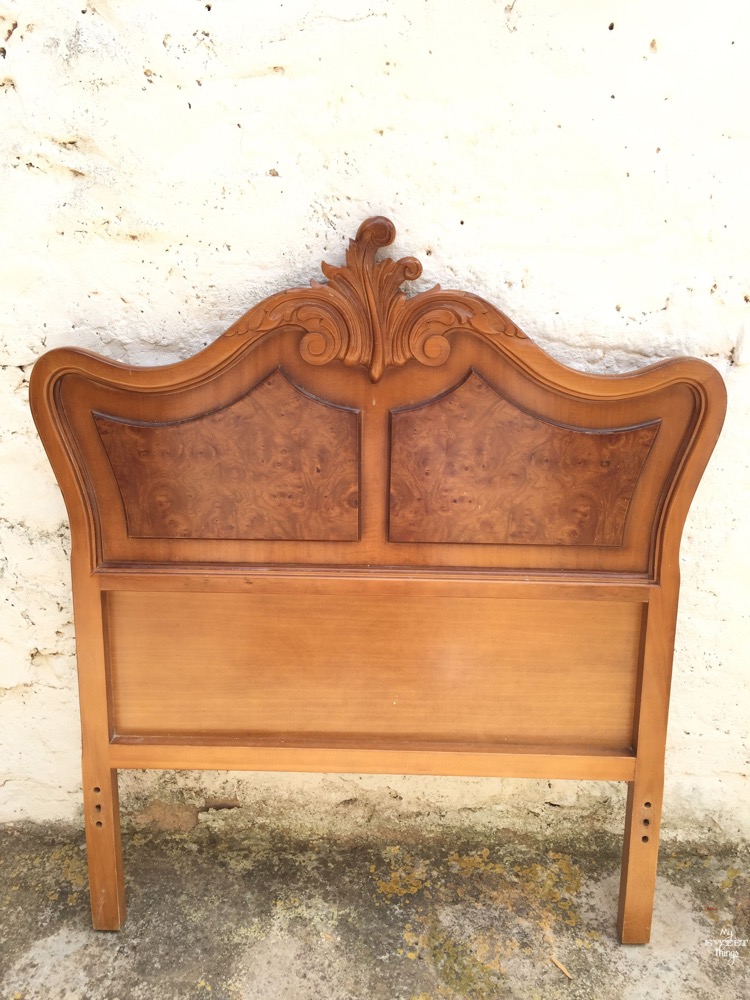
I had already done several benches so this time it wasn’t too difficult to come with a plan for it. You can see the romantic headboard bench and the twin headboard benches.
You know my motto is DIY on the cheap, so I used what I had instead of buying more wood. You may find affiliate links for your convenience, you can read the disclosure here.
Here’s the list of the materials I used to make the vintage headboard bench
- Headboard (free find)
- KregJig
- Wood
- Milk Paint
- Metallic Cream
- Brush
- Wax
- Drill
- Table saw / Jig saw
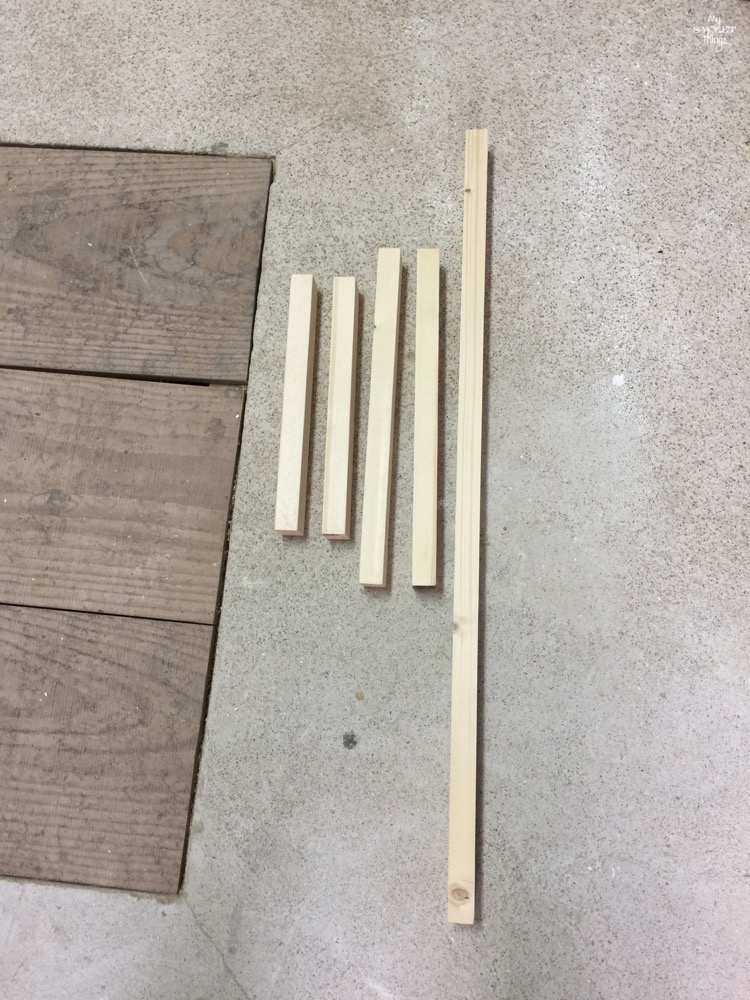
These were the cuts I did after measuring the headboard.
The long one was for the front, the apron of the bench
Two for the front legs
Two for the sides.
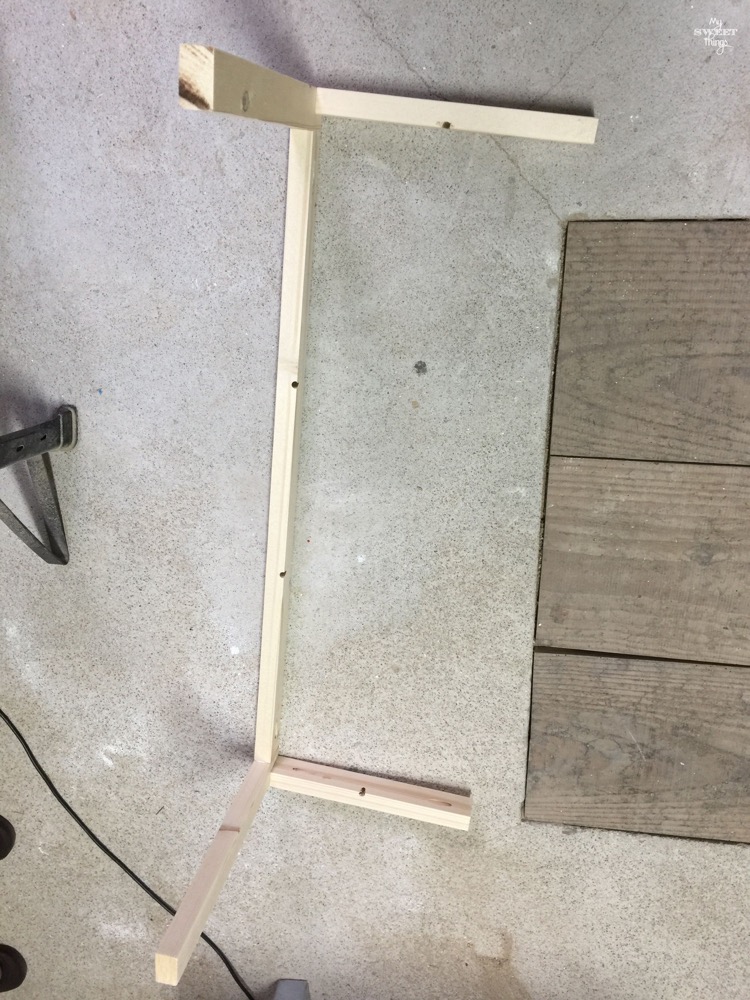
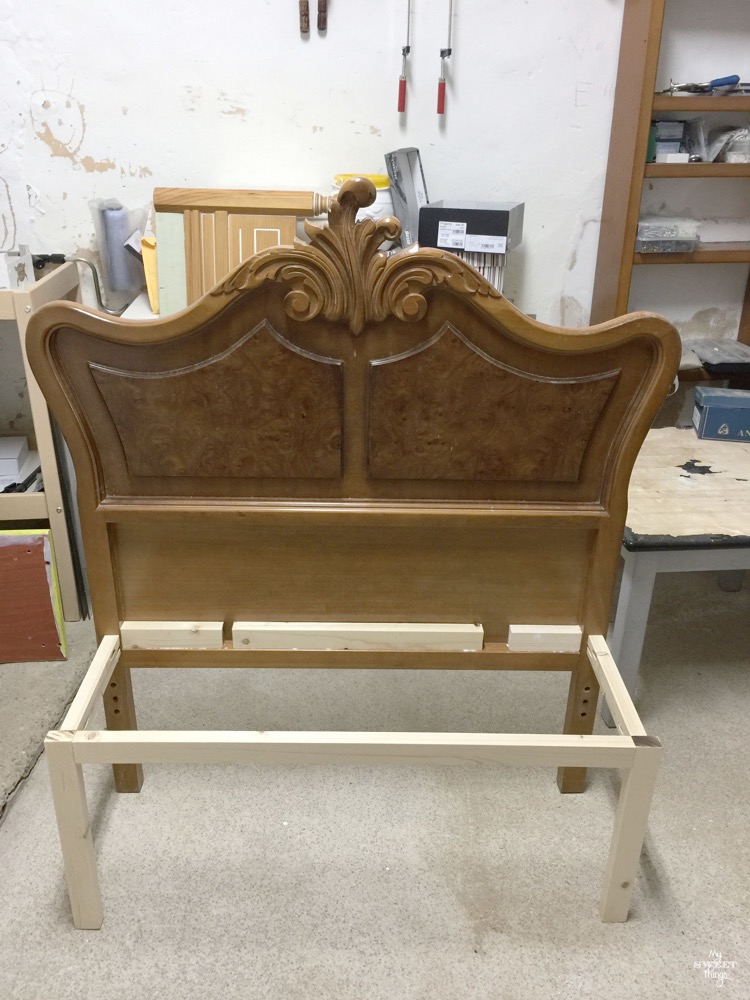
I wanted to double check the measurements before putting it together so I laid it on the floor. It would look like this and everything was correct. Time to screw.
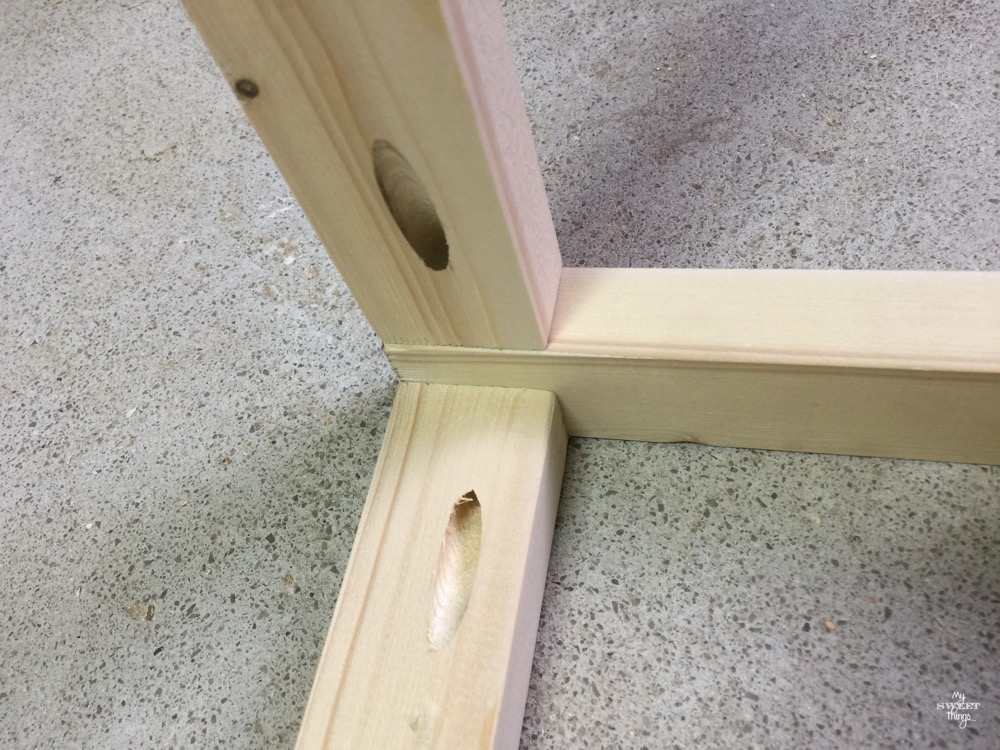
I used the KregJig to make pocket holes. There would be hidden so I didn’t plug them.
I laid the bench on the floor and checked the hight of the apron. I had glued some scrap wood to the headboard and used clamps until they dried.
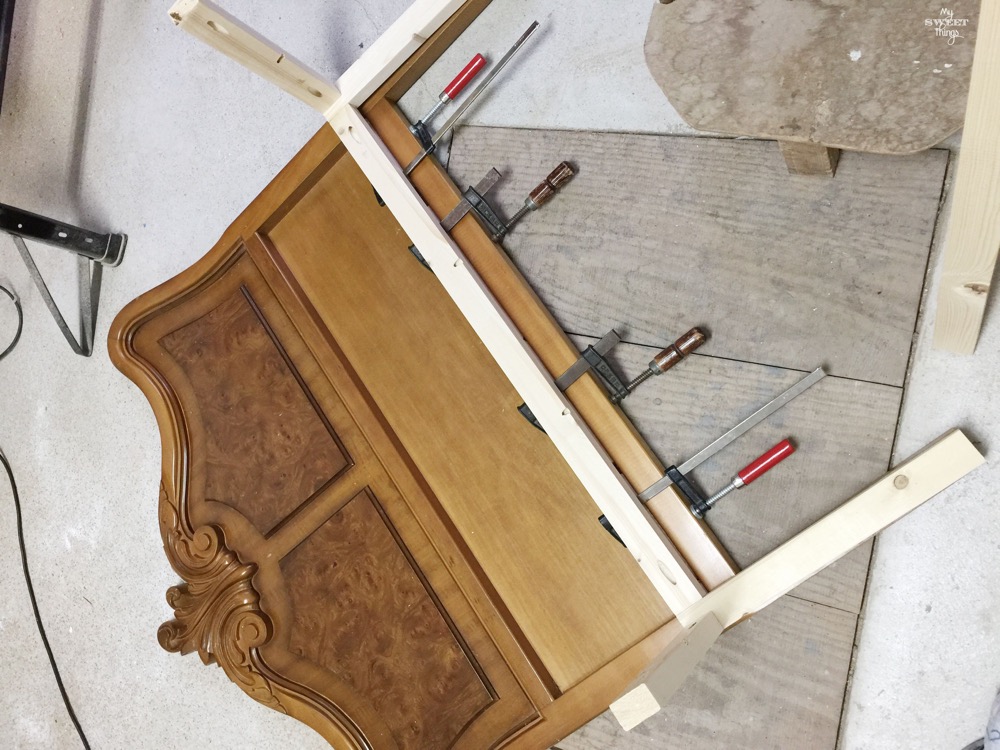
Here’s what I mean. Those pieces of scrap wood (or a long one if you are not cheap as me) would give you the height you need for the seat, otherwise, it would have been too low.
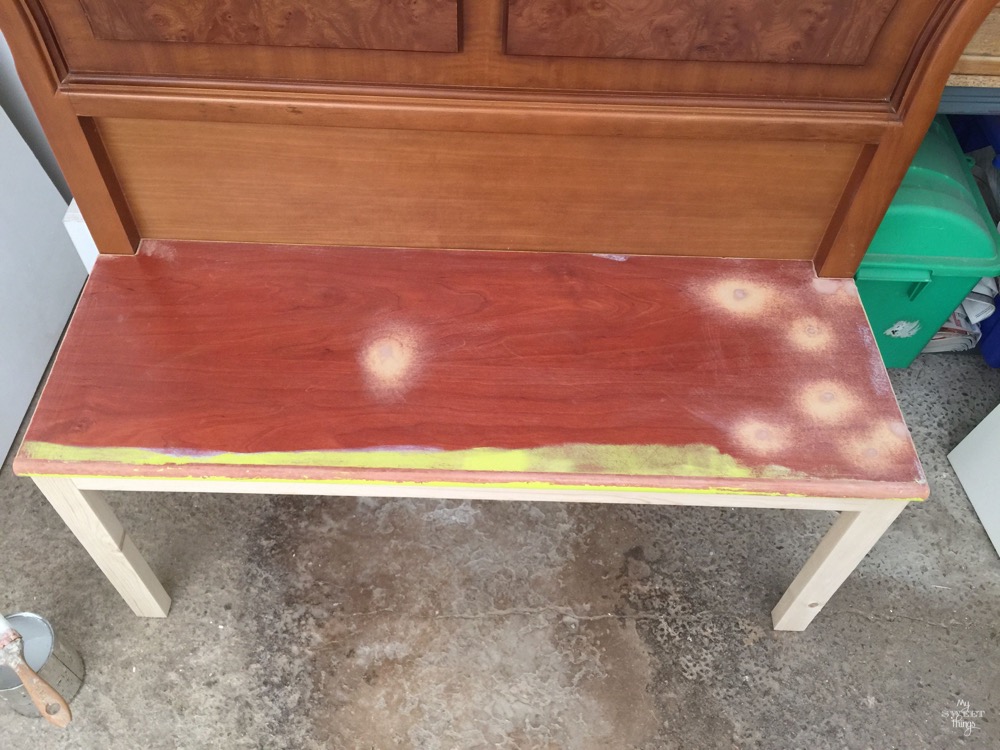
Then I took a piece of wood I had found curbside time ago and cut it to fit. Fixed some holes it had, slightly sanded it and it was ready to paint.
You’ll have to excuse the mess in my workshop, the weather has been awful this winter and I packed everything there. Also, you know I can’t work on a project at a time, right? Why do I need to wait for pieces do dry if I can be working on something else at the same time?
It was time to paint it and I had a clear idea of what I wanted for it.
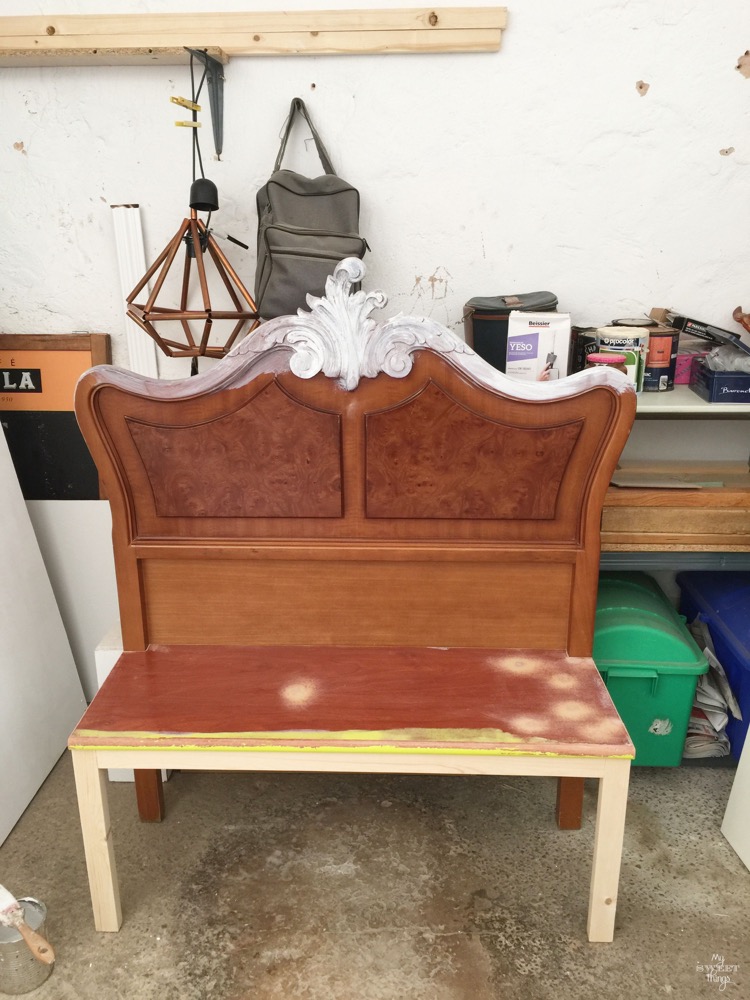
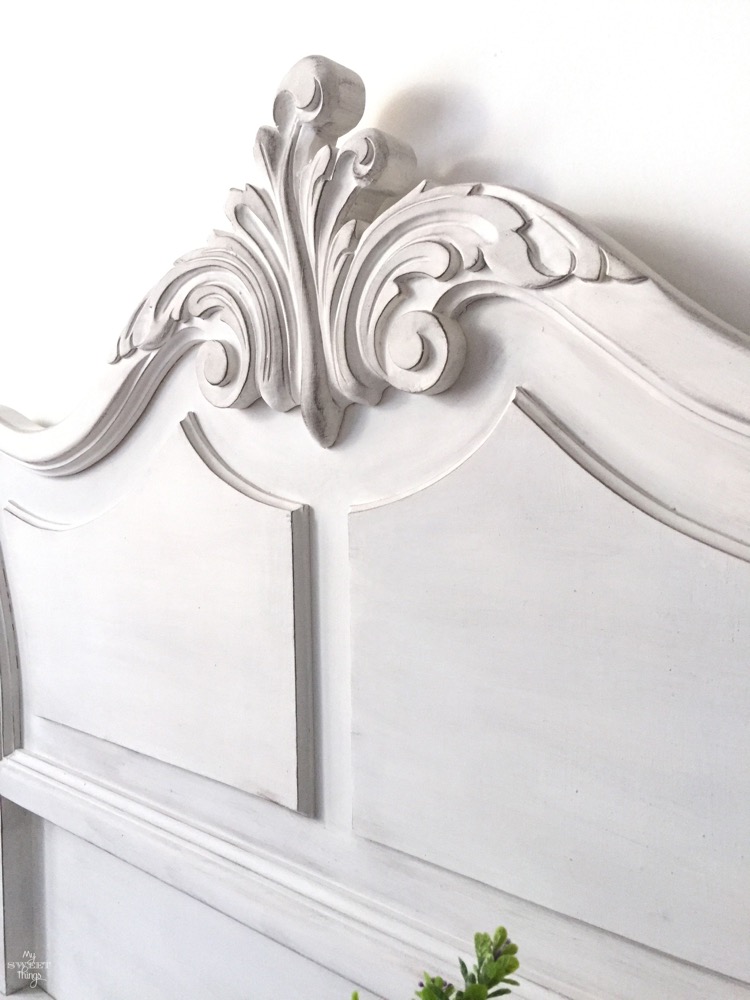
Having those gorgeous details it had to seem old and vintage, so milk paint was the way to go. I love that paint because it’s green, no VOC and chemicals there, and it sticks to raw wood like there was no tomorrow.
I chose Snow White Safe Paint and a little pinch of Pitch Black to achieve a very subtle gray. Then prepared the paint by mixing paint powder and water, 1:1 ratio. You can read about using milk paint for furniture more deeply here.
Sorry, I don’t have any picture of it all white because I was so excited to age it… but you get the idea. I gave it two coats and waited 24 hours to fully dry. Then I dry brushed some metallic cream Belt Buckles to make the details pop, and protected it with Daddy’s Vans Wax, again no chemicals in it.
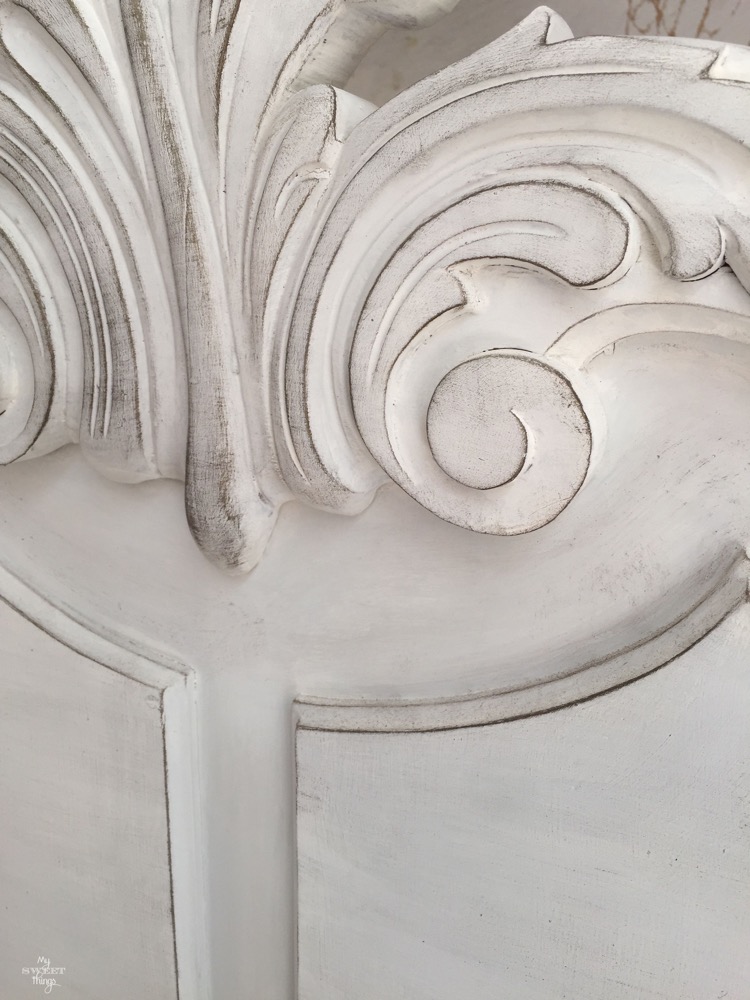
They truly pop!! Don’t you think it looks gorgeous? Then wait
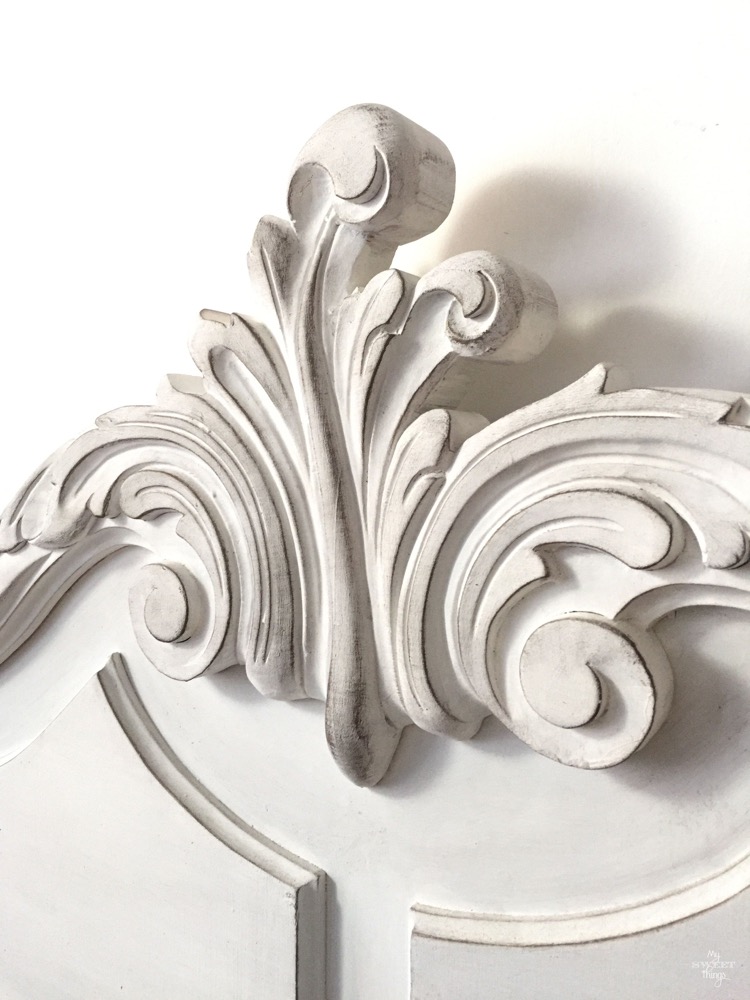
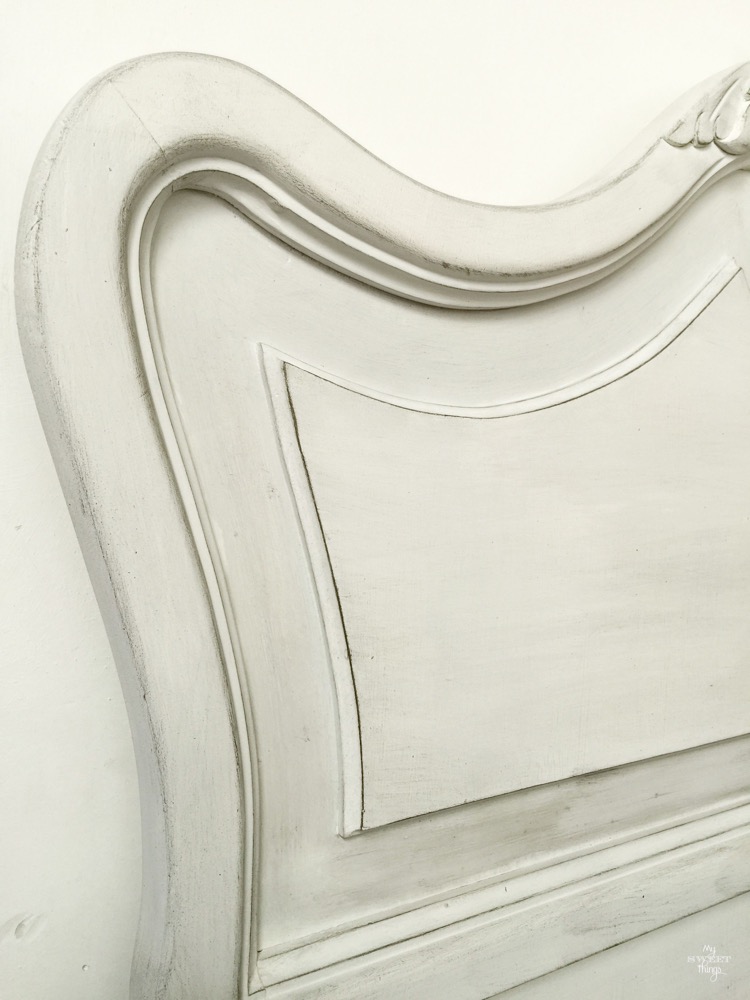
Look at all the shades. I really love how it looks.
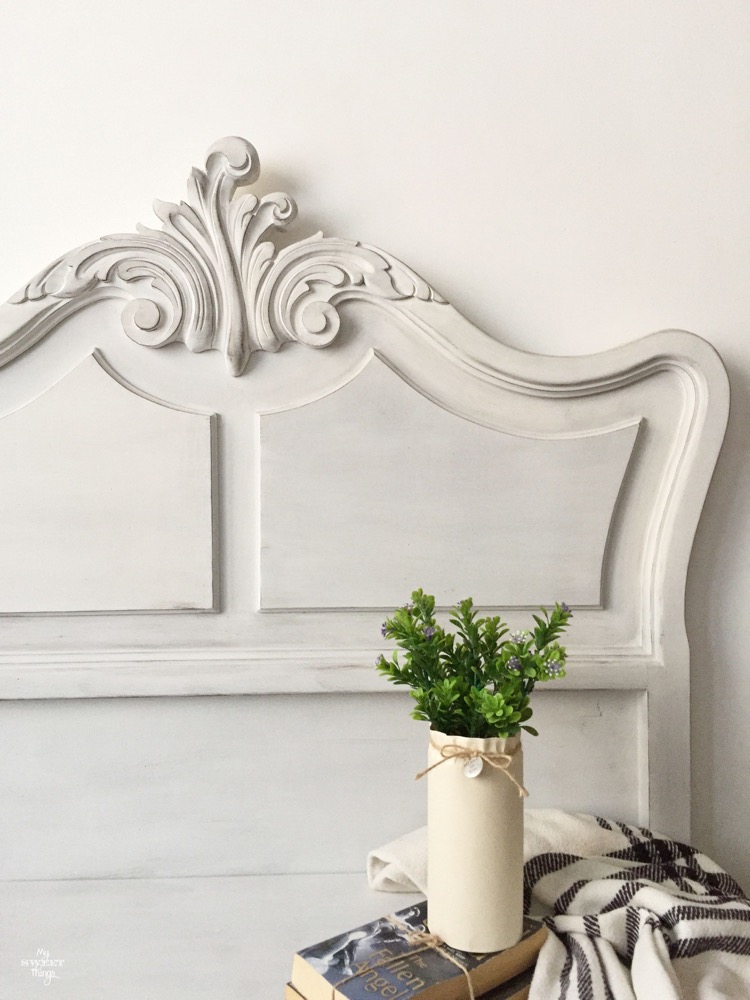
Now that’s a real vintage headboard bench!
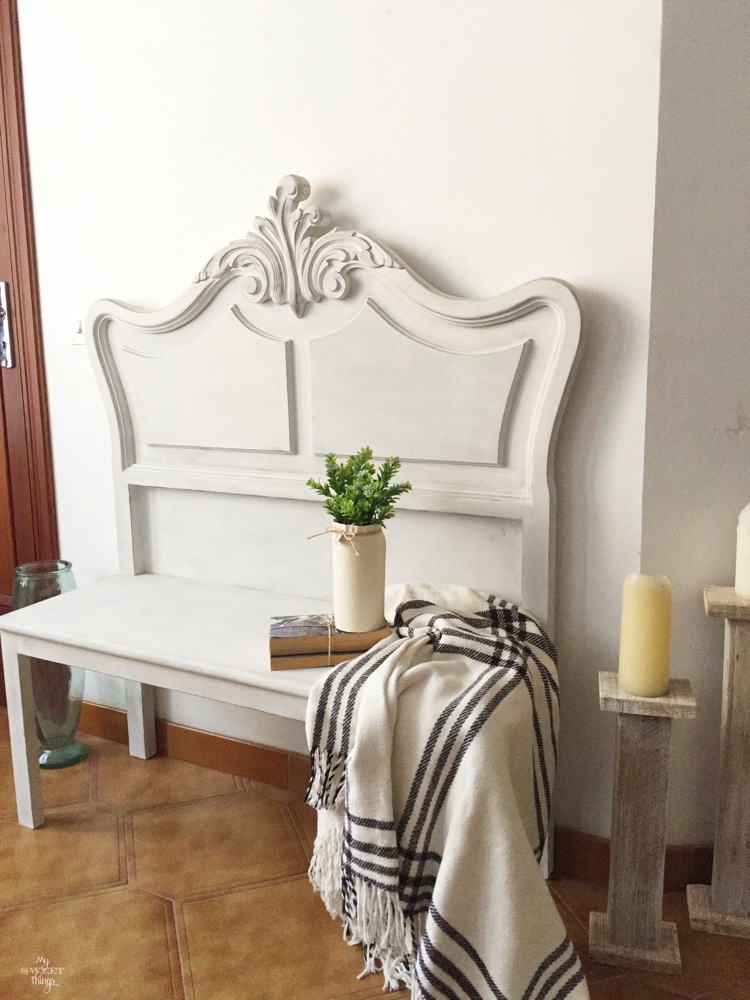
Here’s another shot of it.
I staged it and crossed my fingers it would sell quickly.
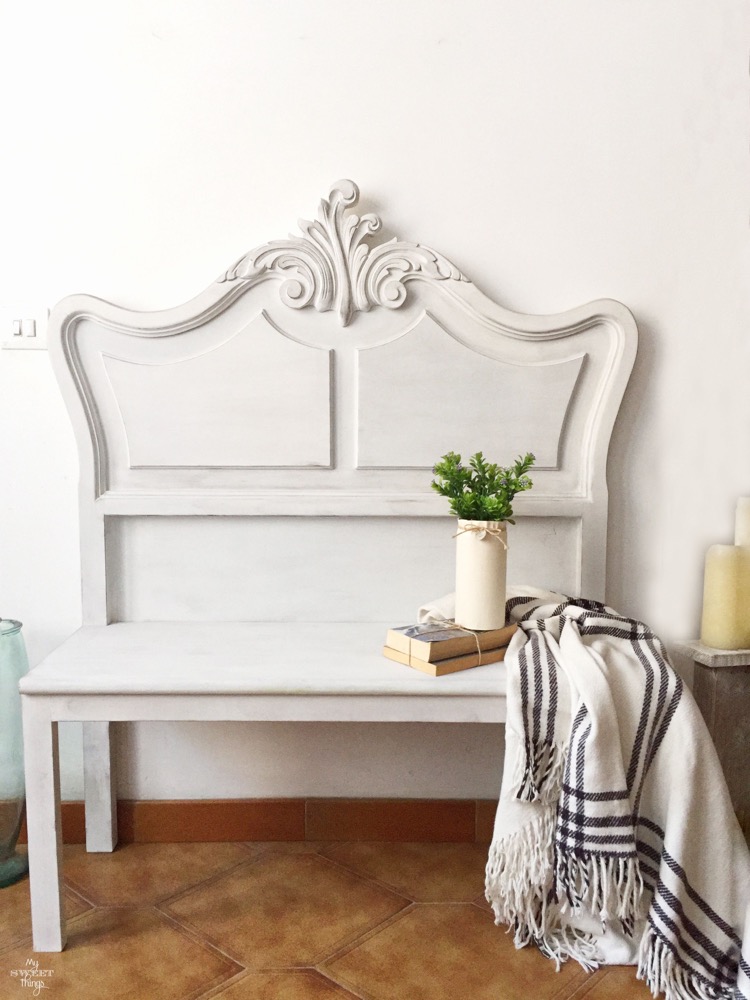
I love playing around with things to take pictures, that way I also improve my photography skills 😉
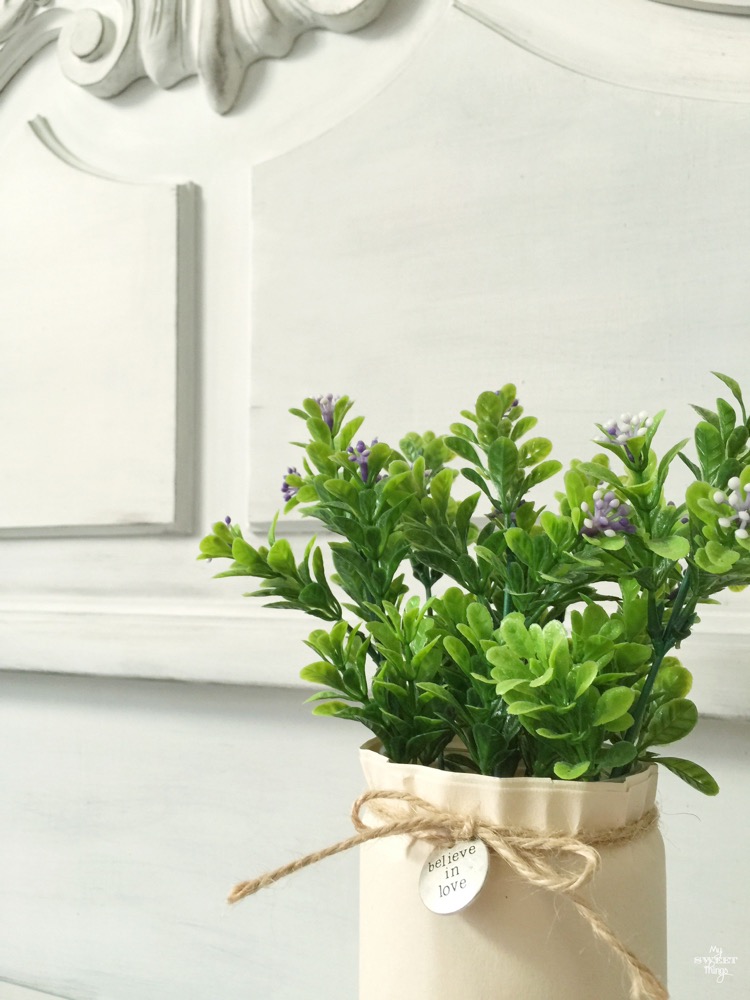
That metallic cream is awesome and it goes a long way. Look the shades it gives to light paint.
It is more beautiful in real life. You can also use it in dark colors and it looks amazing too. You can see what I mean in this metallic console makeover which I painted with dark blue milk paint and applied some metallic cream as well.
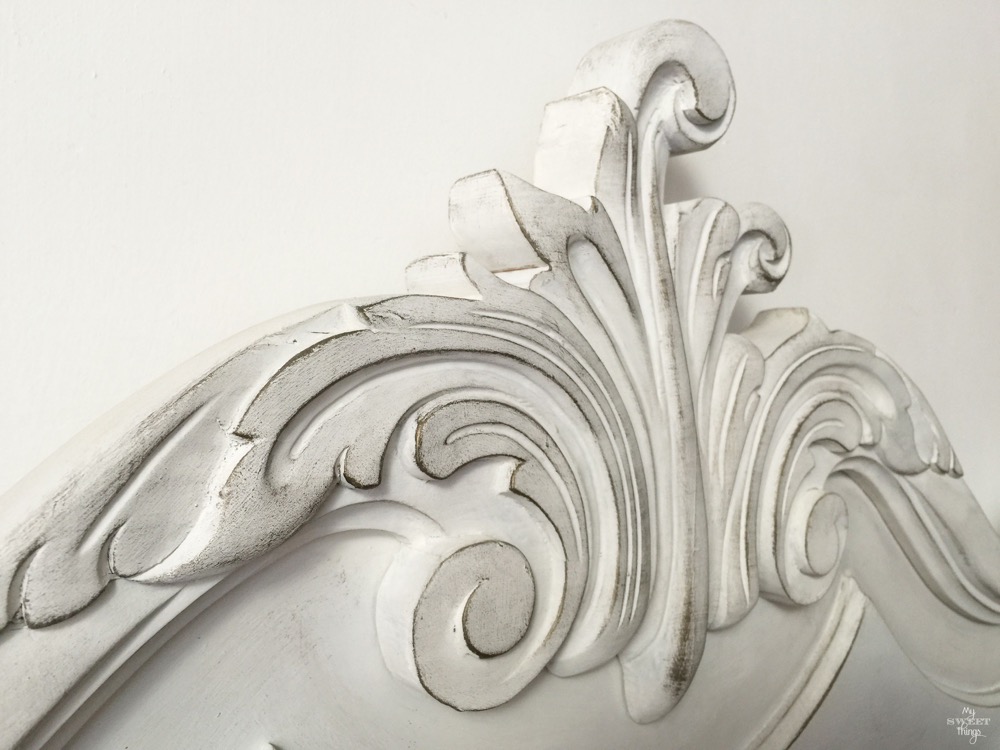
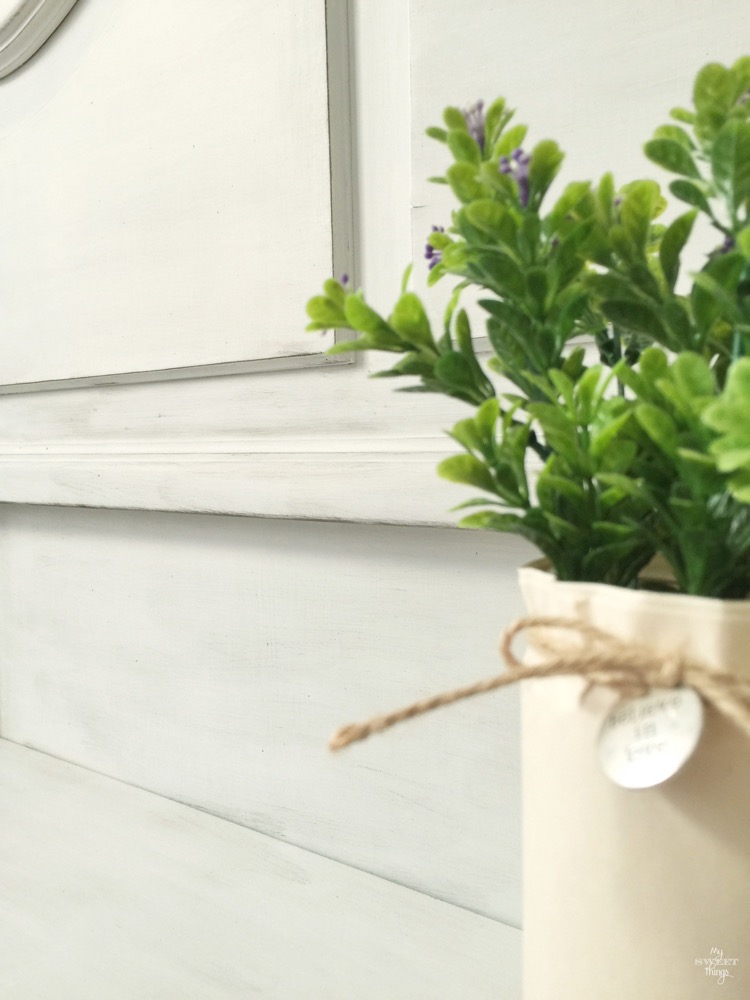
There is no technique for this, just dry brush corners and exposed areas more, and then with the brush almost dry in other places.
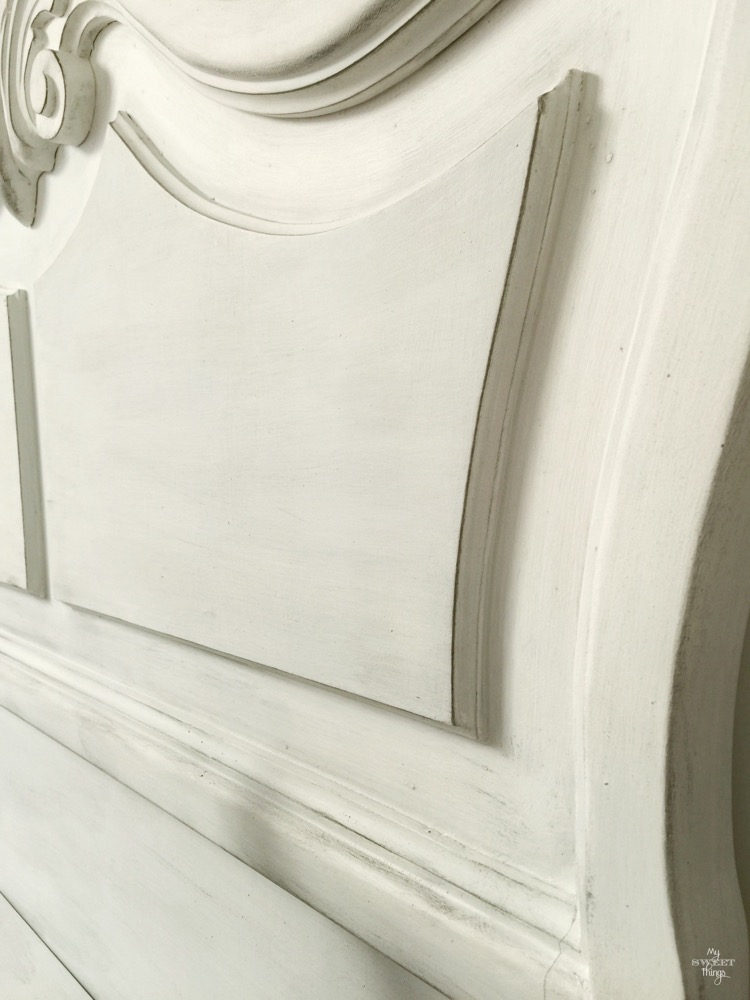
Being it vintage nothing happens if you go heavily in some spots.
Now, who would have guessed this vintage headboard bench has been made out of bits and pieces?
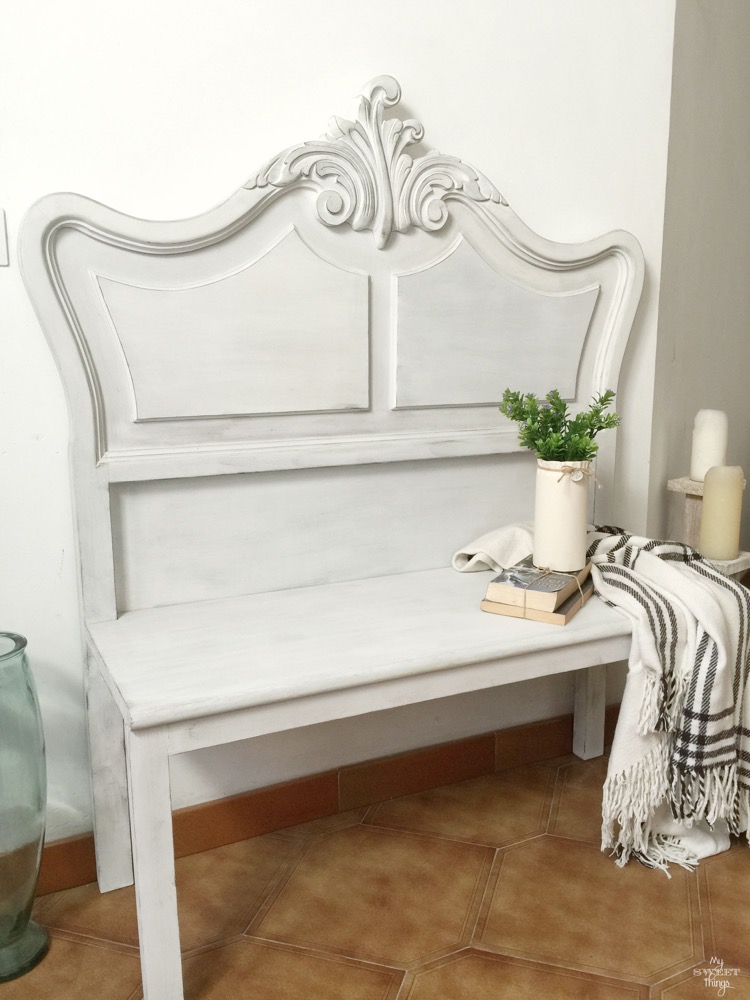
I am just in love with it.
If you are too and enjoyed the transformation of this vintage headboard bench, don’t forget to share the love and Pin It

Thanks so much for stopping by!
And now for more thrifty goodness!
Check out what my fellow upcyclers created below!


Do you love DIY, recycling, home decor, furniture transformation and all kind of crafts? Then we have the same passion! I would love to share all my crazy ideas and projects with you so I would love if you SUBSCRIBE for my post e-mails.
I also share interesting content on Facebook and other social media, and I would love to hear from you! Not following me yet? Don’t be shy and stop by to say hello. Follow me on FACEBOOK, PINTEREST, INSTAGRAM, TWITTER, +GOOGLE.
Linking up to these parties
Any content on this website is created for inspiration purposes only. Creating with my suggested methods, products used and tools fail under your own risk. Please ensure you are following proper guidelines with anything used, and you receive professional guidance if you don’t know how to do something. For more details you can read my complete disclosure
The bench is beautiful! Your husband brings home great gifts! Love all the colors and the detail. I really have to try milk paint.
This is such an awesome idea! I love the look it has with that paint, total transformation. Pinned!
Pili this is a work of art. Such a gorgeous headboard and you of course have made it even better with your paint skills. The dark dry brush technique really makes it pop and the beautiful curves show even more.
FANTASTIC!!!!!!!!! I love this and need that blanket in my life too 🙂
This is absolutely gorgeous, I’m a sucker for a good vintage finish:) I’m sure it will sell right away! xo Kathleen|Our Hopeful Home
You did a beautiful job. I wish you lived by me to help me make one of these. Instead, I will go by your tutorial step by step.
Love your technique Pili! It looks so good! Your lucky day when your hubby brought you that! I’m sure it’ll sell quickly.
Oh my goodness, this is so gorgeous!! What a great upcycle!
Amazing, it turned out perfect!
Maria
Lovely Pili, abSooooLutely gorgeous. I’m sure it’s going to sell in no time at all. That detailing at the top is so stunning
What an amazing transformation!!! I am super excited to find a headboard one day, too. Pinning.
Hi there! First time to your blog. The bench is super cute. What brand milk paint and decor waxes do you use? Look forward to following your blog. PIN’ed
Hi Cheryl
I use Old Fashioned Milk Paint, both milk paint and waxes. If you are living in the US it won’t be difficult to find.
Thanks for stopping by
Privacy Overview