Hey friends!
Welcome to the March Pinterest Challenge Blog Hop. The purpose of this Pinterest Challenge is to motivate all the participants of this hop (and you too) to not just pin, but to make it happen! This month, I chose to make something I have been wanted to do for years!
To join next month’s #pinterestchallenge, click here to sign-up ⇒ April Pinterest Challenge
Let’s meet this month’s Pinterest Challenge hosts!
Erlene – My Pinterventures • Jenny – Cookies Coffee and Crafts
Debbee – Debbee’s Buzz • Lynne – My Family Thyme • Pili – My Sweet Things
Bri – Halfpint Design • Julie – Sum of their Stories
Erin – The DIY Nuts • T’onna – Sew Crafty Crochet
Beverly – Across the Boulevard • Kristie – Love My Little Cottage
Roseann – This Autoimmune Life • Terri – Our Good Life
Ali – Home Crafts by Ali • Cherryl – Farm Girl Reformed
Leslie – Once Upon a Time & Happily Ever After • Kelli – K’s Olympic Nest
Lauren – Mom Home Guide • Joanne – Our Unschooling Journey
Shirley – Intelligent Domestications • Gail – Purple Hues and Me
Audra – Renewed Projects • Habiba – Craftify My Love
Kristie – Teadoddles • Marie – The Inspiration Vault • Susan – Suzerspace
Lydia – Lydia’s Flexitarian Kitchen • Maria – Simple Nature Decor
Sam – Raggedy Bits • Emily – Domestic Deadline • Marci – Stone Cottage Adeventures
Alexandra – Eye Love Knots • Alayna – Alayna’s Creations
Terrie – Decorate and More with Tip
I have been using chalk paint for many years, in fact mostly I use my homemade chalk paint and I’ve painted over most of the materials on Earth: wood, plastic, glass, walls, ceramic, concrete, you name it. But there was one I still haven’t tried and I was really curious because it seemed to work well too and the results were amazing.
Like this upholstered headboard from Sincerely, Sara. Isn’t it gorgeous?
So as I had to help my sister in law to makeover an apartment with an almost non-existent budget I decided to give that idea a try.
Keep reading if you want to know how to paint a headboard with milk paint, I can guarantee it’s silly easy!
Also I will share some affiliate links for your convenience, you can read the full disclosure.
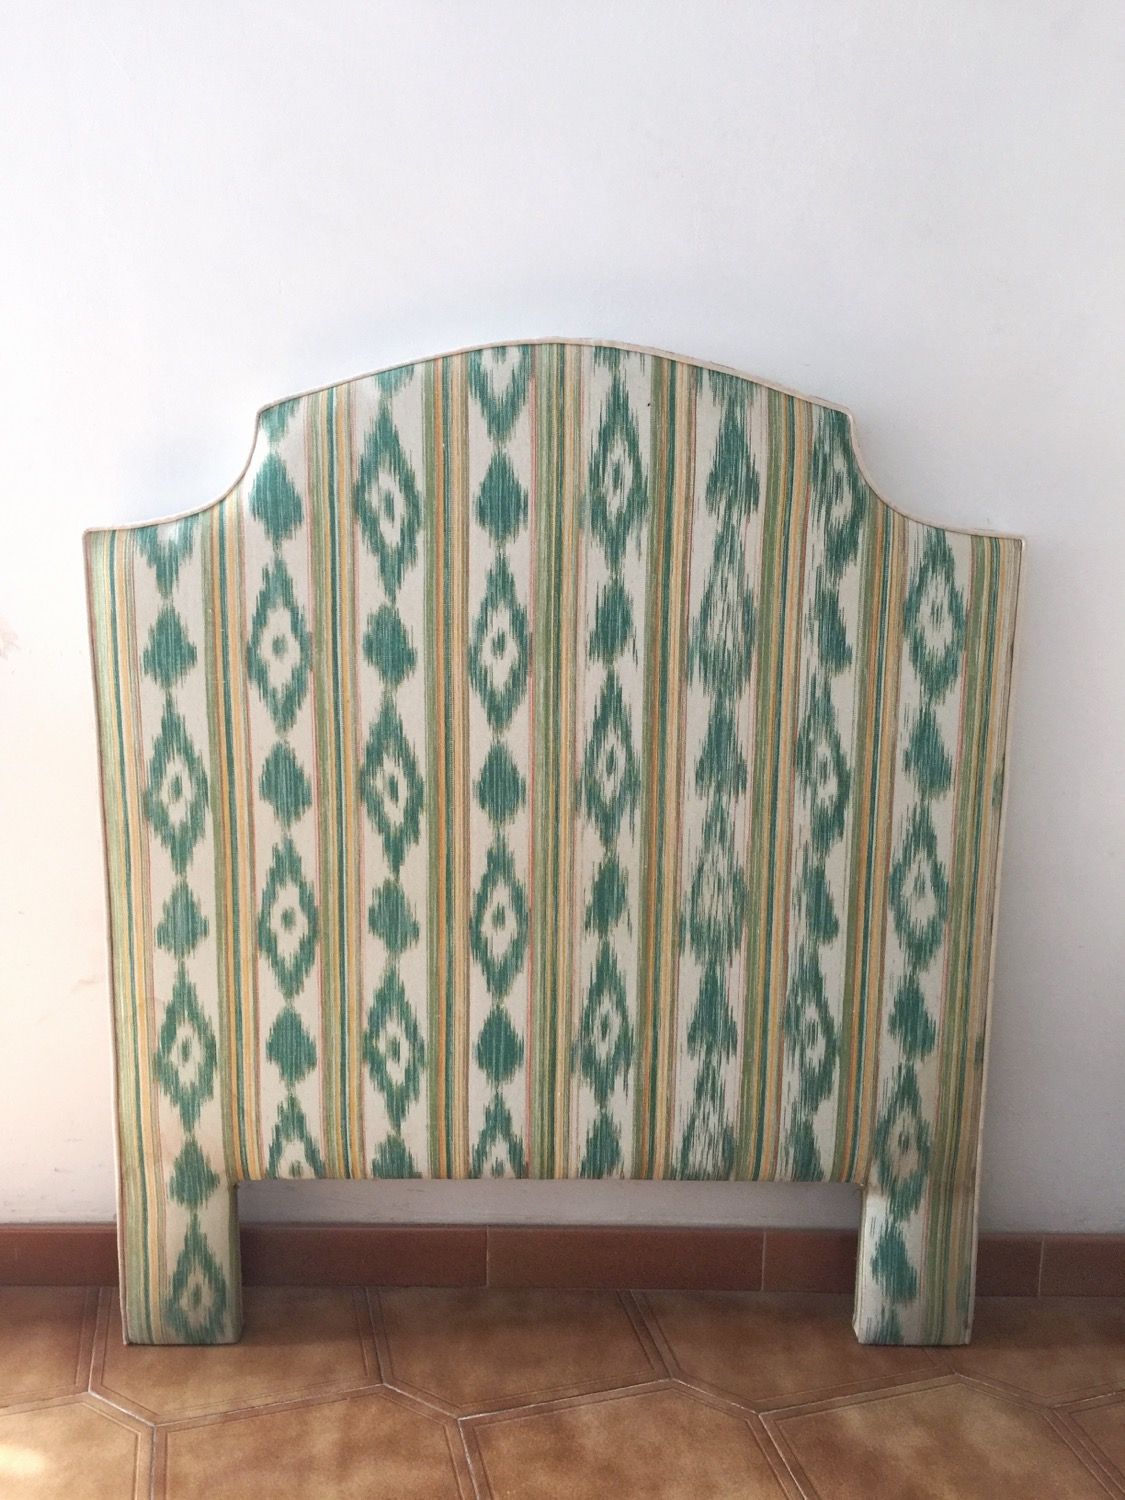
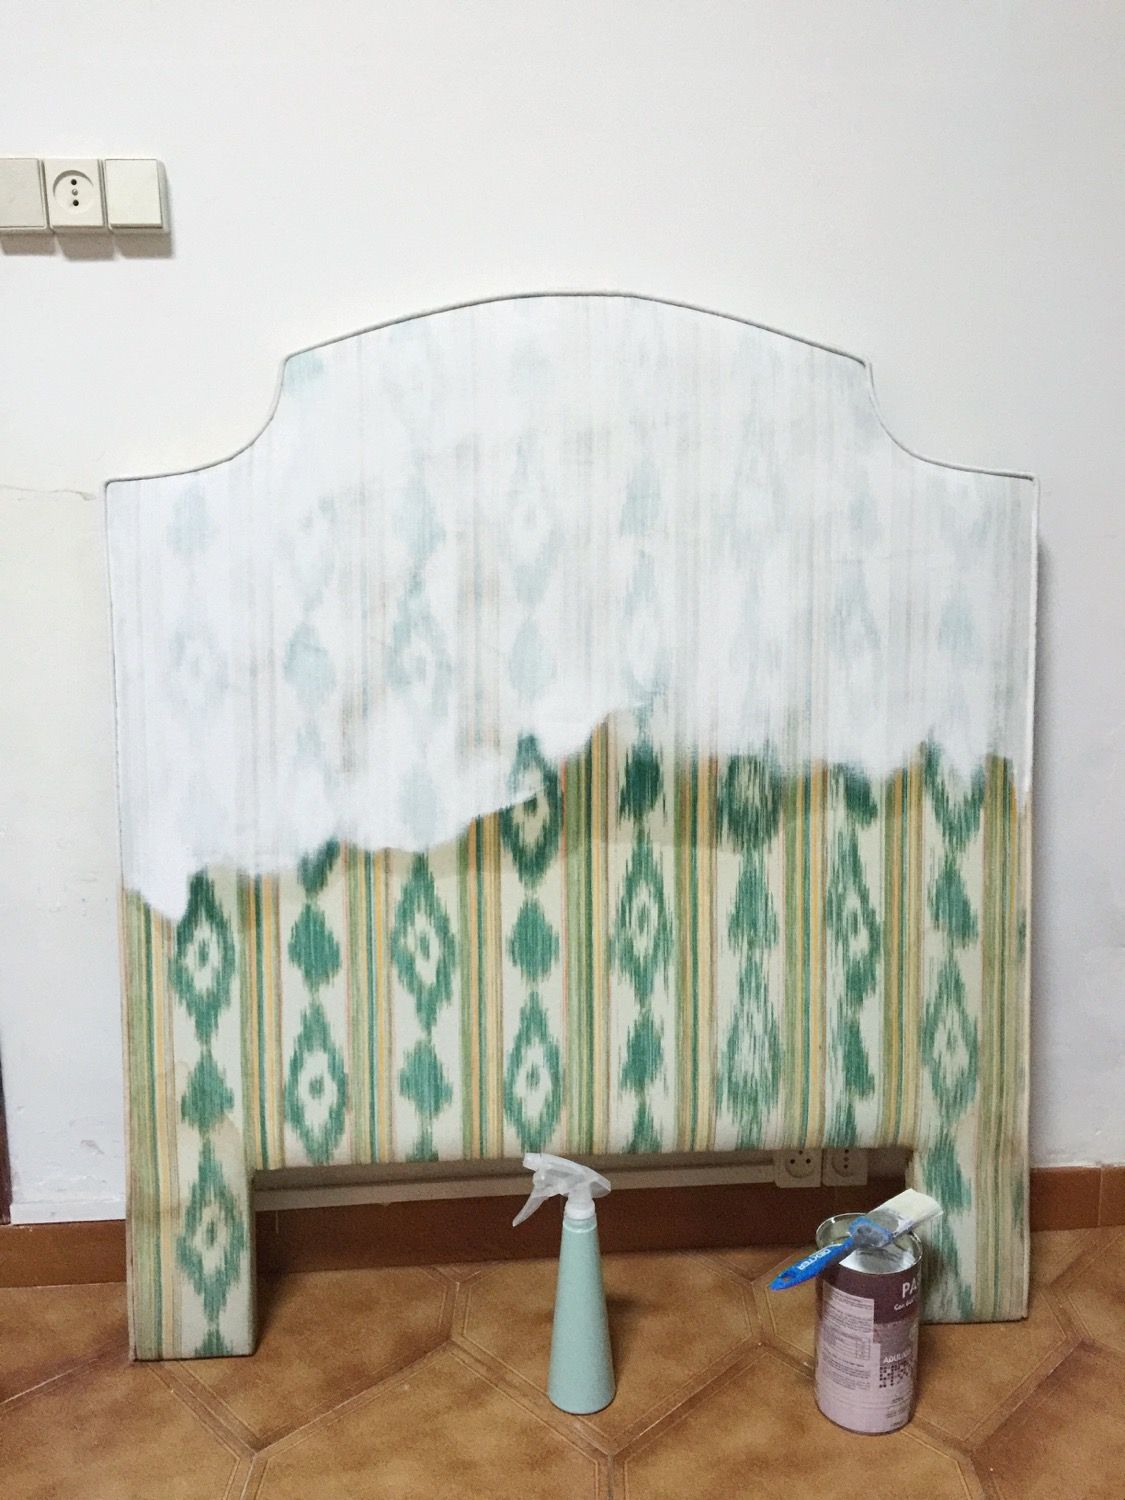
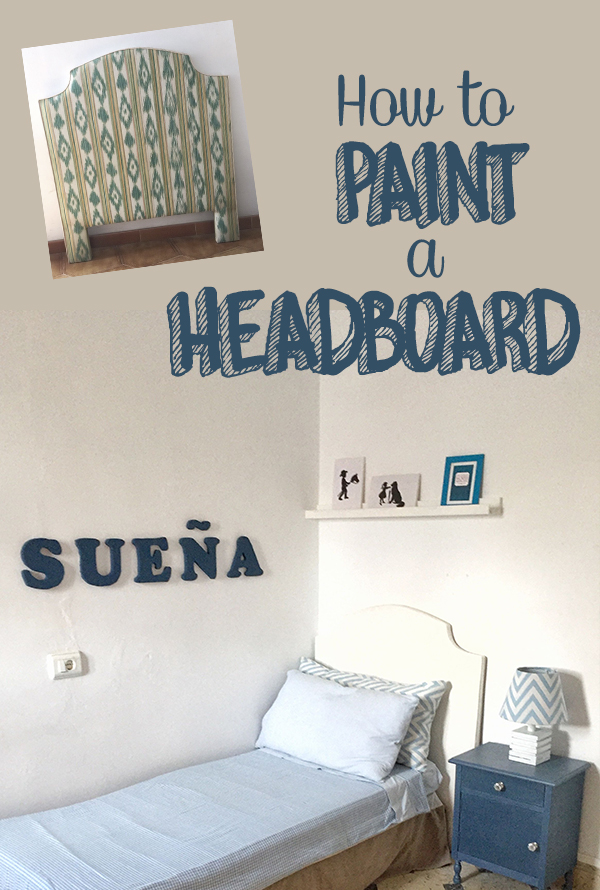
I started with this.
How to paint a headboard with chalk Paint
You’ll need few supplies. Also you’ll find the homemade chalk paint receipe here as how to prepare it
- Acrylic paint
- Plaster of Paris
- Varnish
- A headboard of your choice
- Spray bottle
- Brush
- Sand block
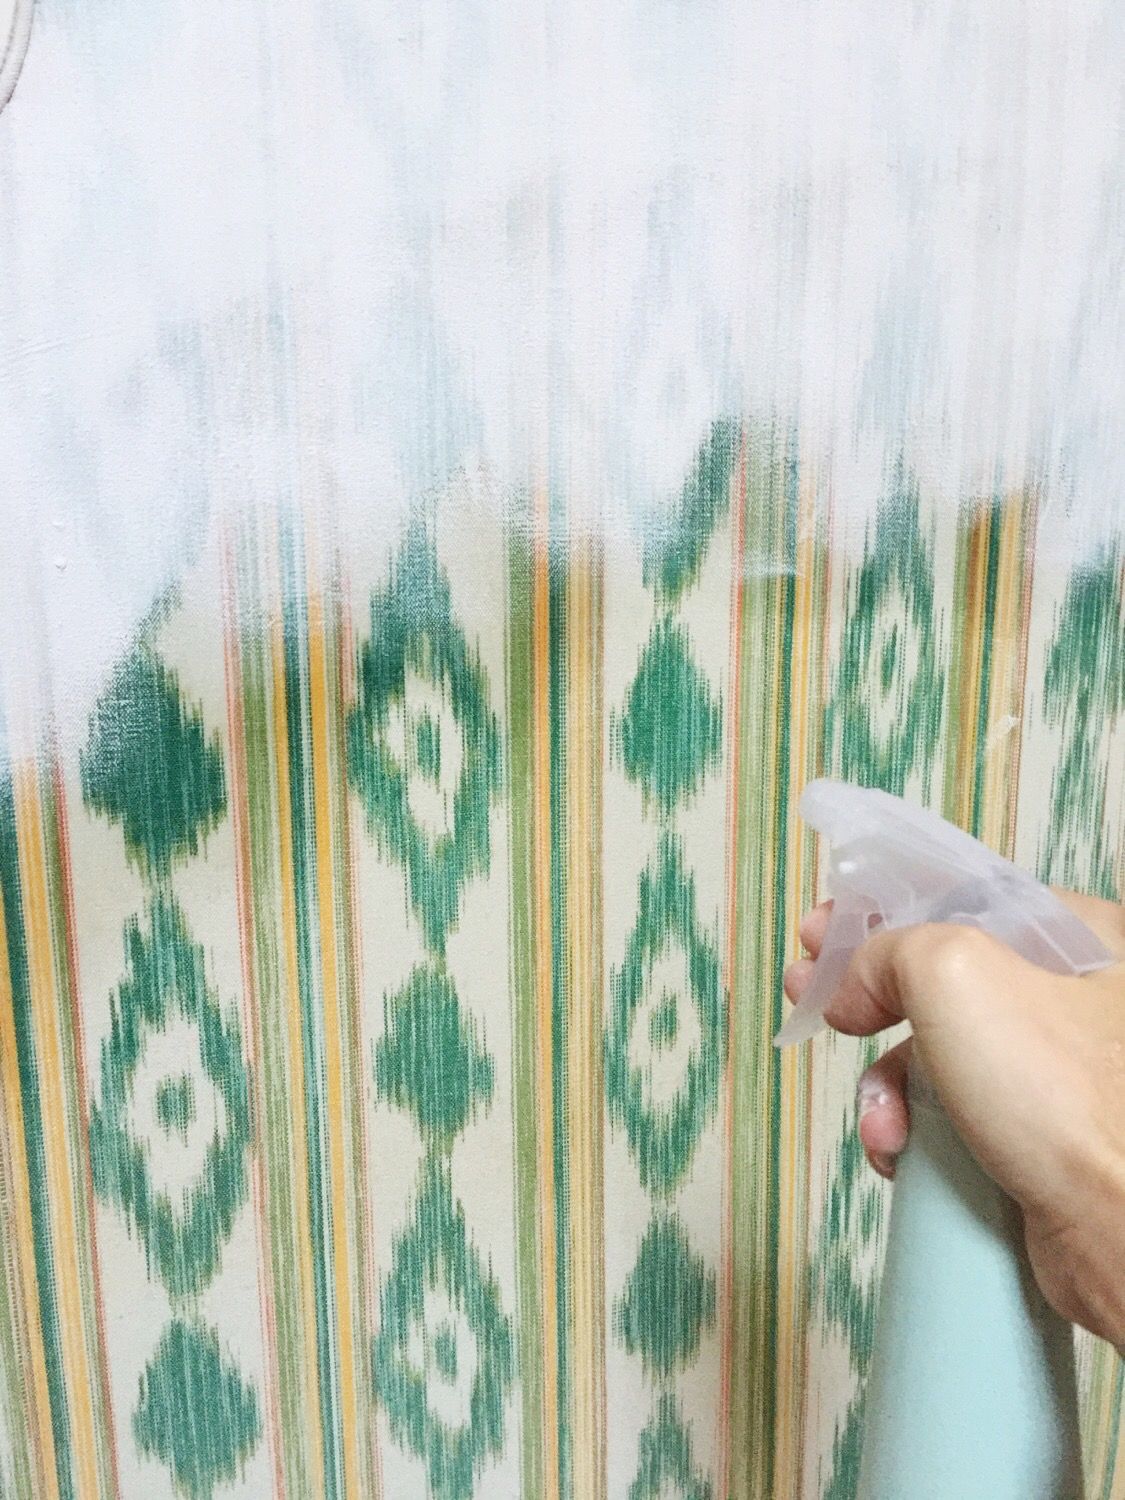
First I vacuumed my headboard (in fact I had two and did the same on both) and filled in a spray bottle with some water.
Then I sprayed the fabric so the paint would go on easity.
It goes quite smooth.
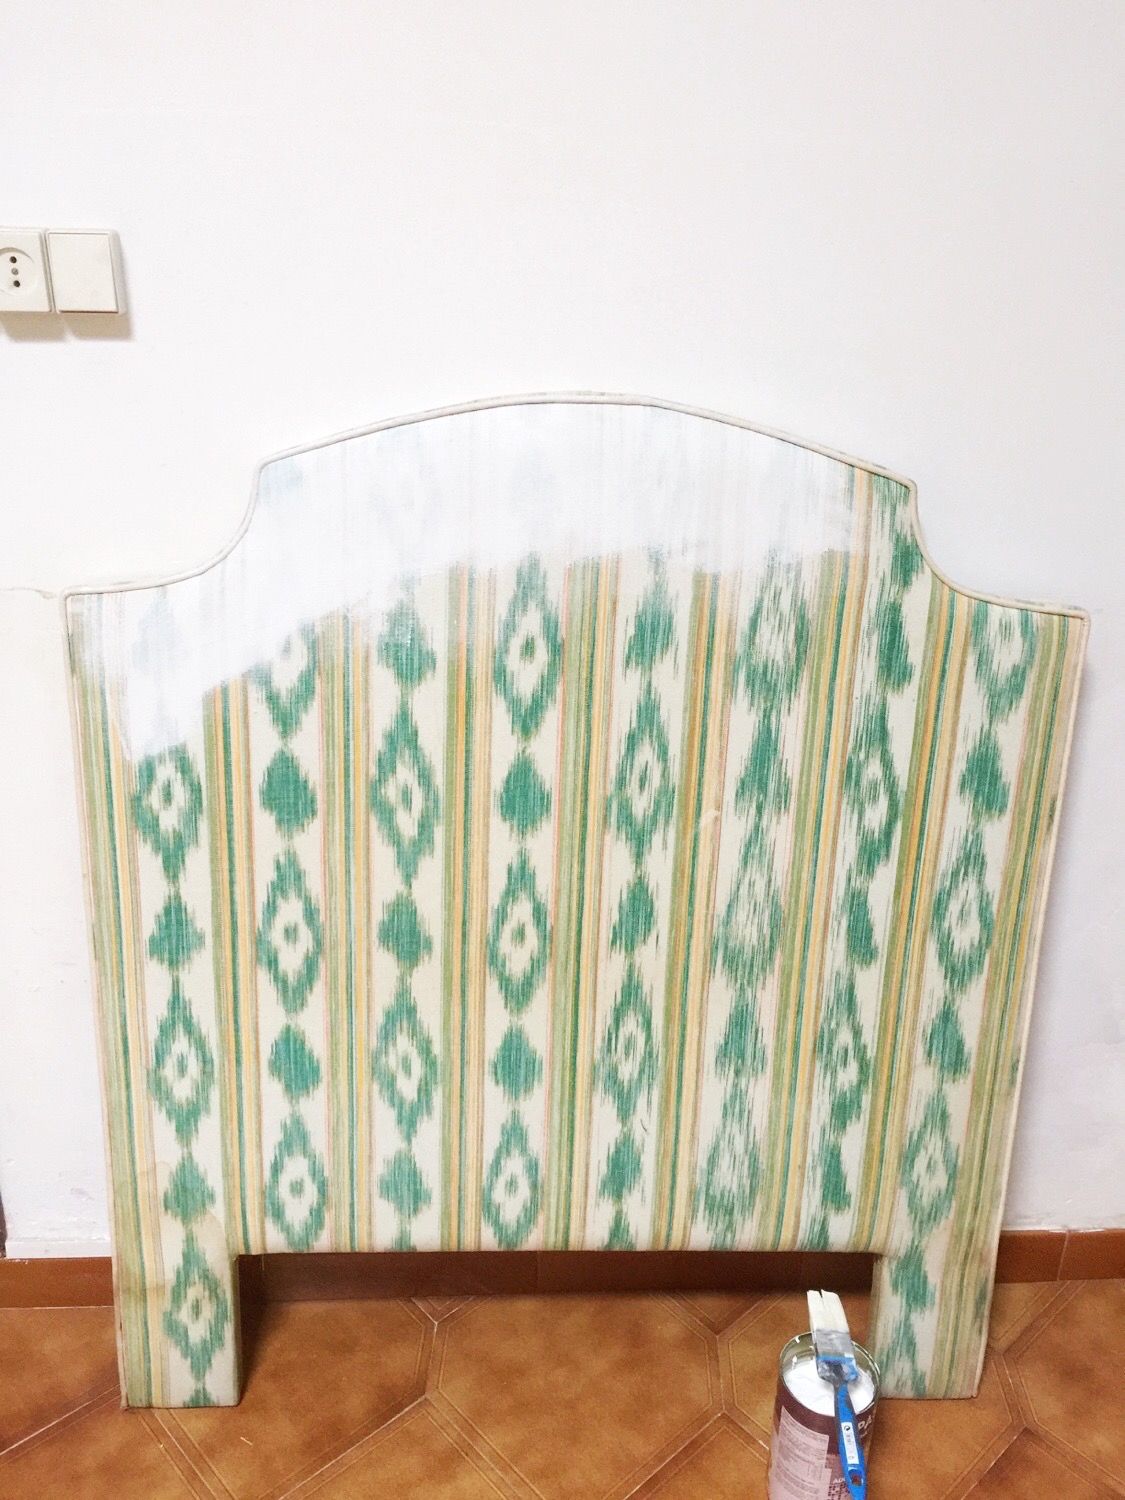
I kept working on little areas repeting the process: spray, paint, spray, paint…
It doesn’t take too long, you can listen to music or talk with friends or family while you do it.
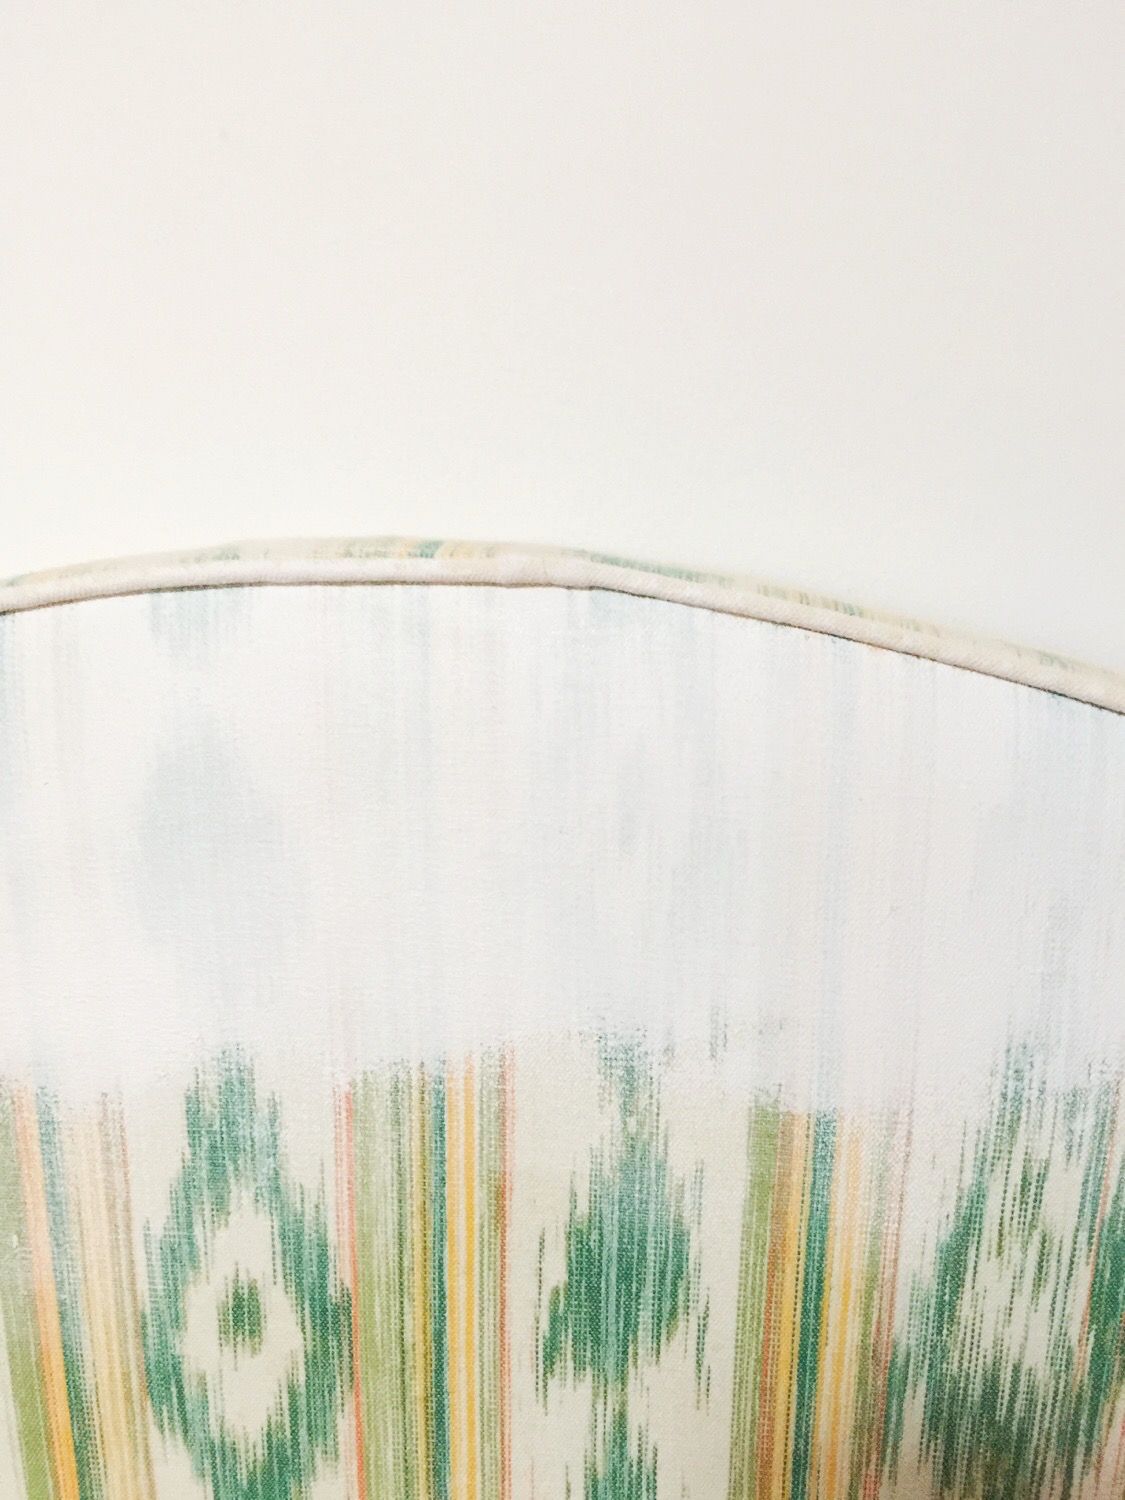
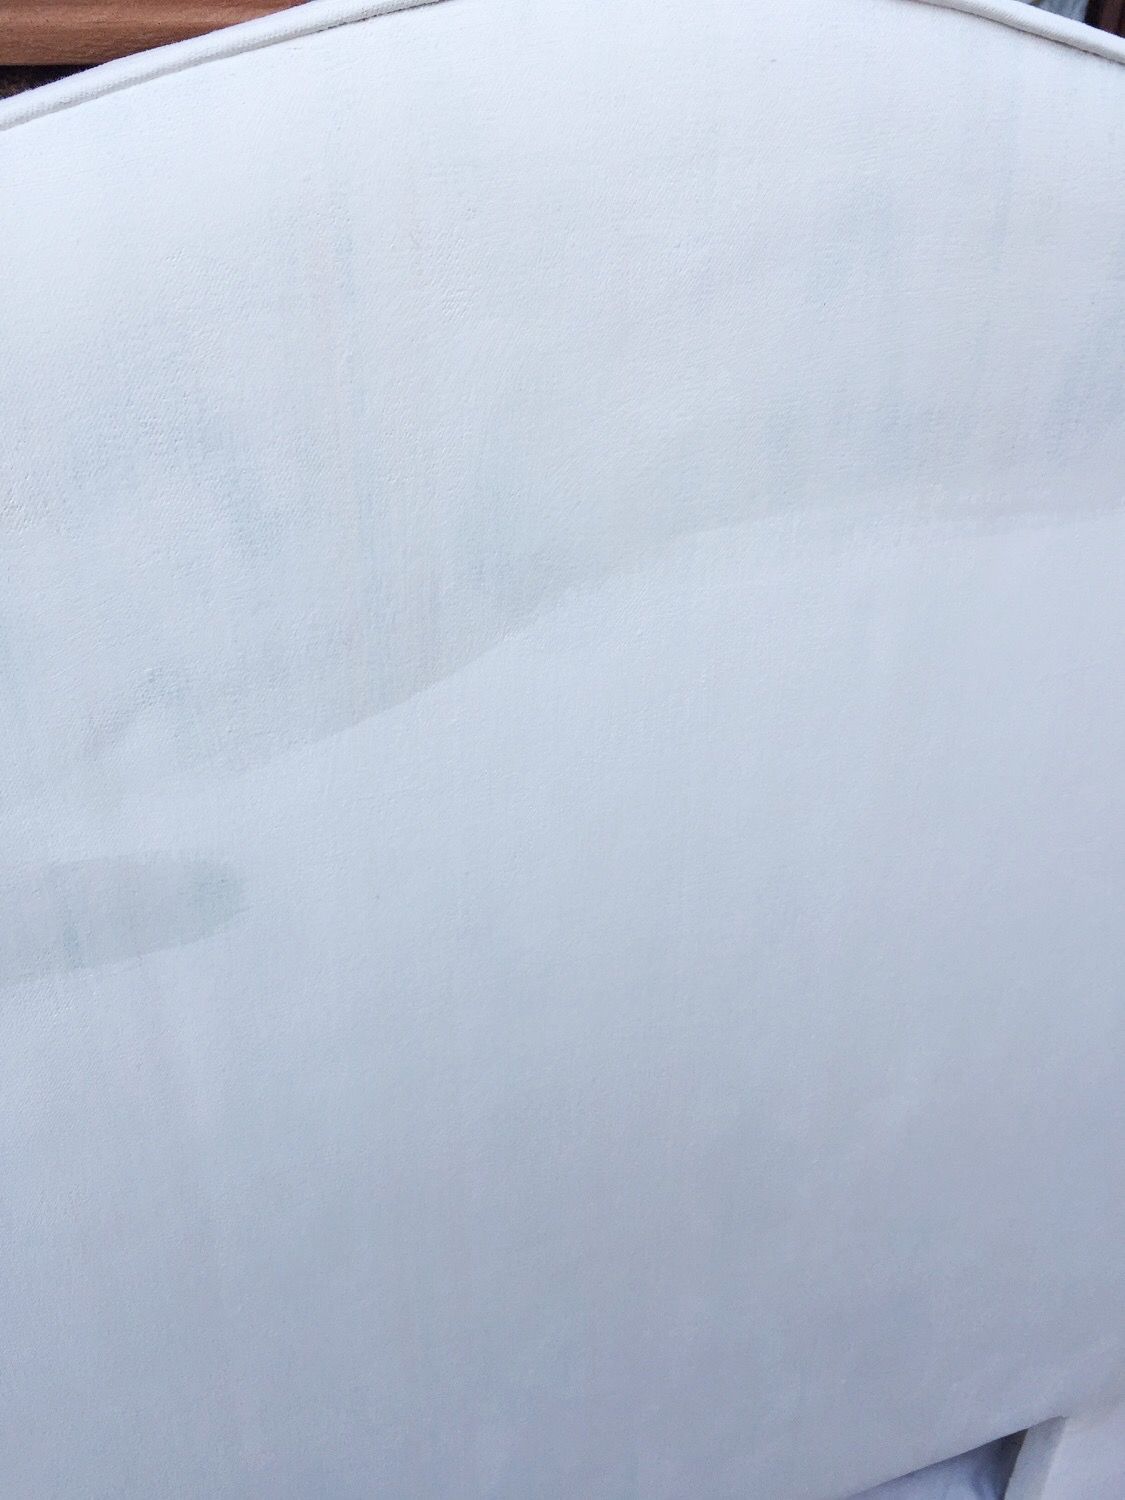
Here’s how it looked after the first layer of paint. As you can see it didn’t cover it and I knew it would require at least one more layer. Remember to slightly sand between layers.
It was winter so I was painting inside, excuse the bad quality of the pictures but I’m keeping it real, friends!
I let it dry and used a low grid sander block to smooth the surface a bit.
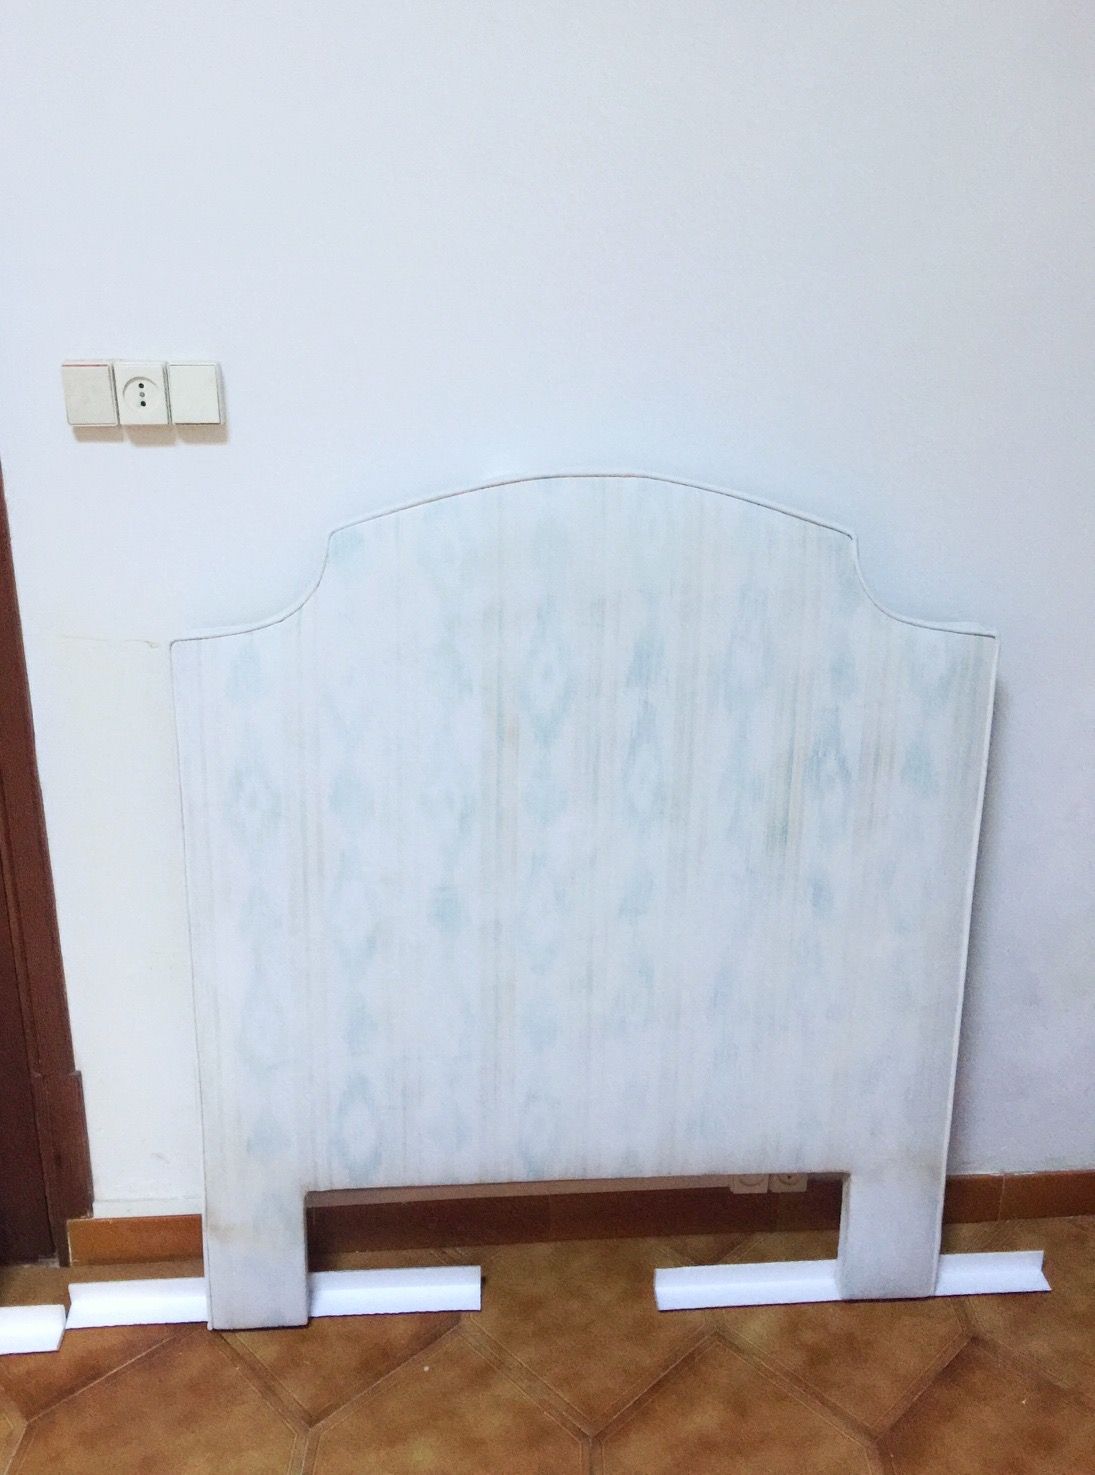
I did the whole process again until I completed a second layer of paint and it looked like this.
Quite better but it would require more paint.
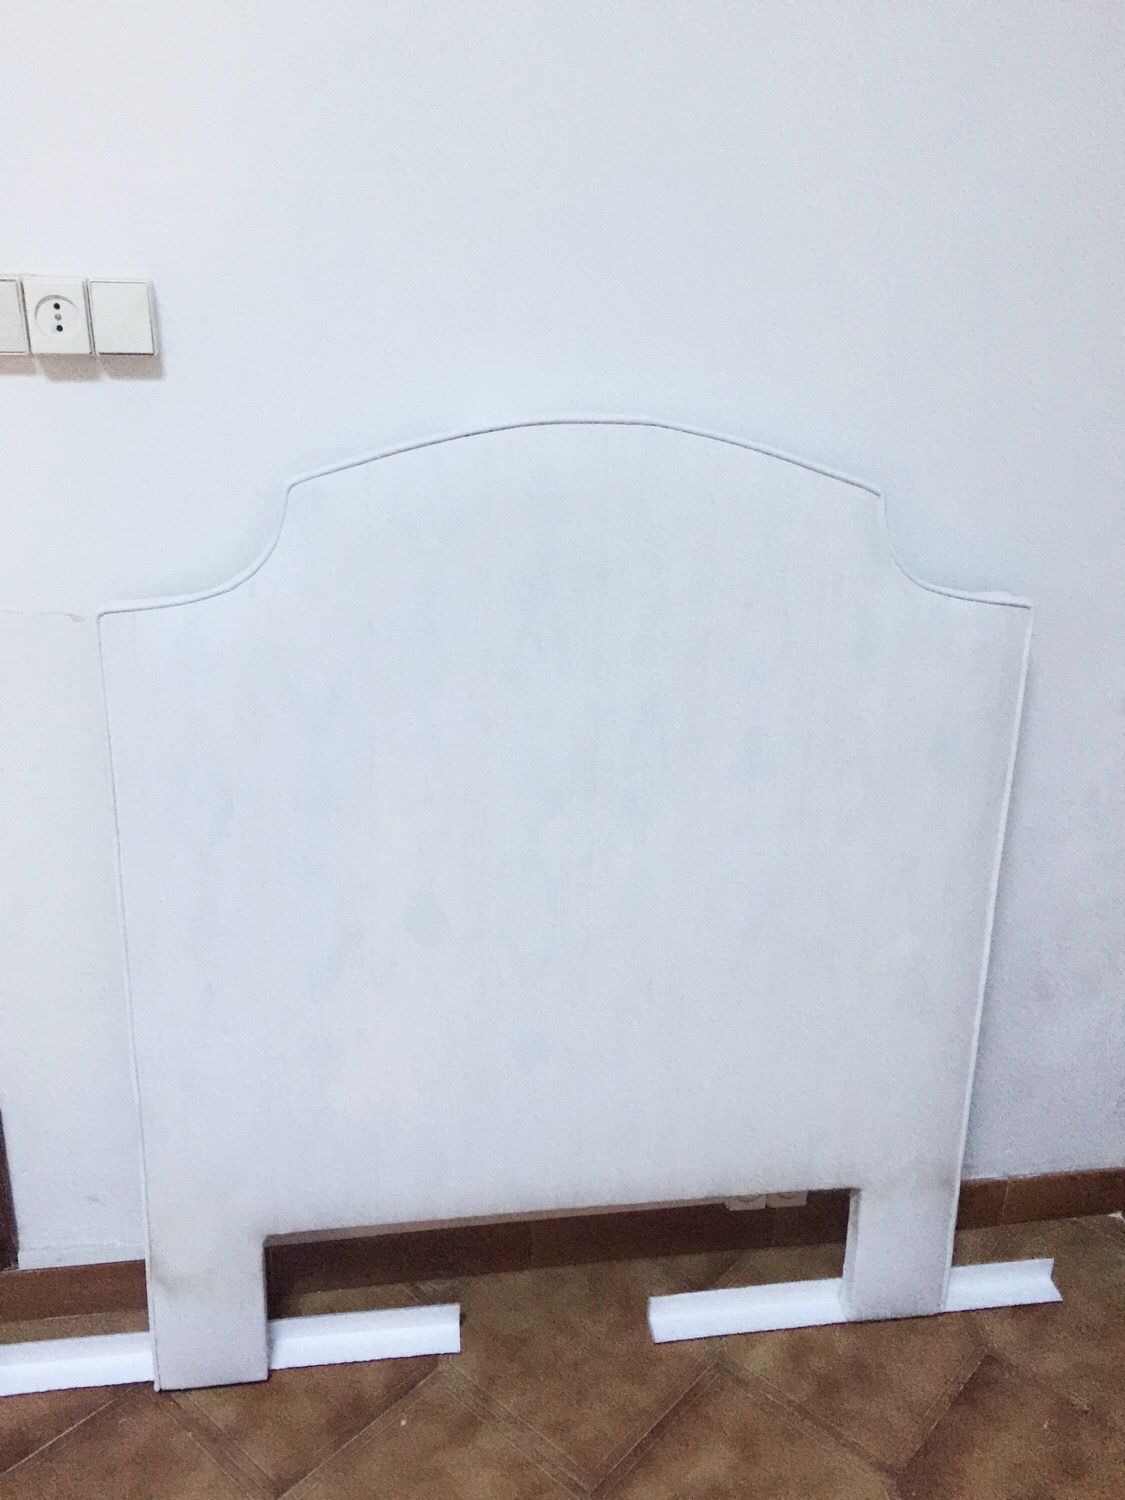
I painted the whole thing again (three layers finally) and took it outside to see it with natural light.
Then I realized I had some stubborn stains showing up on each layer I decided to use the trick I use when furniture bleeds.
EXTRA TIP: apply some varnish to the area that is bleeding and let it dry. Then paint over it and it will be covered. The varnish blocks stains and they don’t show again.
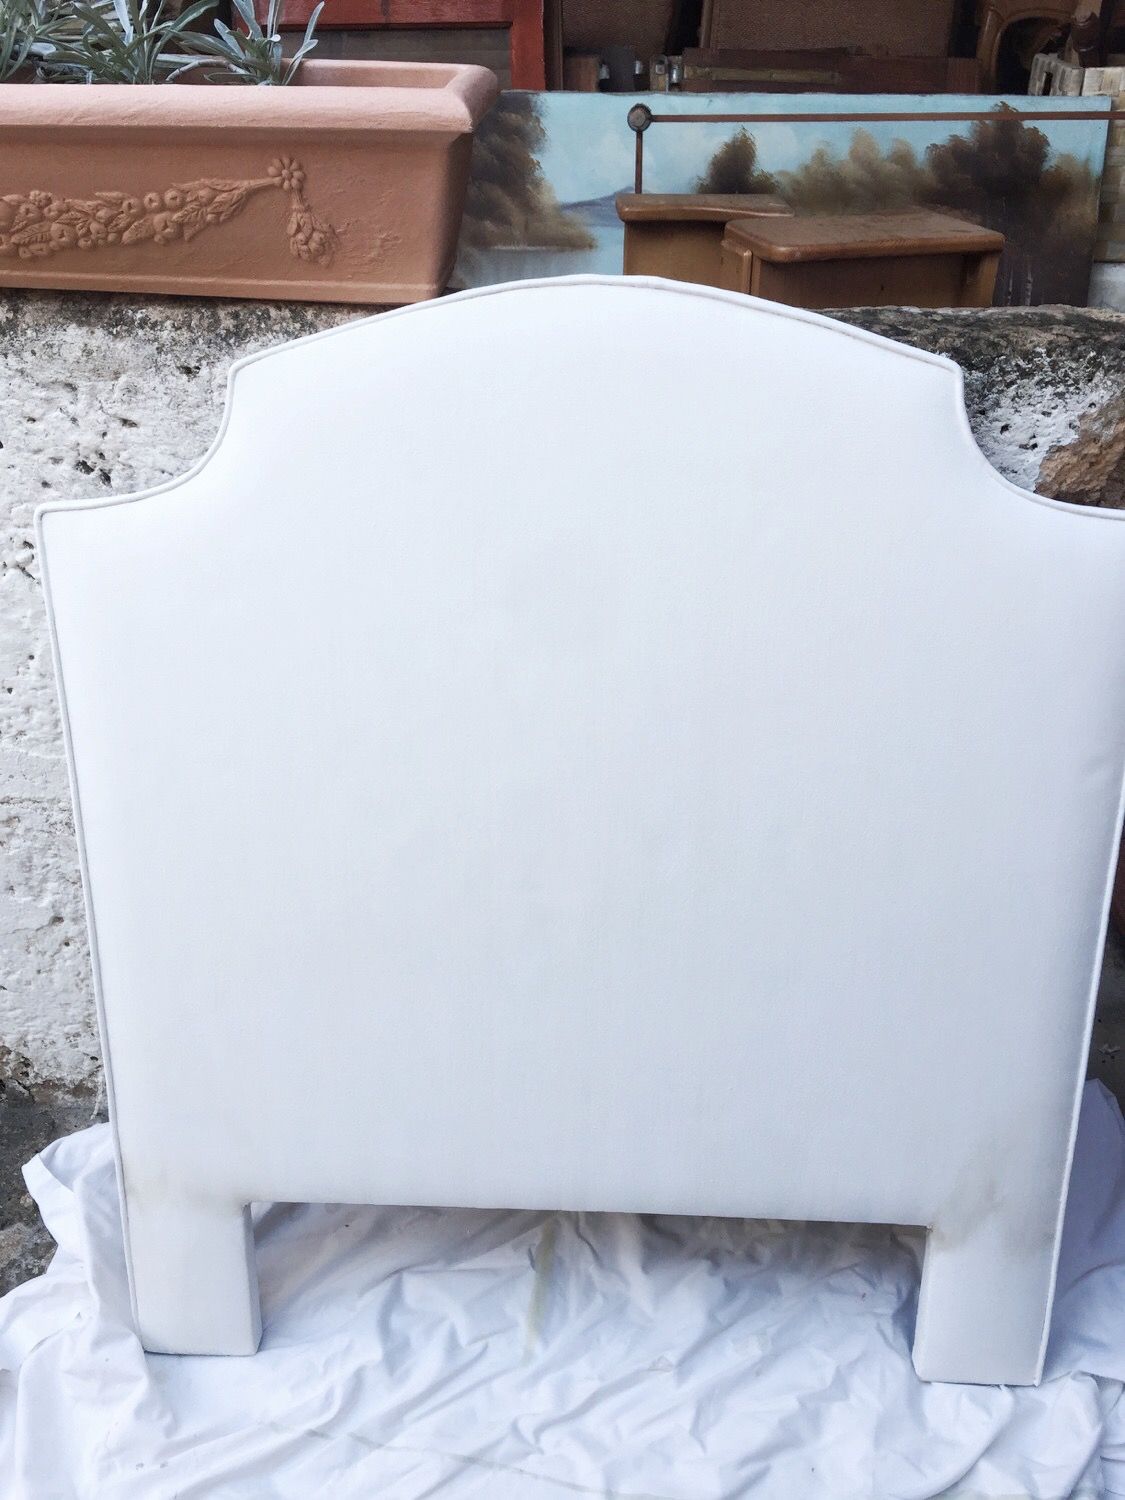
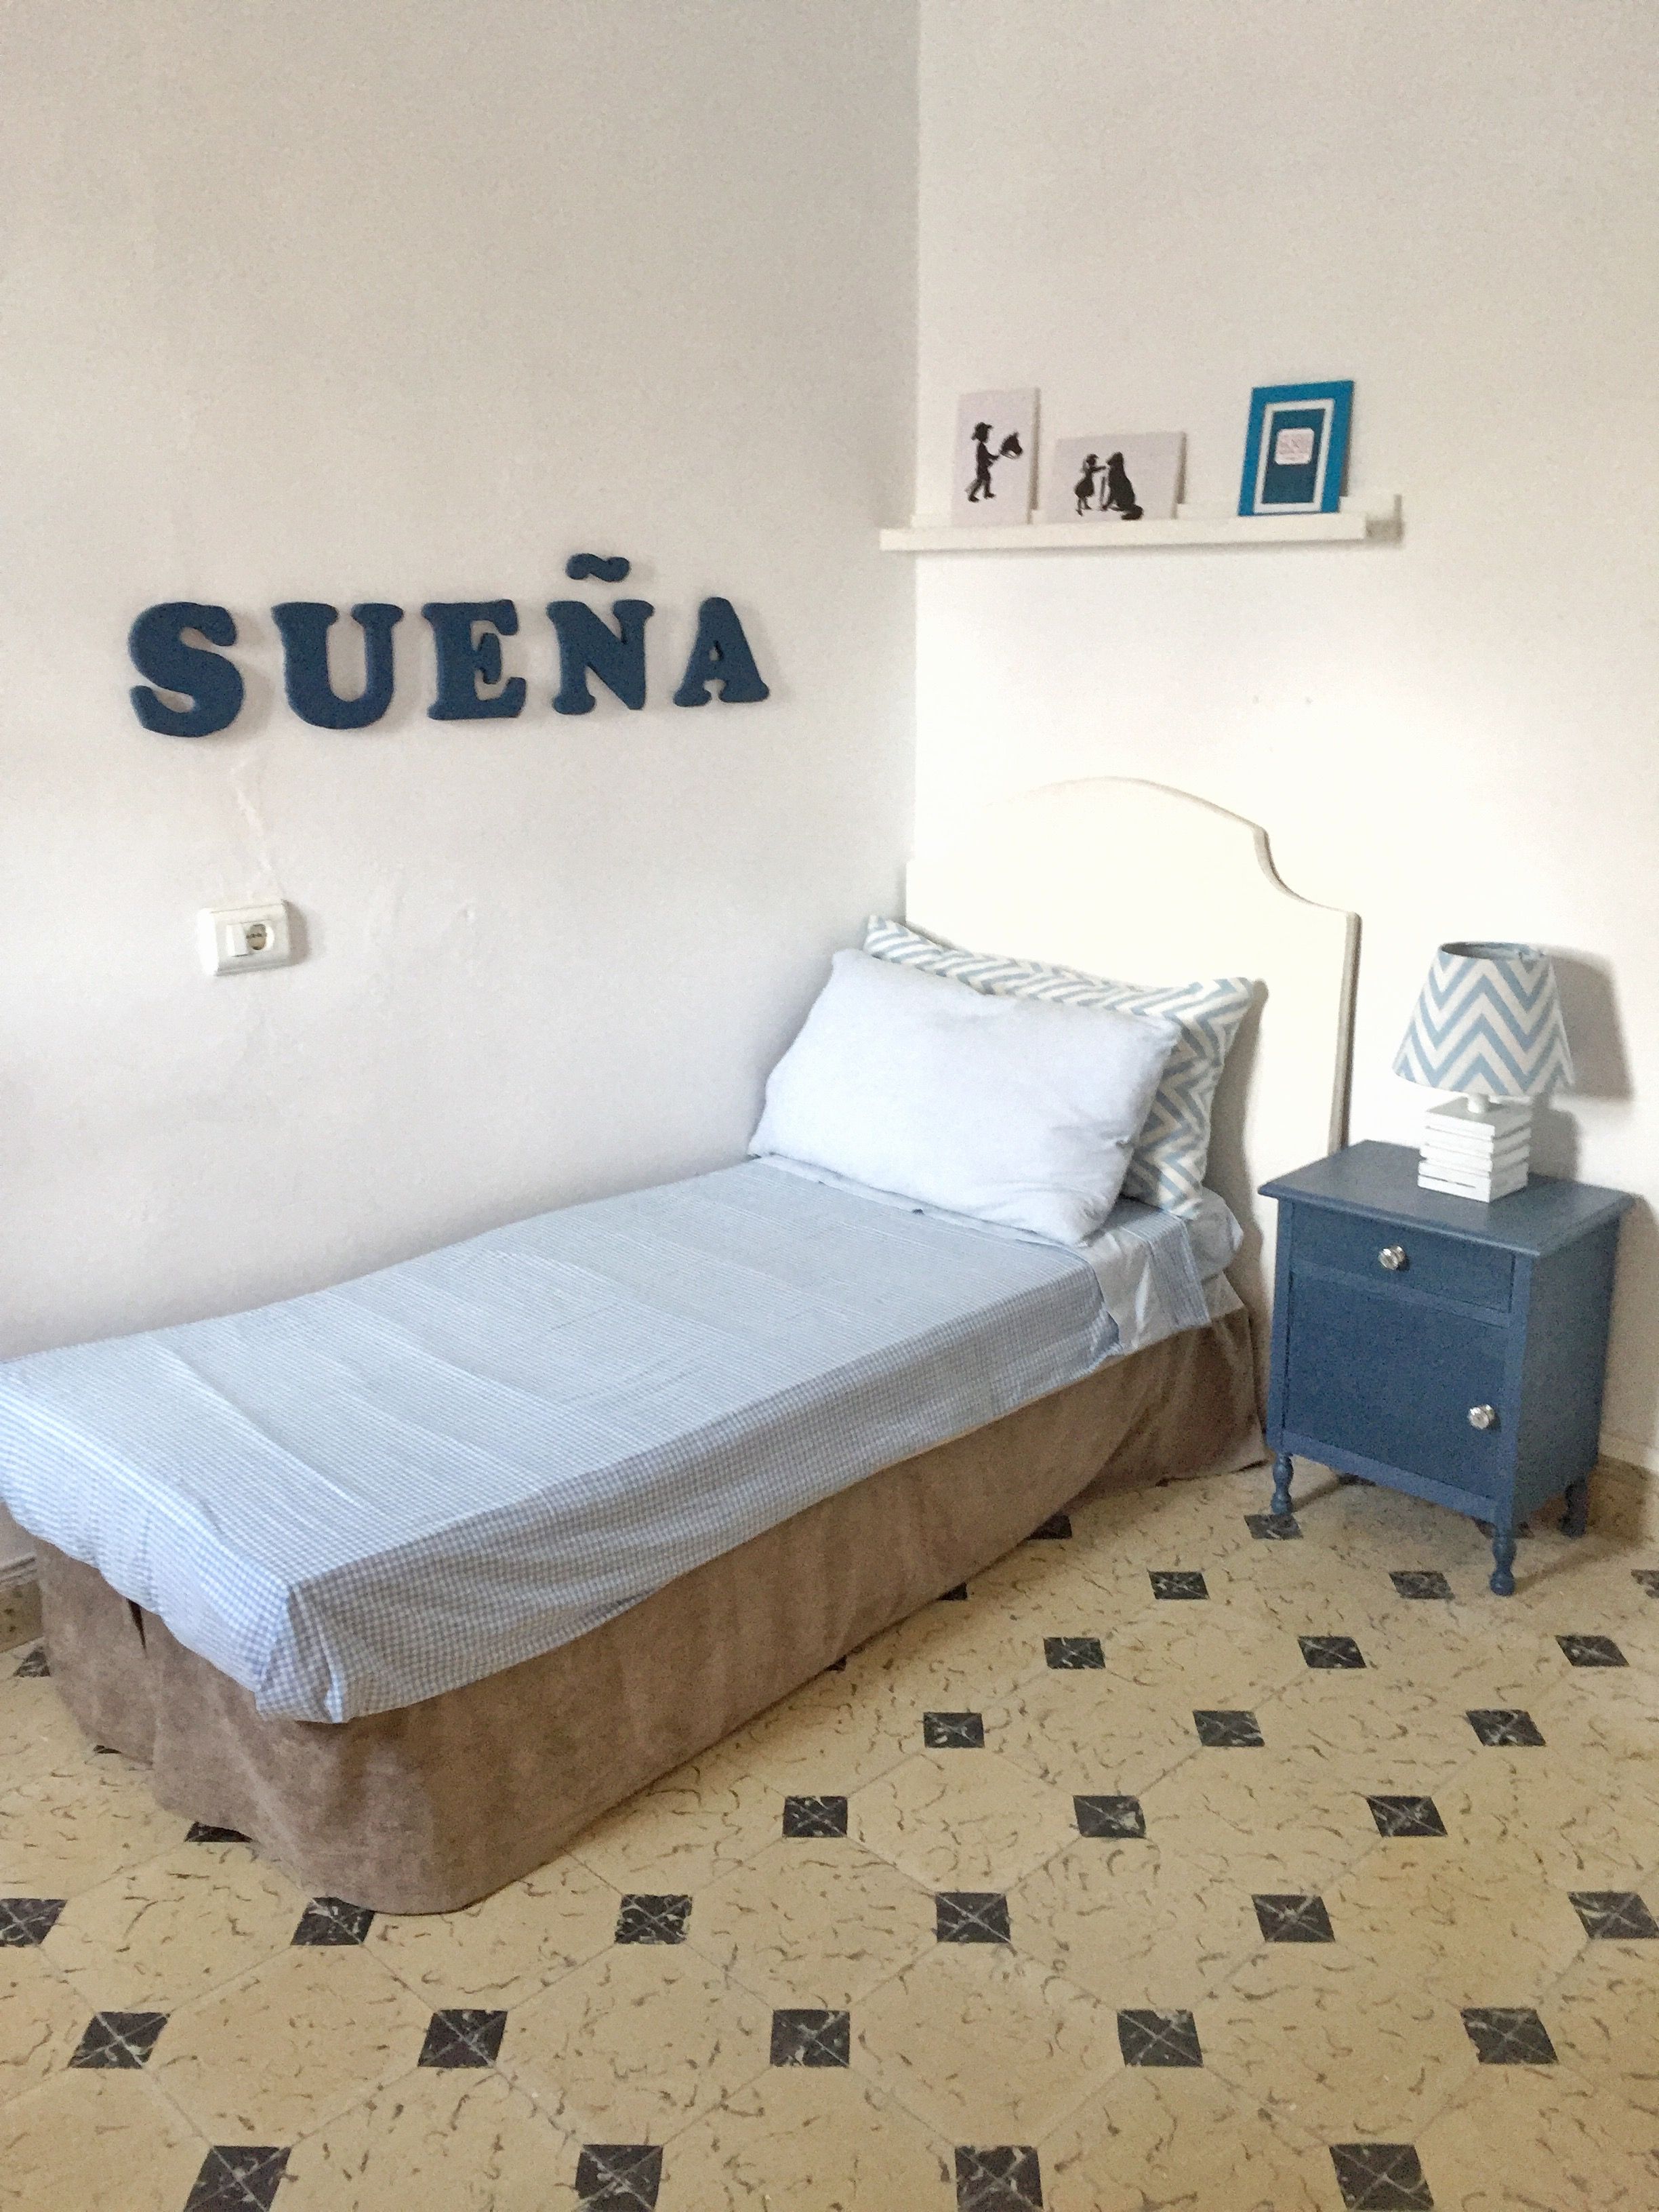
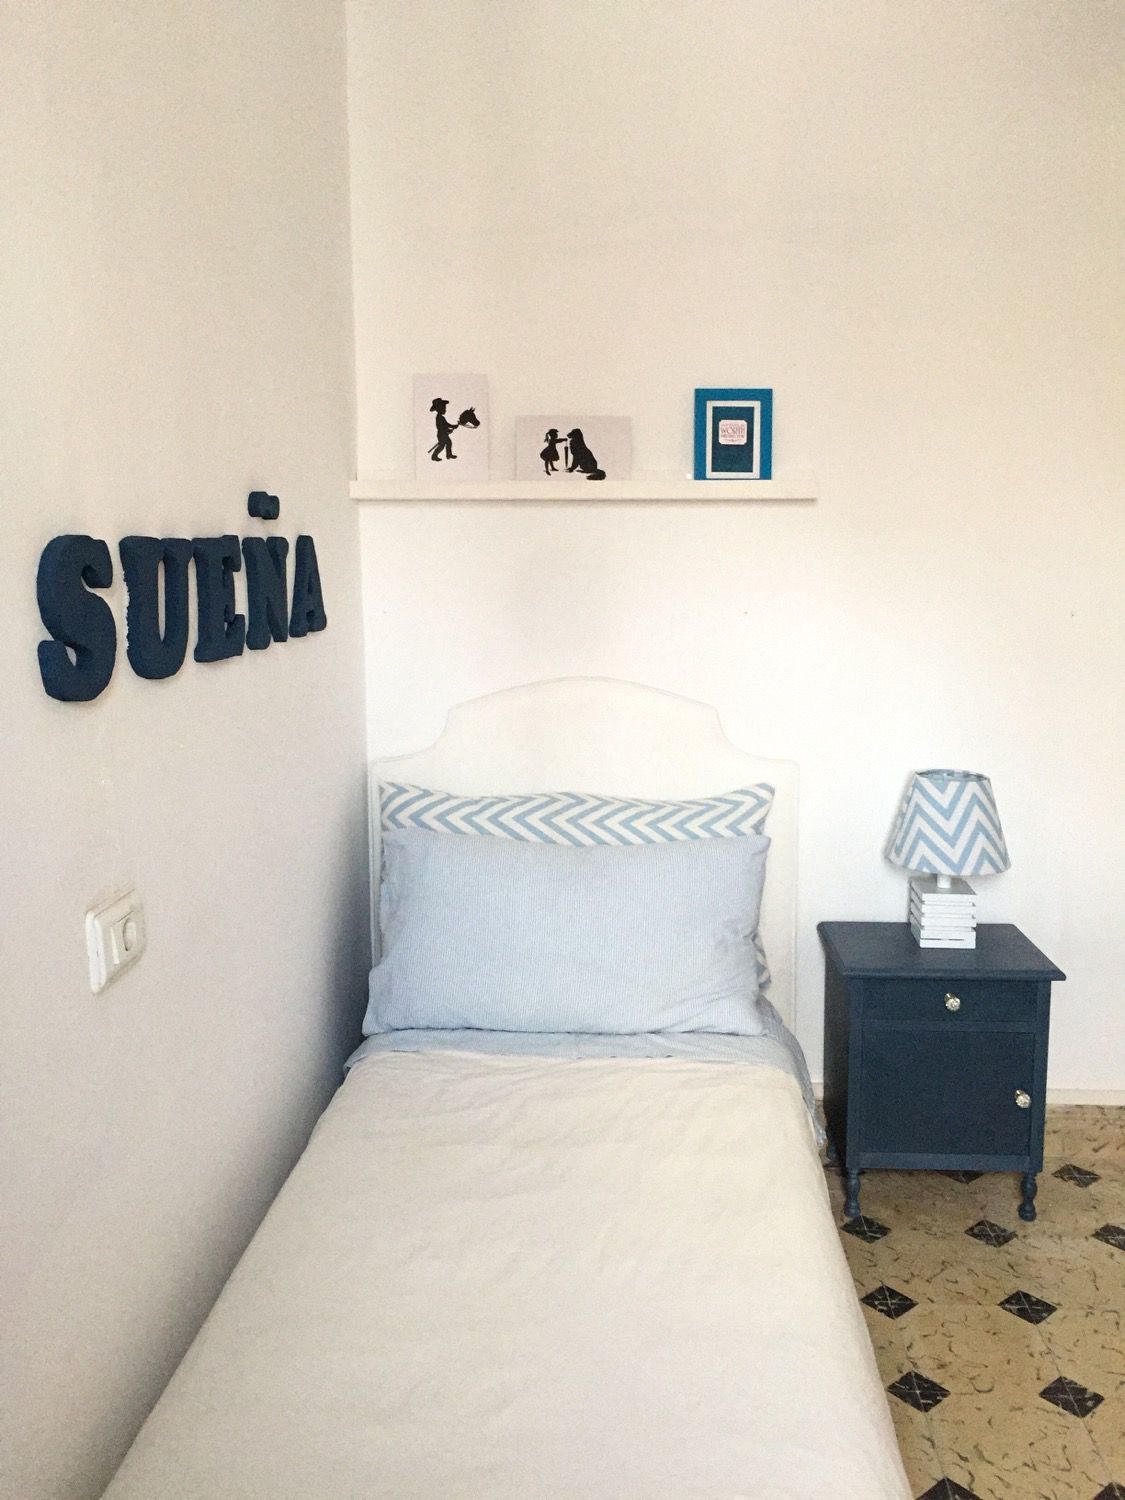
After the paint touch ups on the legs I varnished the whole thing. When you apply the varnish it wets the paint and you can see through again but don’t worry, once it dries it looks great.
This is one of the rooms where I used a headboard, not bad right?
By now I am sure you are wondering… how it feels? Is is rough? Will it chip?
Let me tell you… the feel is really soft, it’s like leather and it looks like leather as well. Regarding if it can chip, I don’t think that will happen on a headboard. It is still flexible and unless you try to damage it on purpose, I don’t think it will do.
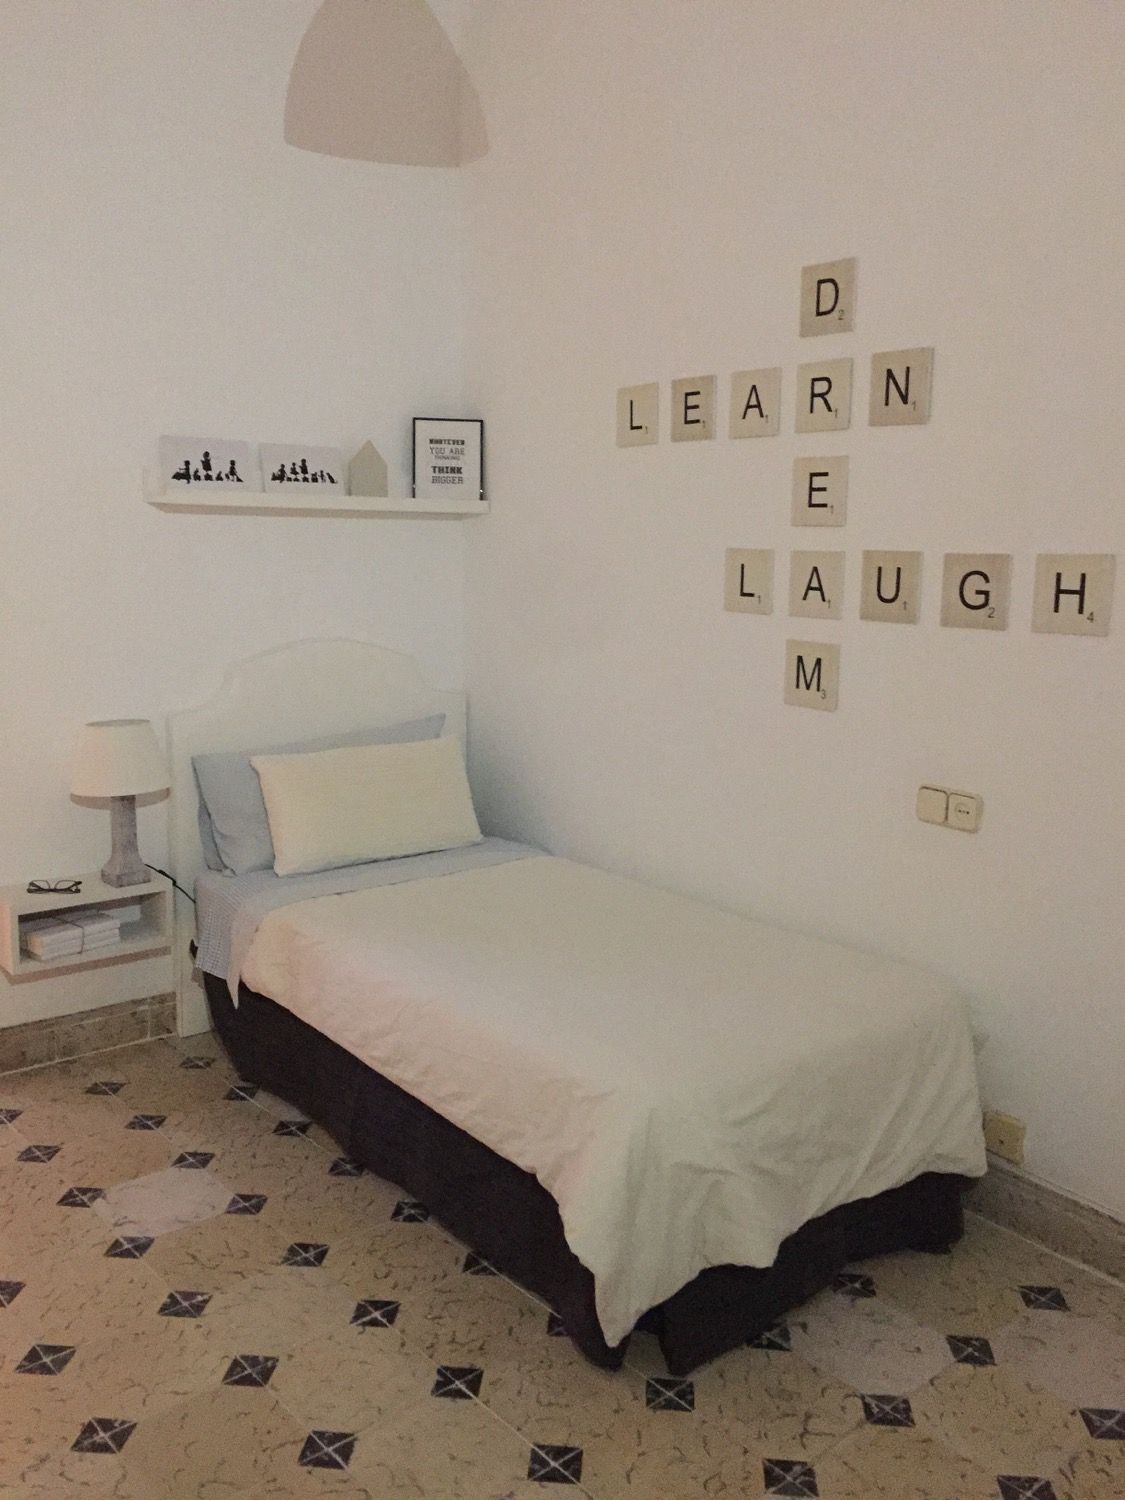
This is the other headboard I used on a different room. If you like you can read about that Scrabble wall art
I hope you enjoyed this tutorial and if you are like me and feel curious about painting fabric just give it a try.
Remember you can Pin It to save it and also sharing with friends.
Find the hosts’ Pinterest Challenge Inspired Projects below ⇓⇓



Pili it turned out really great and I never would have suspected it had a pattern underneath. The headboards give a breath of fresh air to the bedrooms and make them feel relaxing. I will have to try chalky finish paint on fabric sometime too.
Mary it is so easy and it makes a great impact, that’s your kind of DIY and I’m sure you can surprise your family with it.
I’ve always wondered how chalk painted fabric feels. I had this idea in my head that it would be all hard and flaky so it’s great to know that’s not true. Love how your headboard turned out Pili, I bet no-one would ever guess that it was the same headboard either. It’s a huge transformation.
That was my same thought and the reason I kept postponing it, but now I feel so brave that I painted our dining room chairs too and are holding quite well despite we are not a gentle family 😉
Privacy Overview