**Though I was compensated for this post in product and/or monetarily, all opinions, ideas and comments are 100% my own. Please note: this post may also contain affiliate links.**
Hi, guys!!
I am back again with another Fab Furniture Flippin’ Contest project and I’m so happy this month theme is “Class It Up” because I had an awesome piece of furniture I was wanting to refinish a long time ago! Not only that but also this month sponsor is the fabulous D. Lawless Hardware! If you have not heard about them before, they are an online retailer of cabinet and furniture hardware which have tons of amazing different products at an unbeatable price. I used their lovely label pulls for this faux card catalog so now you can understand my excitement when I was told the news.

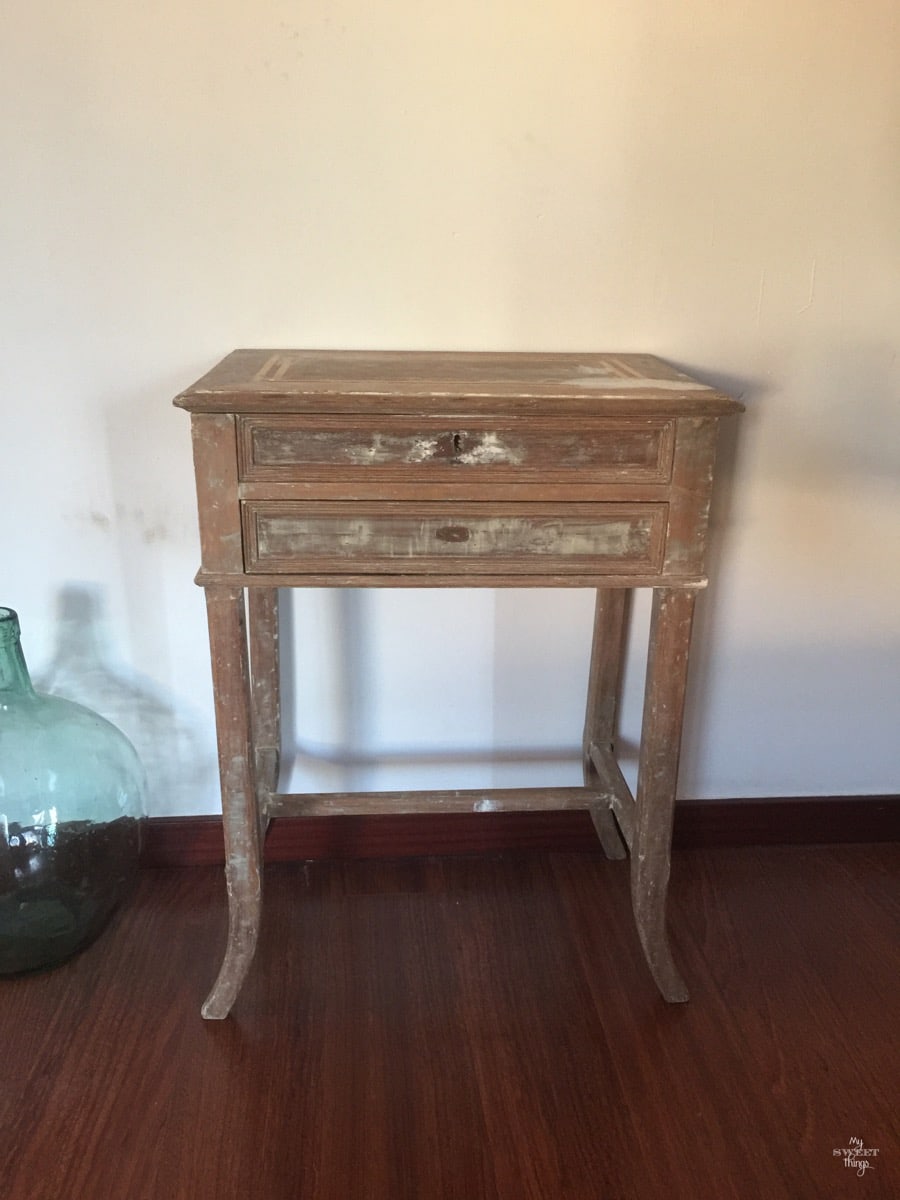
In our last trip to Barcelona, my mom had a surprise for me… It was an old sewing cabinet that used to belong to my grandma and that I loved since I was a kid. I always asked her to keep it for me, and she always said that I could take it whenever I wanted. So this time when we came to visit her we had the car with us, and that allowed us to take the sewing cabinet with us as well because we would take the ferry back. It was the best opportunity ever! No way we would take it on a plane…
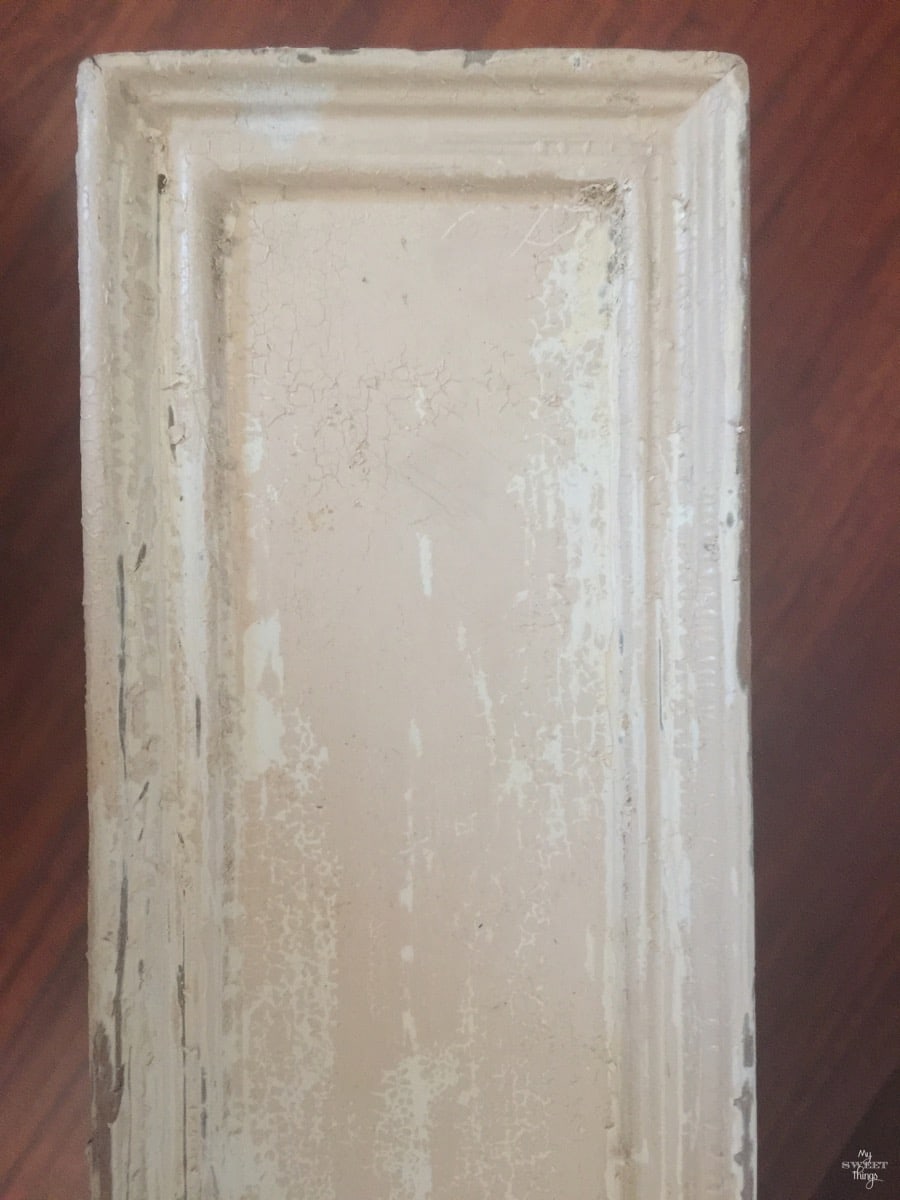
It used to look like this as long as I can remember
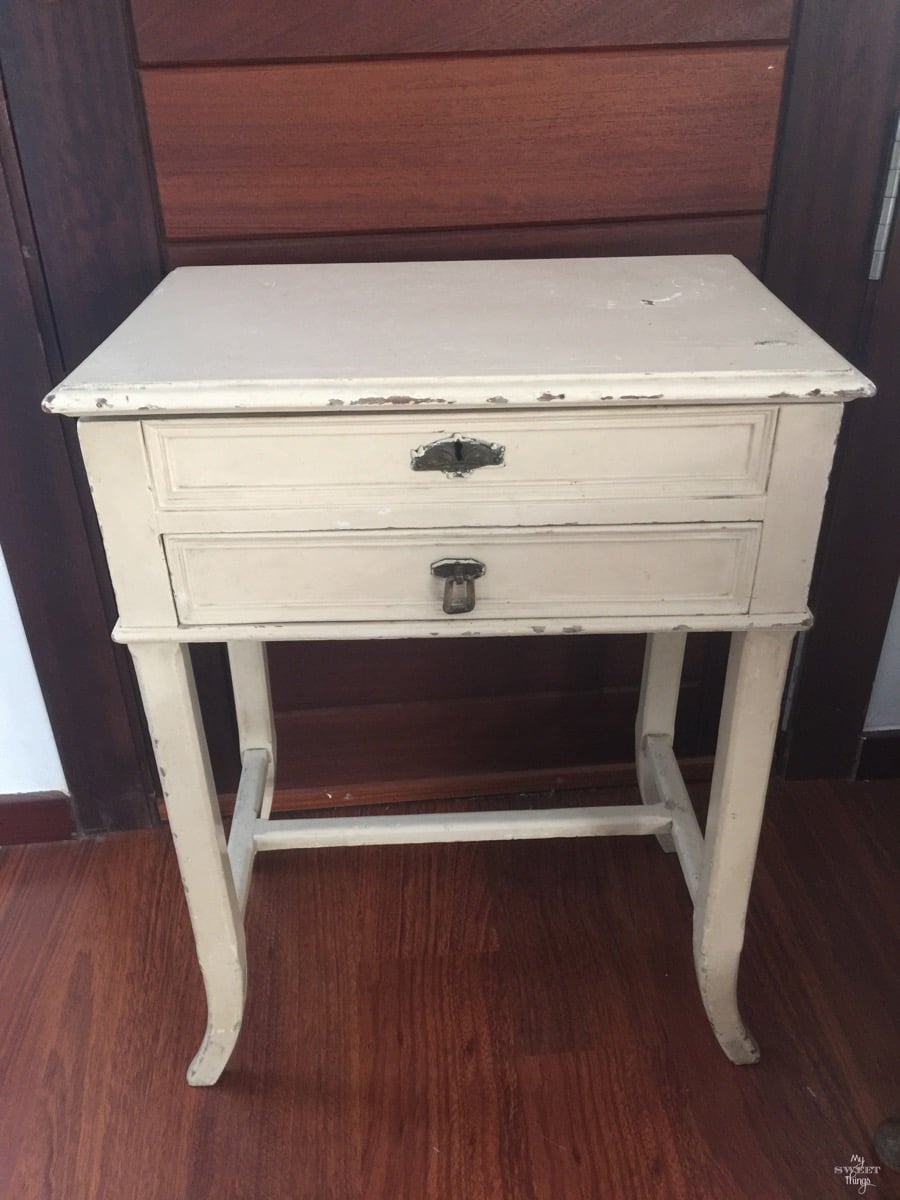
Isn’t it gorgeous?? Look at its shapes. We are not sure but it may be around 80 years old and as you can see it has been painted previously. My mom even remembers her dad painting it, it’s all in the genes!!
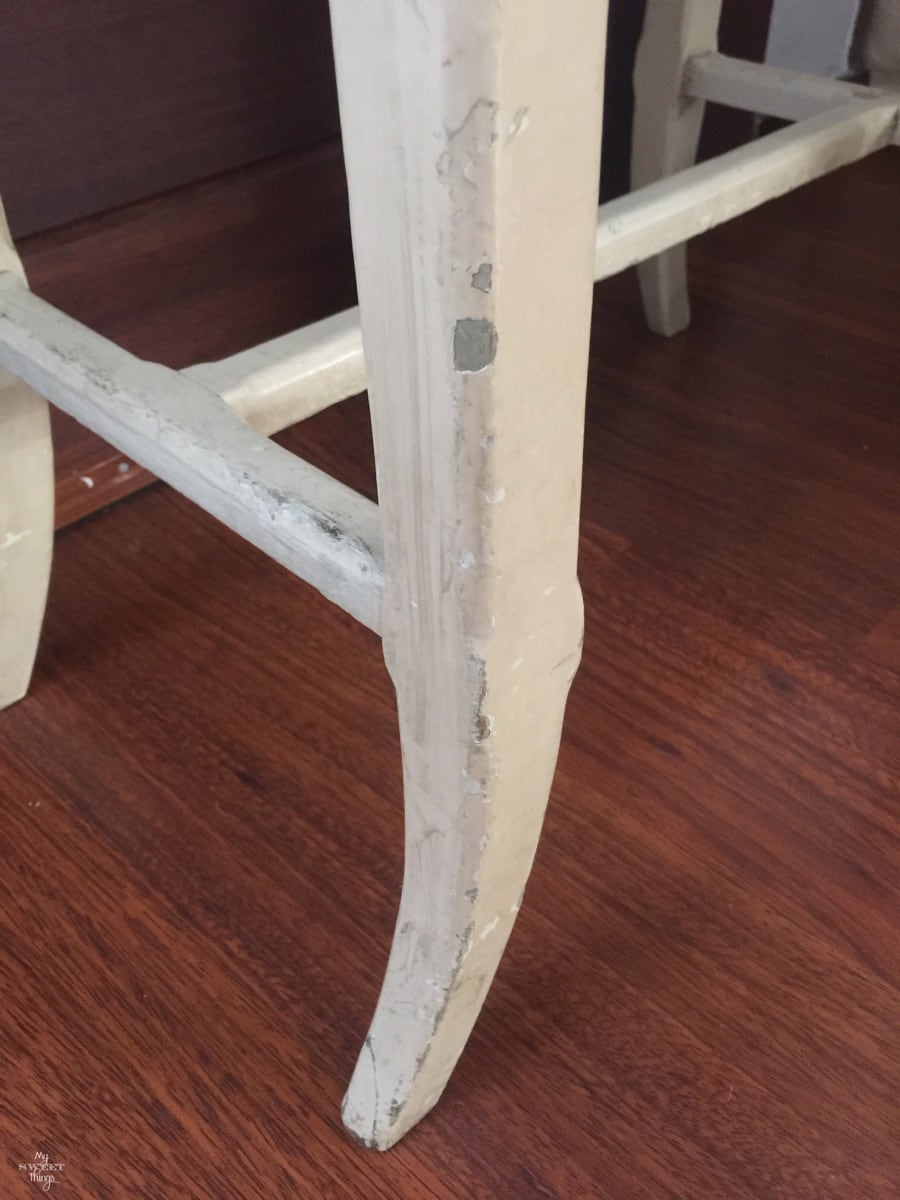
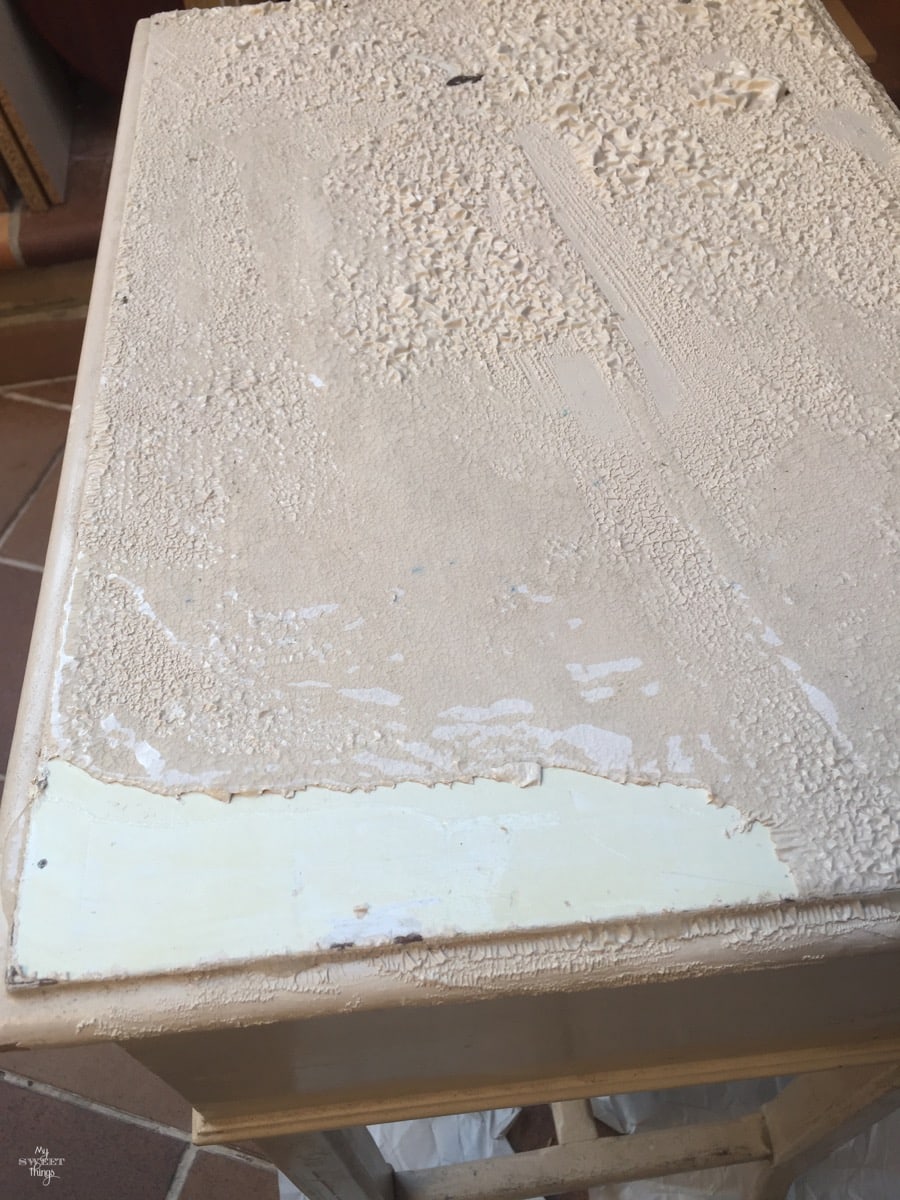
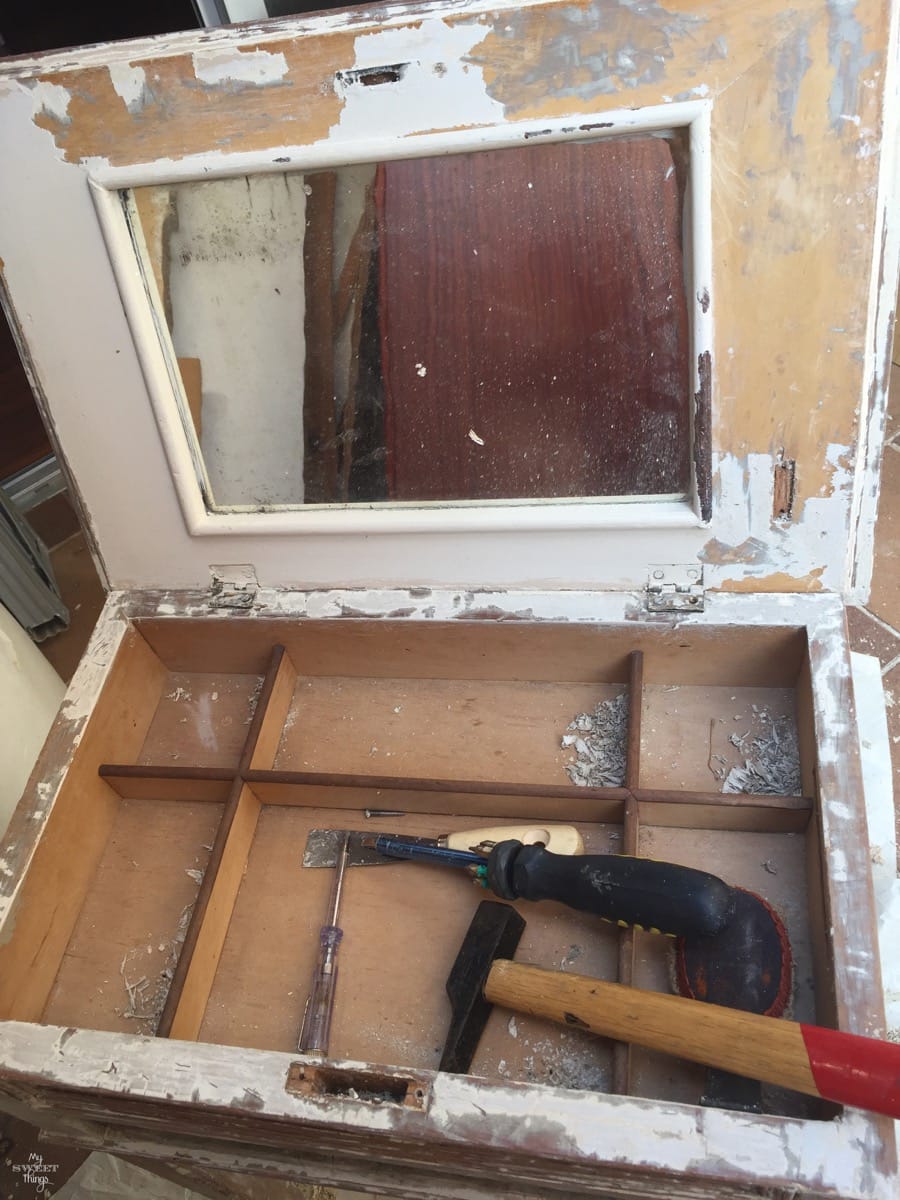
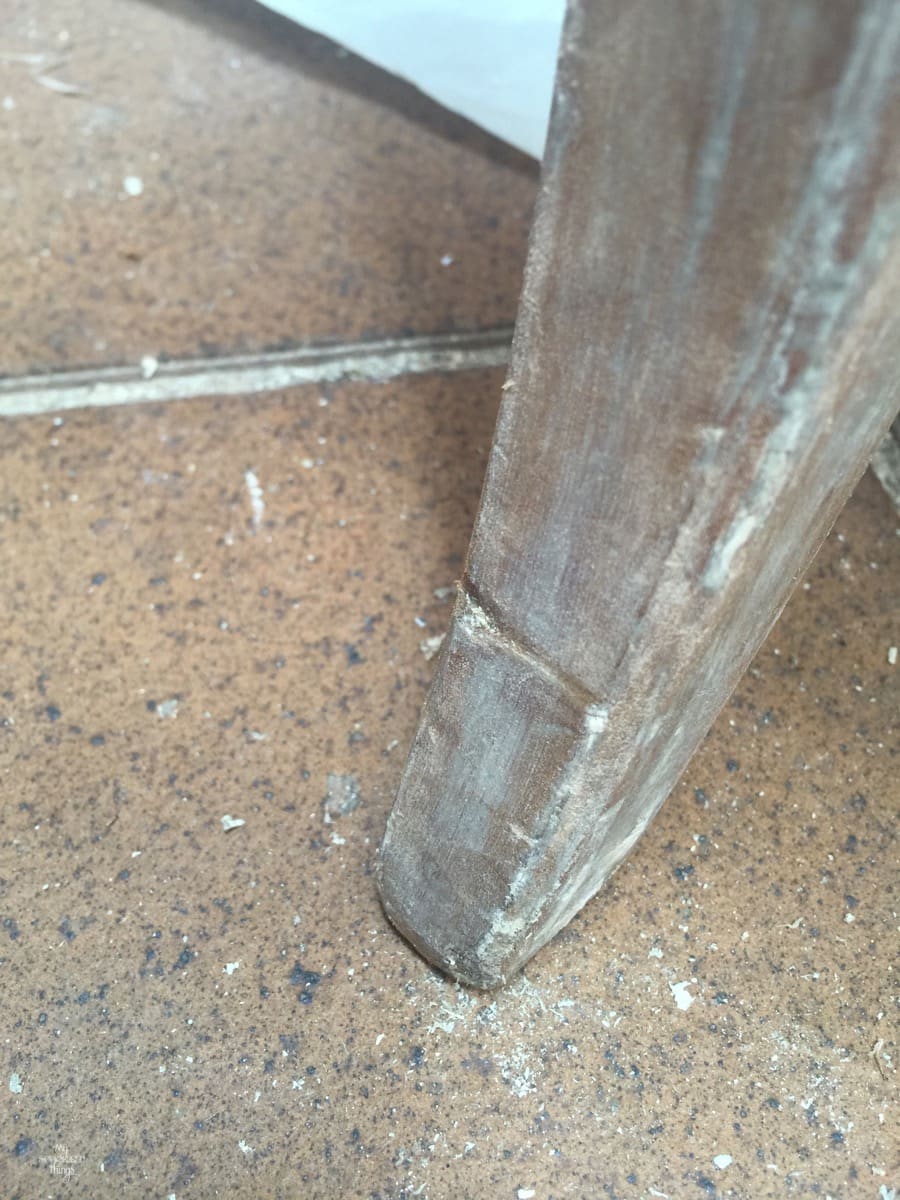
It needed some serious work because it was pretty but in not a good shape.
From all the chips I was able to see up to three different layers of paint.
I grab the paint stripper, my mask and went to work. I was too impatient and didn’t let the stripper sit enough I was able to remove only one layer, the top one.The light color would be the second one, count with me.
Then a different color appeared below it, it would be the third layer.
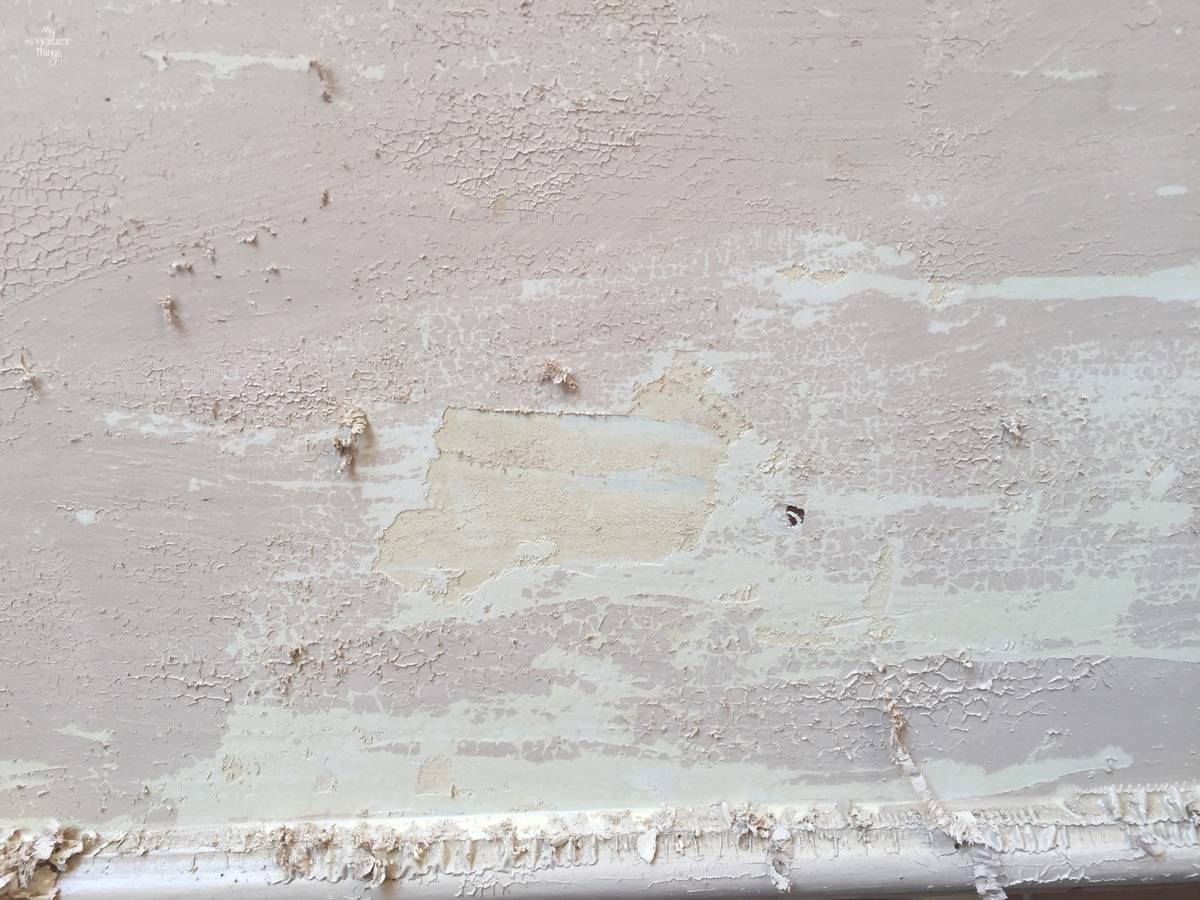
And the gray one would be the fourth!! Not three but four layers of paint. I told you, painting is in my genes!! Also, some veneer had to be removed.
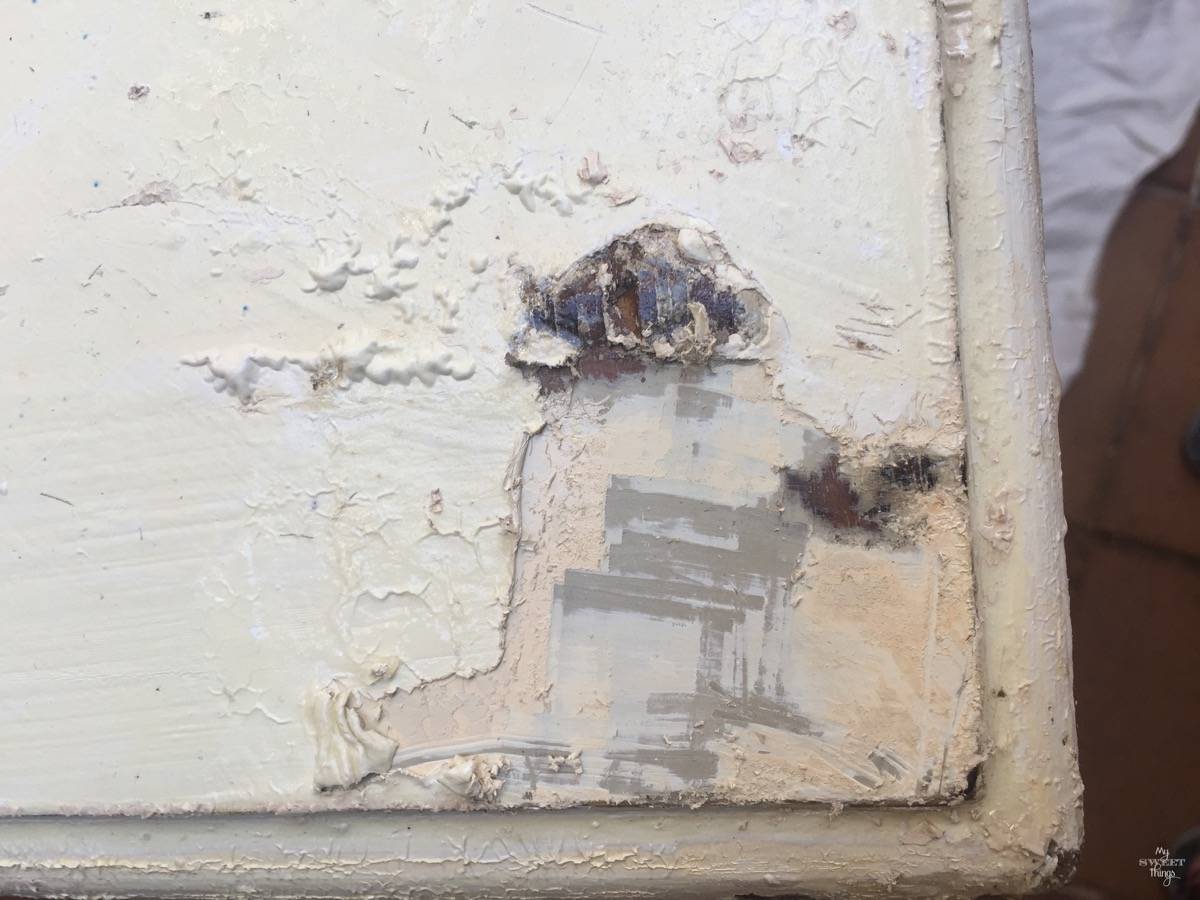
Finally the wood was showing up, I could see the light at the end of the tunnel! That was only for the top, I didn’t want to think about the whole cabinet…

I kept working as positively as I could, but I admit I cursed and snorted from time to time.
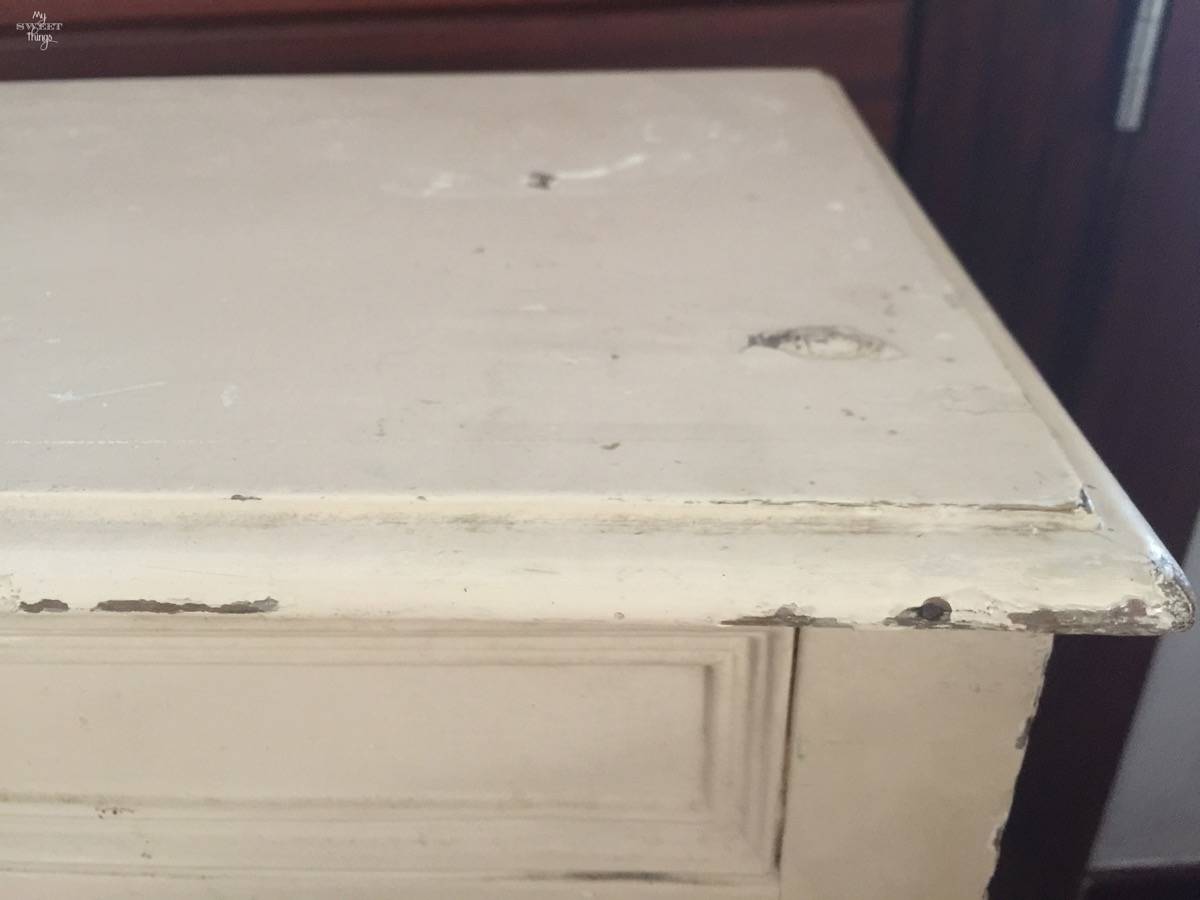
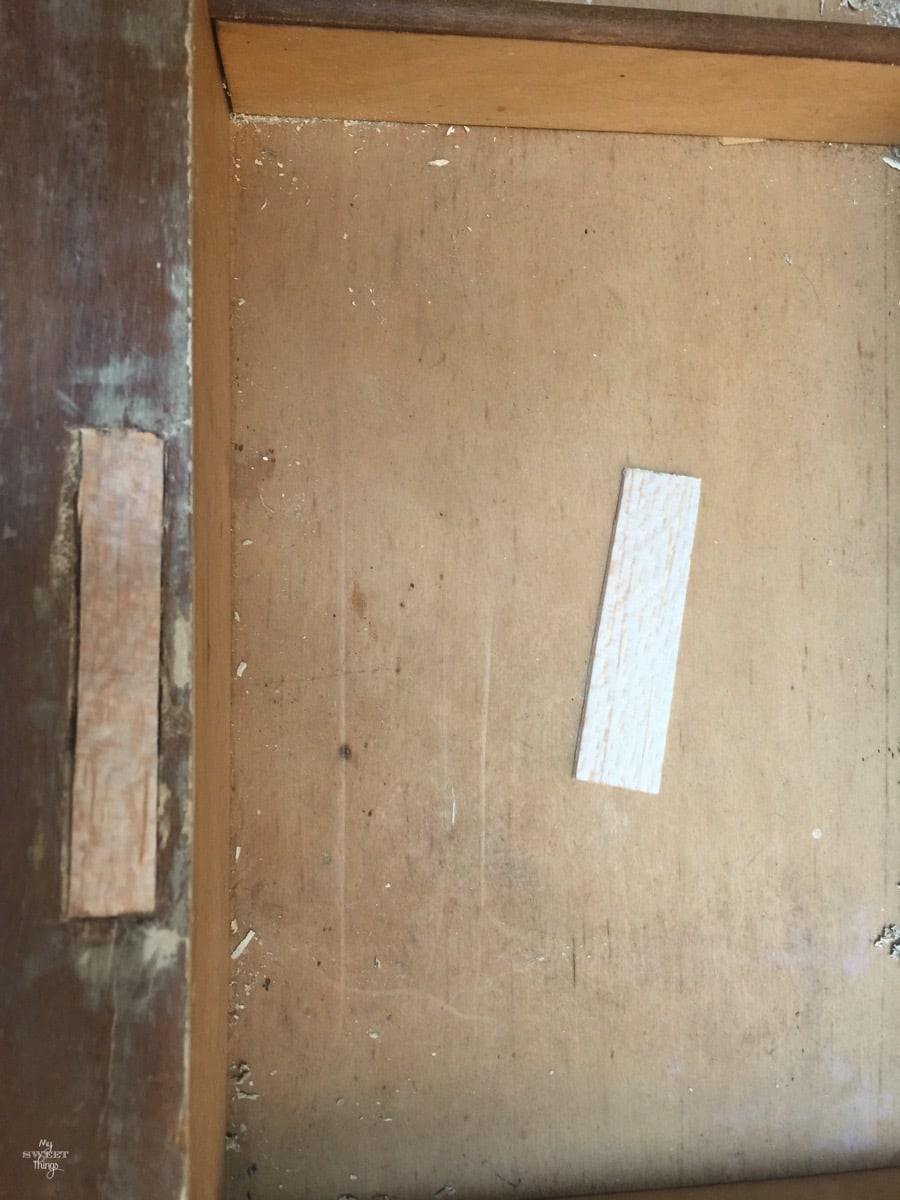
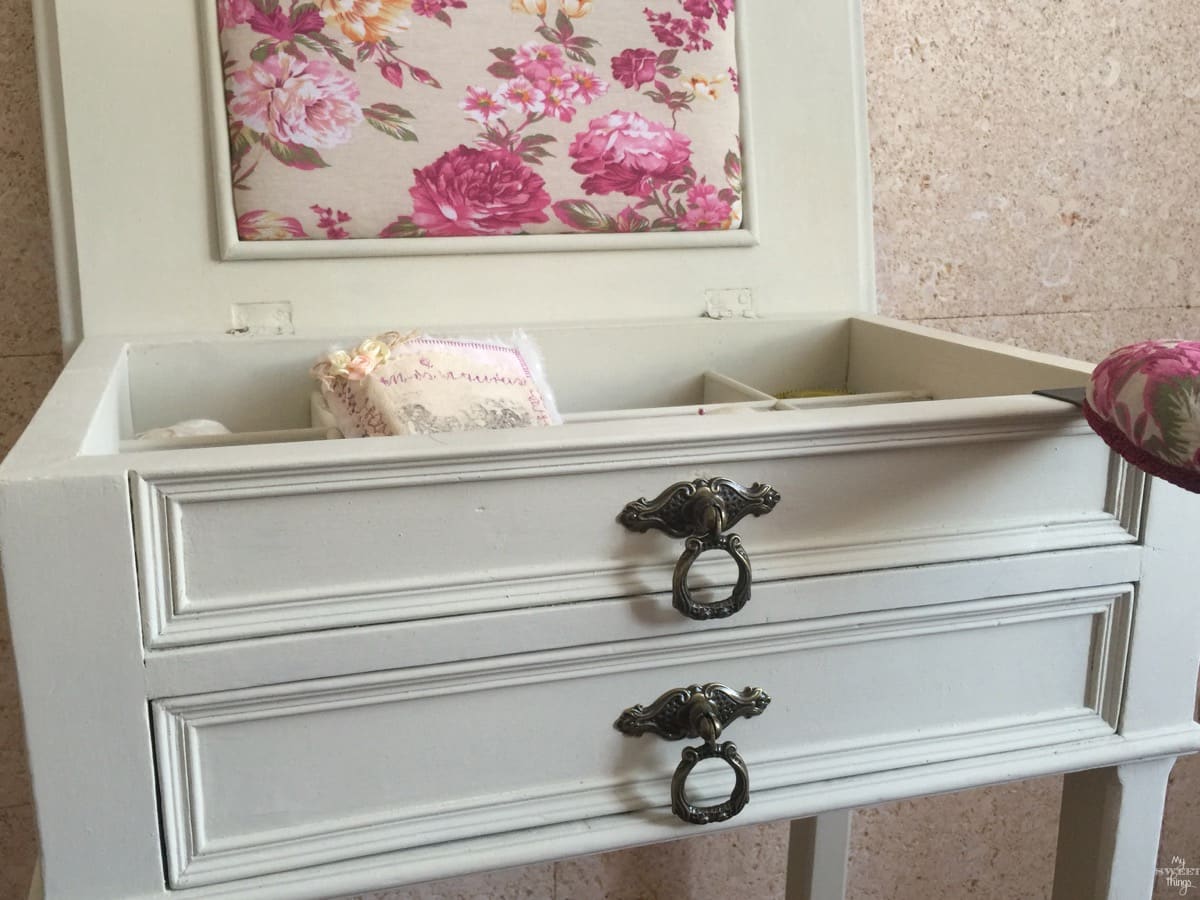
Not too many details on this drawer, right? Wait until you see the after
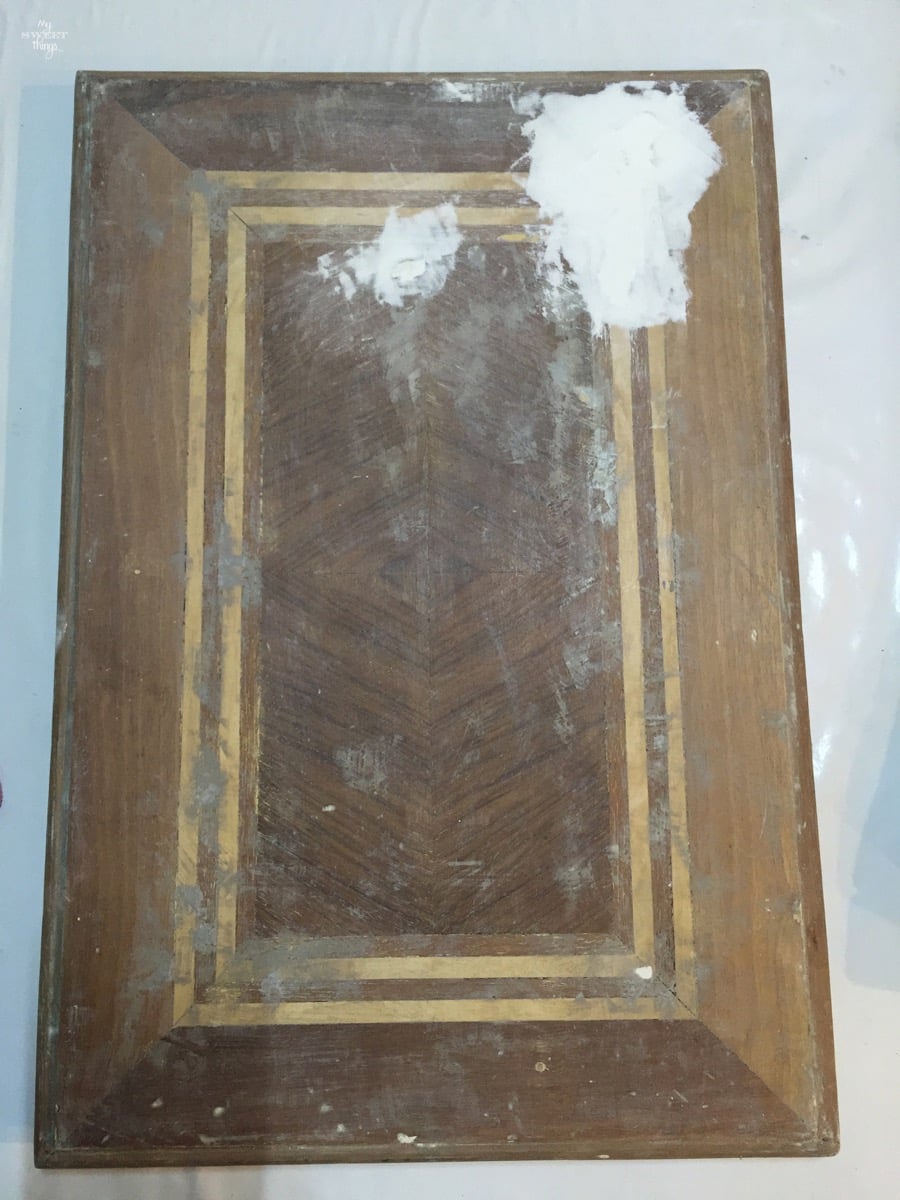
Originally, the sewing cabinet must have had a key but it was lost long time ago and I decided to transform it, so I closed the inserts with some wood.
I also used wood filler for the cracks
It ended up looking like this, and now the fun part began.
I filled all the holes, let it dry and sanded it. Then I took some of my favorite paint and painted it. I mixed Buttermilk and Oyster White (1 part of BM and 2 parts of OW ratio) from Old Fashioned Milk Paint and got a lovely color.
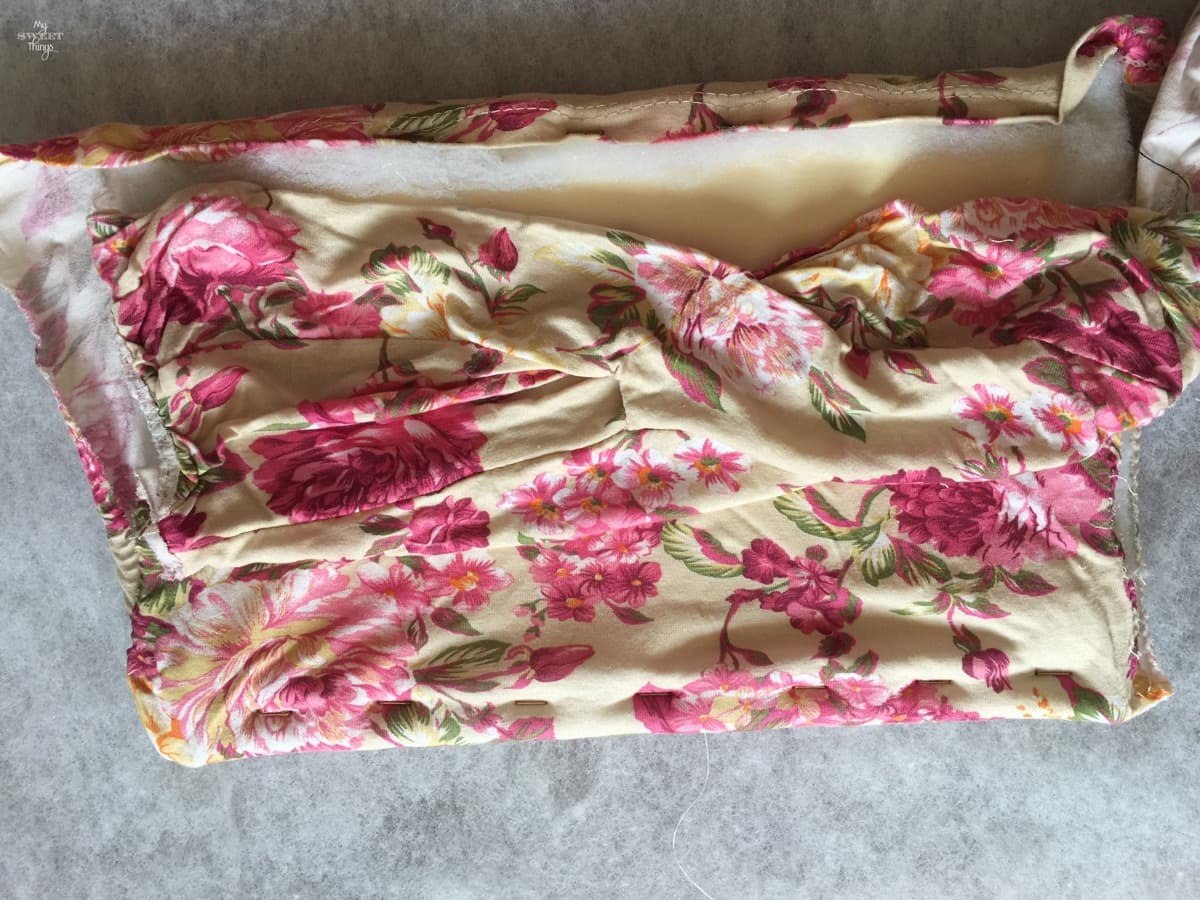
I had an idea wondering my mind, so I cut a piece of wood and found an old tank that would look great for what I was planning.
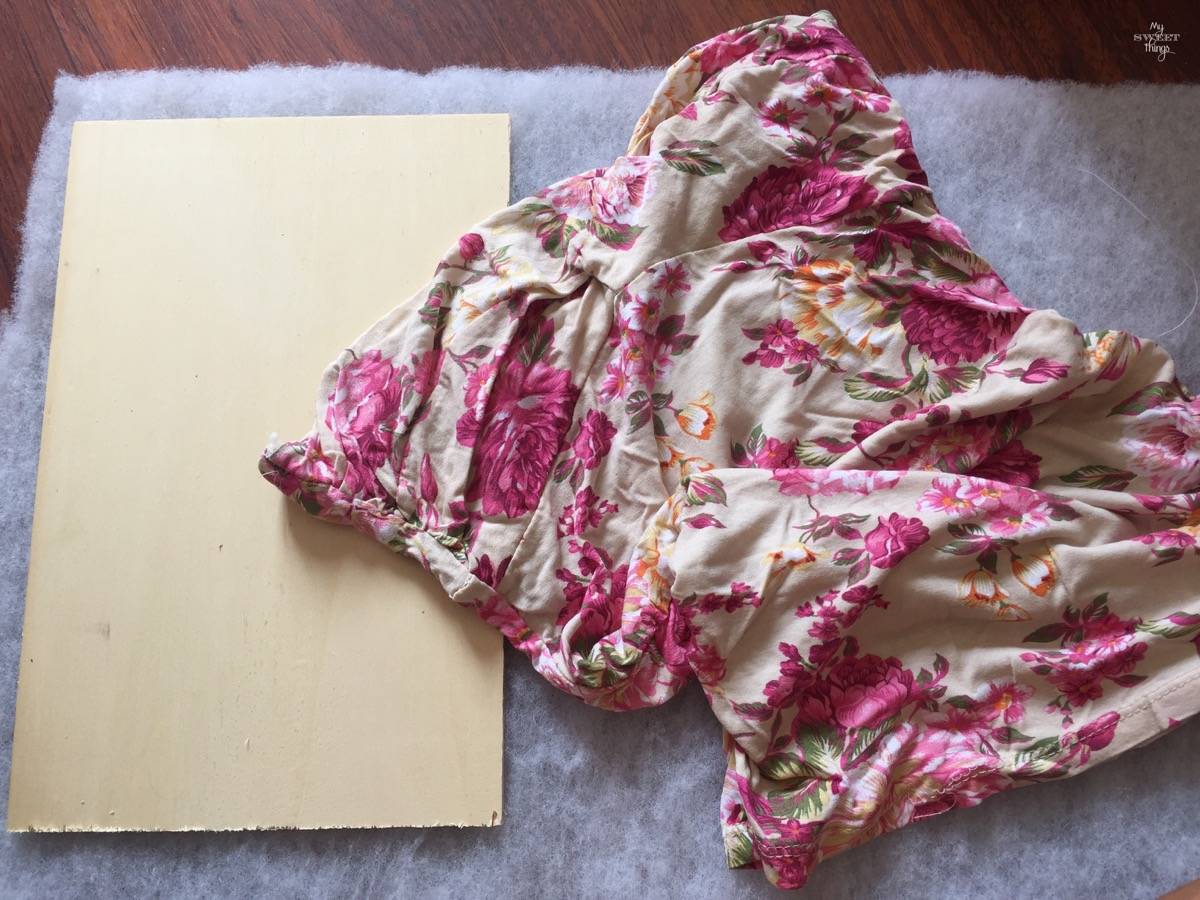
I stapled the batting and did the same with the fabric.

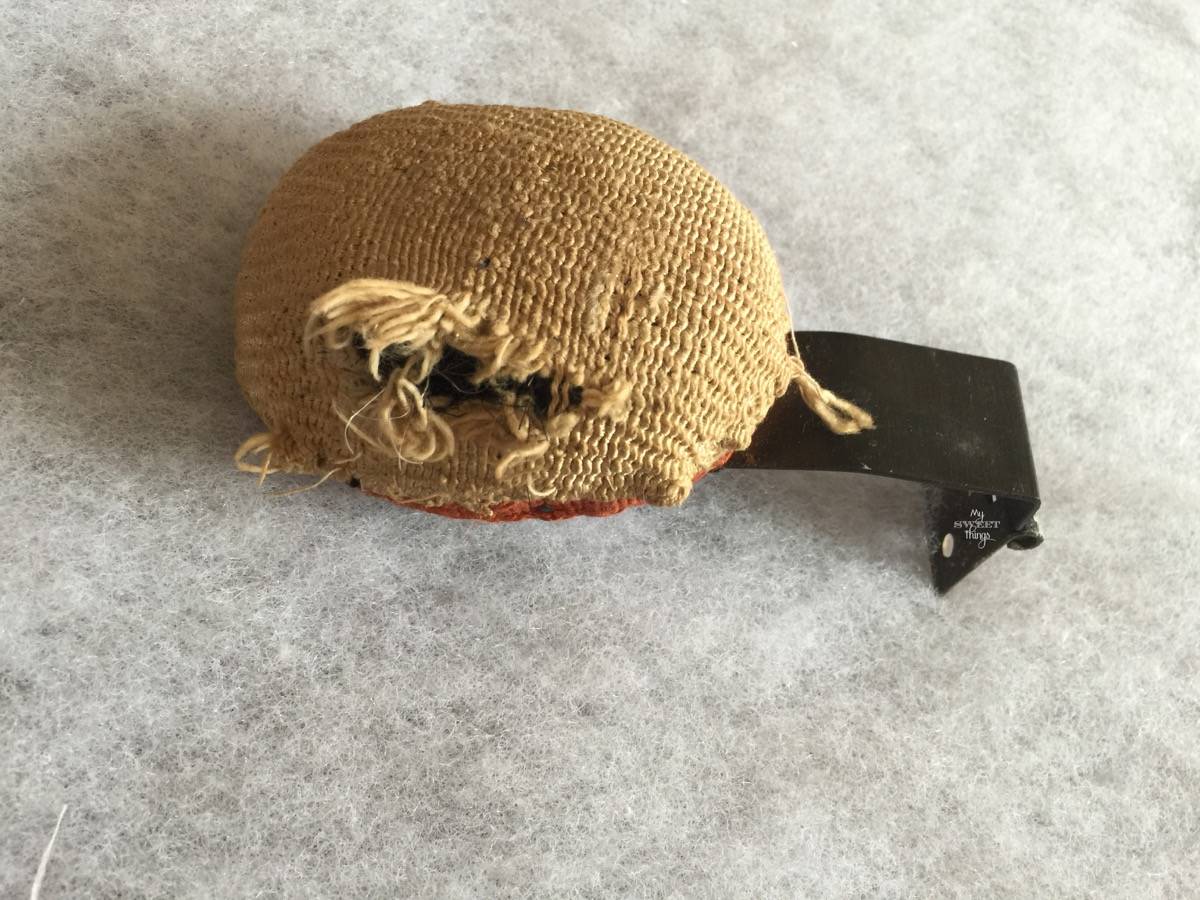
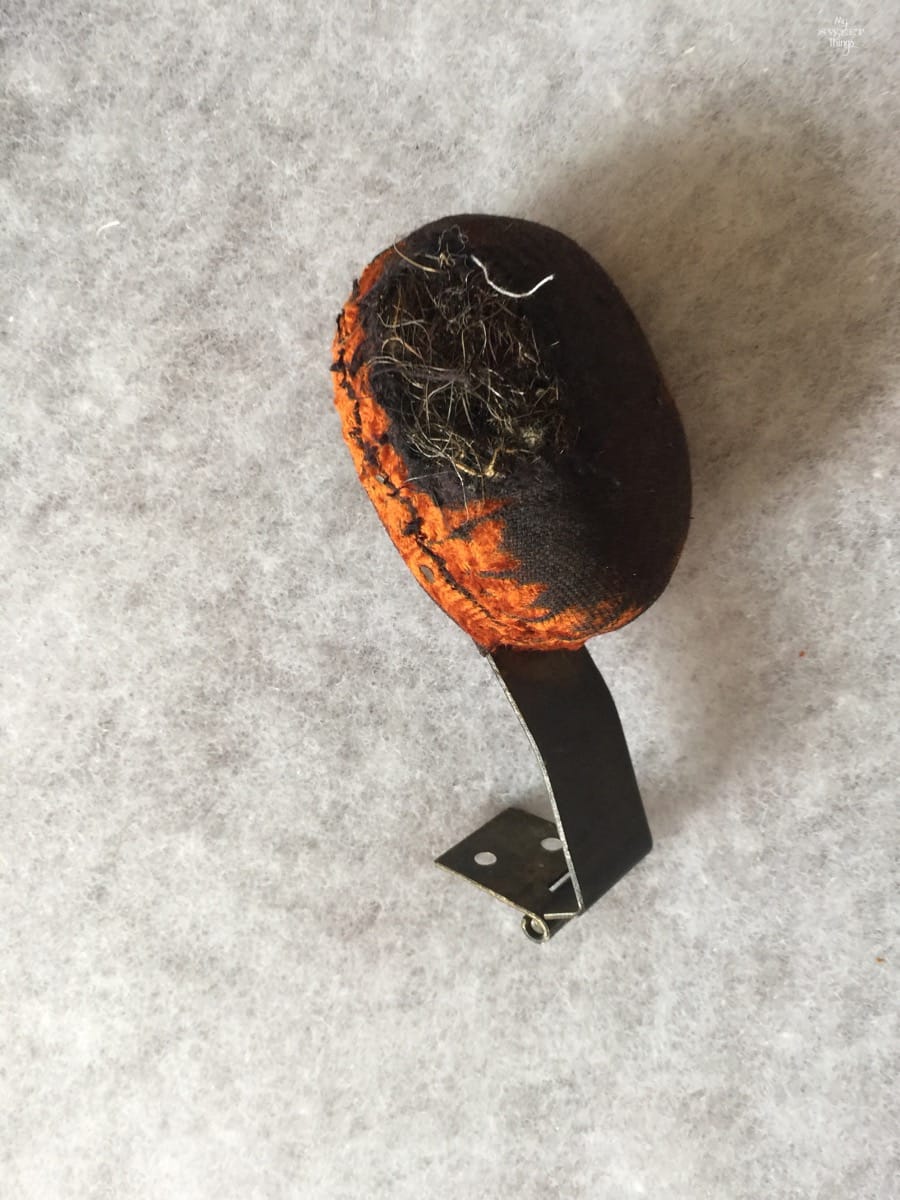
The pin cushion was damaged too, so it needed a fix as well
Really easy, I removed the old fabric and stapled some more batting.
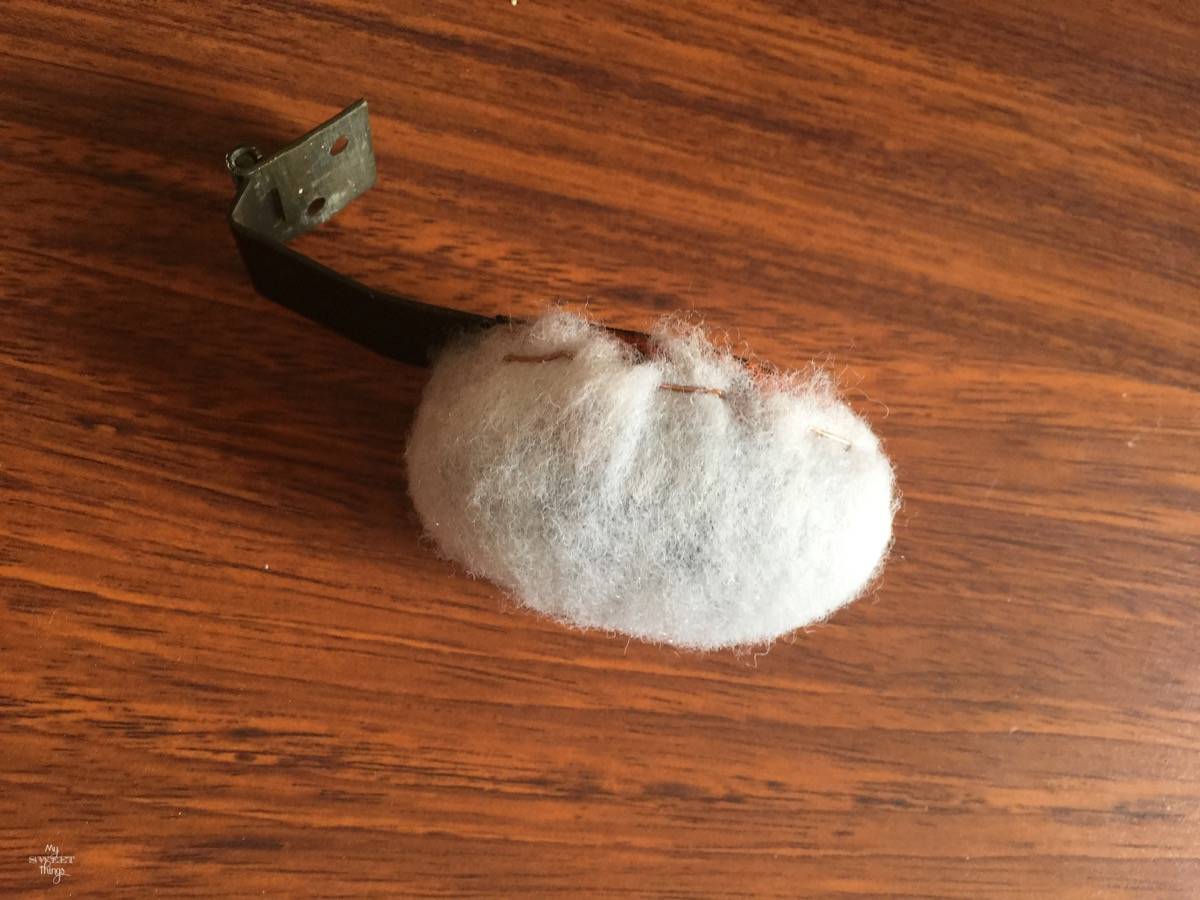
I did the same with a piece of that lovely fabric, and hot glue some red trimming I had.
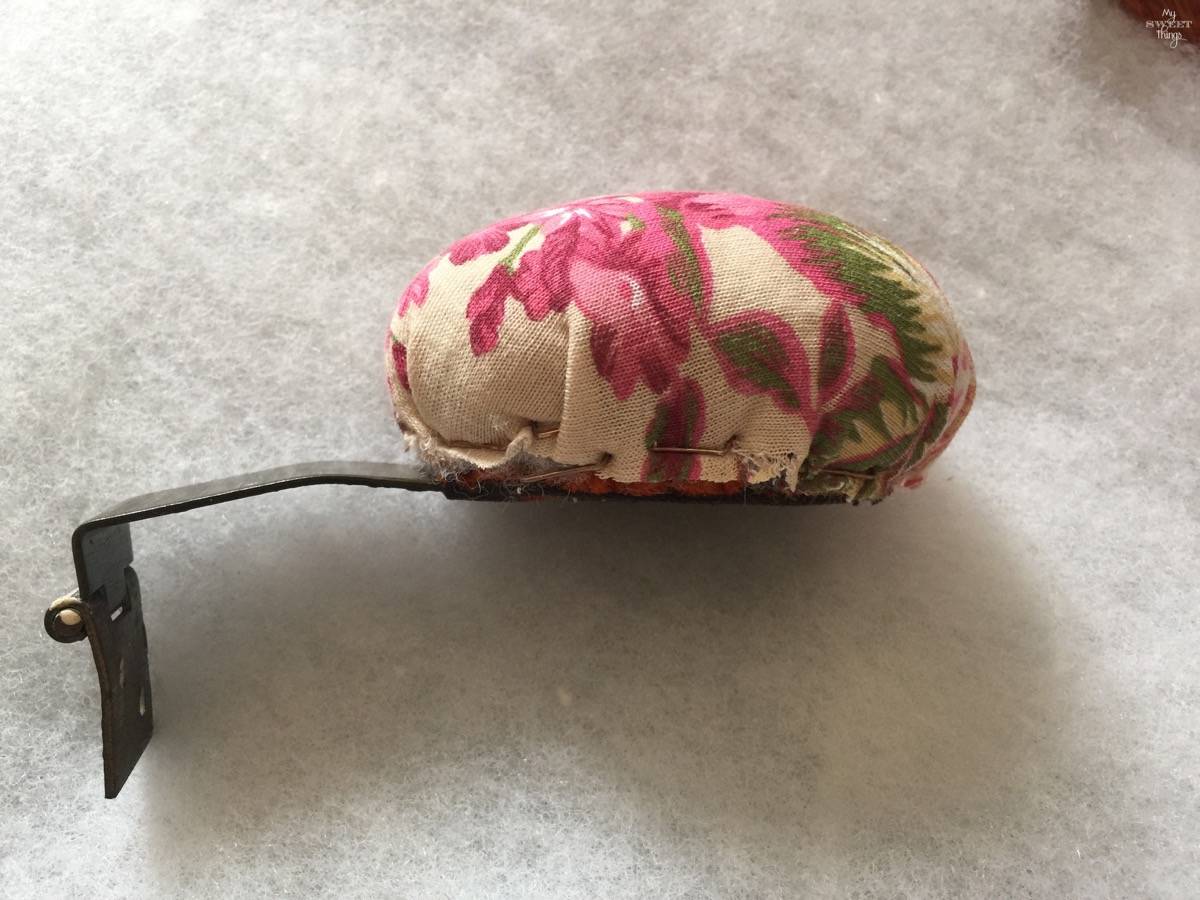
Isn’t it cute?
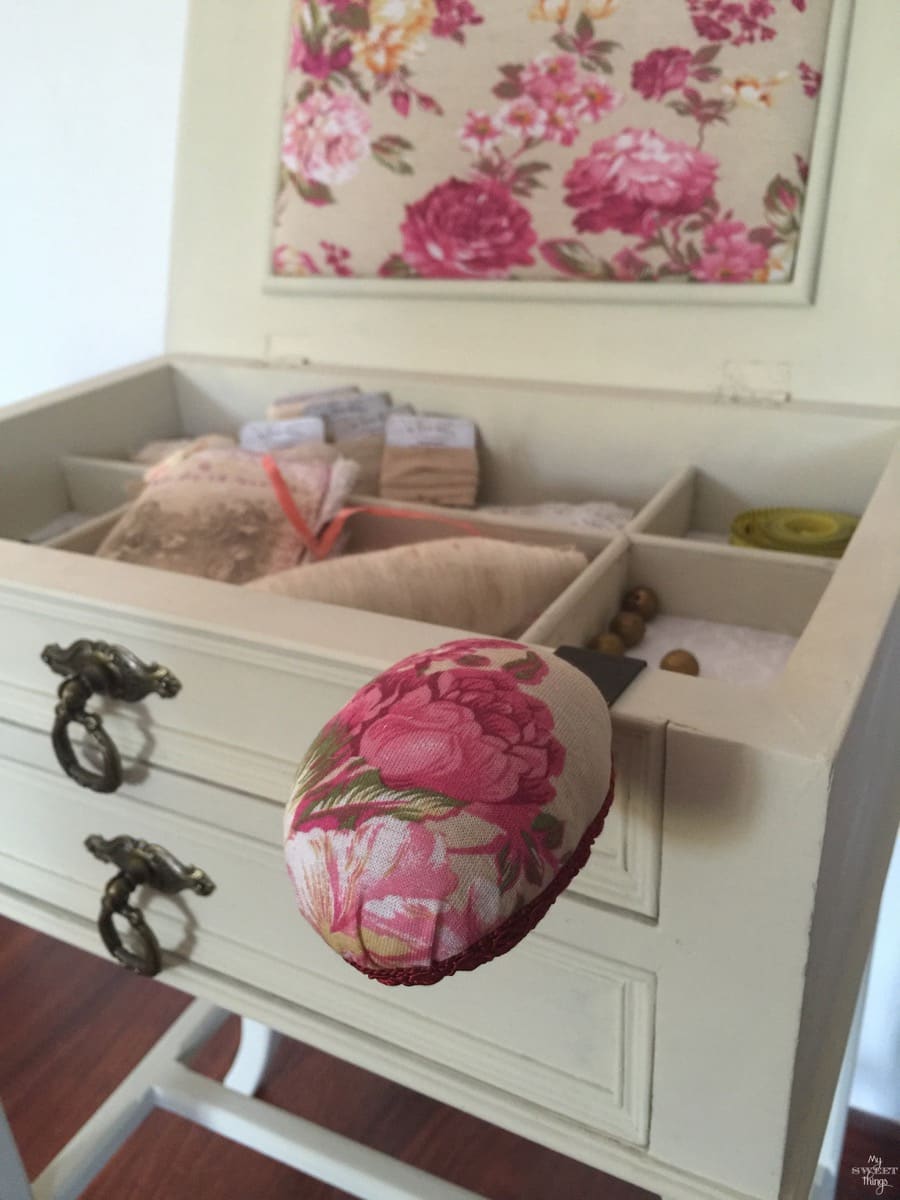
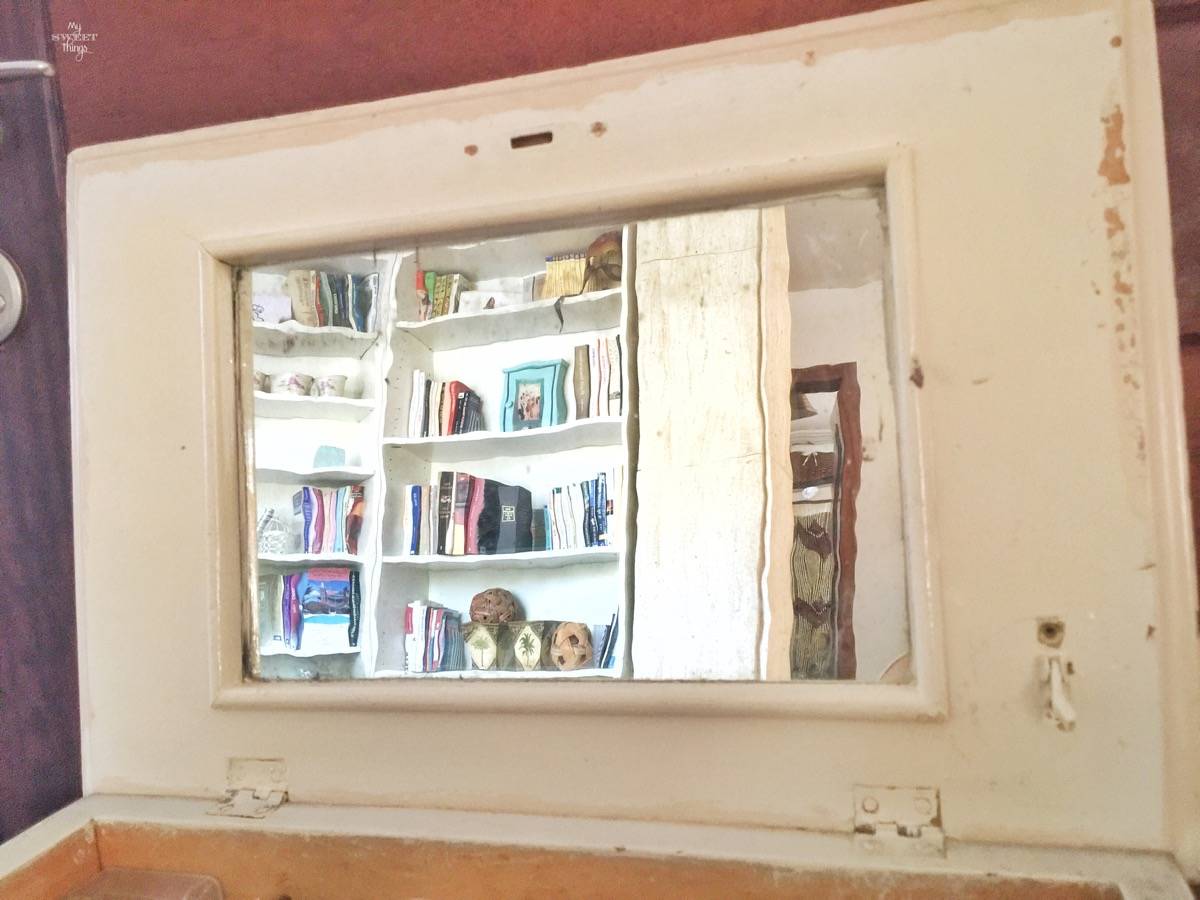
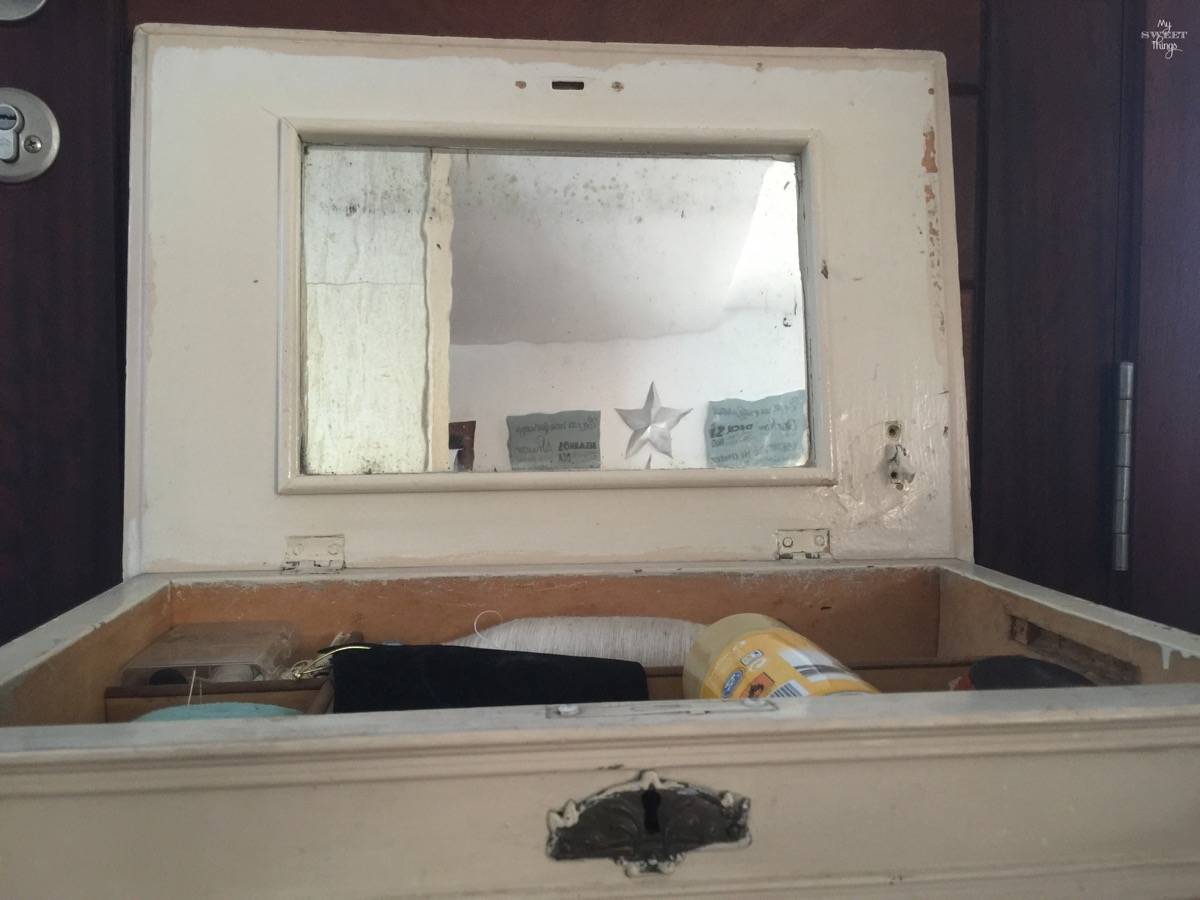
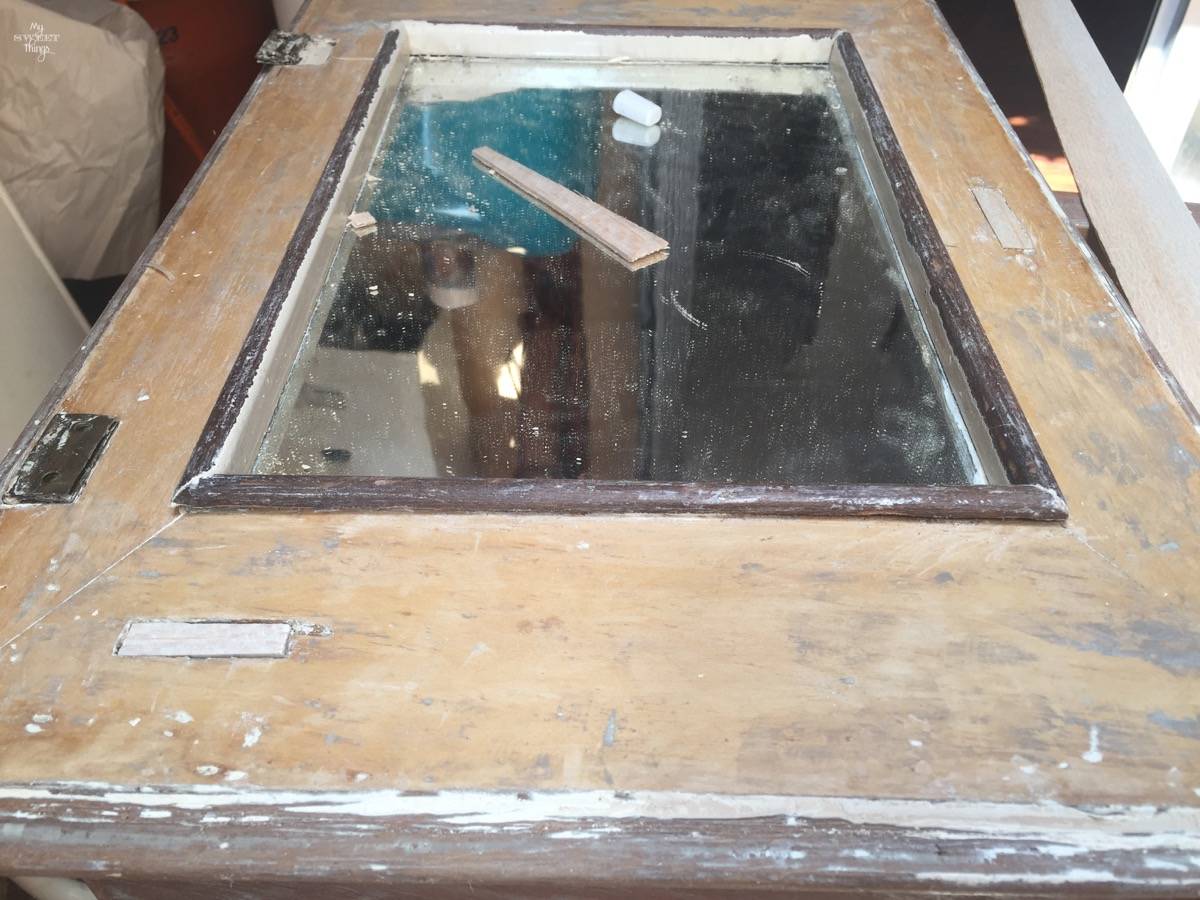
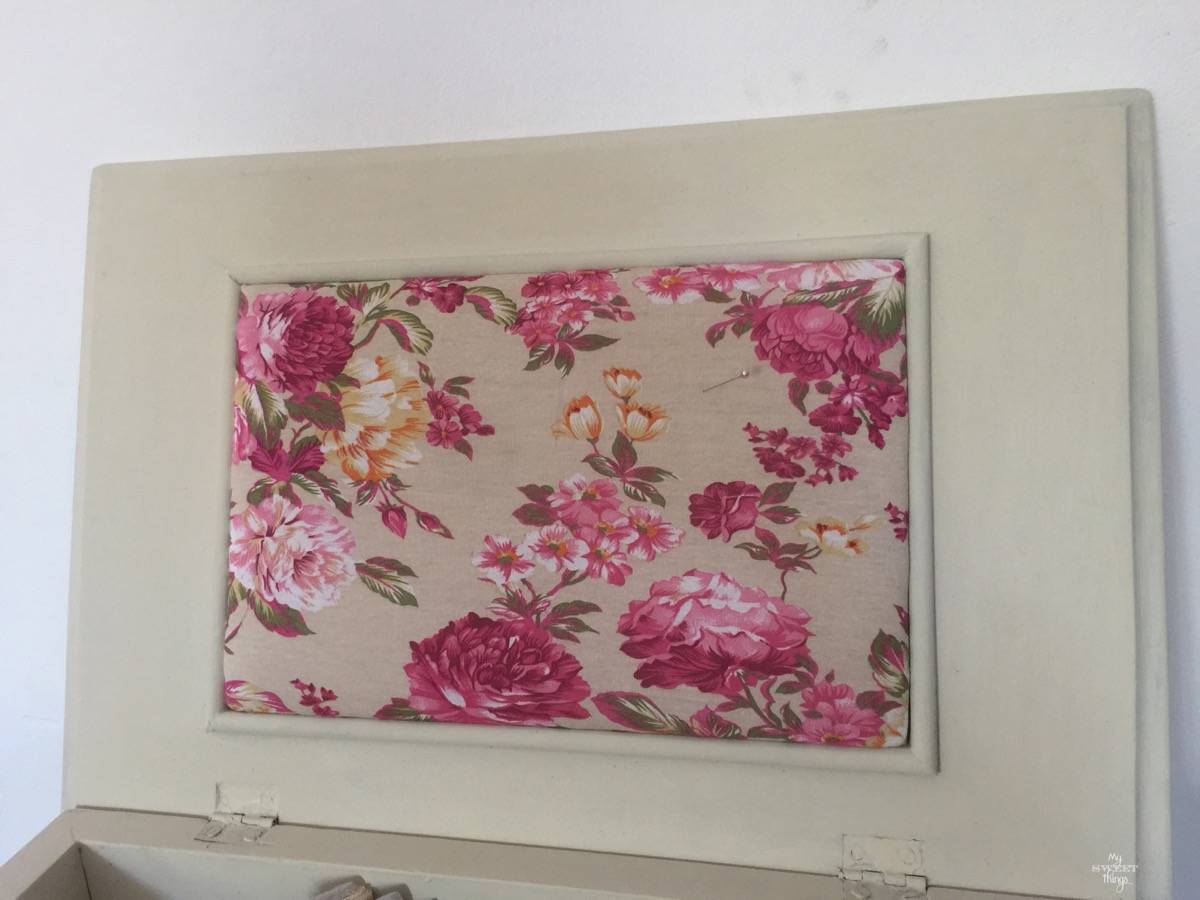
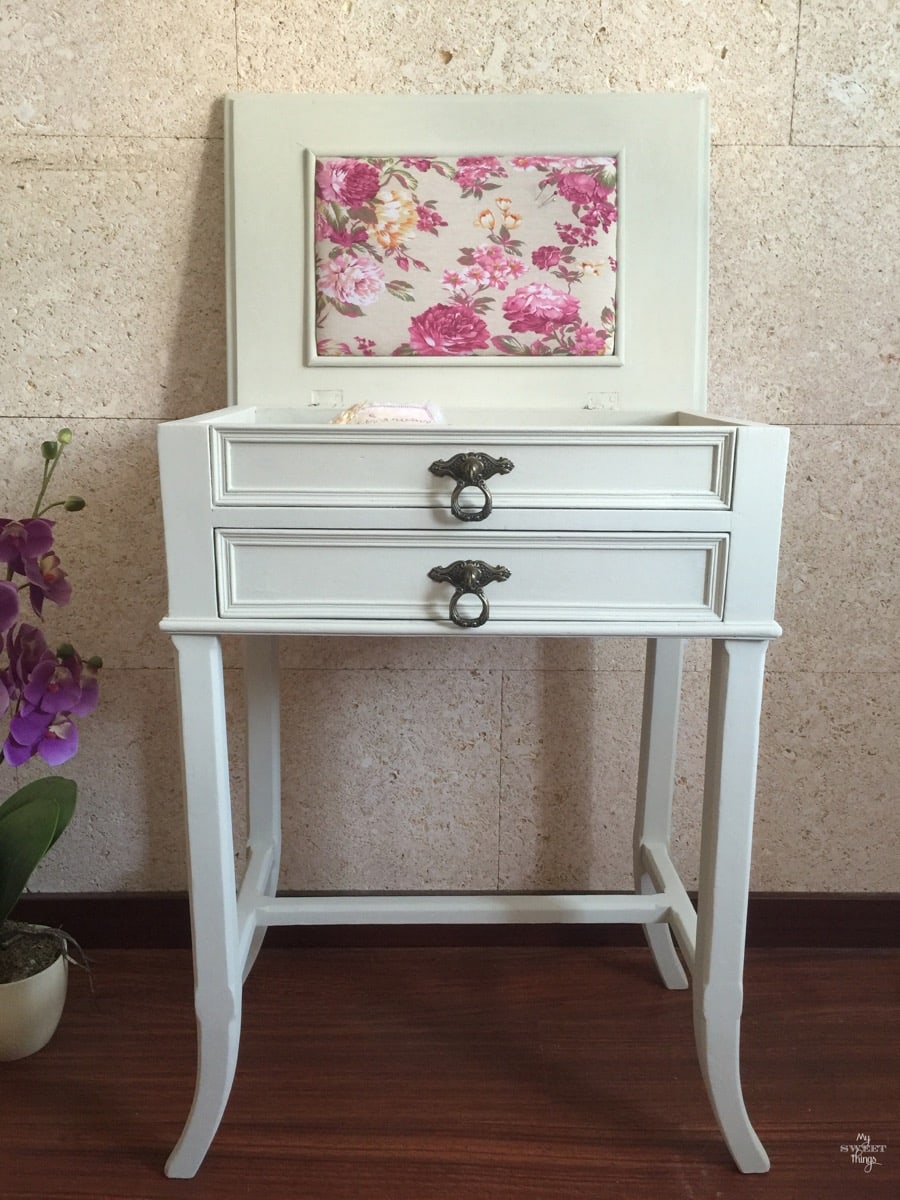
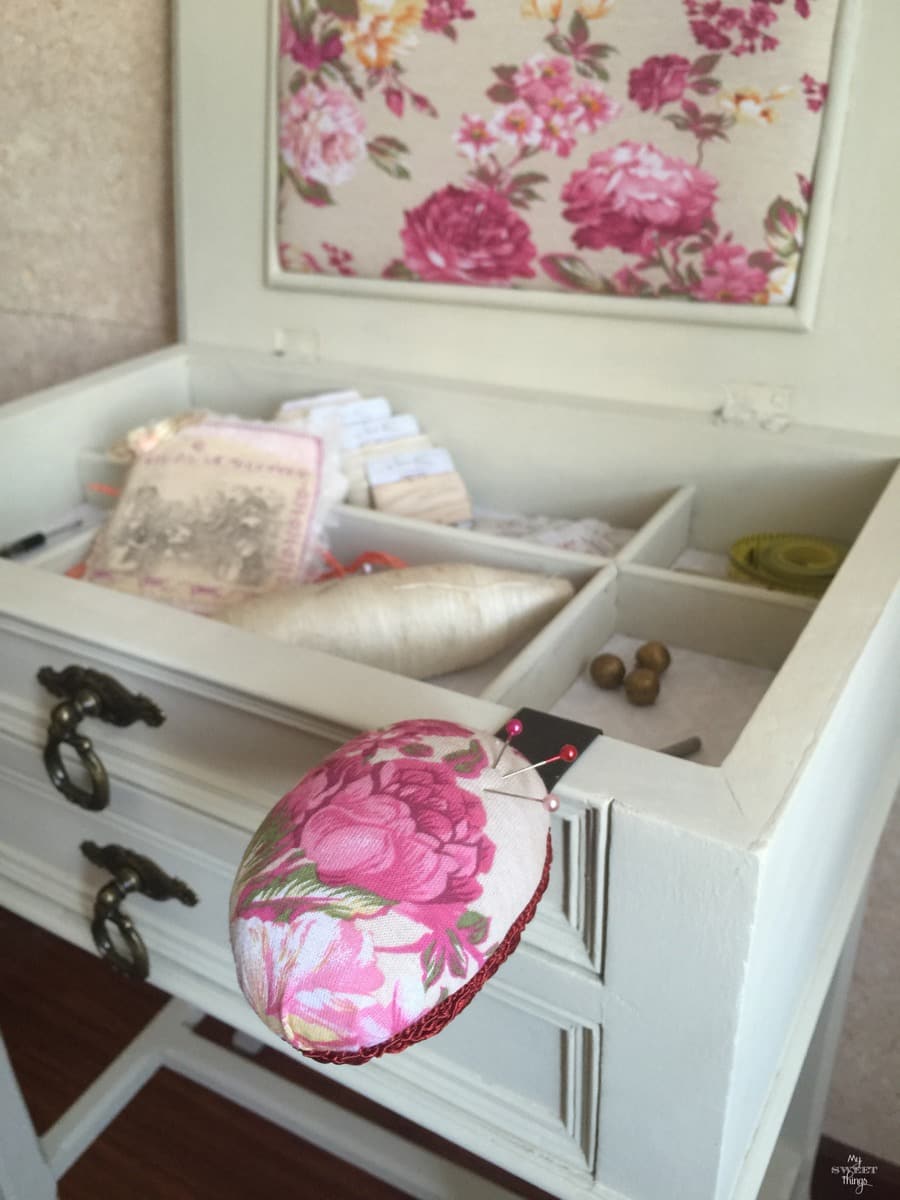
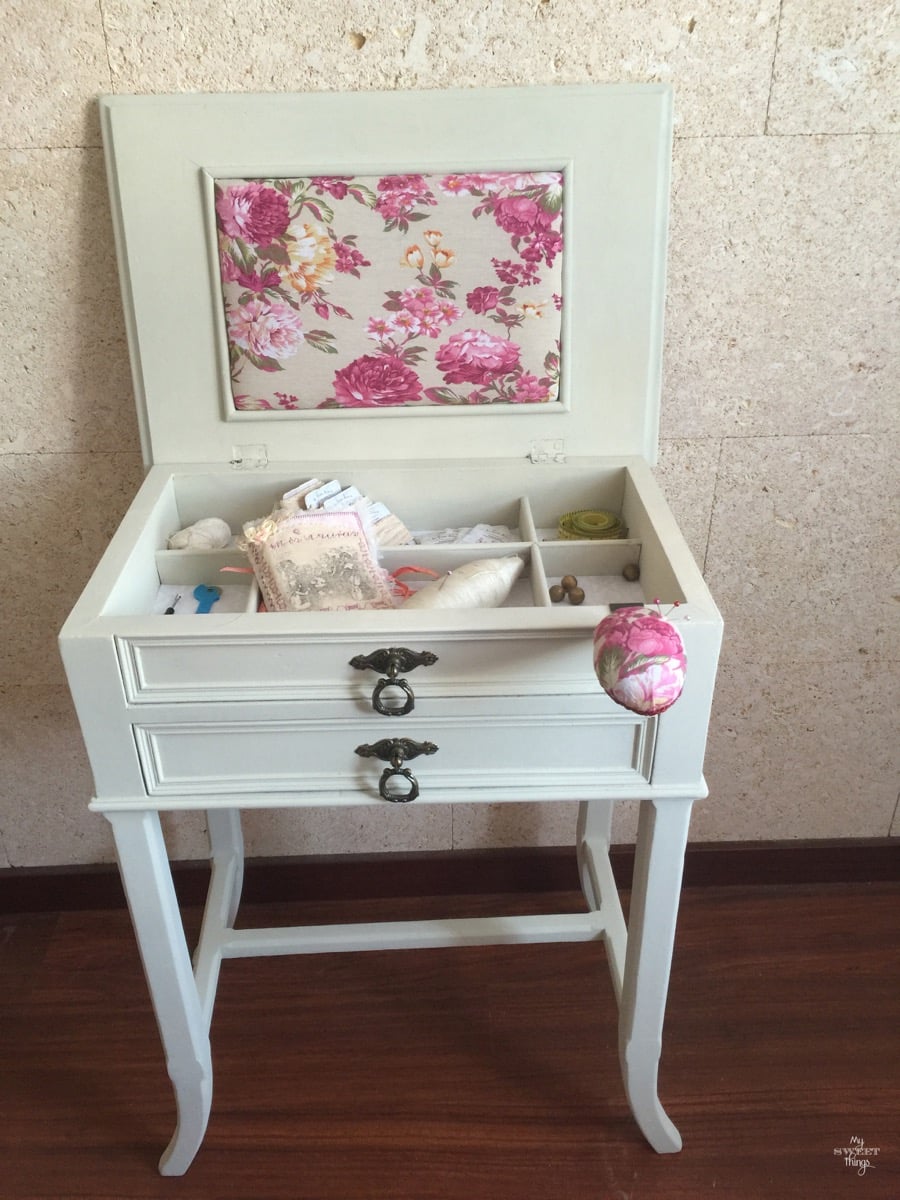
That was the idea I had on my mind. The mirror wasn’t in good shape as well, so I hot glued the wood on it to cover it and to use it as a big pin cushion. My oldest daughter loves to sew and she’s the one who uses the sewing cabinet; she keeps there all her bits and pieces and I’m sure covering the mirror will be practical for her.
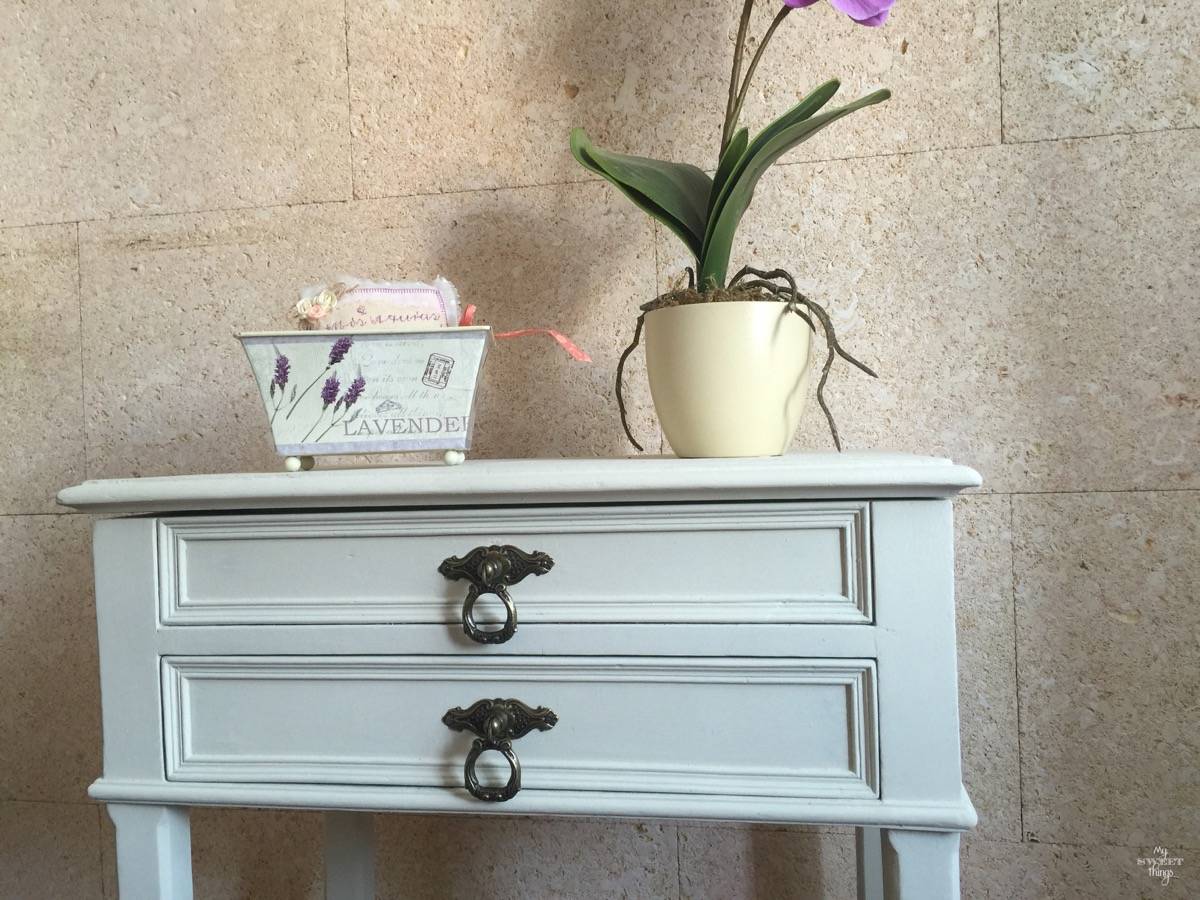
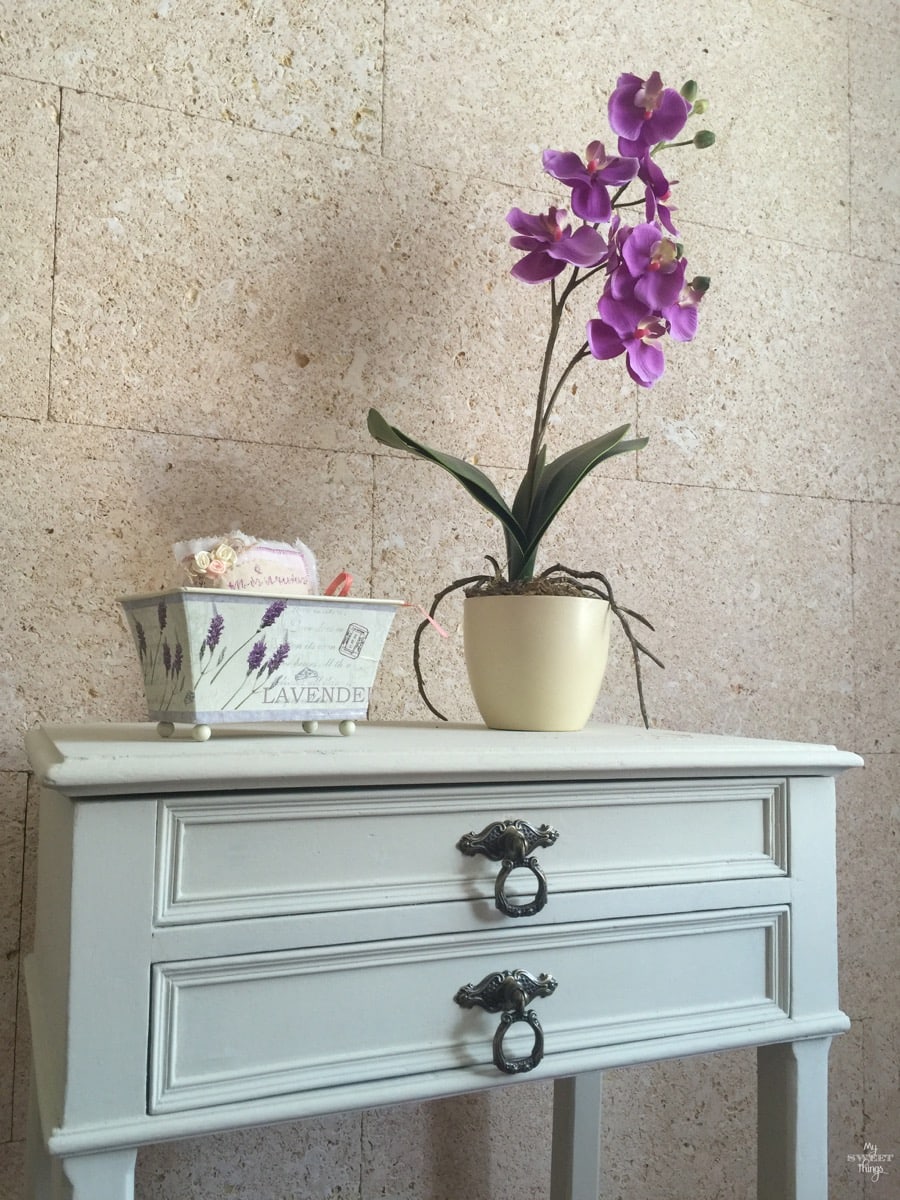
Here it is finished, I am in love with it even more than before!
The hardware is just gorgeous, I really like it has now two matching pulls.
I painted the inside of the cabinet and decoupaged some damask paper on it.
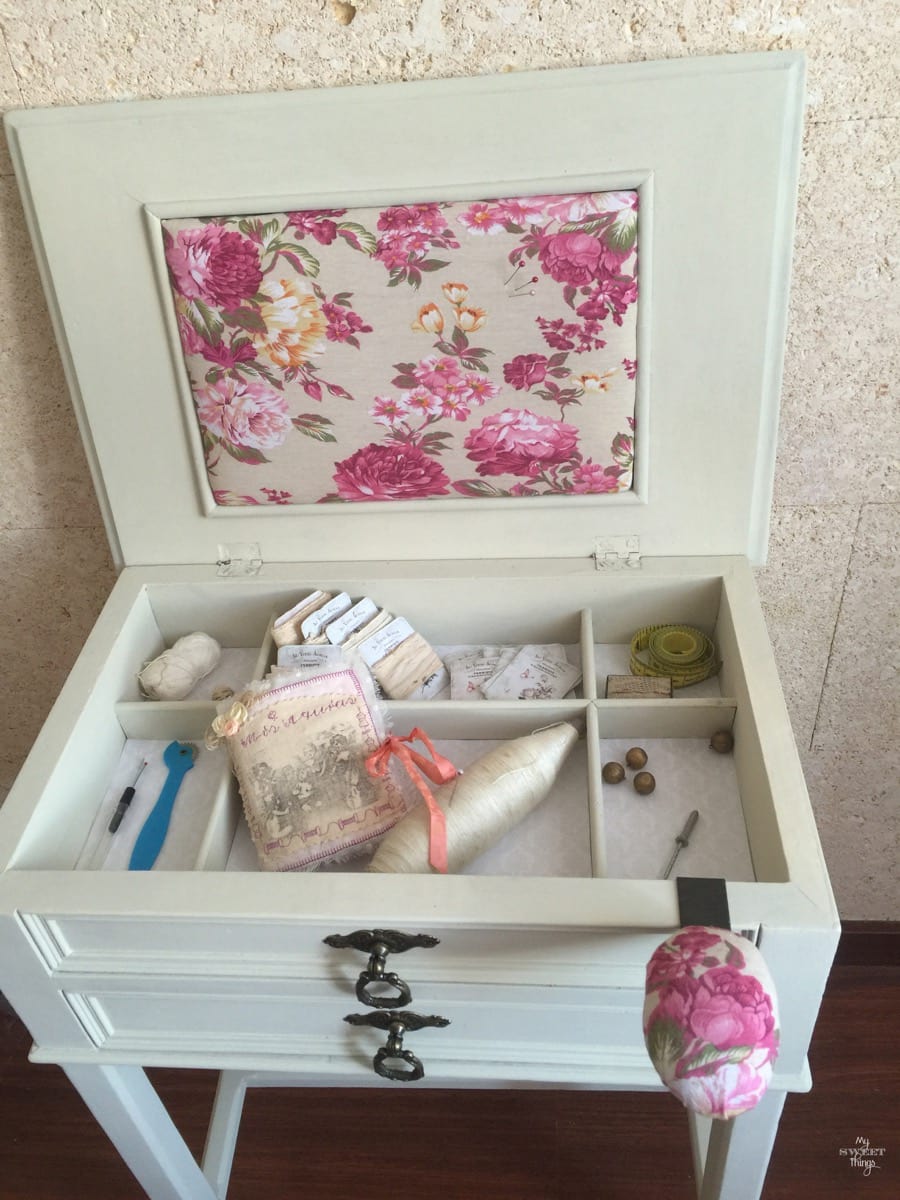
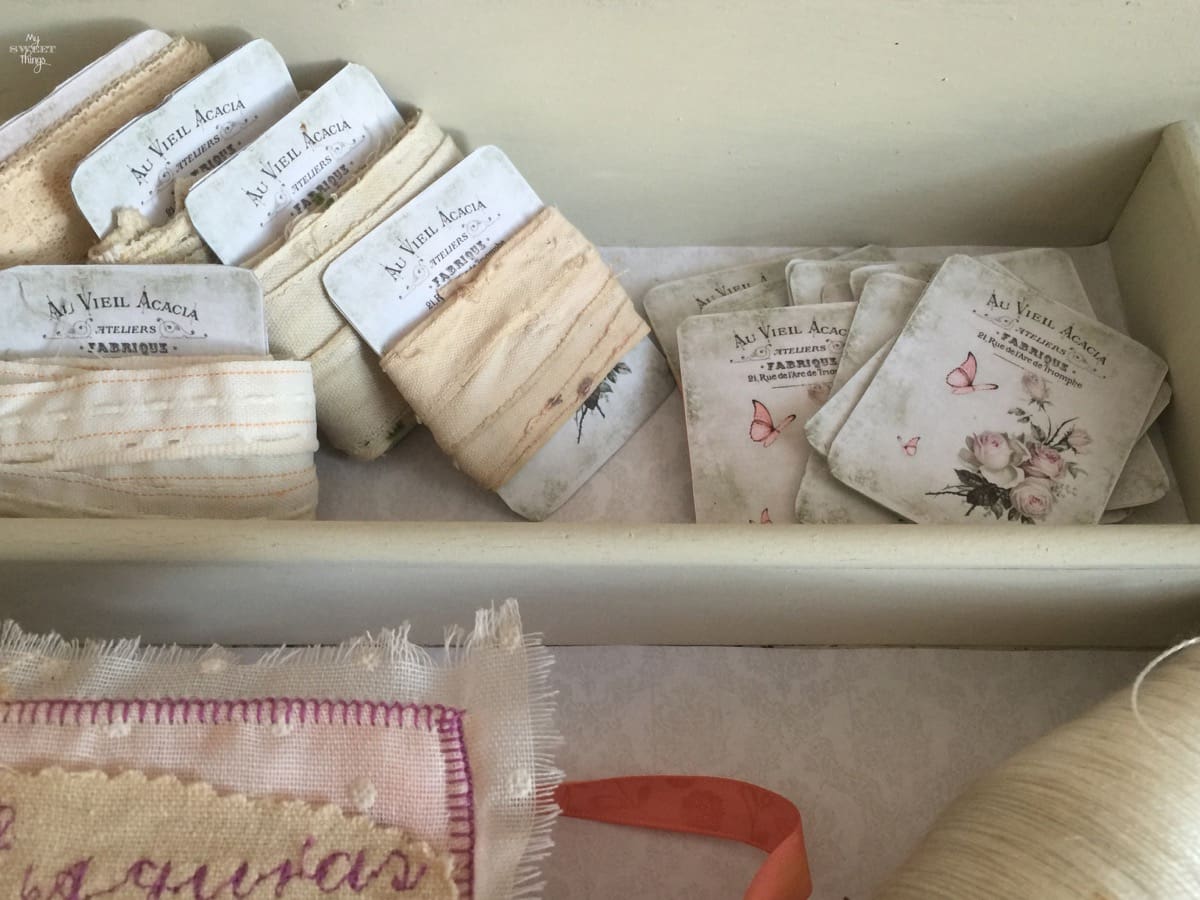
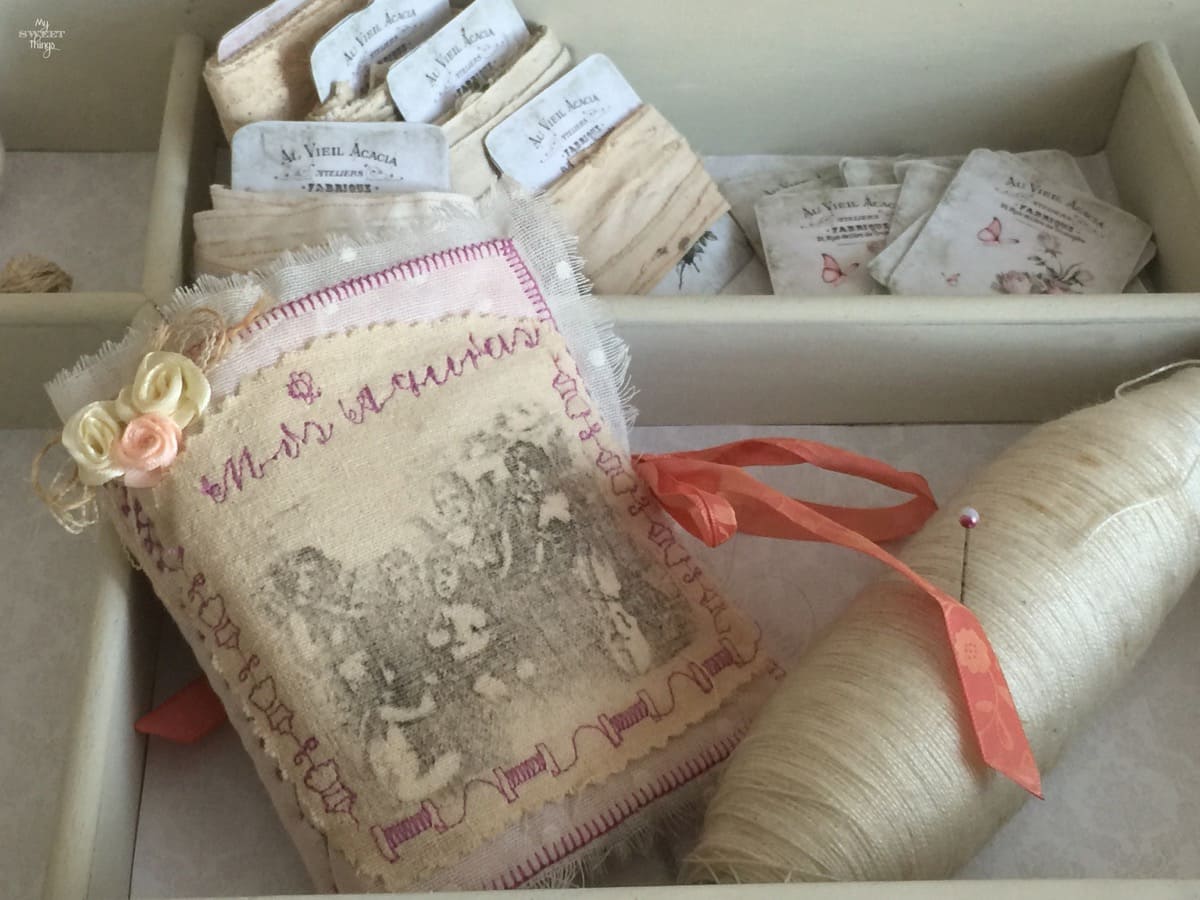
I had designed some tags to keep my grandma ribbons and fabric. It is a romantic French style design you can find here.
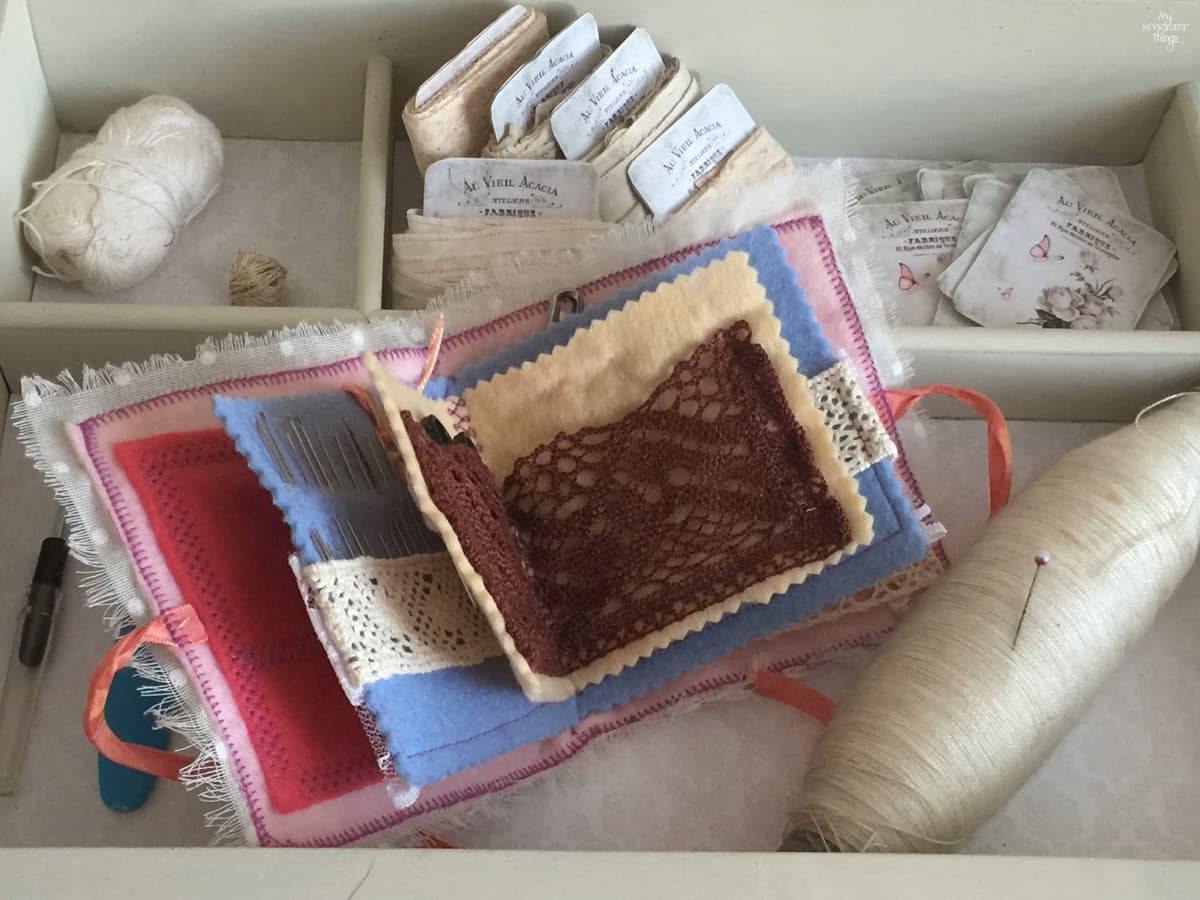
The little fabric book was a present from a friend to keep needles, scissors, pins and many other things. It was totally handmade so it has a special place in my heart.
I look at it and wonder what my grandparents would think about it. I hope they would like it as much as I do.
Do you remember when I showed you the picture of one drawer? It seemed it had no details but look at it now.
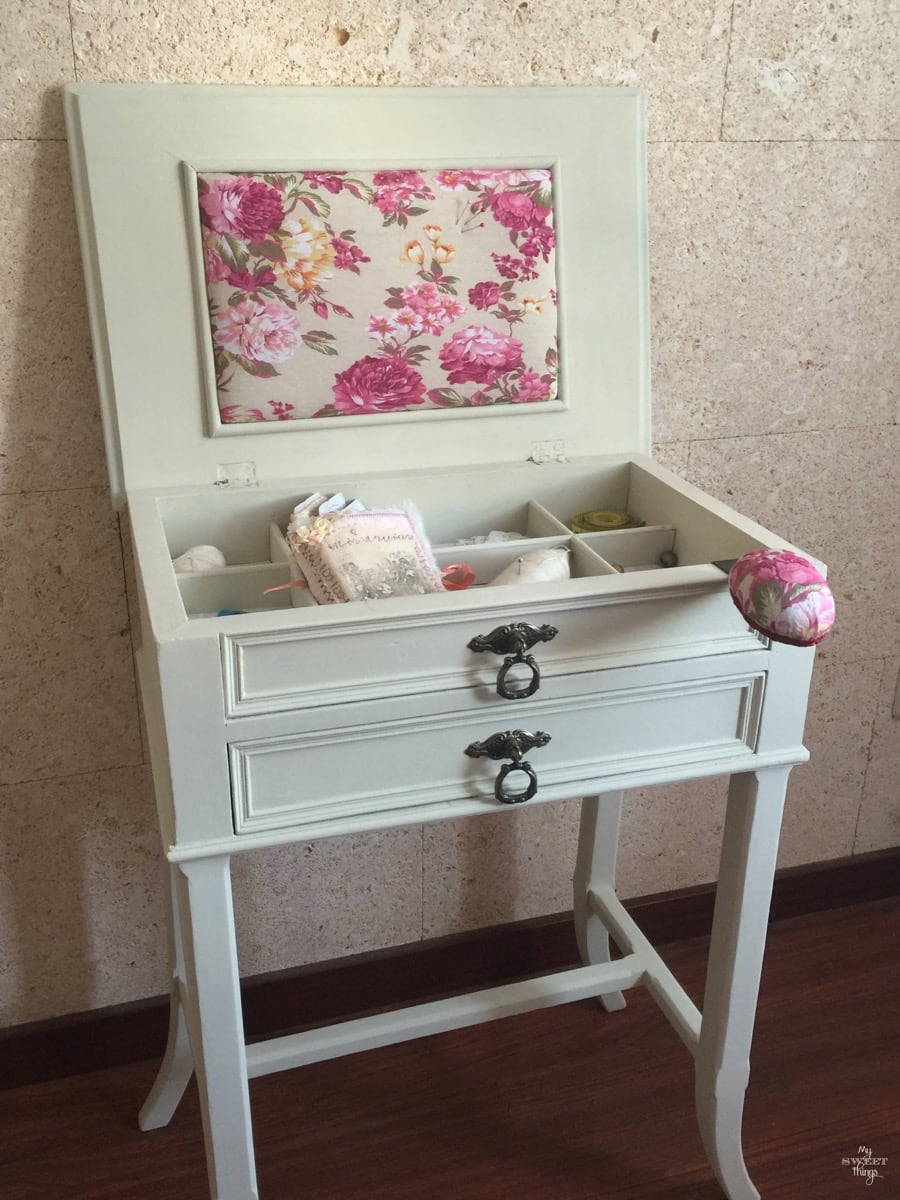

I wish you enjoyed my sewing cabinet transformation!! You can see some of the projects our hosts have done this month, like Colleen‘s.
The Fab Furniture Flippin’ Contest is open only to the entrants who have signed up through the group Facebook page. If you are an active, furniture flippin’ blogger, and you’d like to participate in future contests, we’d love to have you! Please contact us at info@fabfurnitureflippincontest.com to find out how!
You can check the previous contest here or more at the Gallery.
Thanks so much for stopping by, I really appreciate your visit and your comments!
Hugs,
Pili


Do you love DIY, recycling, home decor, furniture transformation and all kind of crafts? Then we have the same passion! I would love to share all my crazy ideas and projects with you so I would love if you SUBSCRIBE for my post e-mails.
I also share interesting content on Facebook and other social media, and I would love to hear from you! Not following me yet? Don’t be shy and stop by to say hello. Follow me on FACEBOOK, PINTEREST, INSTAGRAM, TWITTER, +GOOGLE.
Linking up to these parties
Any content on this website is created for inspiration purposes only. Creating with my suggested methods, products used and tools fail under your own risk. Please ensure you are following proper guidelines with anything used, and you receive professional guidance if you don’t know how to do something. For more details you can read my complete disclosure
I love the transformation Pili!! You picked the perfect hardware for it!! And I totally love everything you used to stage it too! Great job!!
Anika, thank you so much!! I liked the pulls as soon as I saw them and I was sure they would be a great addition for the sewing cabinet.
Pili, this is so beautiful. You had a lot of work to do to get to the bottom of all that paint but it was so worth it. The design was very pretty on the bottom of the paint but I can understand why you have painted it. Of course, the real surprise is what is on the inside. Simply fabulous. And of course, my repurposing heart is glad you used the fabric from an old piece of clothing. It matches perfectly with the look you were going for. Now your daughter can sew away and be so happy knowing that this was her grandmother’s piece of furniture. Those are really the best kind of makeovers. I also see where you get your talent from. Stunning!!
Thank you so much, Mary. It really required a huge amount of work but I agree it was worth it. When I saw the pretty design on top I thought it would be nice to show, but the wood wasn’t in good shape and had no idea how to fix it, and also my daughter said she liked it more painted… So I am glad I finally painted all because I think it looks better with what has inside
Great save, Pili! I love that you salvaged your grandmother’s piece. It’s so very special. A beautiful transformation!
Pili you brought it to such beauty. All of your hard work is totally worth it. And such attention to details.
Oh wow! This sewing cabinet is soooooo classy now! What a wonderful makeover!!! I love the fabric on the inside and the pin cushion is too cute!!
Wow!! This is gorgeous! Love all the details!!
Precioso Pili…tu abuela estaría encantoda con el cambio.
Ahora ya tienes un bonito mueble para tus cosas de costura…que ya se que no es lo tuyo,pero eso es porque no te has puesto a ello.
Un abrazo
Pili, it’s absolutely beautiful!! I’m sure your grandparents would love the makeover you gave their old sewing cabinet. I love the fabric you added to the piece, so pretty. You really did a wonderful job on this!!
Oh Pili this is so so beautiful! The pulls are perfect for this cabinet. I love that fabric you used from your old tank top, it goes great with the look and the inside of course is so so special, those little ribbon tags are so cute and go well in there! I bet your daughter loves having this piece her great grandma used long time ago!
I love your attention to the smallest detail Pili, everything from the pin cushion to the handles to the paint color you chose and the fabric. It was sooooo worth the wait.
It has a special place in my heart so I wanted to make something special. My oldest daughter is in love with it, the same way I was when I was her age.
Oh my, the result looks amazing! I have couple cabinets here which are similar and are also in a desperate need of a refinish. I’m totally doing this too! Thank you for sharing the steps!
Hi Tina! Thank you so much for stopping by, I am so glad I have been able to inspire you a bit!
Privacy Overview