Do you love DIY, recycling, home decor, furniture transformation and all kind of crafts? Then we have the same passion! I would love to share all my crazy ideas and projects with you so I would love if you SUBSCRIBE for my post e-mails.
I also share interesting content on Facebook and other social media, and I would love to hear from you! Not following me yet? Don’t be shy and stop by to say hello. Follow me on FACEBOOK, PINTEREST, INSTAGRAM, TWITTER, +GOOGLE.
Linking up to these parties
Any content on this website is created for inspiration purposes only. Creating with my suggested methods, products used and tools fail under your own risk. Please ensure you are following proper guidelines with anything used, and you receive professional guidance if you don’t know how to do something. For more details you can read my complete disclosure

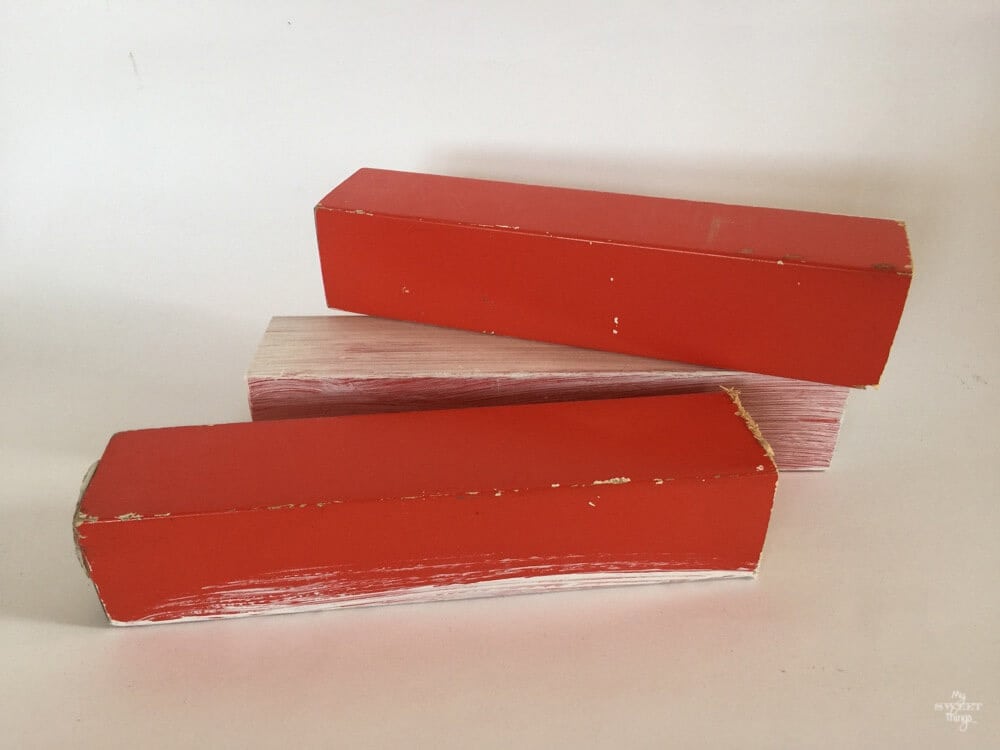
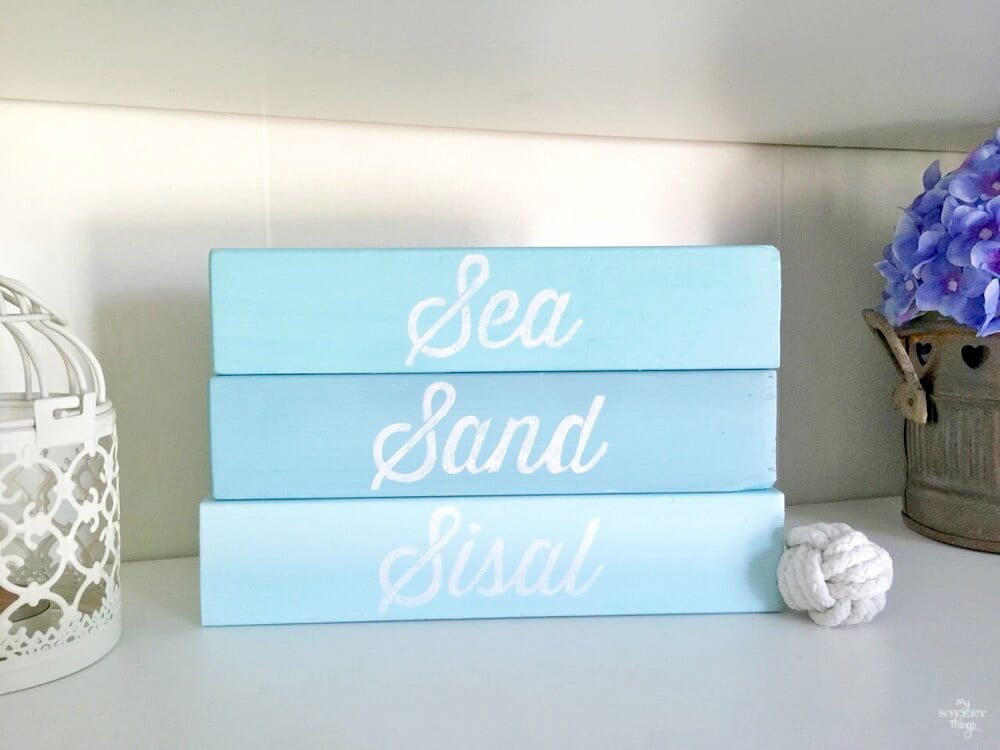
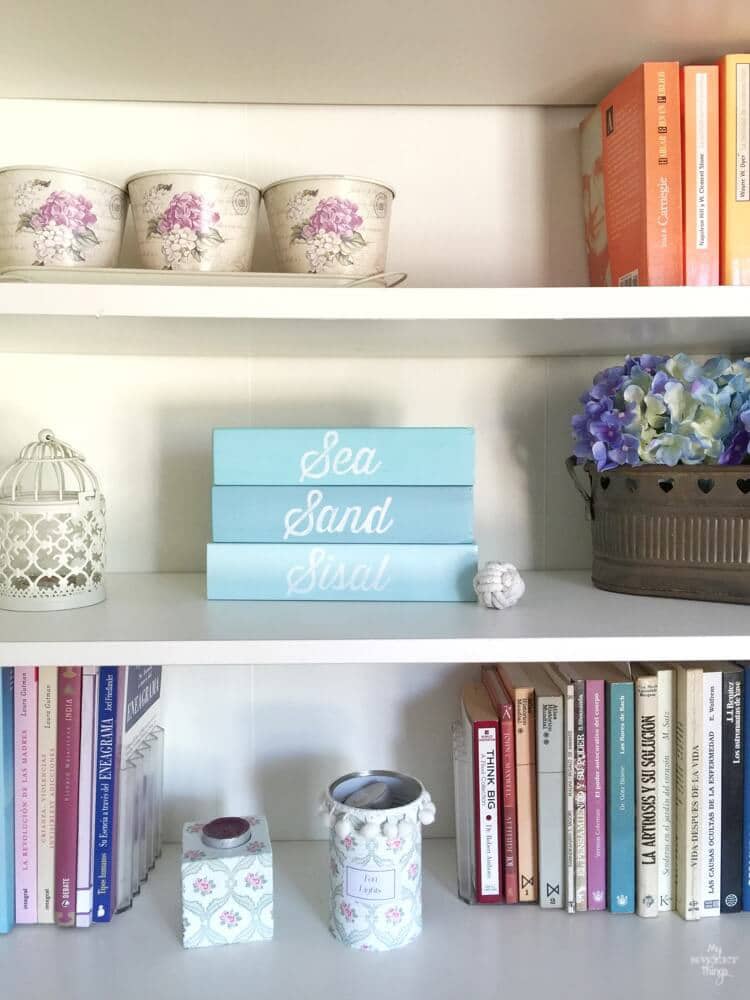
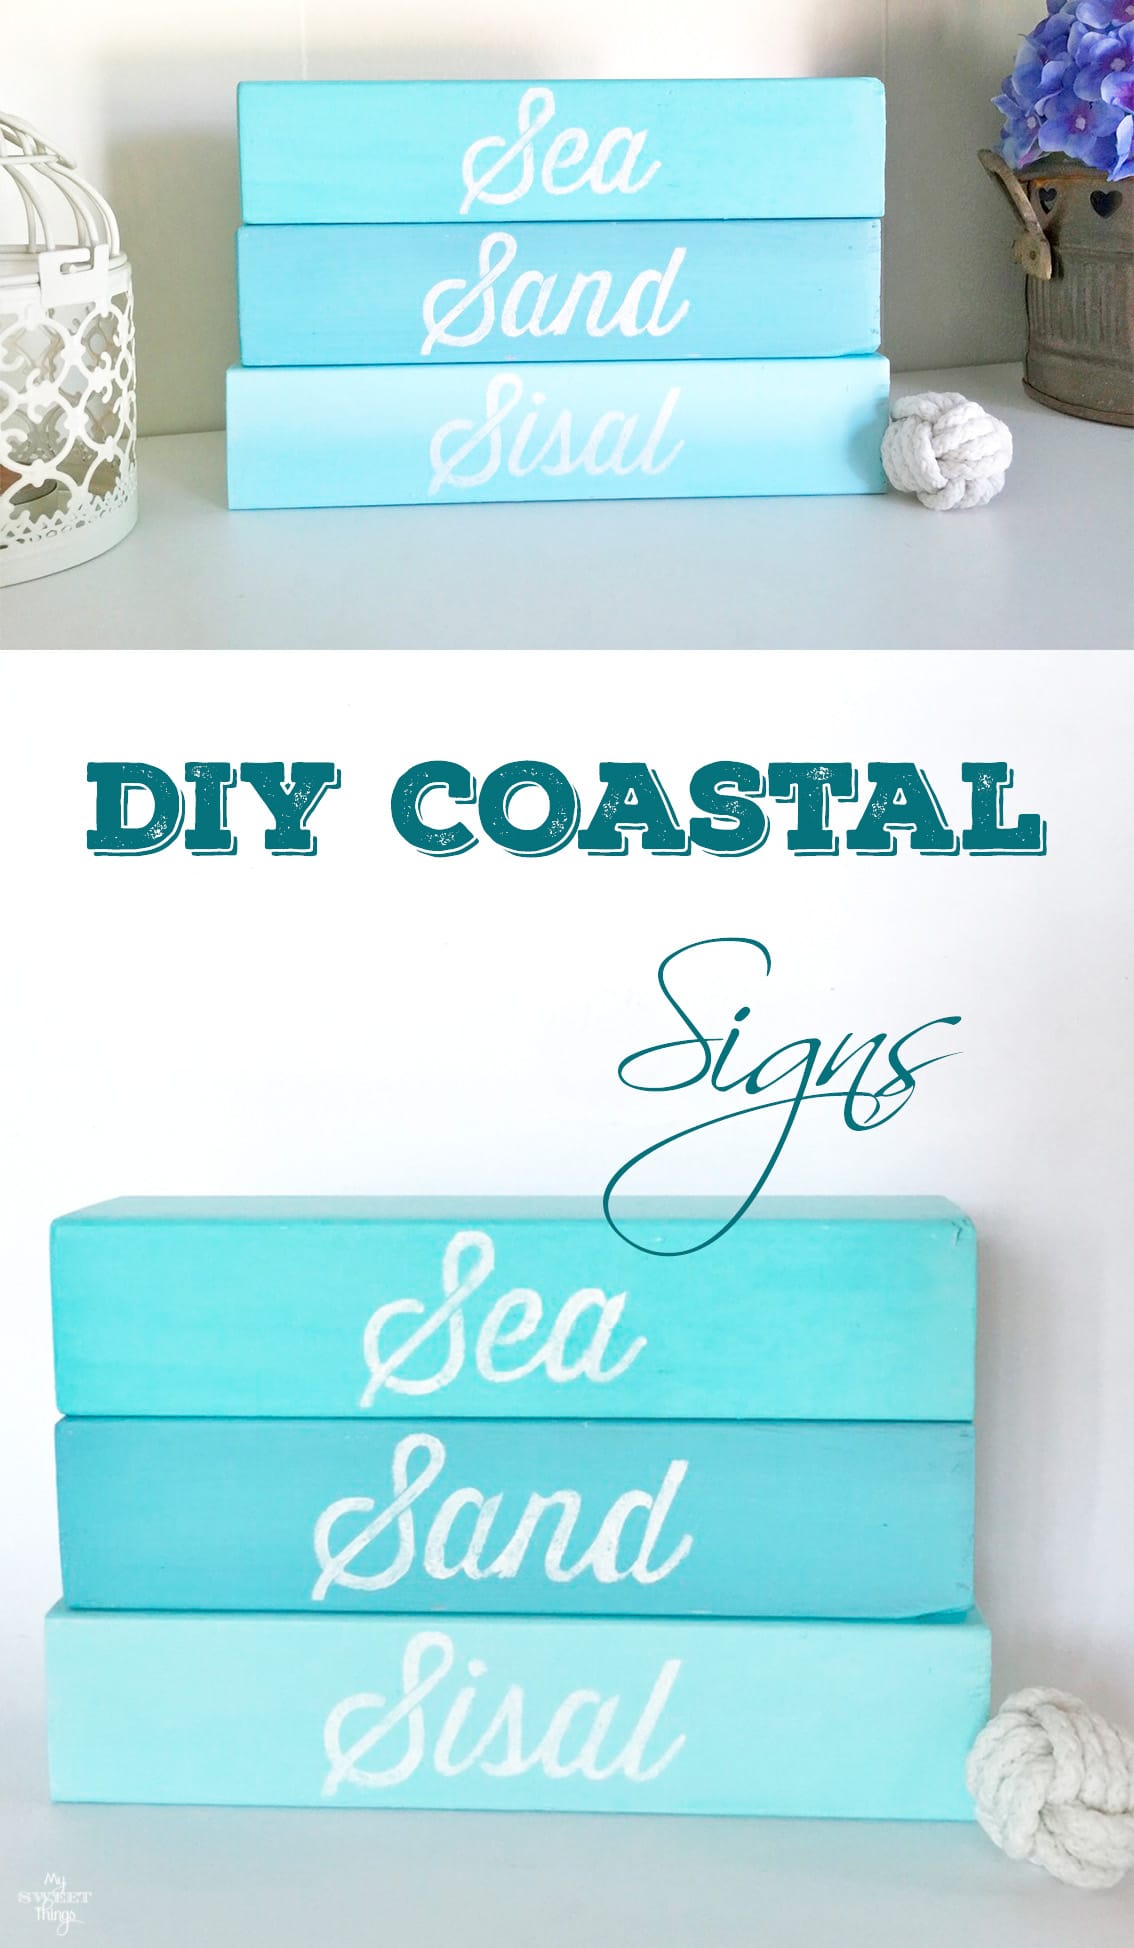


Pili what a great repurpose of old wood legs. I really like the different shades you painted them. They look similar but just different enough to add interest. Now this will keep you happy and always remind you of summer.
Beautiful and such a brilliant use for the legs. I would never have thought of doing this and you’re right they do look stunning with the votive candle holders. May your summer memories last forever
Awesome repurpose Pili! I love summer decor as well and that colour is so bright and fresh, like the sea! I like how you used different shades of turquoise and the font goes really well with it!
Beautiful project Pili. I know you never want the summer to go away so this is a perfect way to keep it around all year long. Love the colors and the different shades hues you used.
Pili this is such a great way to keep the summertime close to you even in the winter. I love the different shades of blue you have used here.
Pili, so sweet of your husband to think of you when seeing broken tables! I love what you did with the legs! The sea, sand and sisal cries out “Summer!”
Fantastic project! I love anything beachy
Privacy Overview