Hey friends!
I am so glad to be back again in blogland after I had a hard time with problems with my eyesight. I will save you all the details mainly because I want to forget all that time, and I will share instead the details of this makeover.
I hope by the time you finish reading you are as excited as I am, and maybe you feel confident to make your own version in any area of your home that may be asking for a facelift.
Before I started in this DIY world I used to think that makeovers needed either skills or money (if not both) but now I realize how wrong I was. The only think you need is an idea, and then work around it to make as budget friendly as possible if budget is an issue for you. If it’s not, then it will be even easier for you.
Also not being too creative is not an issue, because you can find plenty of inspiration online. Make sure you follow me on Pinterest, Facebook or Instagram and you’ll get many ideas.
Well, I could keep talking for hours because some many things have happened in all this time but I am sure you want to know how to make a hallway makeover on a budget, right?
I get it, so let’s go
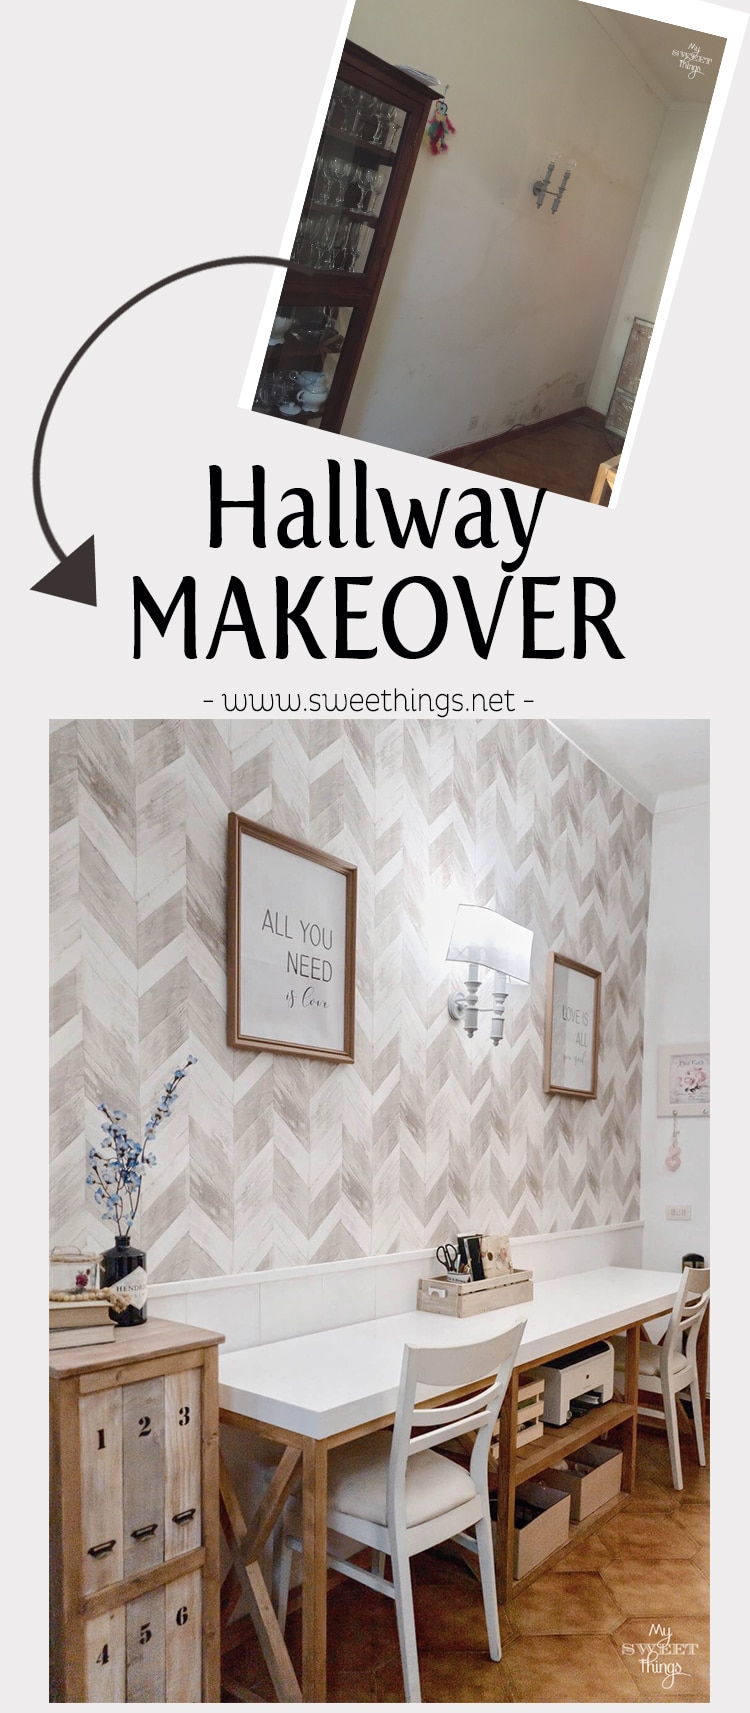
How to make a hallway makeover on a budget
I started with this wall.
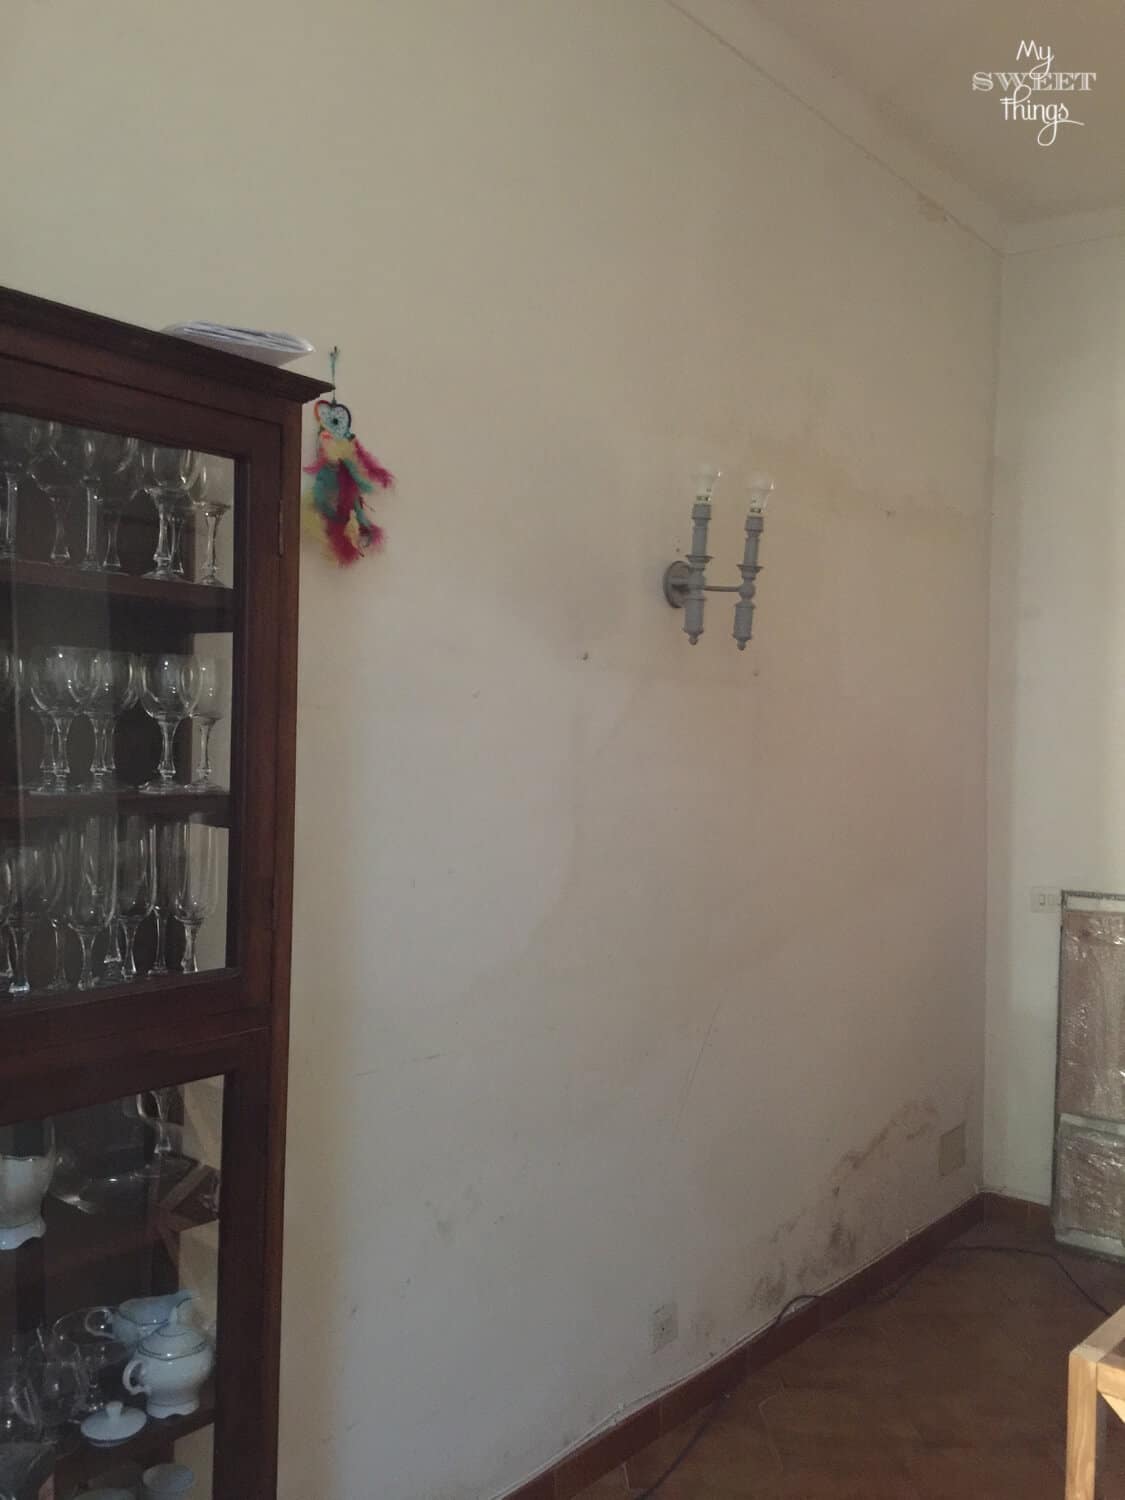
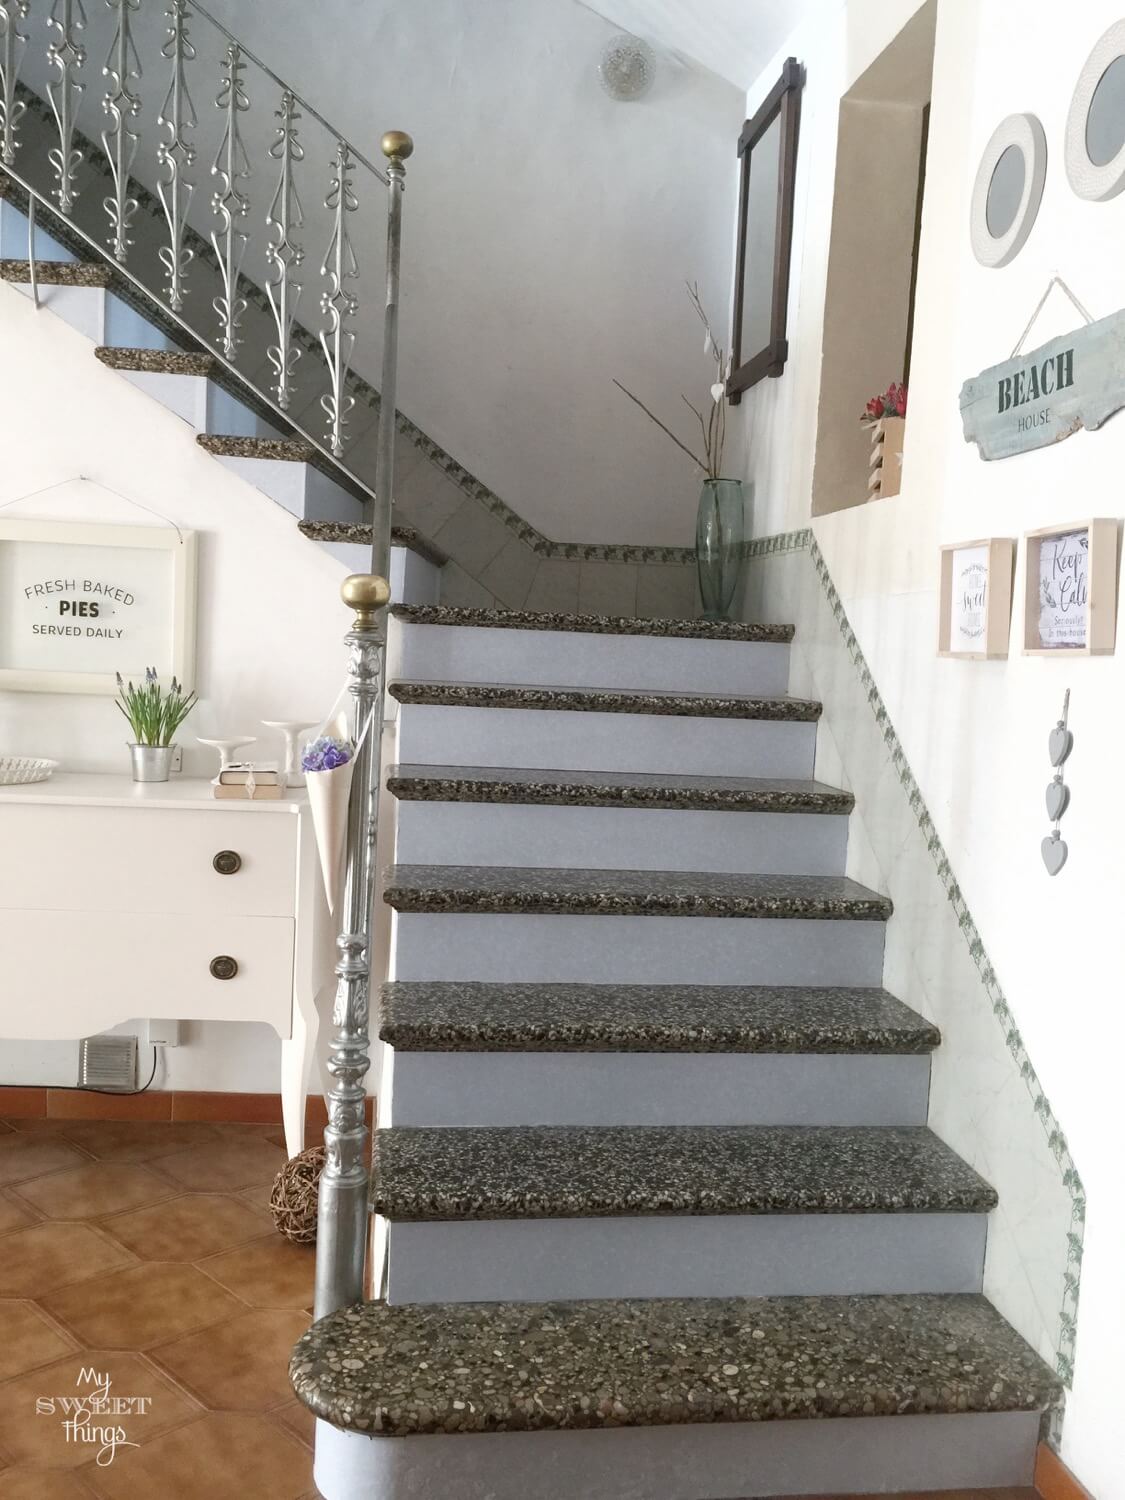
If you remember the staircase makeover, the entryway makeover and the kitchen makeover then you won’t be shocked by that wall…
Despite I love each of them, I admit this is my favorite by far. Keep reading and please let me know in the comments if it’s your favorite too or you prefer another.
You won’t know because you don’t live with me, but when my hubby sees me with a metal spatula in my hand you can see the fear in his face.
And this is one of the many reasons.
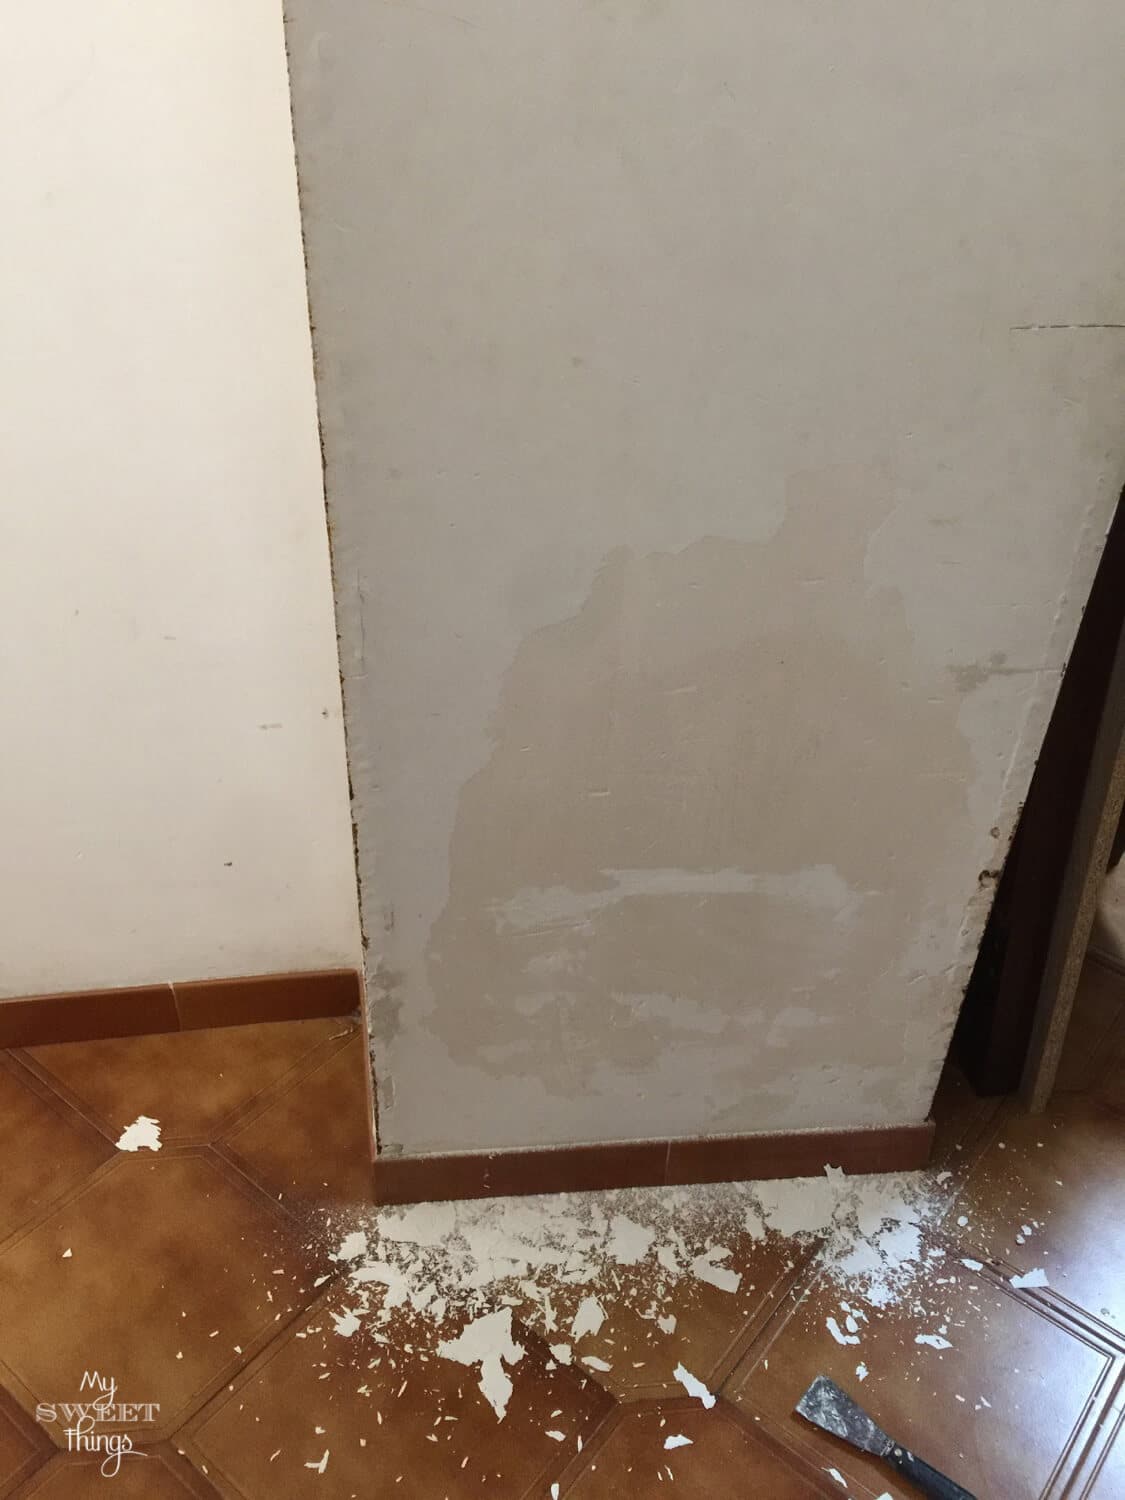
It’s like removing black spots in the back of someone else, once you start you can’t stop. This is the same in the DIY would. Chippy paint, better not even look at it. Someday I will share a story about chippy paint and how a 3 hour project turned into a 5 days one…
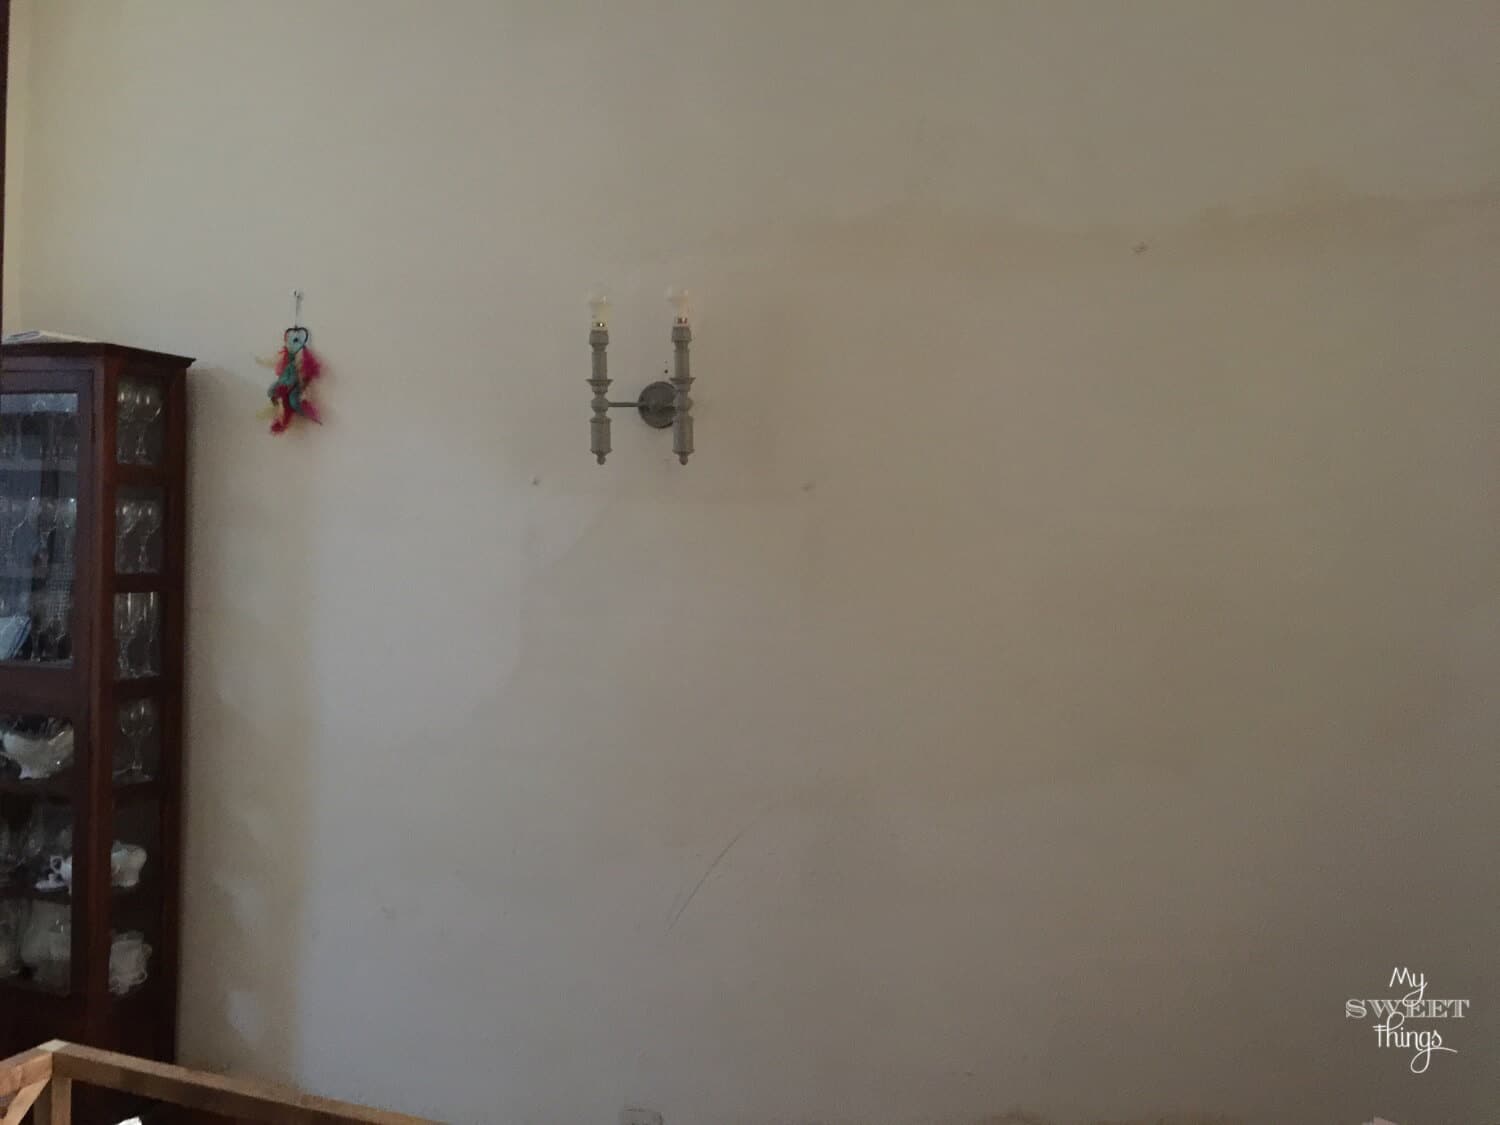
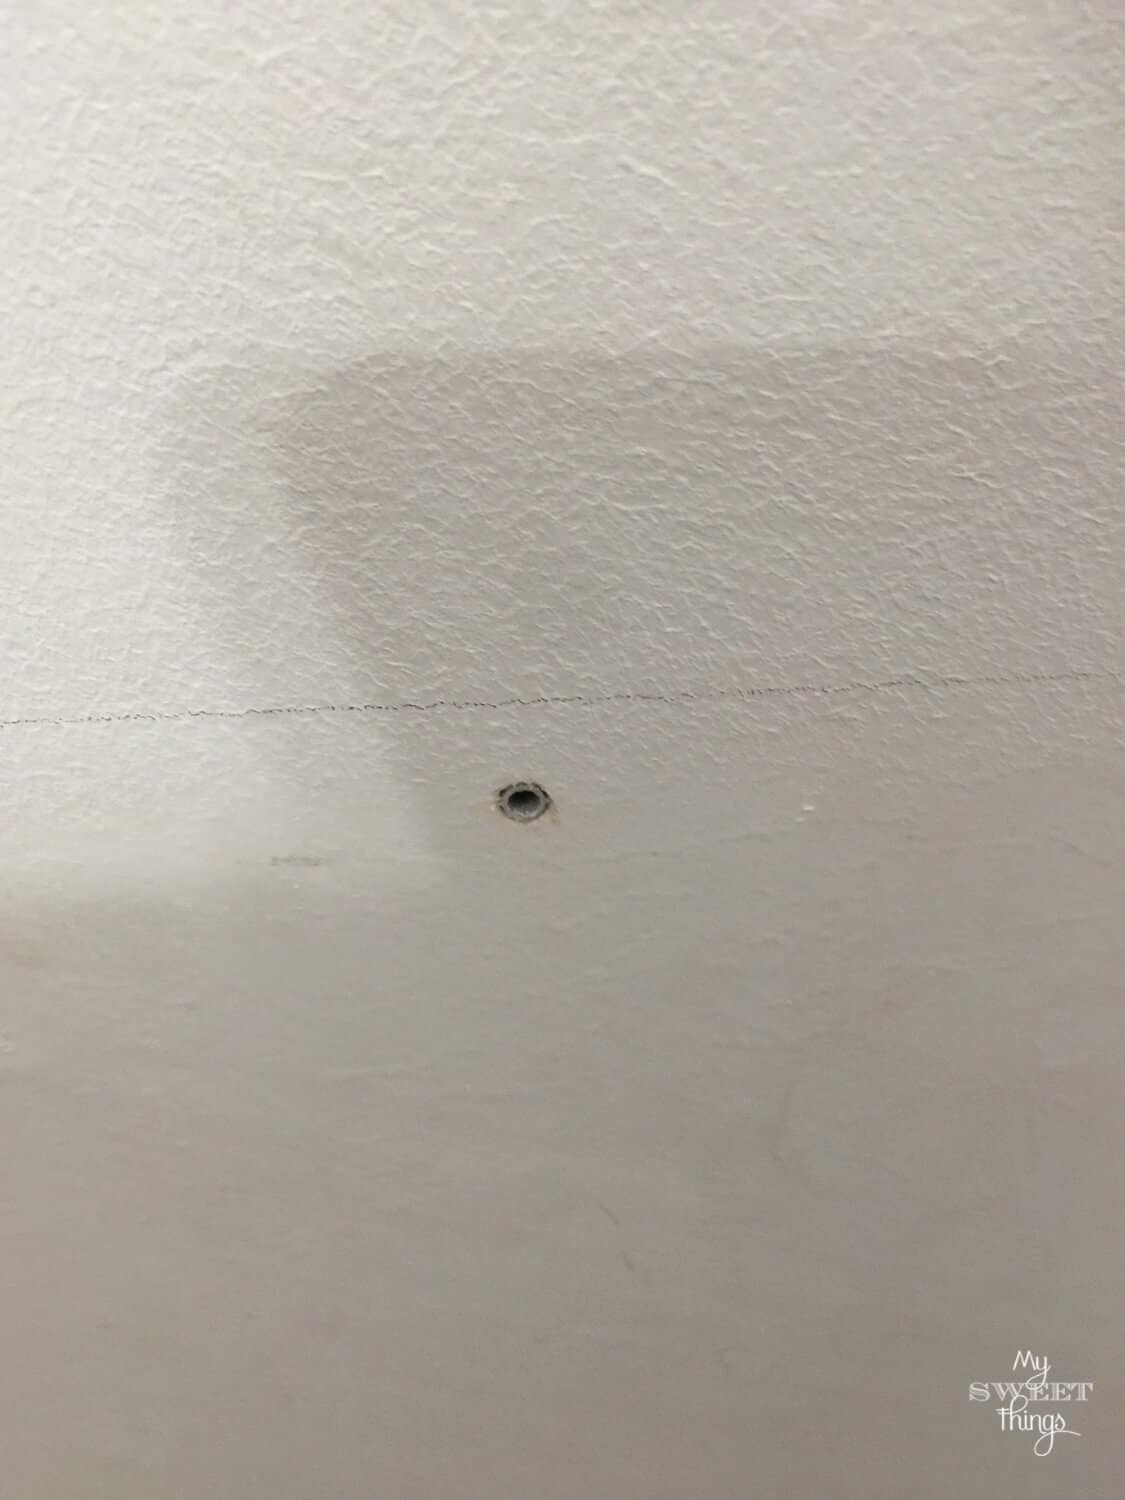
This picture below is the opposite wall, not that nasty as you can see. Nothing that a metal spatula, plaster of Paris and paint can’t fix.
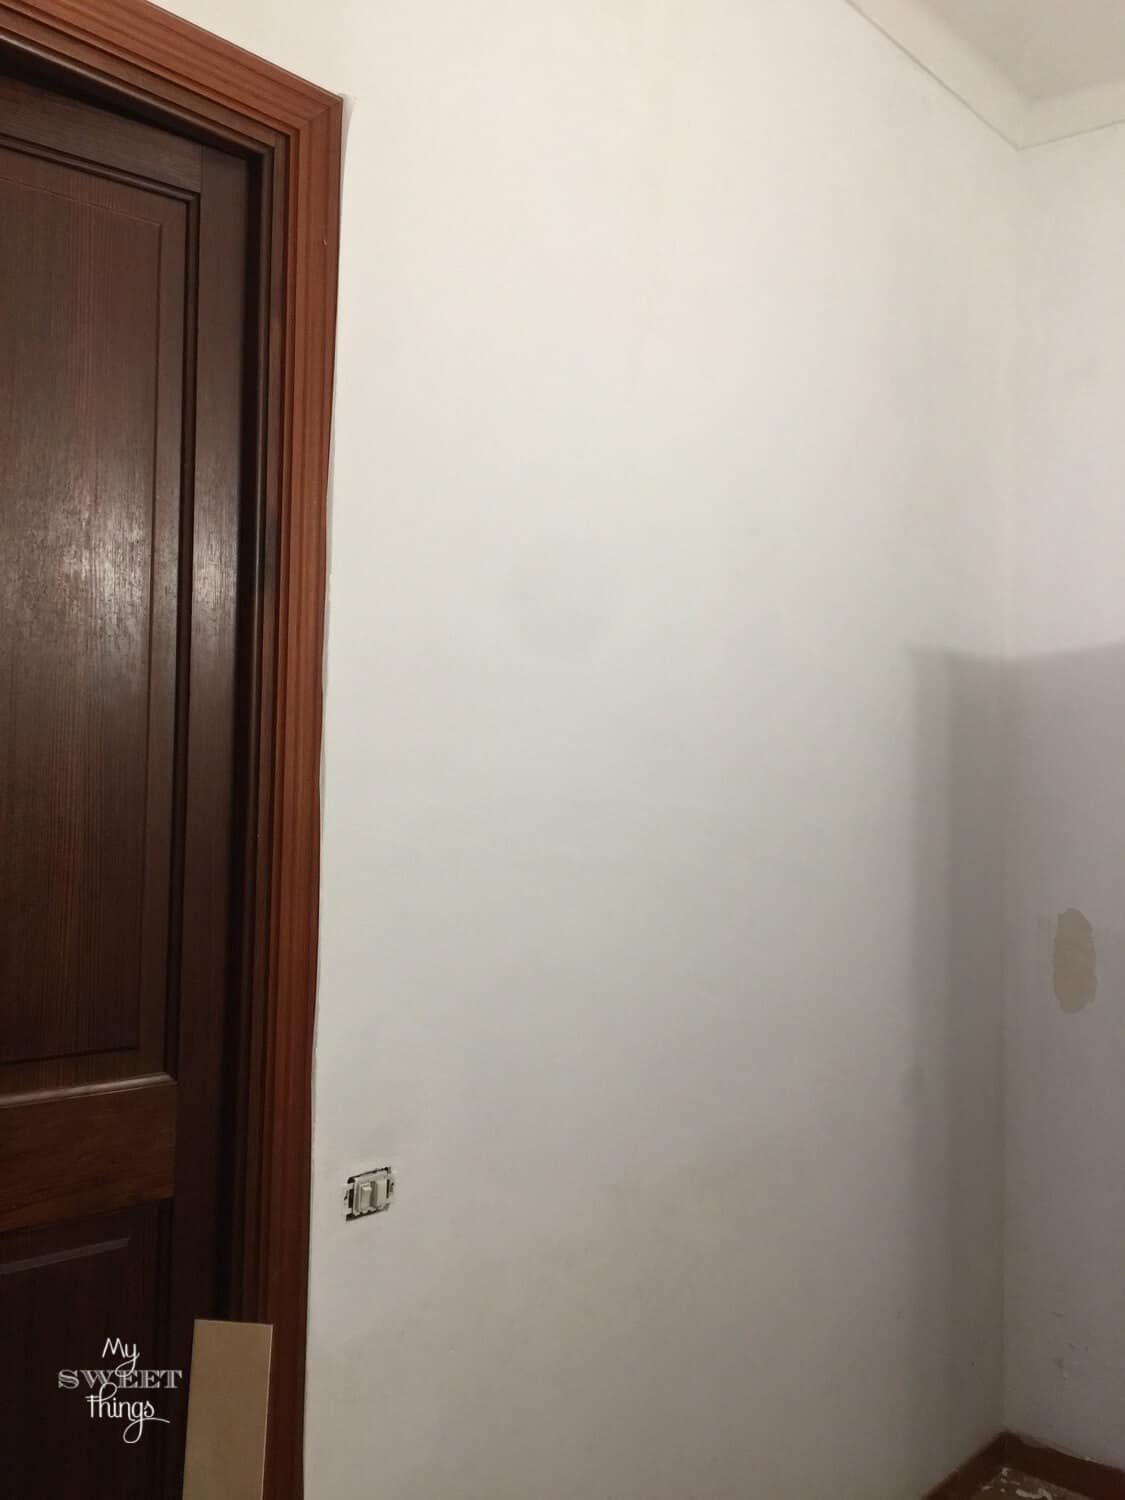
It also doesn’t have that much humidity. Remember our house is more than 100 years old and made of limestone, which means it works like an sponge.
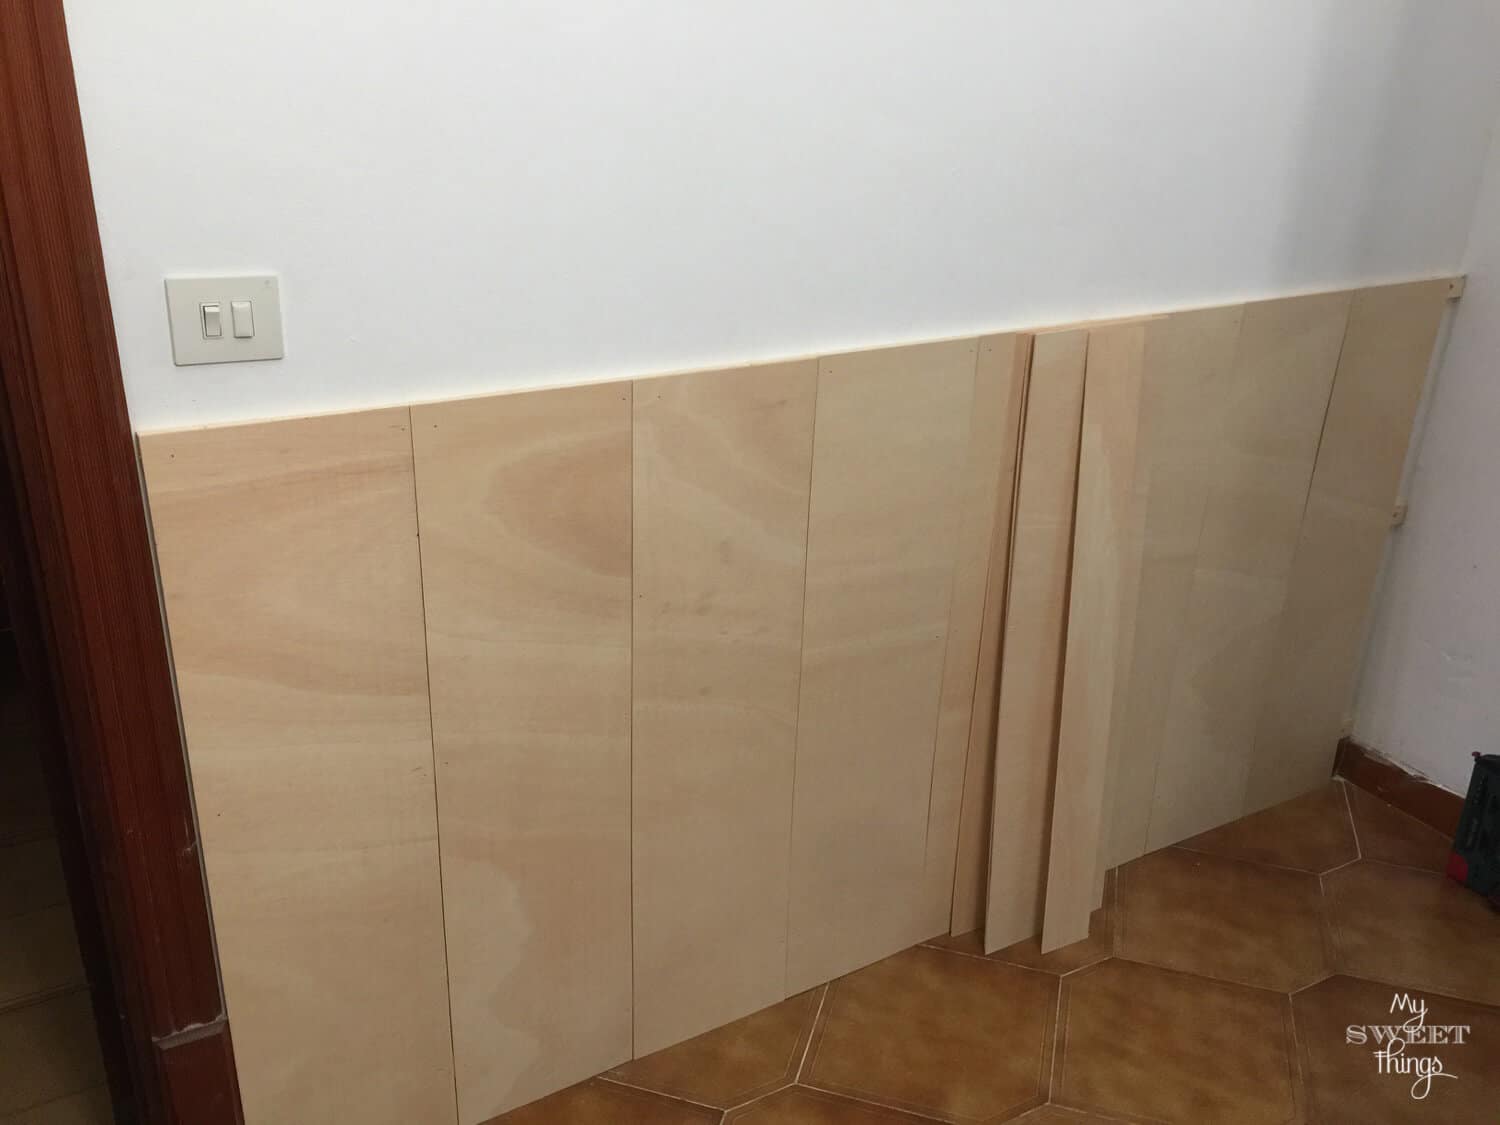
I decided to cover half of that wall with thin pieces of plywood to spruce it up a bit. That hallway is the darkest spot in the house, it’s between the huge entryway and the living room, the second darker place in the house…
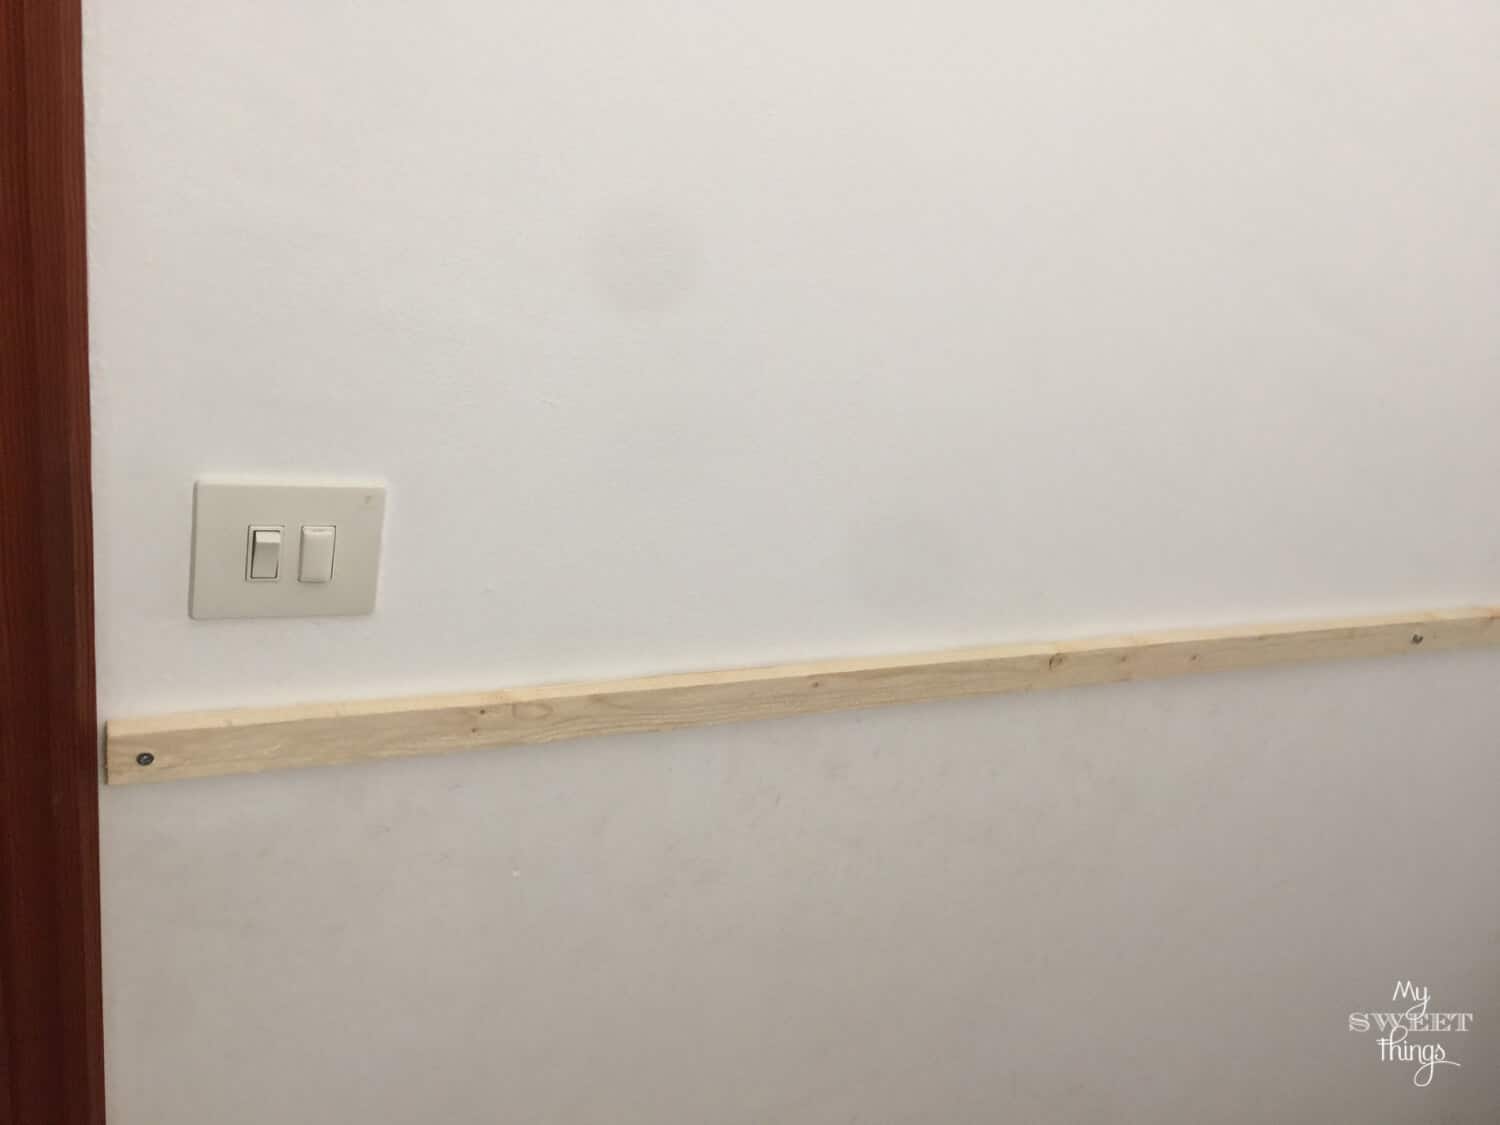
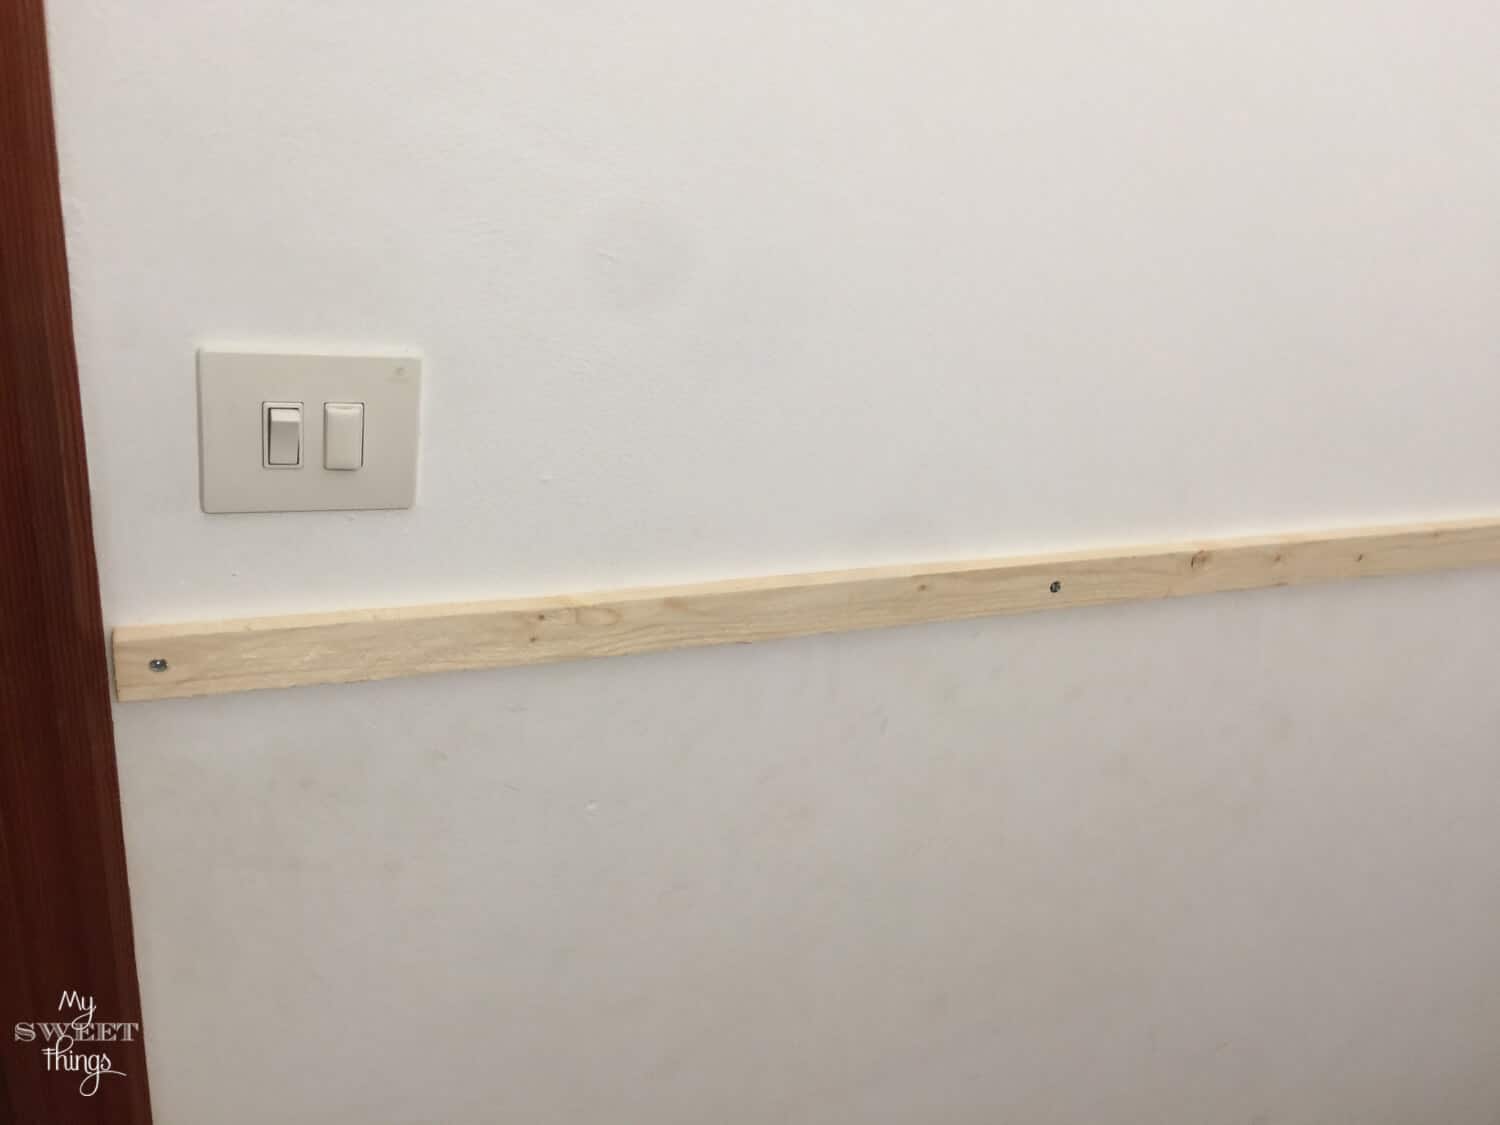
I bought a pack of 10 pieces of pine for my entire hallway makeover project; that wall required 3 which I cut to fit. I drilled the wall and used nails to keep the wood strips in place.
I worked from top to bottom so all the dust from the bricks didn’t fall on the rest.
When everything was in place it was time to nail each piece of plywood. I used my brand new electric nailer for that job.
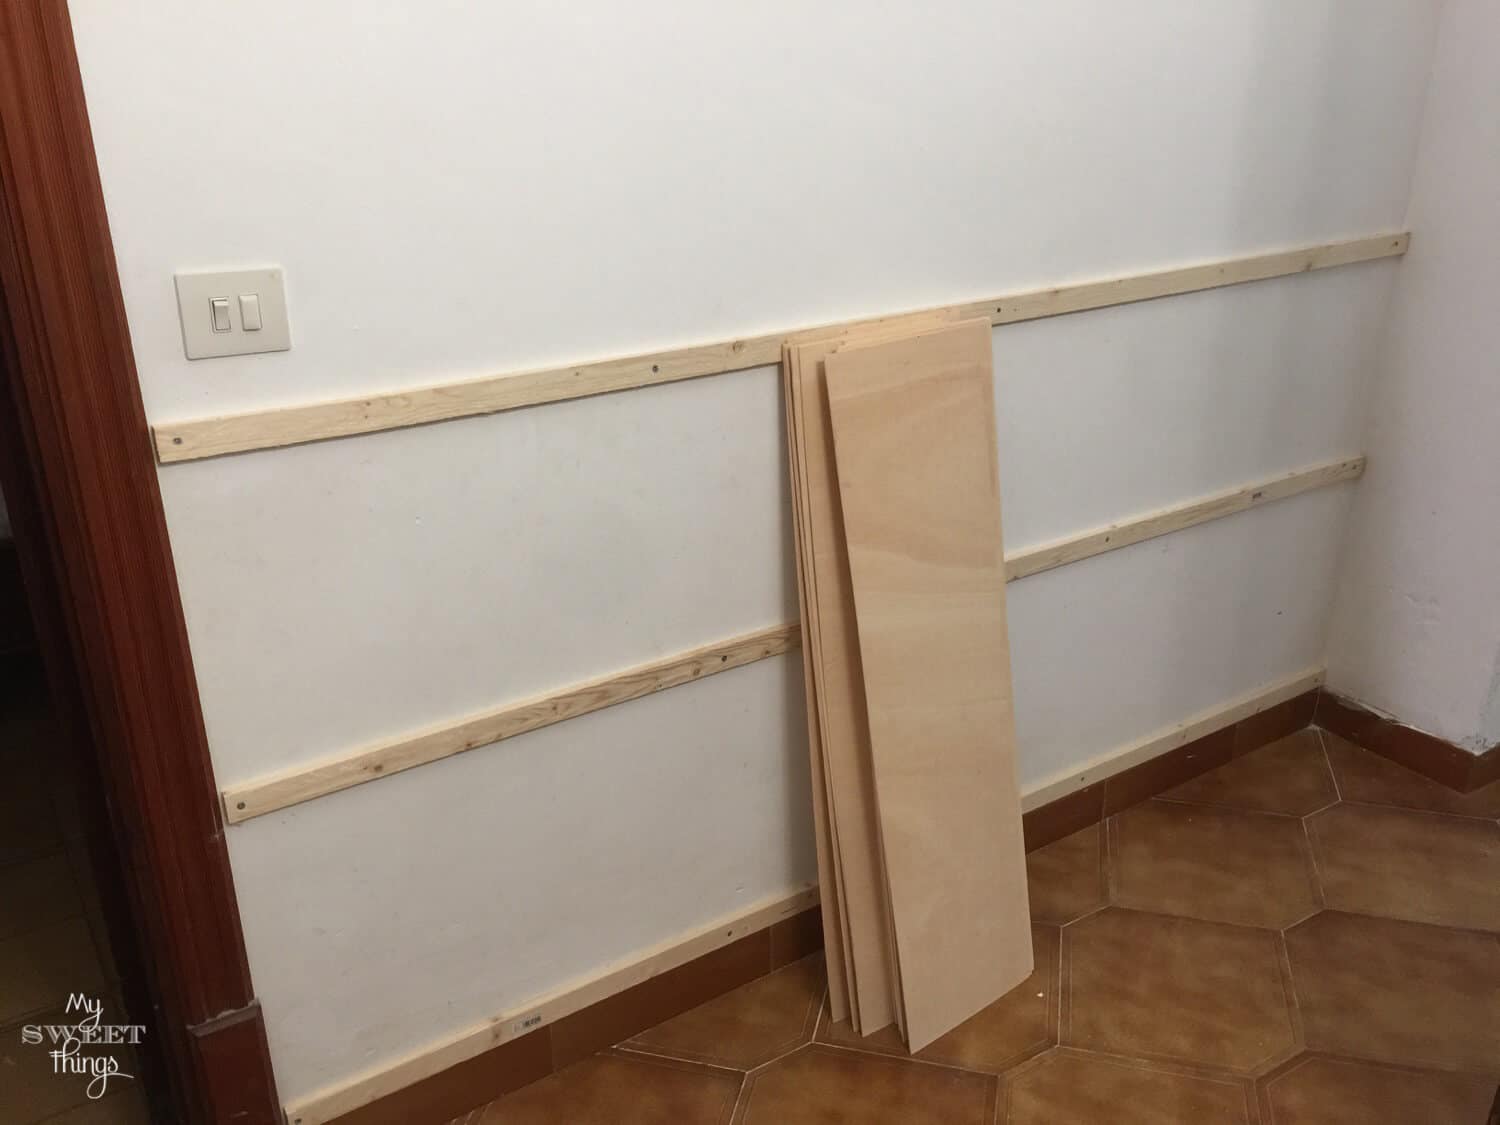
Again, you can imagine walls are not straight and you are right. The last little piece was a bit tricky but I managed.
I left that wall for a while and helped hubby with the main wall. Do you remember I told you before you just need an idea to be able to transform a space?
I had an idea.
That place is so dark and depressing that it needed something. It’s also a high transit area and quite narrow, quite a wasted space but we walk through it ALL day long.
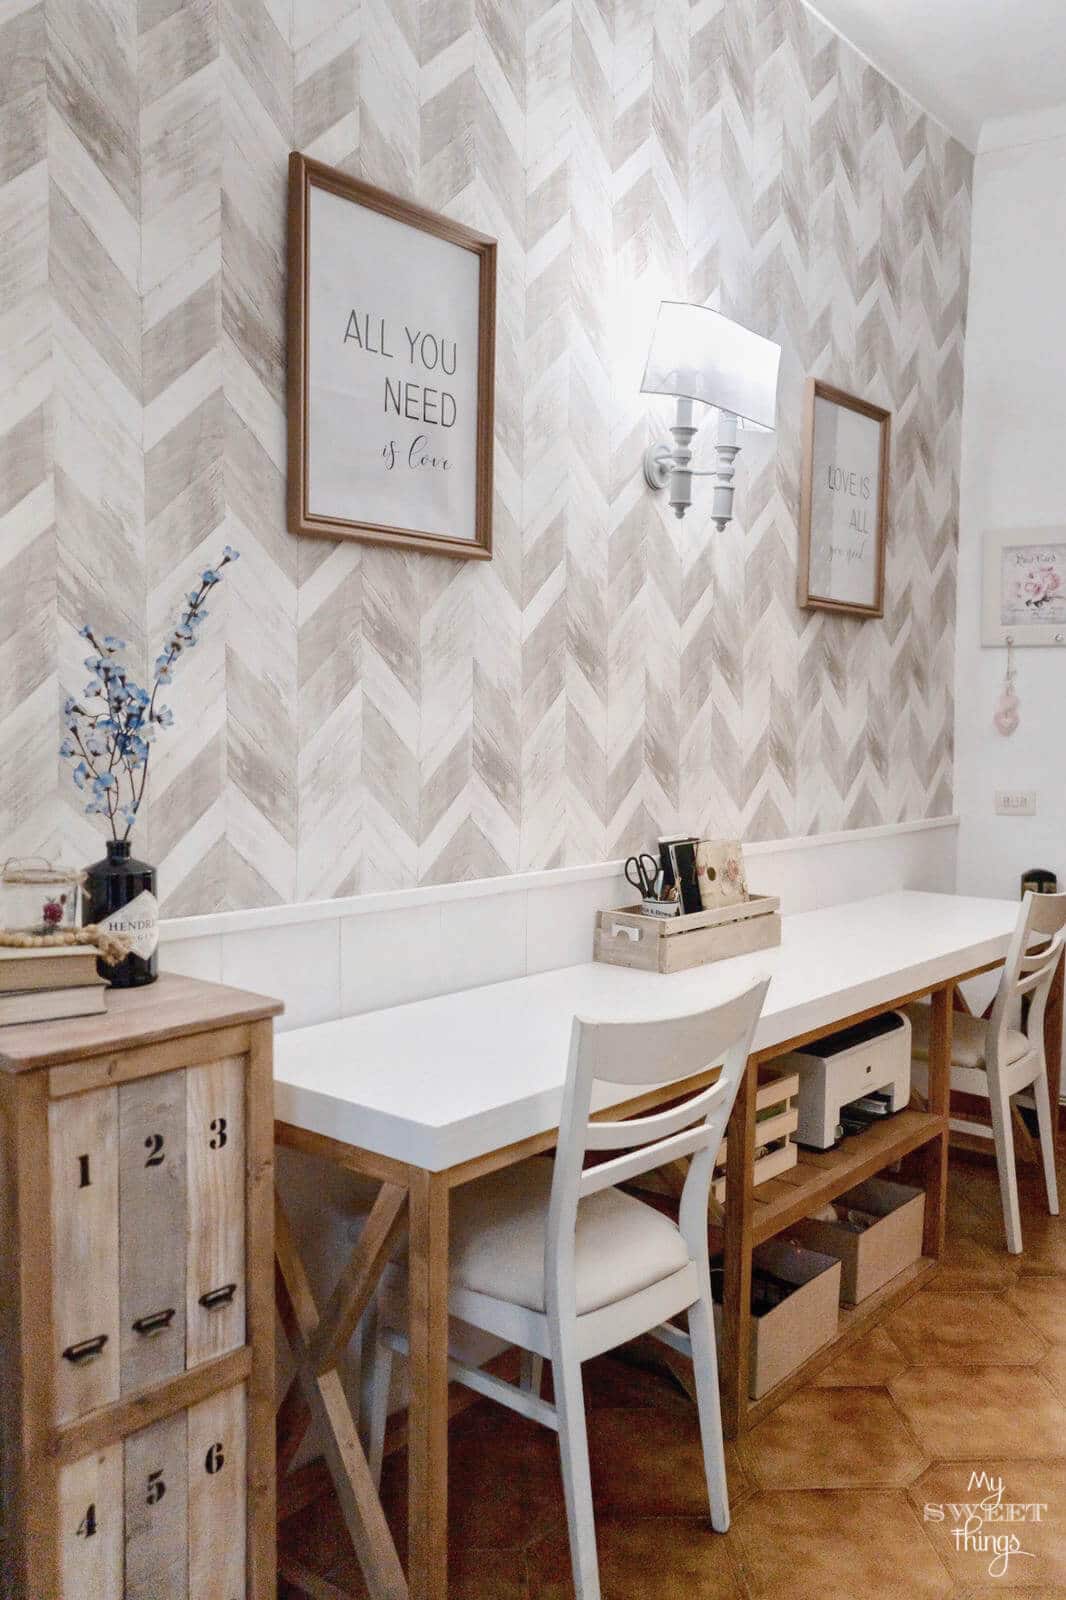
I wanted a stunning wall with good lighting, and it would be our home office area!
We would be hot in winter and cool in summer, the girls could be playing in the living room next to us and there would be enough space for the two of us.
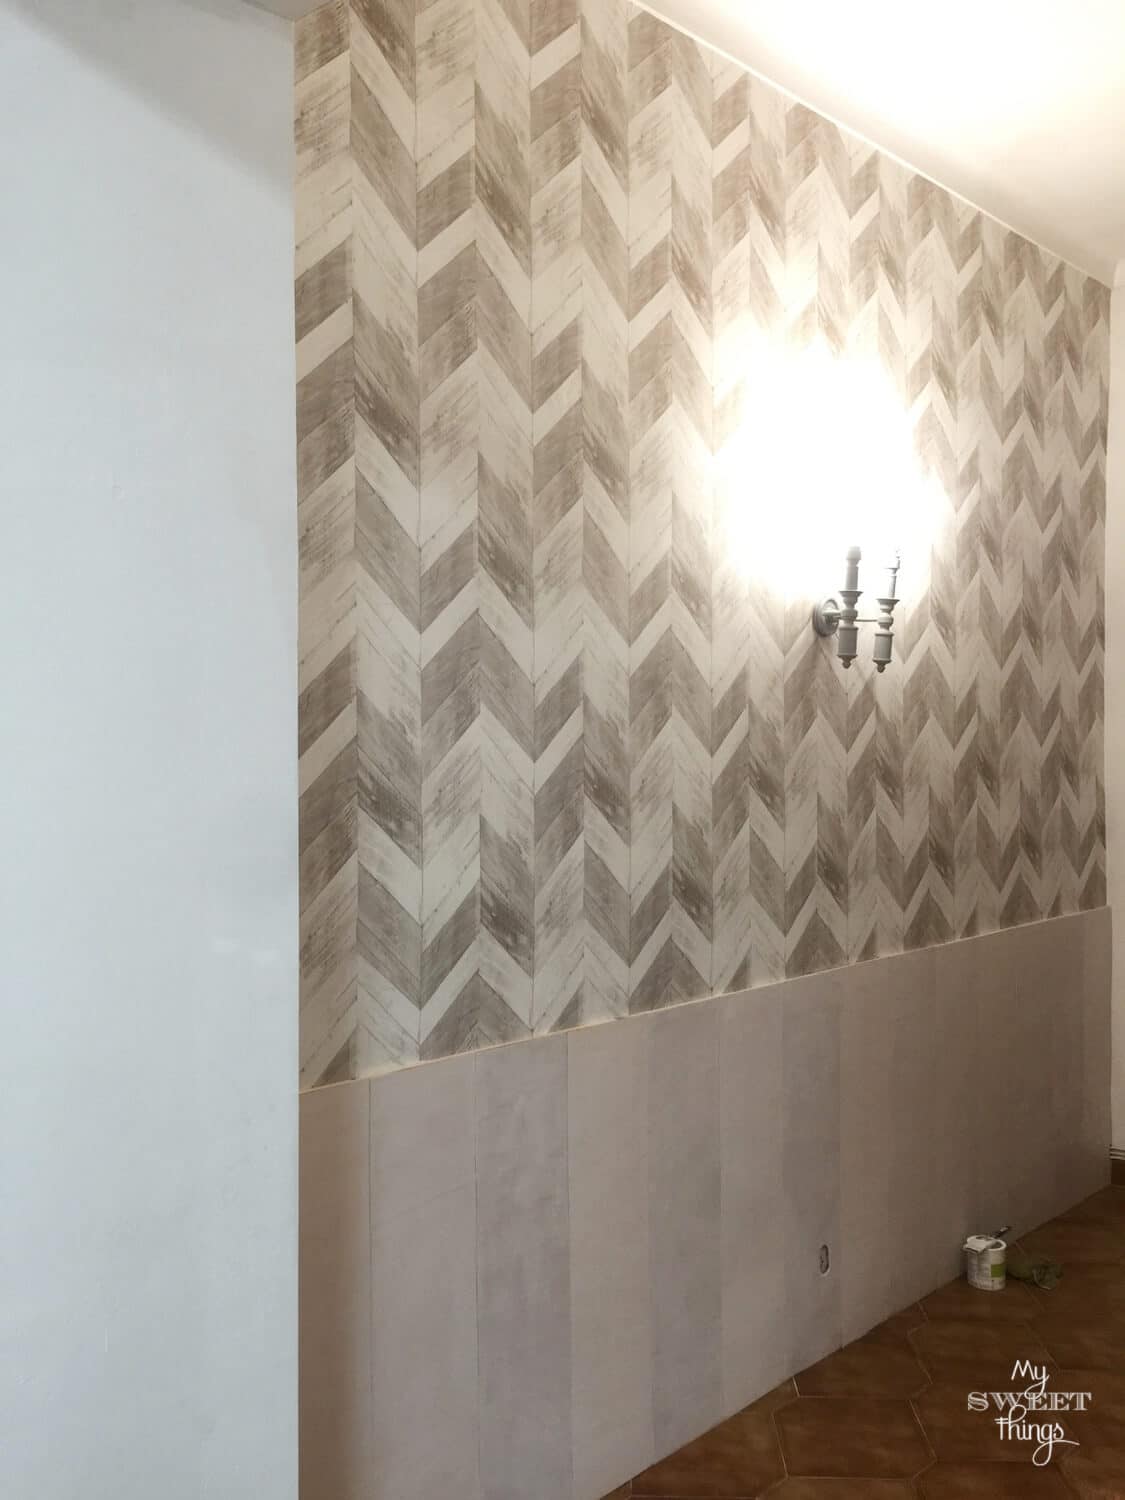
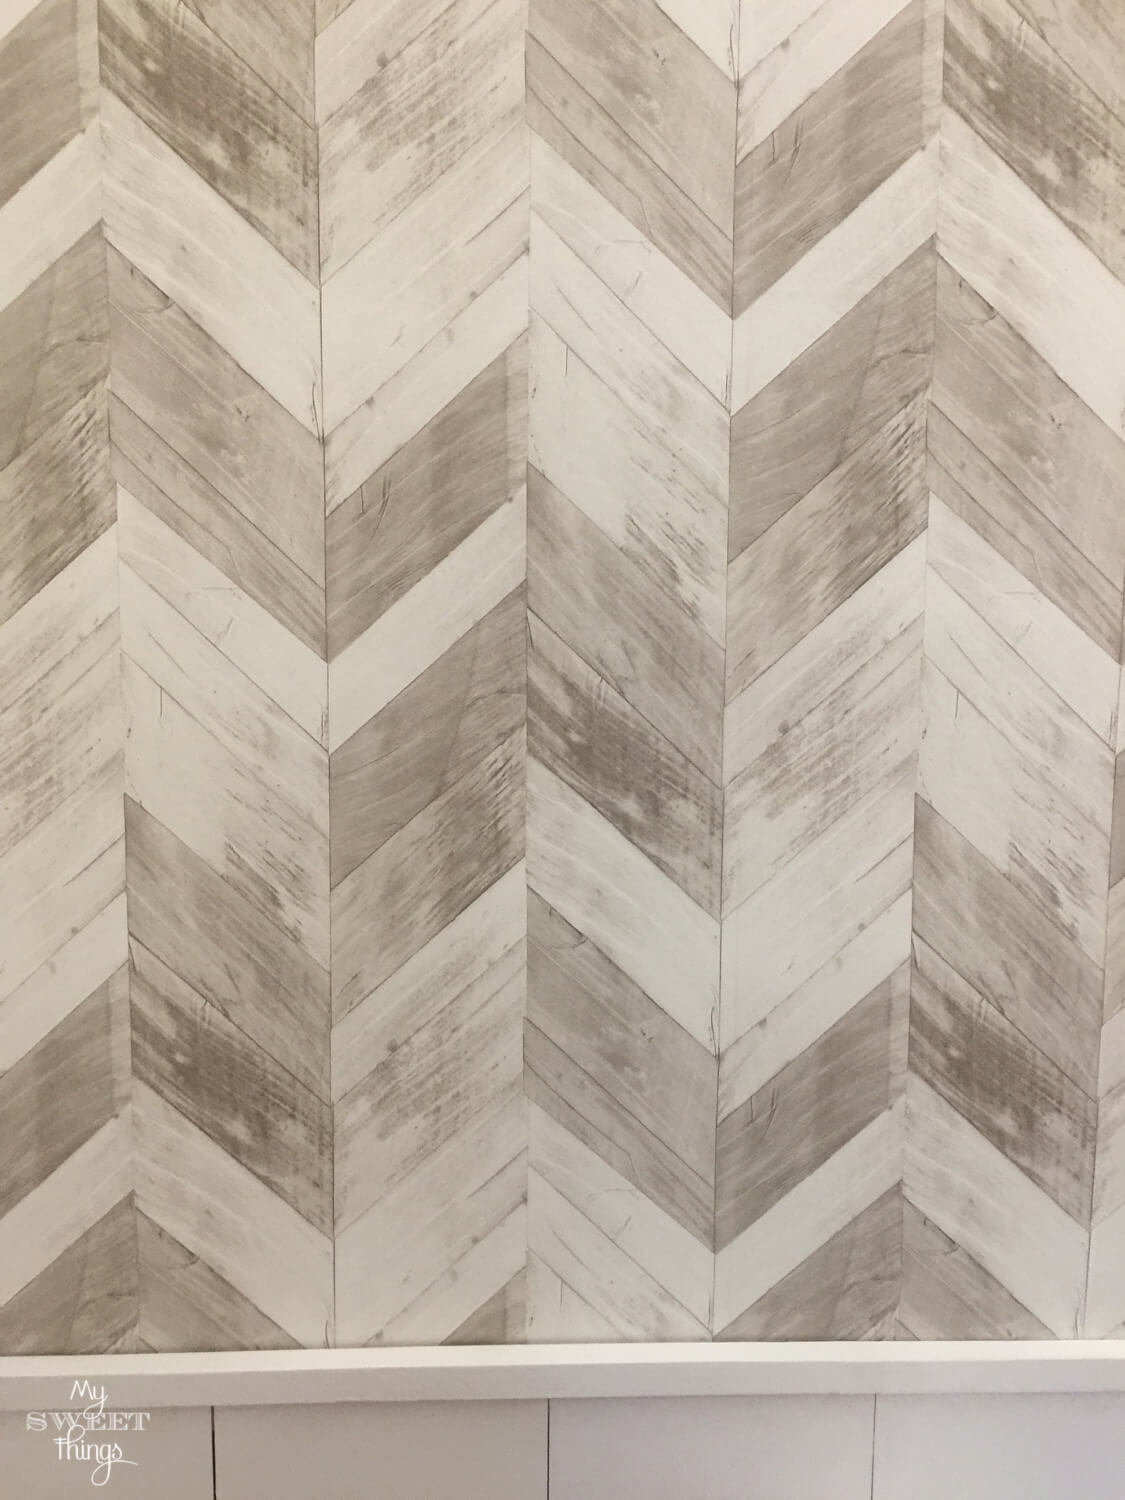
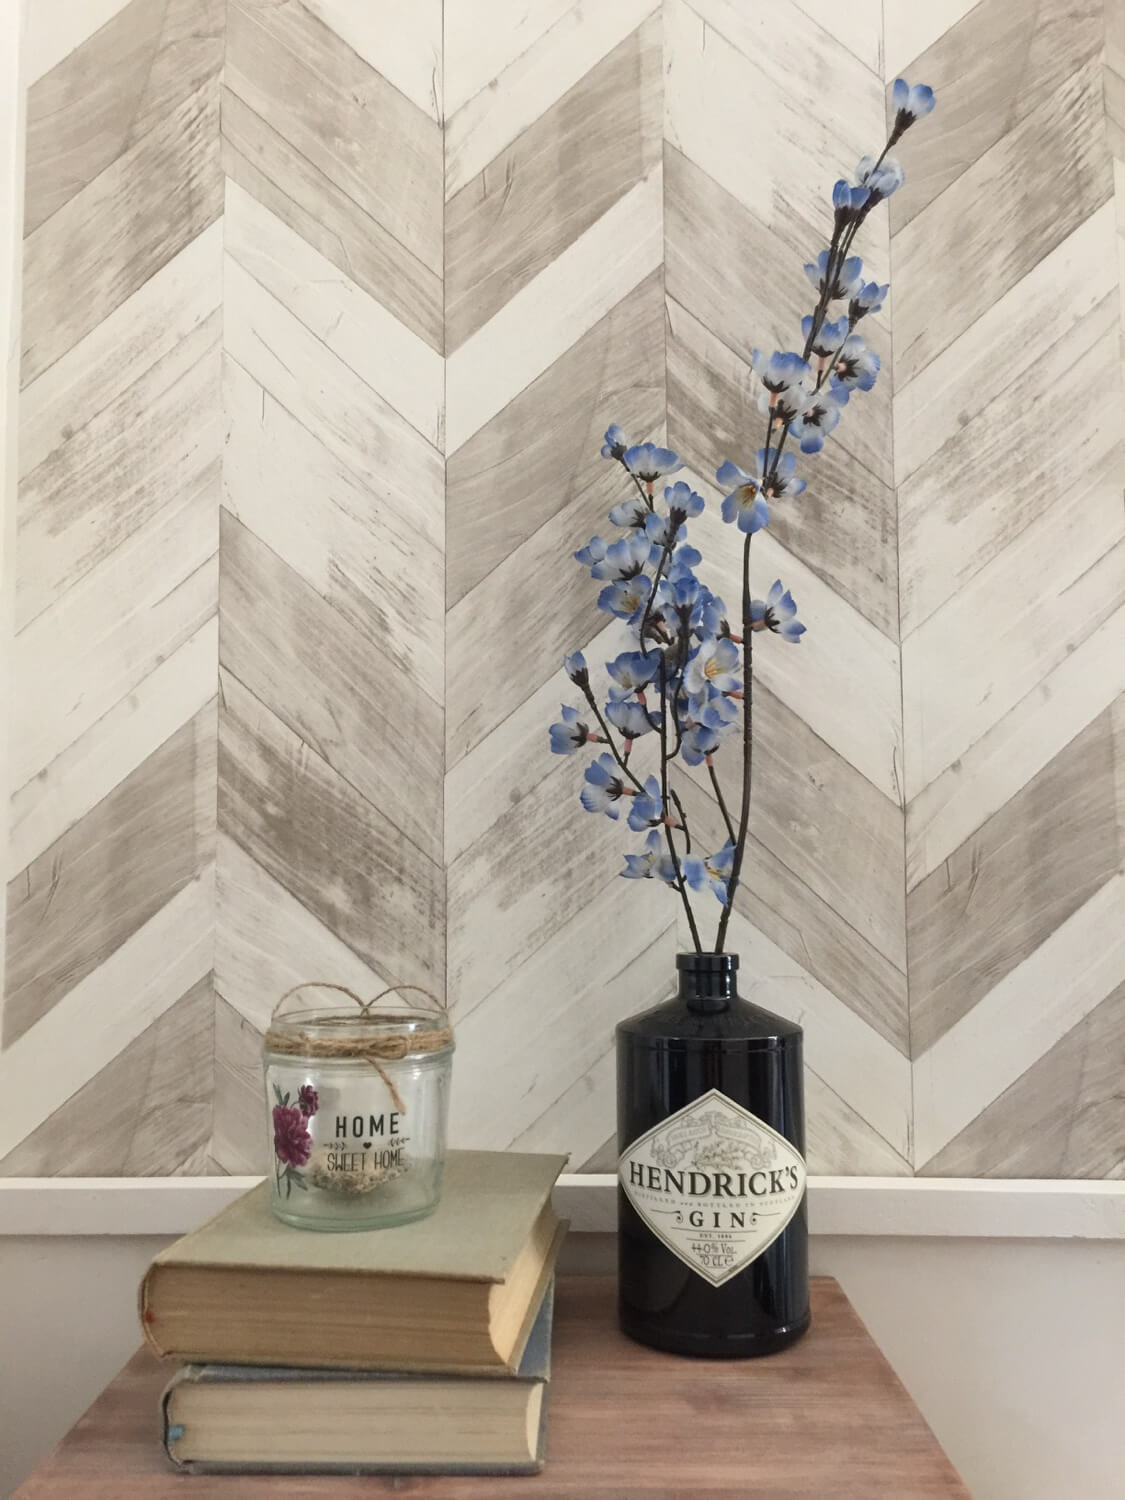
To make a ‘wow’ wall I decided to use this amazing wallpaper from Wallpaper from the 70s. It has a wood herringbone pattern that is gorgeous.

Wallpaper is not difficult to apply and it makes a great impact in a room. You only need to buy some wallpaper paste and a big brush and apply it to the wall.
I recommend tracing a first vertical line from top to bottom and make sure the first roll follows that line. The next roll is easy peasy, just make the pattern match and align with the first strip.
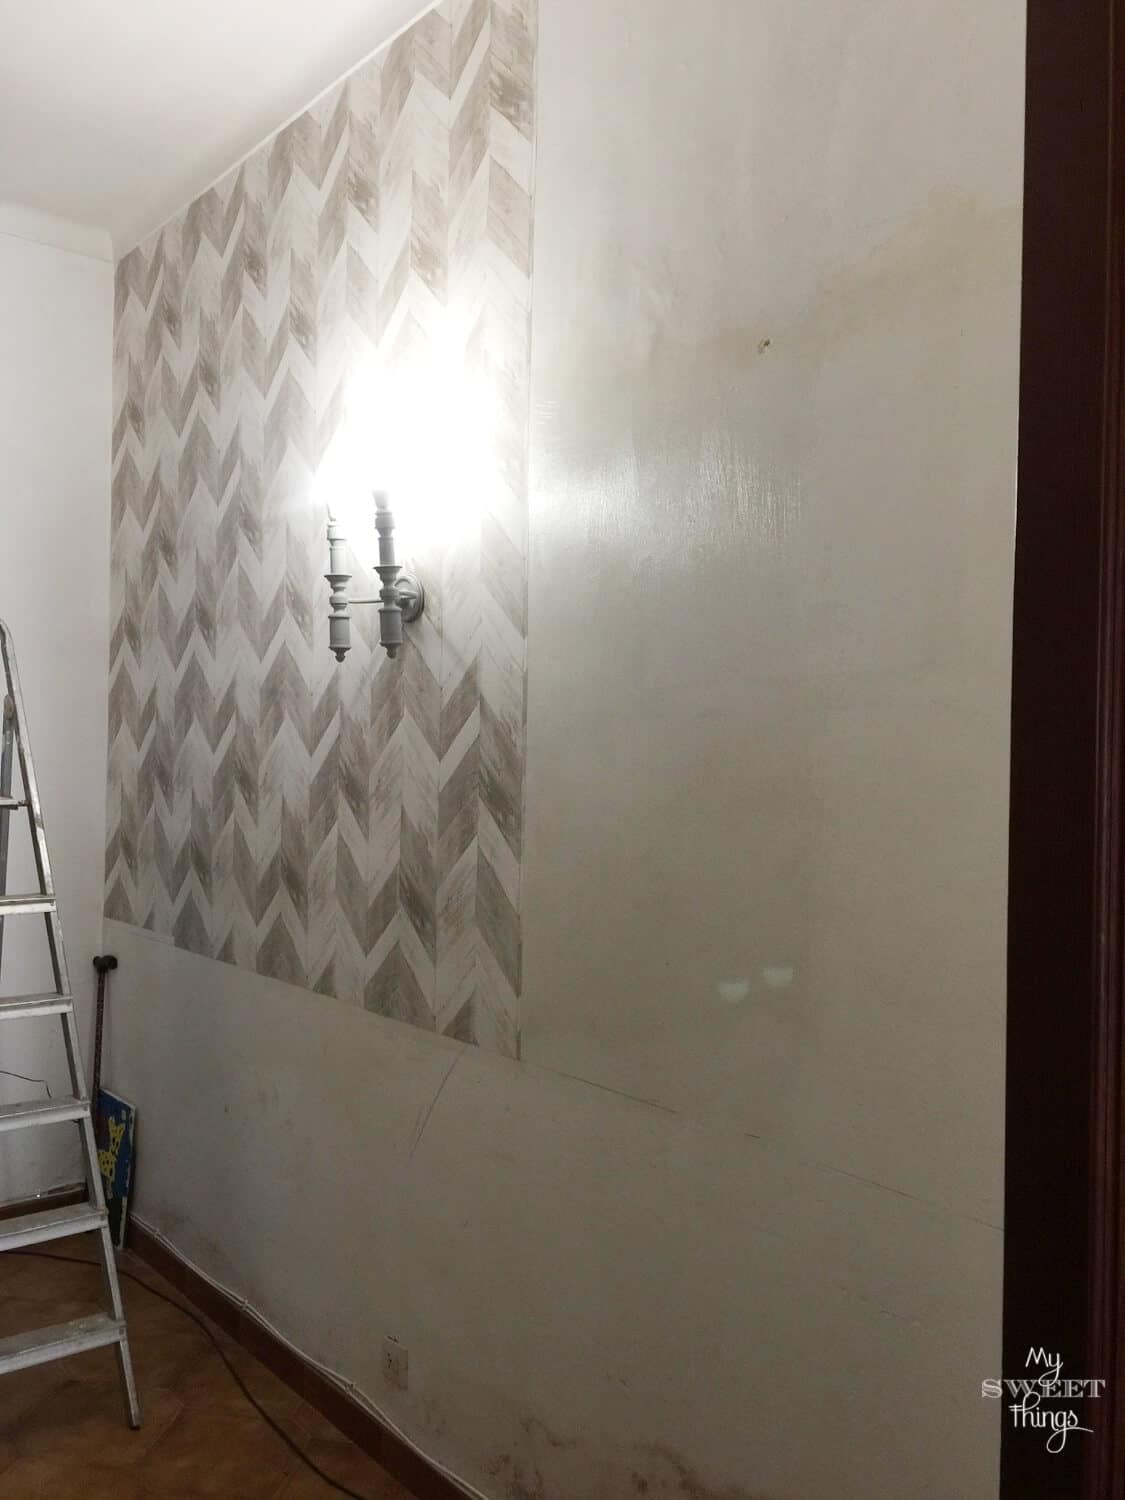
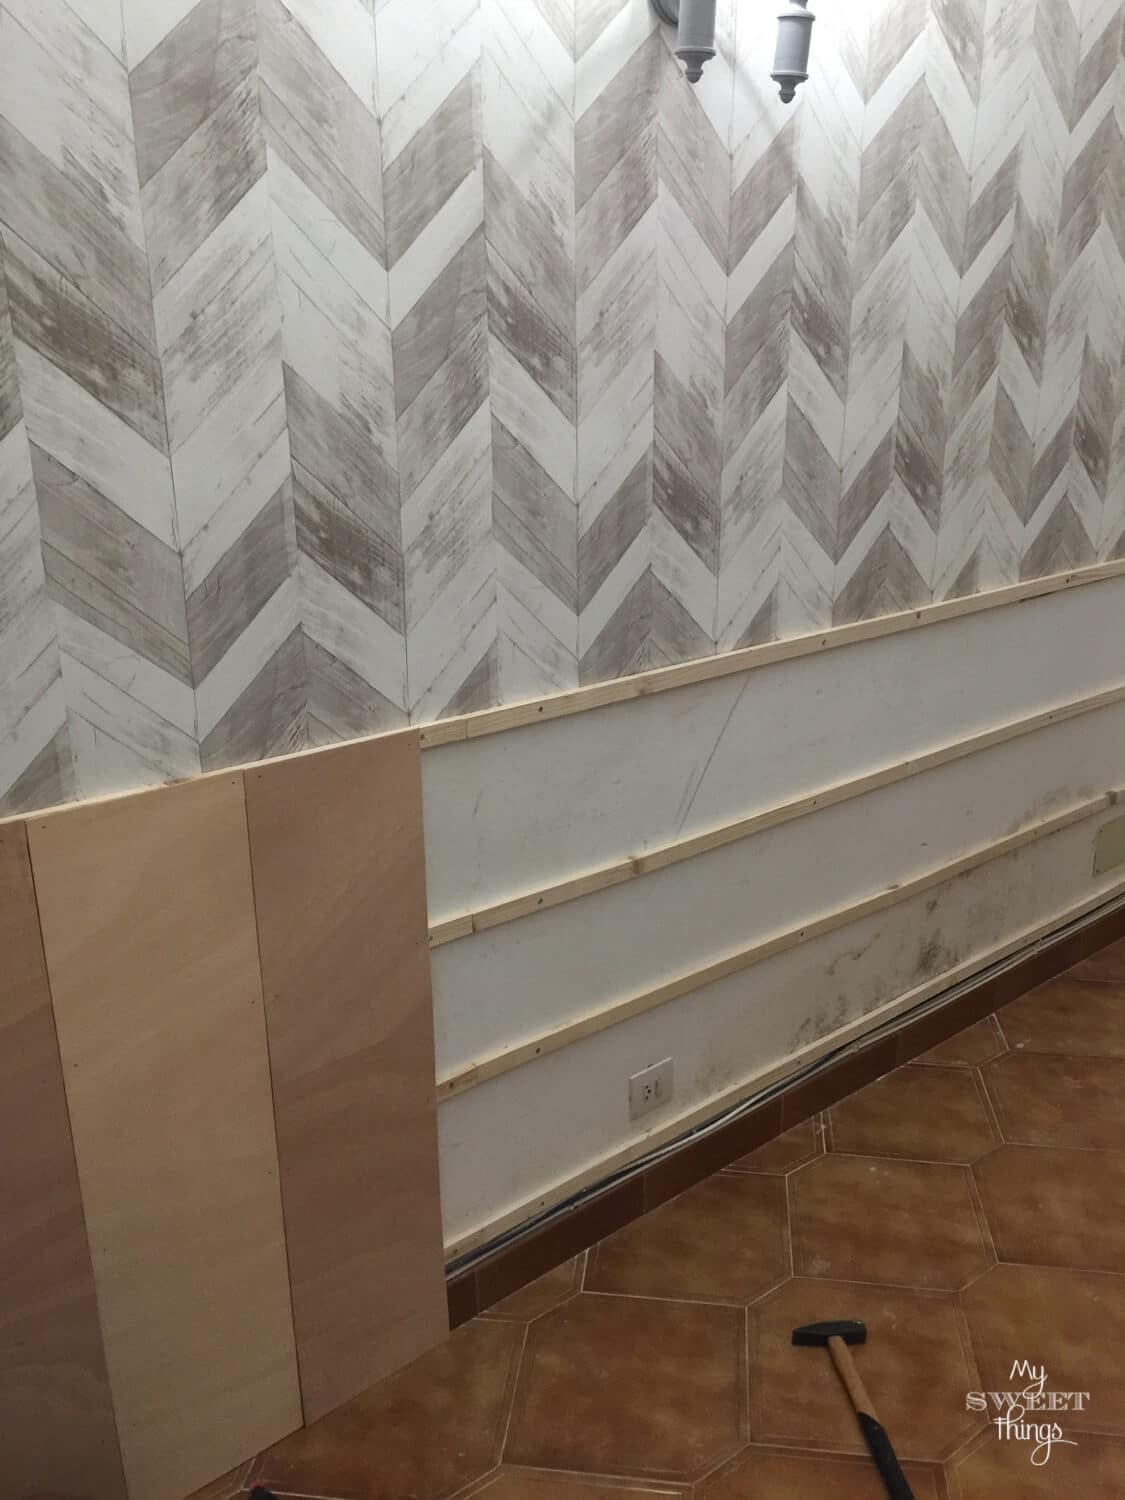
We did the whole wall the way I explained above. Don’t worry about the bottom because it wasn’t going to show, I had plans for that area. No more yukky stains!
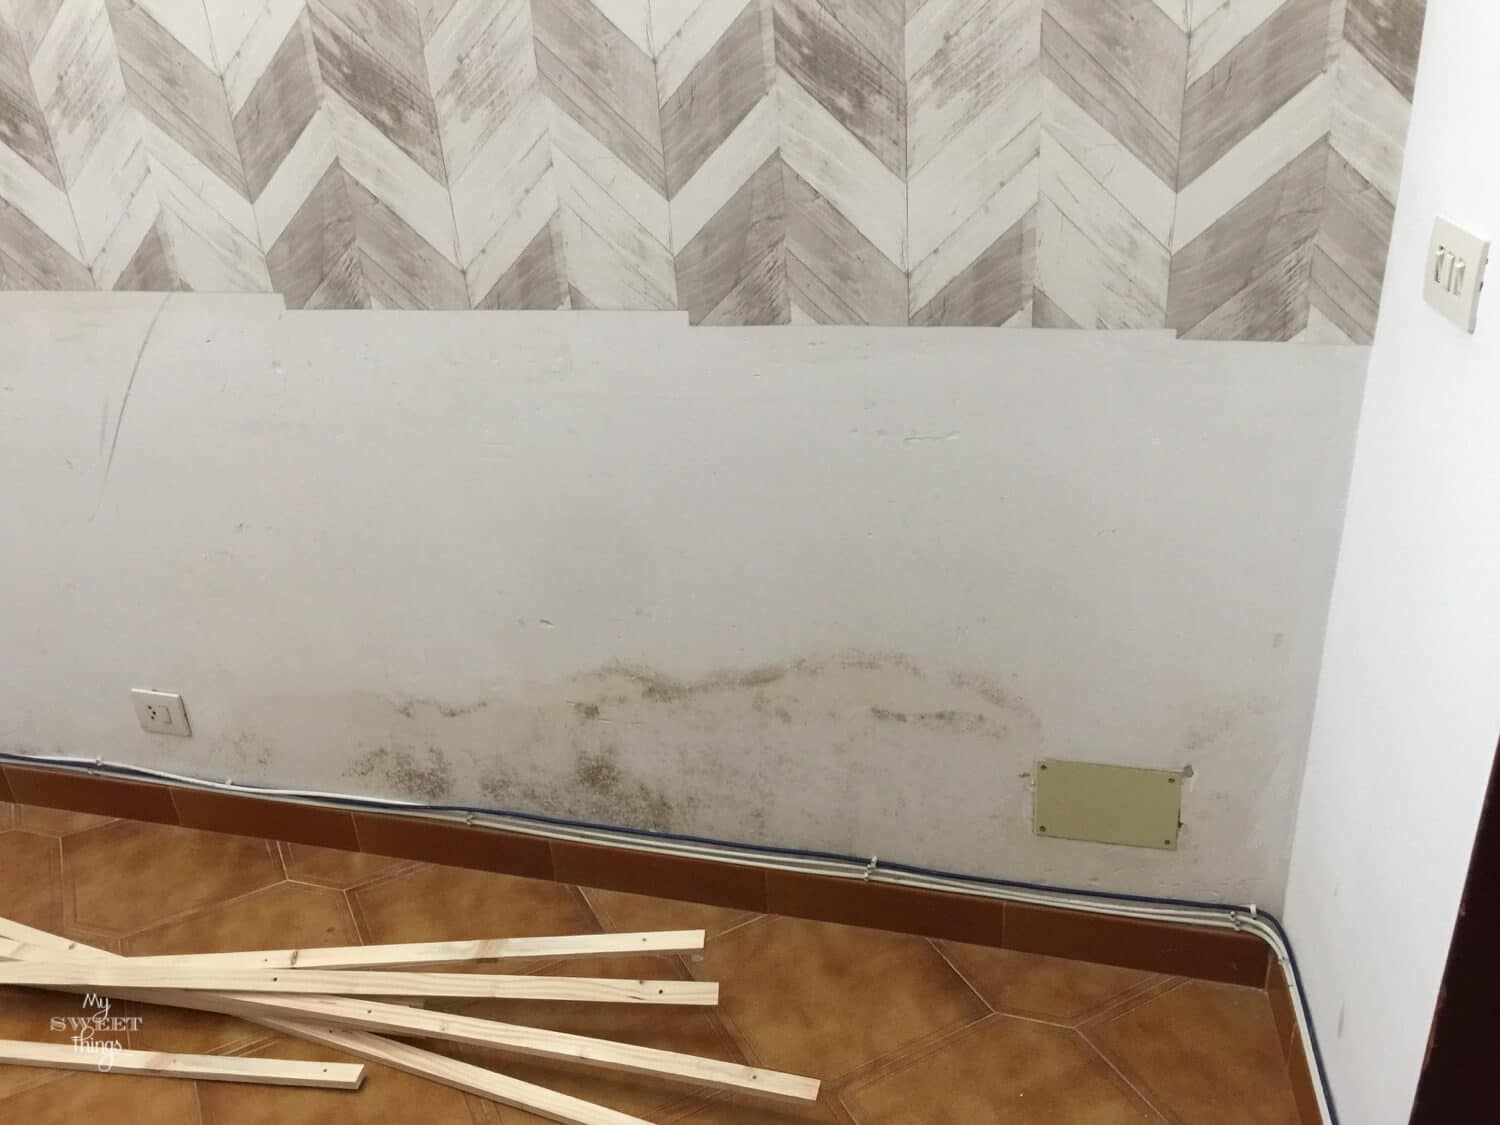
I did the same thing as the opposite wall. This one was longer, about 4.30 meters so it required more wood slats.
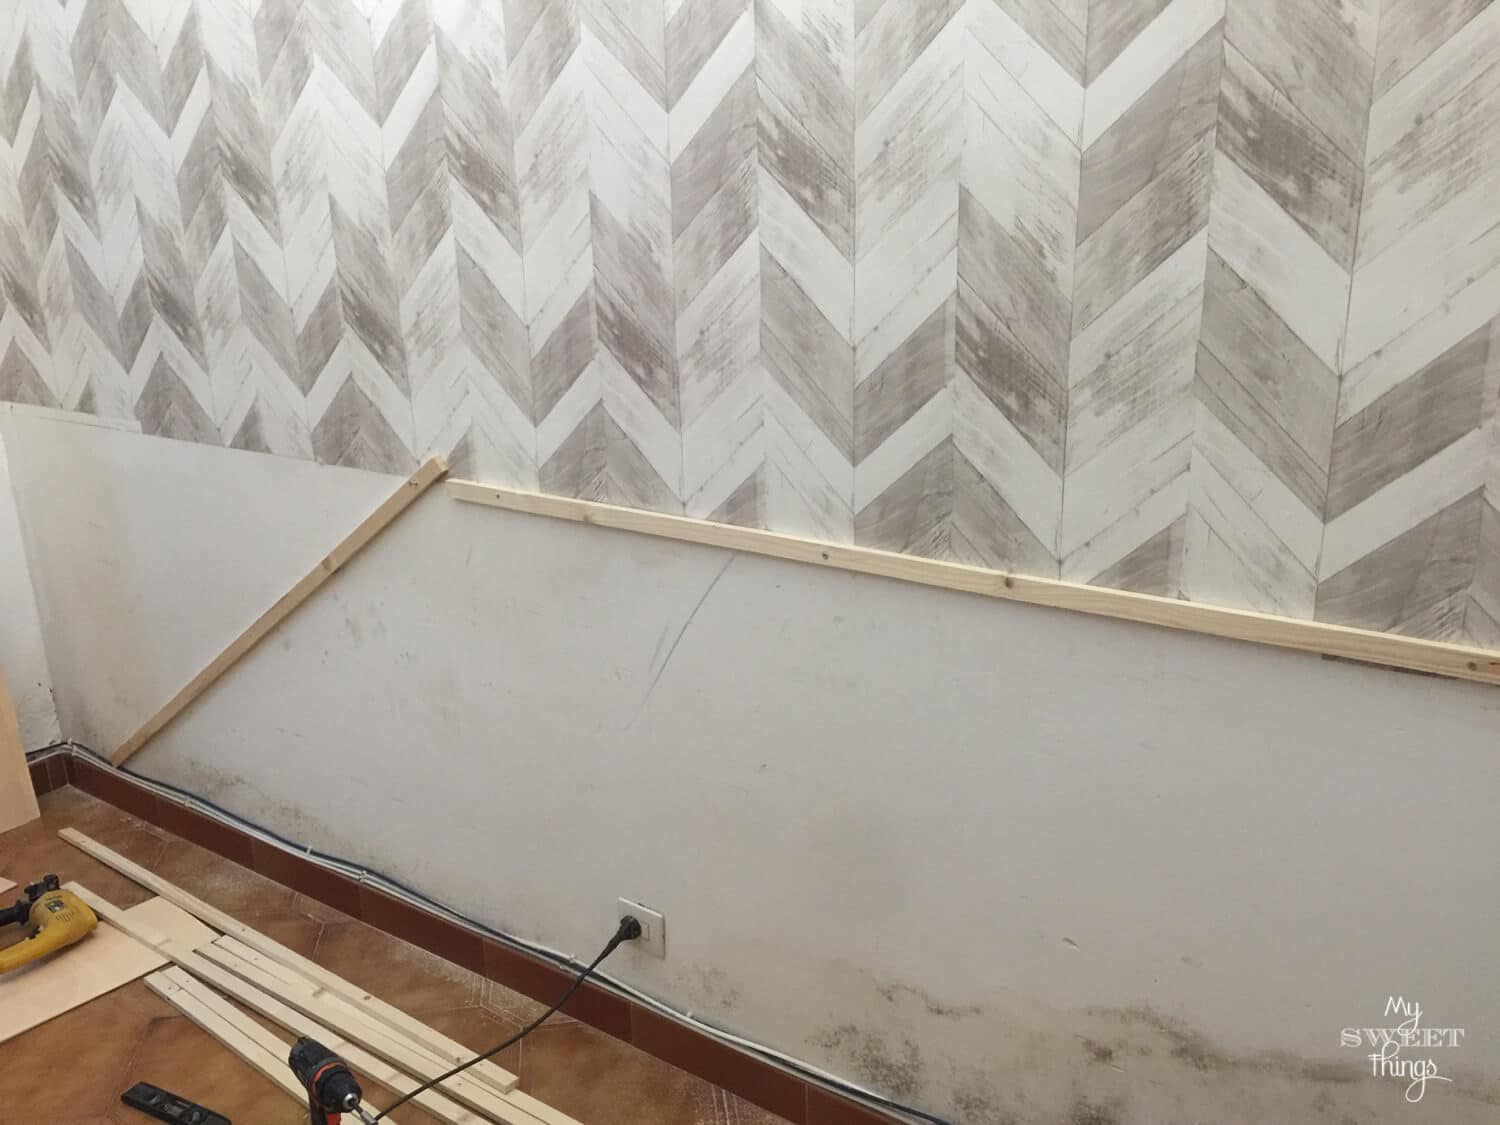
The top one was going to hide the end of the wallpaper and I screwed it in place.
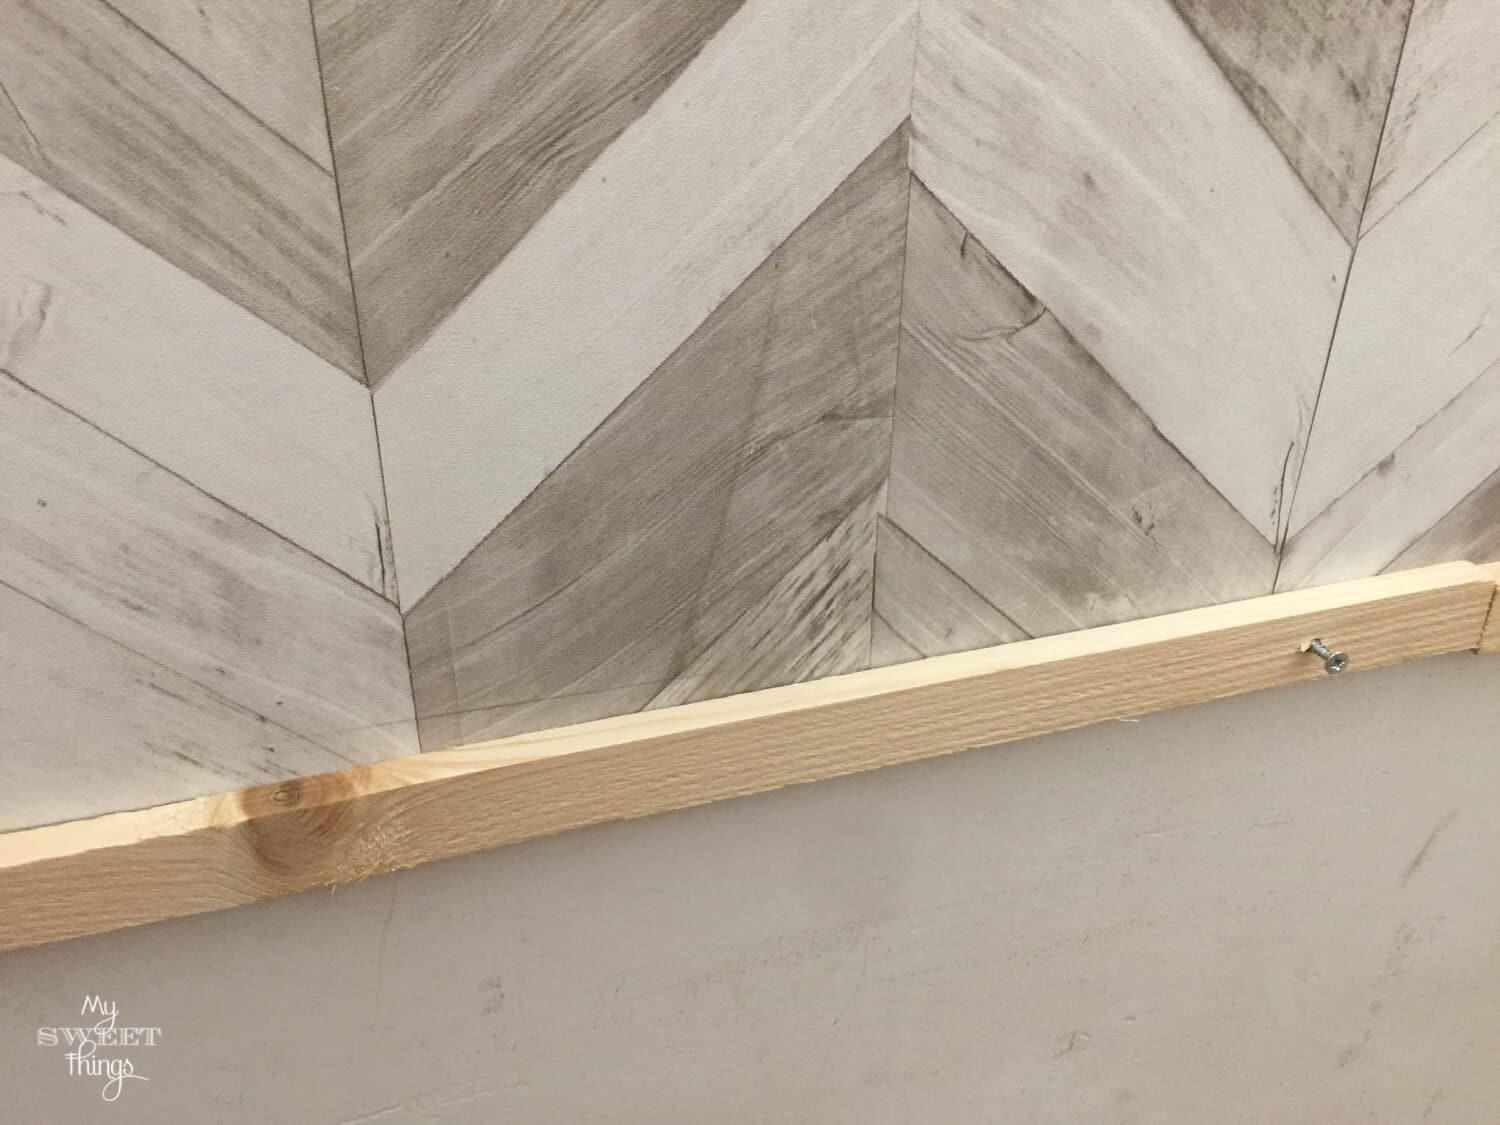
Done and ready to nail!
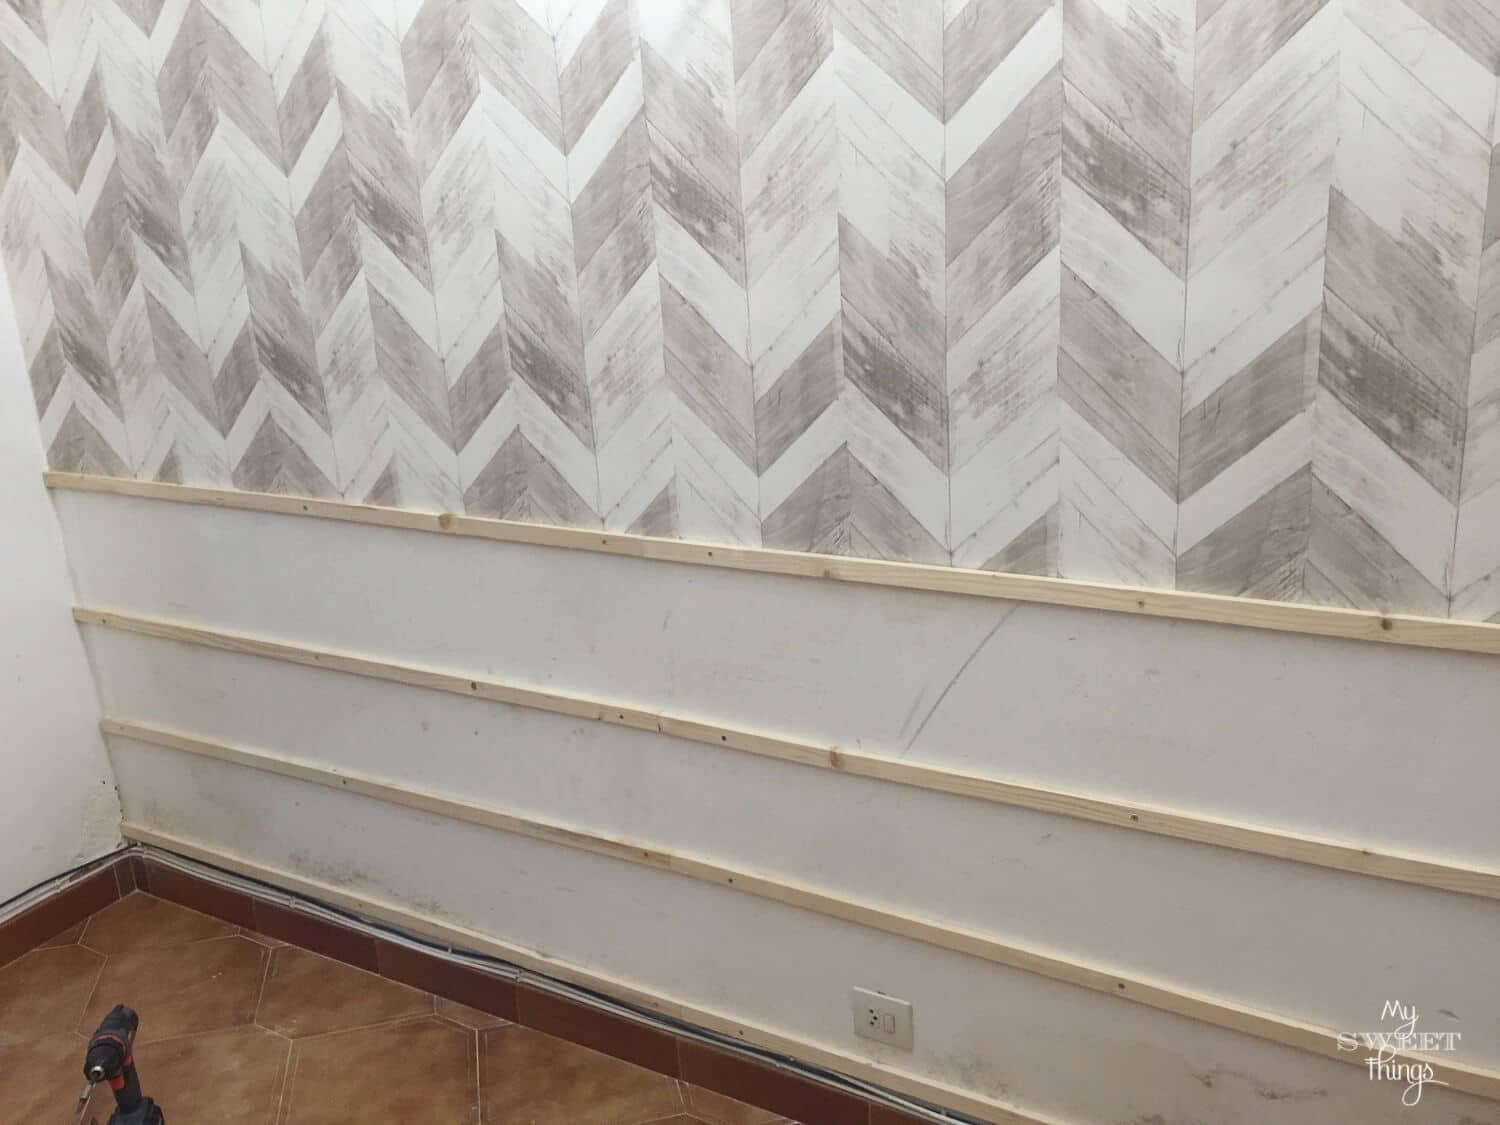
If you are thinking of tackling a project that will involve nailing things, I recommend you invest on a electrical nailer, it will save you a lot of time. You’re welcome 🙂
Once the wall was fully covered it was time to paint a bit. I need to apologize for the quality of the pictures because there is no natural light in that area, and the camera did its best.
The first layer was absorbed by the raw wood and it looked as a washed finish.
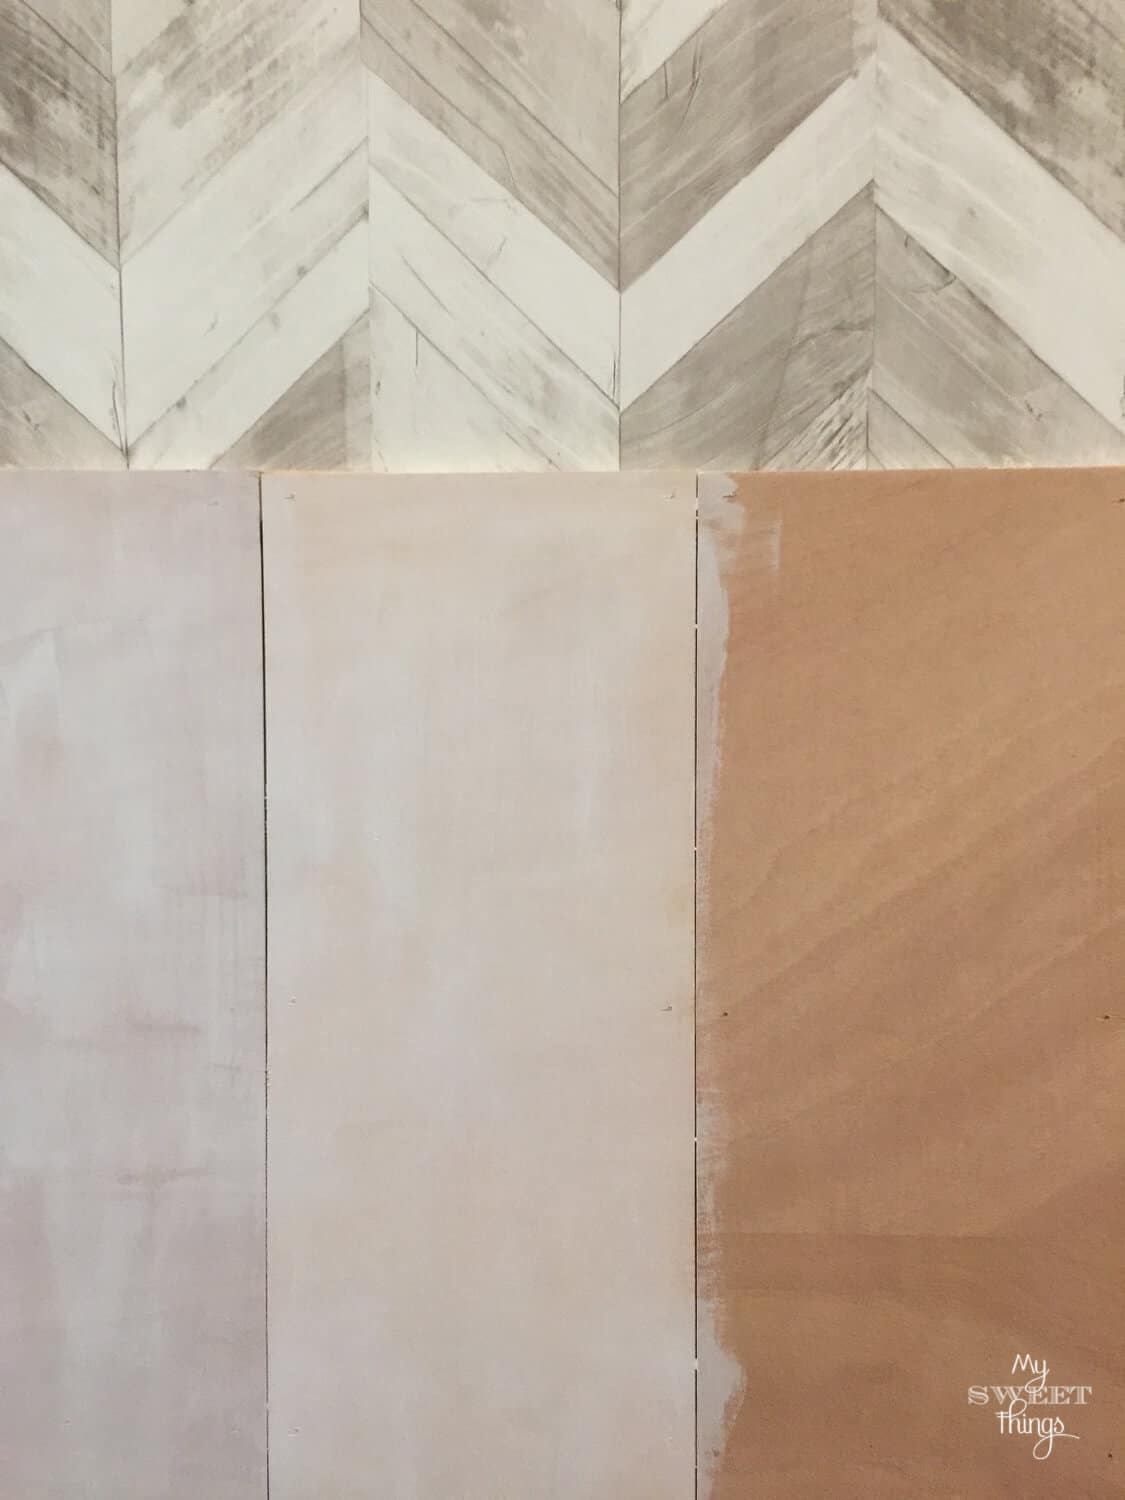
It didn’t look nice with the color of the gorgeous wallpaper.
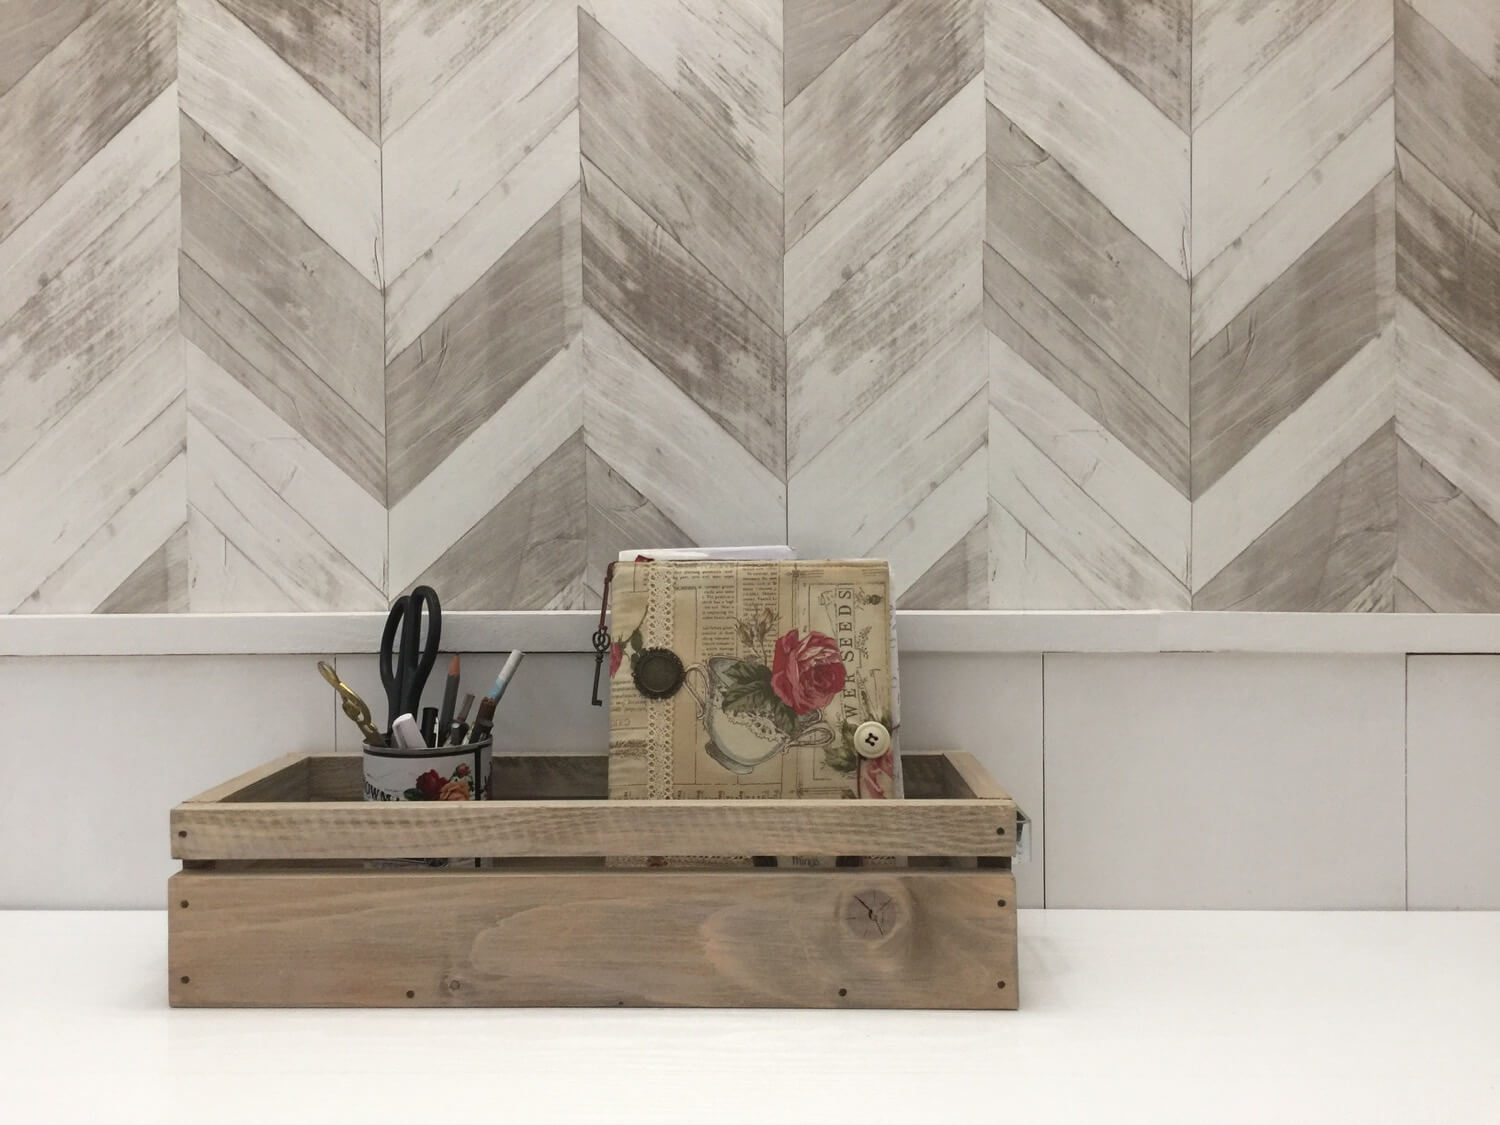
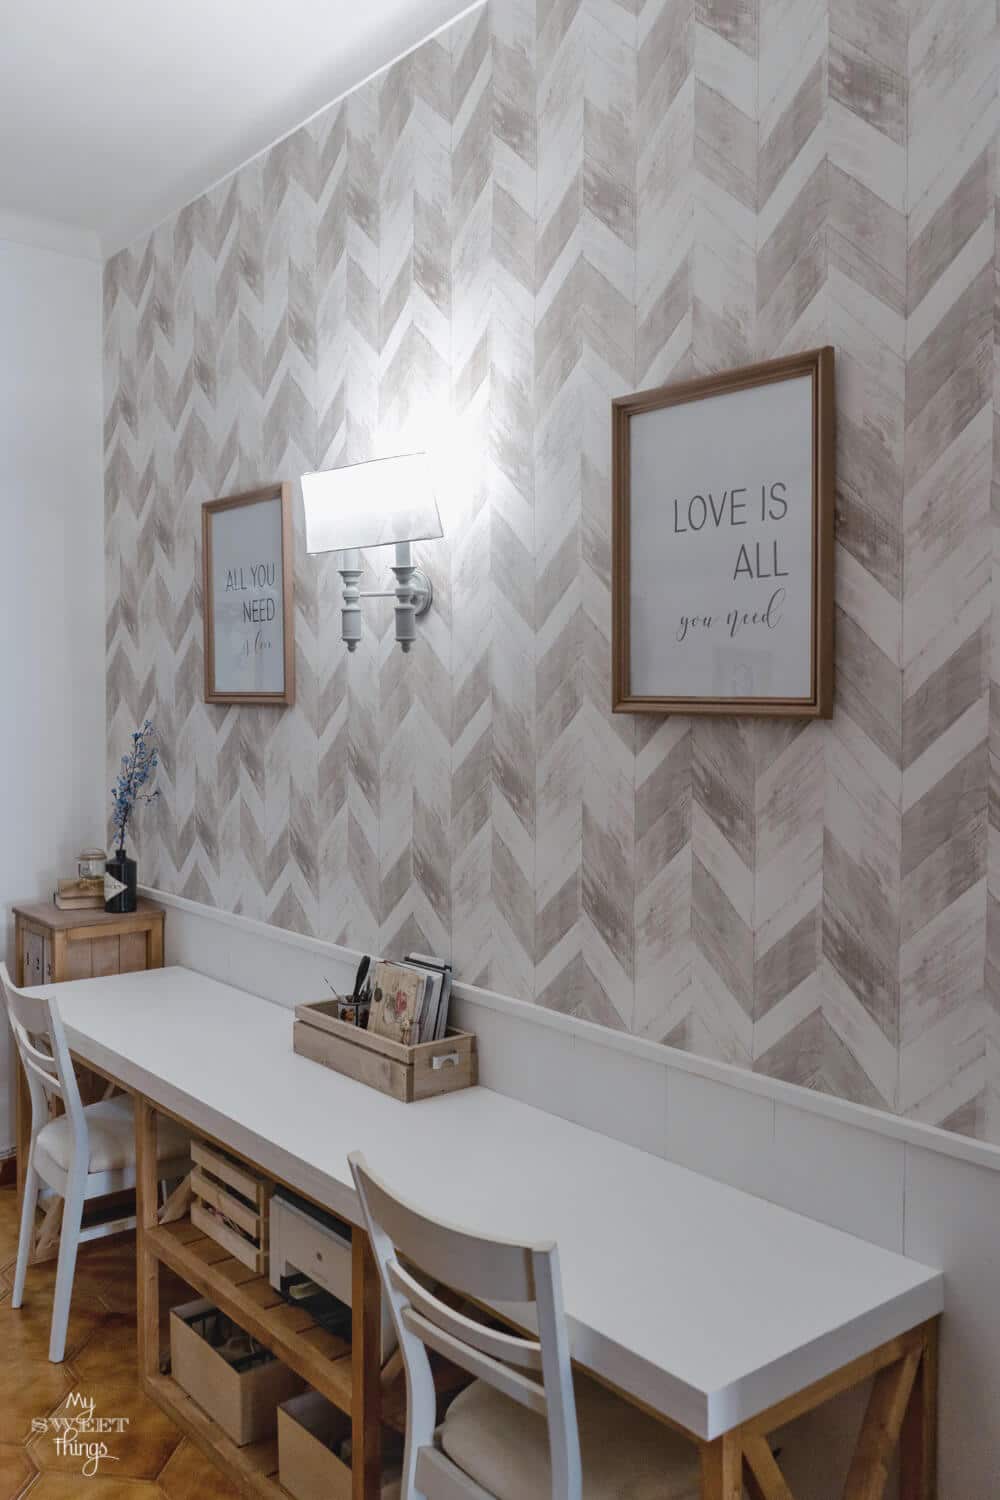
I finally did three coats with a regular white paint. To give the finished look to the wall I added a thicker piece of wood on top and I glued it in place.
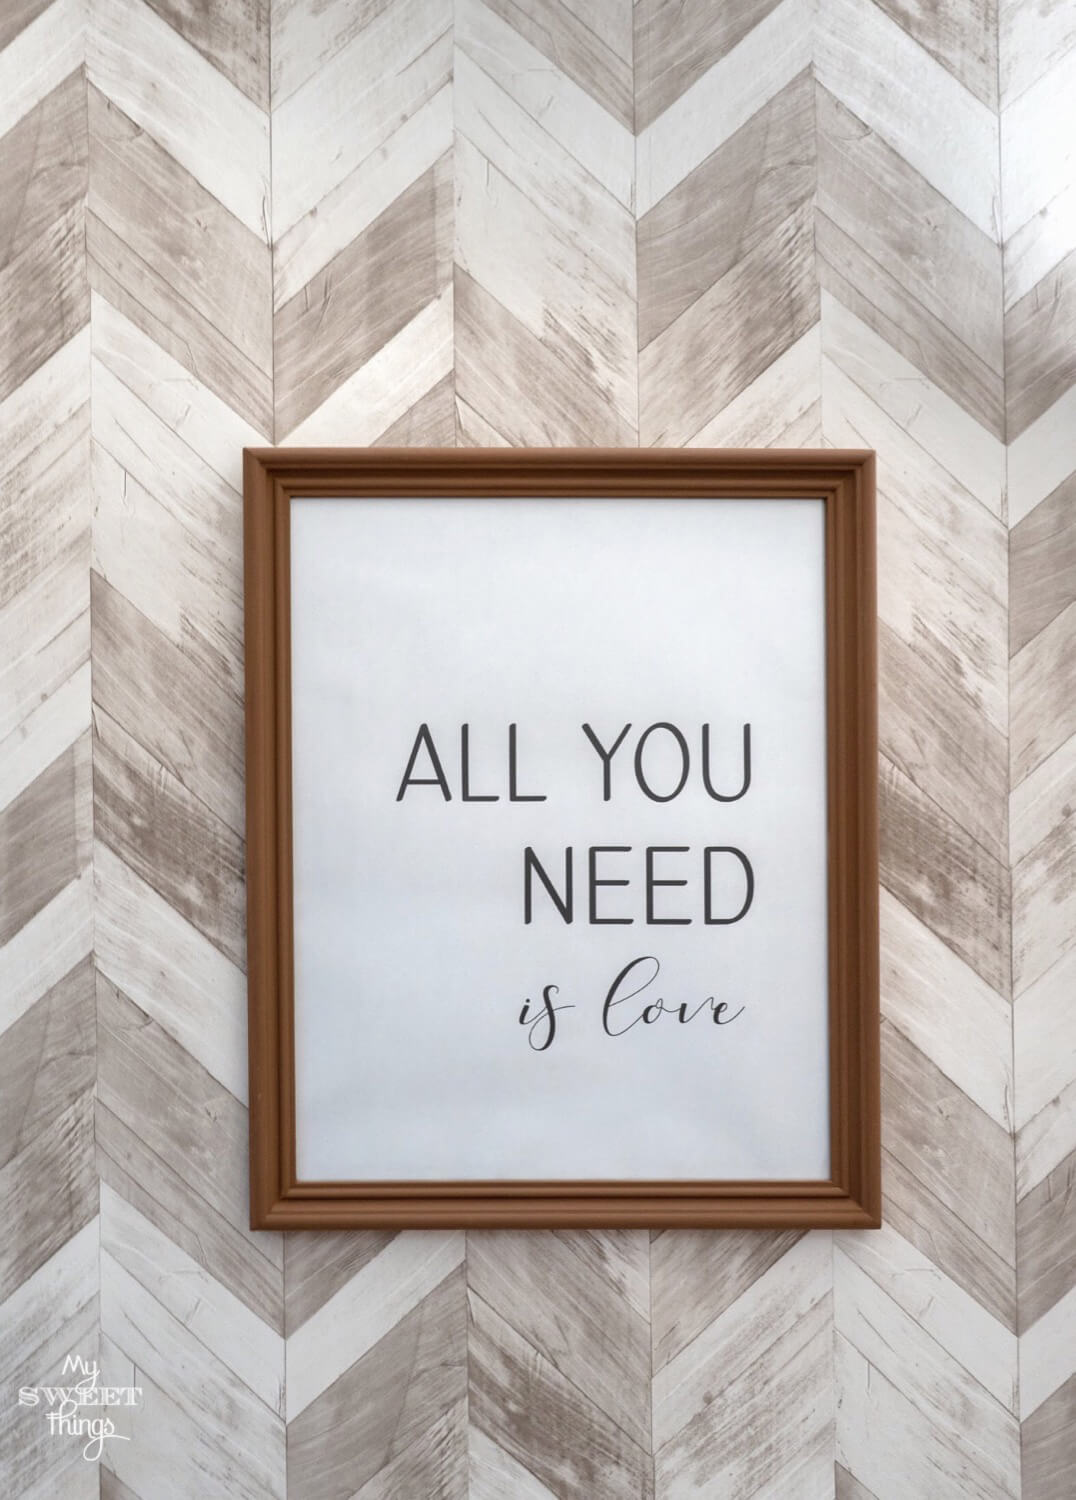
I also designed some prints and painted two thrift store frames to hang them there. Oh boy, I looove my new wall!
It’s funny the reaction of friends and family the first time they see the new space; they all go to touch the “wood” because it’s so realistic! Also the quality of the wallpaper is great and it has a soft texture.
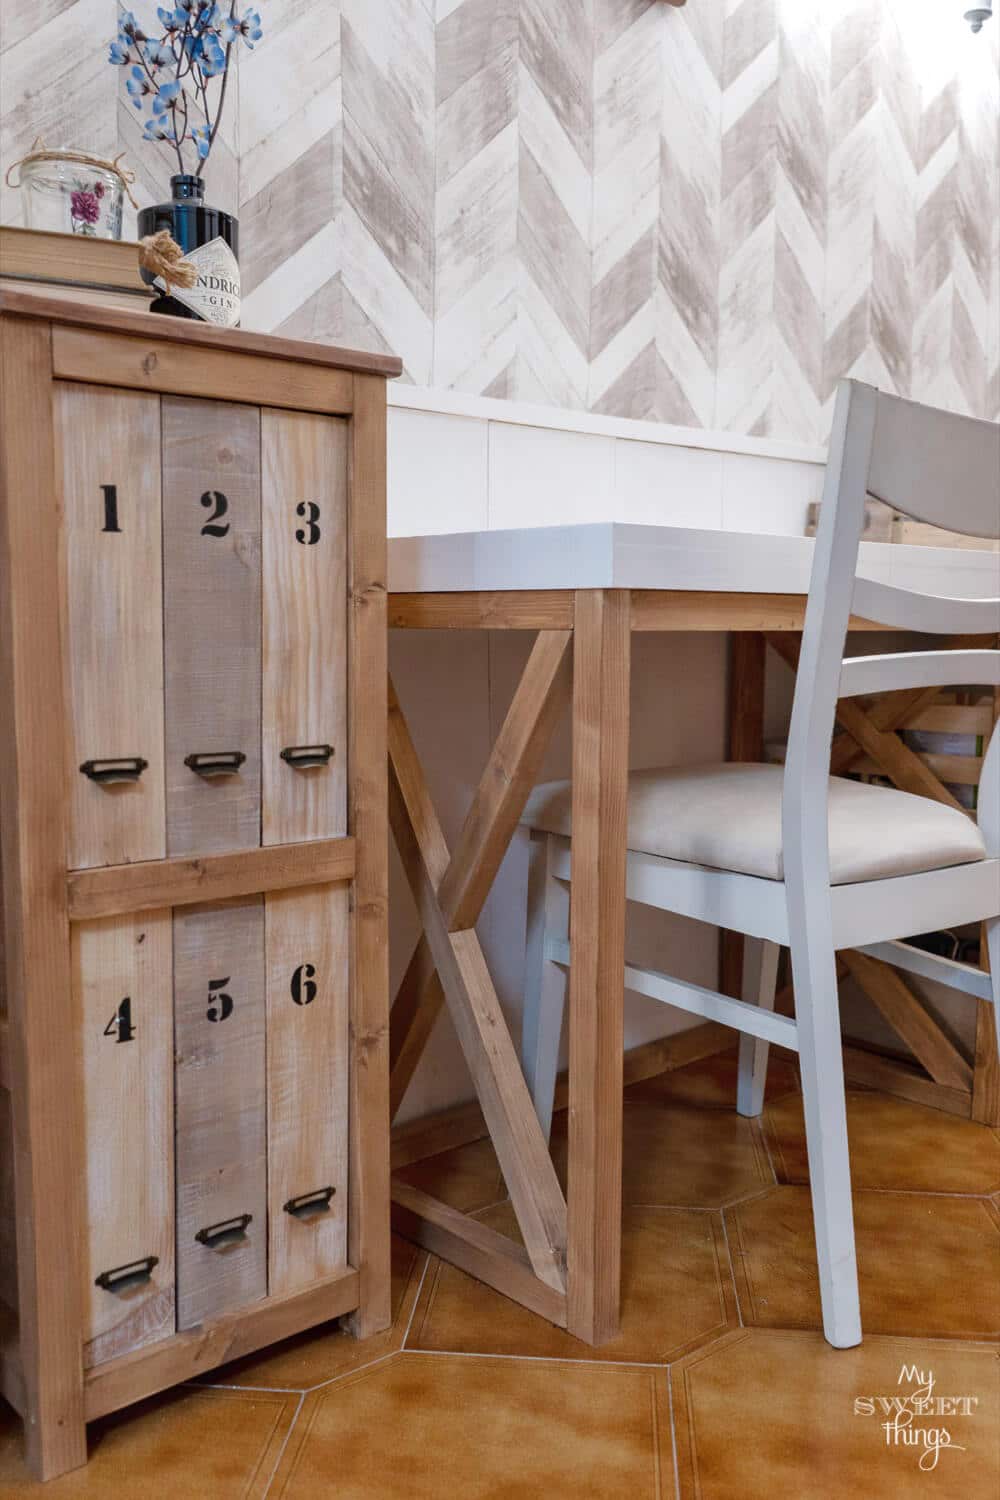
A home office is not a real home office unless it has a desk, right? So after the walls were finished I had an idea of how I wanted my desk to look like, inspired by this one from Ana White. I did a ‘negative’ version of if, meaning two spaces and one storage instead of two storages and one space. Click on the link and you’ll know what I mean…

Can you understand now why at the begining of the post I told you this is my favorite makeover? Let me tell you I had a hard time choosing the perfect one, this people at Wallpaper From the 70s have hundreds of different patterns to choose and it wasn’t easy.
The last addition to my hallway makeover was this filing cabinet, which I hope to be able to share the plans with you soon, along with the desk.
I can’t stop sharing pictures with you. I was lucky enough to have a professional photographer that helped me with them. He did a great job with the editing because it’s not easy to capture the light in a dark space and not having a huge glow in the lampshade. Bravo Martin!!
By the time I finished the hallway makeover and set up our home office area, my hubby forgot all the mess I did with the metalic spatula, the wood slats all over the place and the paint job.
It’s been a long post, thanks for bearing with me and remember to share it if you really liked this hallway makeover, this way it can help others to be inspired. Also I would love to hear your comments.
Thank you so much for stopping by!
Hugs,
Pili

Do you love DIY, recycling, home decor, furniture transformation and all kind of crafts? Then we have the same passion! I would love to share all my crazy ideas and projects with you so I would love if you SUBSCRIBE for my post e-mails.
I also share interesting content on Facebook and other social media, and I would love to hear from you! Not following me yet? Don’t be shy and stop by to say hello. Follow me on FACEBOOK, PINTEREST, INSTAGRAM, TWITTER, +GOOGLE.
Linking up to these parties
Any content on this website is created for inspiration purposes only. Creating with my suggested methods, products used and tools fail under your own risk. Please ensure you are following proper guidelines with anything used, and you receive professional guidance if you don’t know how to do something. For more details you can read my complete disclosure
I rarely comment(lazy) but that is just fabulous ! Love the wallpaper, the use of the space, everything.
Then I am happy you did, Wendy 🙂 I love to hear that you enjoyed the makeover too.
Thanks for stopping by and taking the time to comment.
Hugs!
What a stunning makeover! You always have the best ideas… Pinned.
Awww you are always so kind, Joanne. Thank you so much, glad you like the makeover too
Oh my goodness Pili, what an incredible transformation. You would never ever say it’s the same space. I think I may just agree with you. THe staircase, entryway and the kitchen makeovers are all beautiful, but they’re not half as dramatic as this one
Privacy Overview