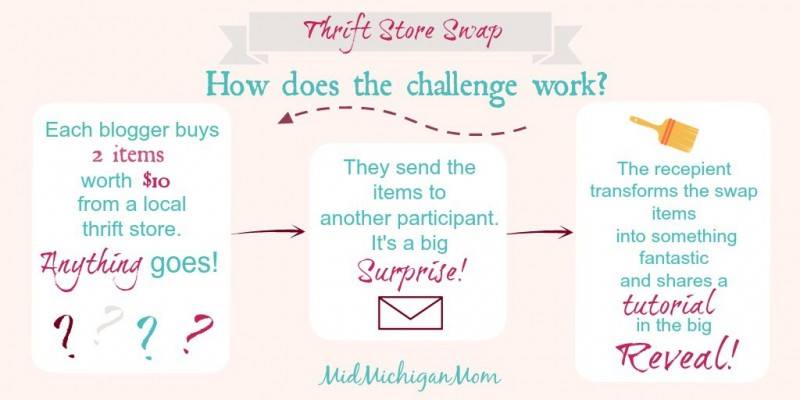
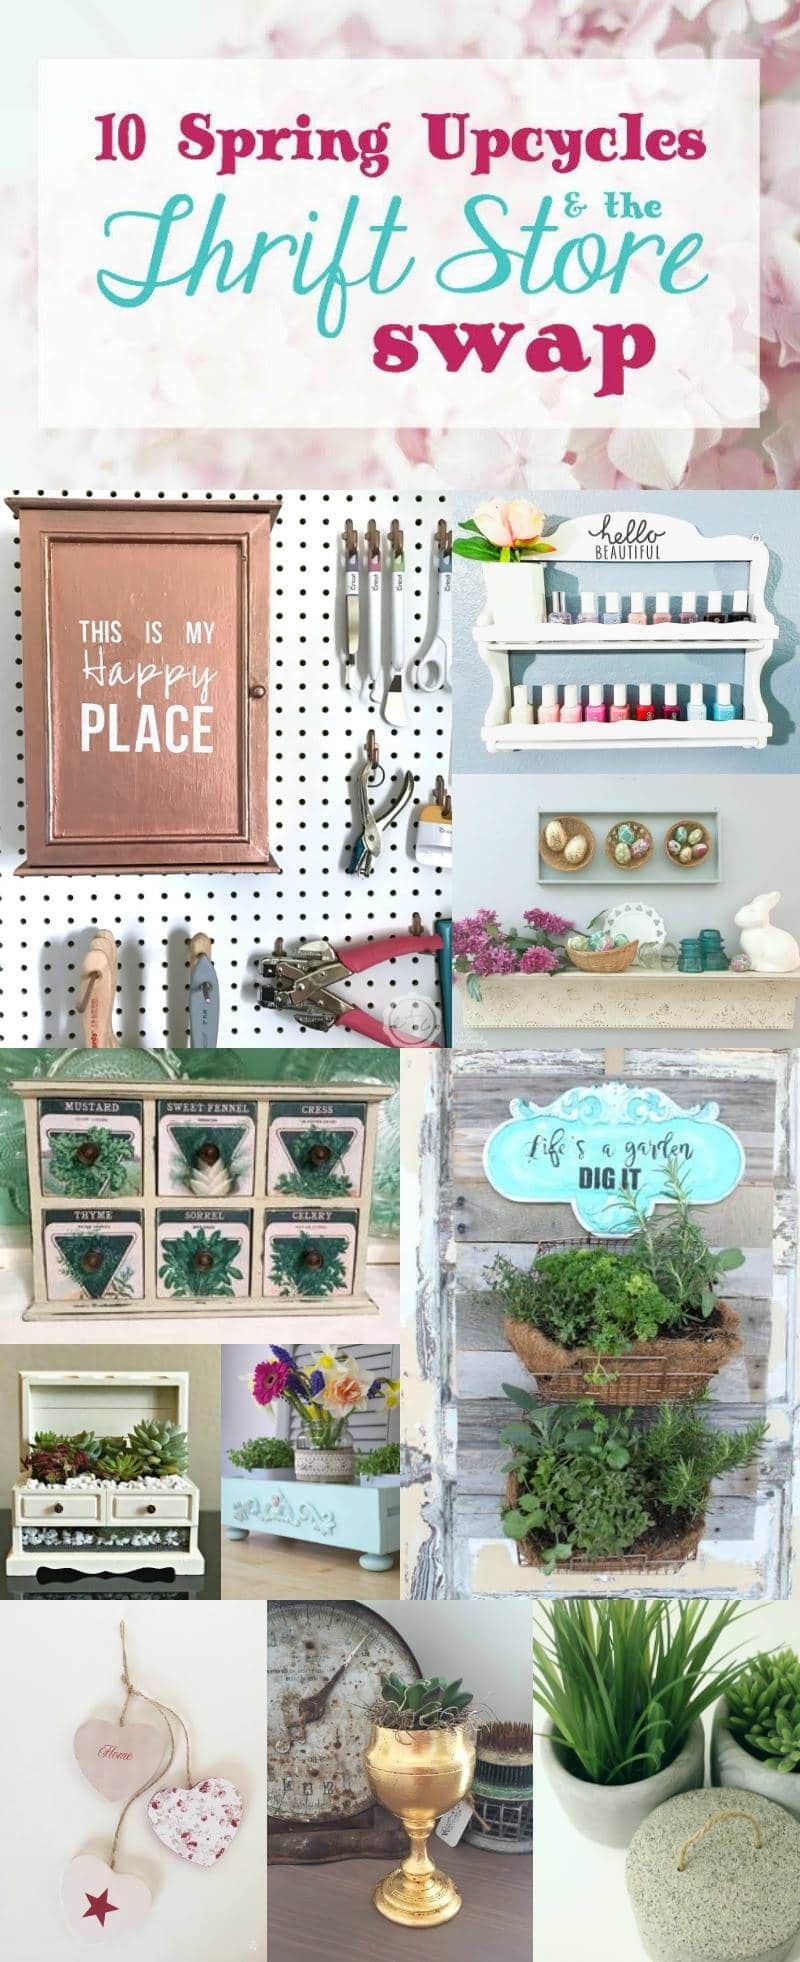
Hi, my sweet friends! Today is the day! You may remember I shared with you last week a fun swap I am participating with some other bloggers, and today it is the project reveal day, yay!! In case you missed that post you will find about the Thrift Store Swap here and I will explain with a picture how it works. It is said a picture is worth 1,000 words, right?
Isn’t this fun? Evija from the blog From Evija With Love sent me the items and I hope she likes what I did with them. Today I’m going to reveal one of them… which one do you think it is? The wooden hearts or the spice rack?
I’m going to leave you in the doubt 😉
Not really, you know I’m not that bad.
Also, I can’t wait to pop by to Molly’s blog Just a Little Creativity to see what she’s done with the things I sent her. I’m super curious, I can’t help it!
Ok, I’m not going to let you wait any longer, I started working with the wooden hearts! Please let me know in the comments section if you were right or if you thought I would reveal the spice rack.
They started like this. Perfect for winter but I really love the colors and I wanted to be able to use them all year long. Hearts and stars are my passion!

The first thing I did was to decide what to do with them. I was going to keep the “winter” side and add something cute to the other so they could be displayed at home all year round. I printed some floral papers to help me decide which one I was going to use.

The color of the flowers from the middle one was a perfect match with the color of the heart, so there was no doubt that was the pick. I was going to decoupage it onto the heart and I have a little trick for you. I used some ModPodge because it is what I had on hand but you can use white glue mixed with water, 1:1 ratio. But that’s not the trick, well not the trick I wanted to share with you regarding decoupage.

If you have ever tried decoupage ordinary paper onto something, you can get frustrated with air bubbles. And here it comes the trick: I always soak the paper in water and then place it on a kitchen towel while I apply the ModPodge to the surface, in this case the wooden heart. Can you see the paper is quite translucent? That’s because it is wet. Then I use a plastic bag to smooth the surface and make sure there are not air bubbles beneath. Don’t do it with the fingers or you’ll ruin the paper as at this stage is quite delicate. Then leave it alone to dry completely.

Once it was dry I took some sandpaper and sanded all the edges. You can use a nail file in case you don’t have sandpaper. I always have sandpaper but not always nail files… tell me I’m not the only one, please…

Then it took me some time to decide what to do with the other two hearts. I knew I wanted the keep the colors as similar as the base of the wooden hearts and the paper as close as possible, so I ended up designing something in Photoshop.

If you want to grab the floral paper you can download it for free HERE
If you want to grab the “Star and Home” paper you can download it for free HERE
I cut the paper in half and decoupaged the other two hearts, waited for them to dry and sanded the edges. And this is the result!!

I have to say that I LOVE how they look!

With the “Home” one I decided to rub the paper while wet with my finger (remember about the plastic bag?) just a bit to give it a slightly worn look.

I could not resist having a star, you know how much I love them if you remember the faux metal stars I did for my living room.

My daughters loved the result, and the little one asked me to hang them on the message board I have in my craft room, next to her drawings. She said this way I would see it every day, and she’s right. I have there ideas for next projects and it’s a place I see it every day many times.


I hope you like it as much as I do, and I hope Evija likes it too.
Remember that you can Pin It and save it for later. Sharing is caring!

Thanks for stopping by and remember to visit the rest of the projects, you will find the link below.
Hugs,
Pili


Do you love DIY, recycling, home decor, furniture transformation and all kind of crafts? Then we have the same passion! I would love to share all my crazy ideas and projects with you so I would love if you SUBSCRIBE for my post e-mails.
I also share interesting content on Facebook and other social media, and I would love to hear from you! Not following me yet? Don’t be shy and stop by to say hello. Follow me on FACEBOOK, PINTEREST, INSTAGRAM, TWITTER, +GOOGLE.
Linking up to these parties
Any content on this website is created for inspiration purposes only. Creating with my suggested methods, products used and tools fail under your own risk. Please ensure you are following proper guidelines with anything used, and you receive professional guidance if you don’t know how to do something. For more details you can read my complete disclosure
What a sweet upcycle Pili, adds a perfect touch for sprinkling a little love around the house!
They’re so current now and just lovely! 🙂 What a great reloving you’ve given them!
Love the hanging hearts, you did a great job!!! I am sooooo looking forward to your second reveal!! #thriftstoreswap
I love that you made it reversible. Such a fabulous idea! I adore the prints you chose as well. It turned out fabulous!
What a great tip to wet the paper before decoupage!!
Thanks!!
jodie
http://www.jtouchofstyle.com
Pili, I love what you did with the hearts!! Great trick with the mod podge. I like the designs you used to cover the hearts and the fact that you left the other side for when the Christmas holiday comes around. Beautiful makeover. Now I’m going over to Molly’s blog to see what was done with the items you sent.
Pili those are so pretty. And you are such an expert with decoupage. Where were you when I messed up last week. Love that you selected something different for each heart.
They’re so cute! I love how close you matched the colors, the floral is definitely my favorite! Can’t wait to see what you do with your other pieces!
Thank you for that awesome tip about soaking the paper first! Love that you kept the adorable Christmas side and made the other side oh so pretty for the rest of the year!
They look soooo pretty Pili, I love the dusky pinks and reds colors you chose for the hearts and the way you’ve distressed the edges. Your tips about soaking the paper is going to make my life so much easier too. I always struggle with those air bubbles
Lovely hearts Pili! And Thank you for that trick, I will use it next time I try to decoupage something, as up until now it has never worked for me. I hope it will next time!!
Privacy Overview