Hi friends! I am so happy to bring you this month for our Thrift Store Challenge a rustic wooden tray makeover!
Before showing what I did let me remind you what this challenge is about; a group of ladies team up to bring you our thrift store, second hand or free finds upcycles. This is really fun because we want to show you that you don’t need to go shopping in expensive stores to have unique pieces of home decor because most of the time, with only a bit of love, you can buy something really cheap and turn it into a special piece for our homes.

The Rules:
- Upcycle an item(s) from a thrift store, resale store, or garage sale into a new piece of decor.
- There’s no monthly theme.
- There’s no budget to stick to.
Meet the Hosts
Angela | Simply Beautiful By Angela – Angie | Grandma Creates – Meredith | Southbound Blog – Amanda | Domestically Creative – Molly | Just a Little Creativity – Jenny | Cookies Coffee and Crafts – Michelle | Michelle James Designs – Marie | DIY Adulation – Pili | My Sweet Things – Gail | Purple Hues and Me – Denise| My Thrifty House – Emy | Semigloss Design – Michelle | Our Crafty Mom – Lynne | My Family Thyme – Chas | Chas’ Crazy Creations – Kathleen | Our Hopeful Home
Make sure you follow our board on Pinterest for more upcycled decor inspiration!
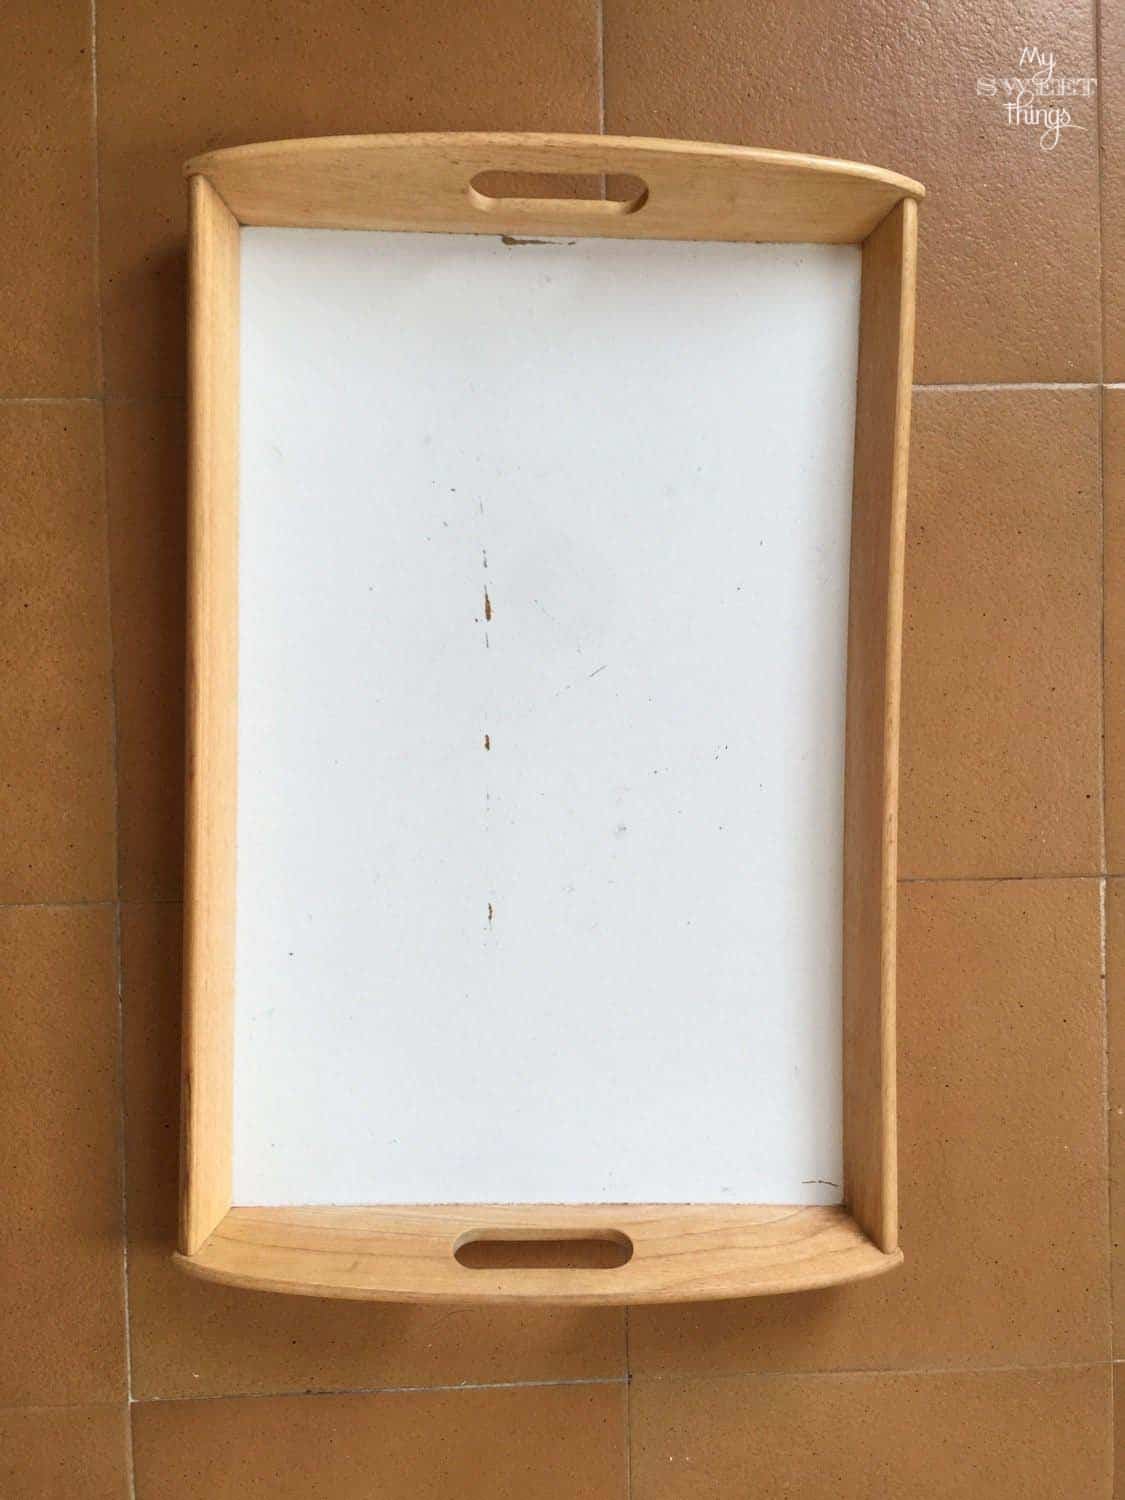
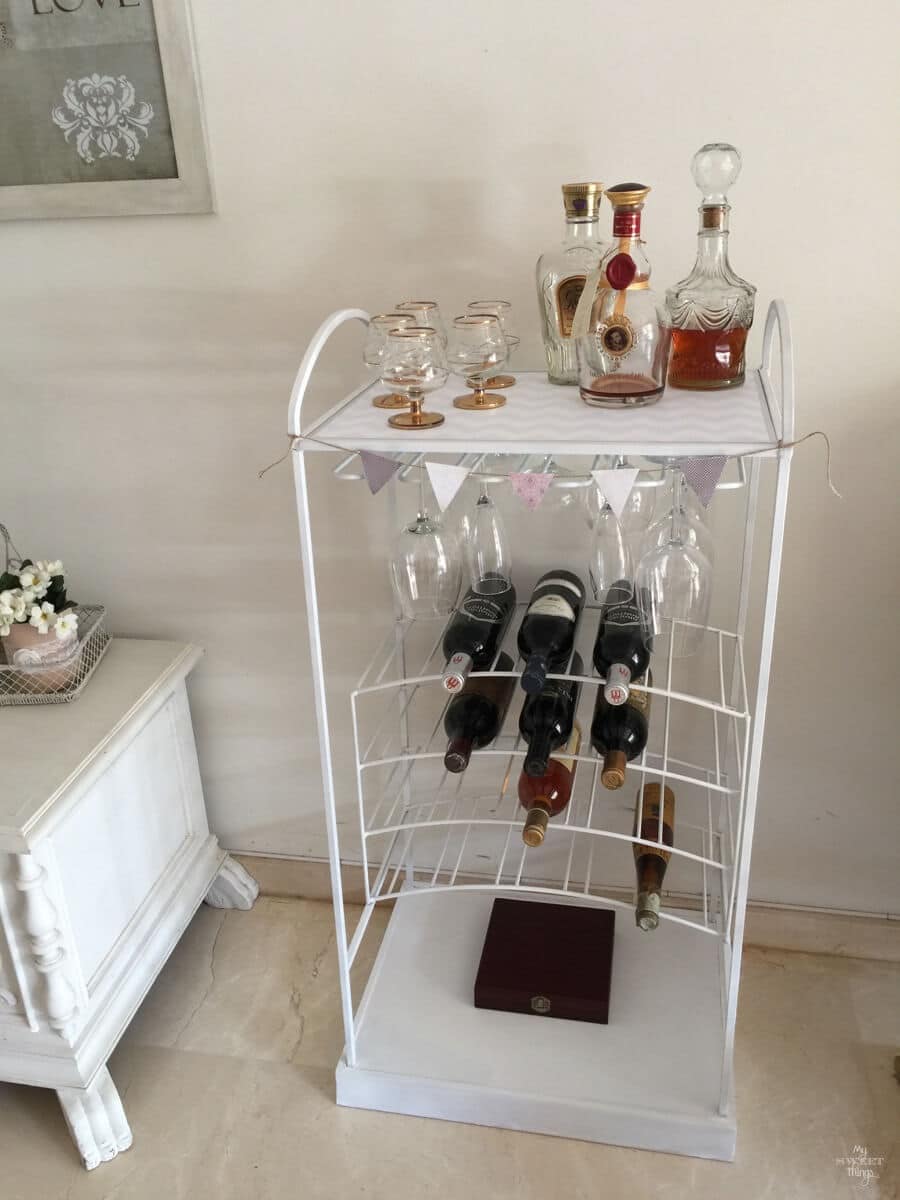
This time I am not using a free find like last month’s shabby kitchen rack… no, this month I am using a rustic wooden tray I bought in a flea market for just a few euros.
It wasn’t in a bad shape, it only needed a facelift and I knew what I was going to do. I would do it in a blink of eyes and it would be ready to sell.
Ha! That’s what I though.
Here you have the innocent rustic wooden tray.
As you can see nothing difficult to fix, at least that’s what I thought.
I wanted to make it a bit modern just for a change. You might have seen from my other posts “modern” is not really my style but once in a while I like to do it.
And it was that time. I only had to paint the wood using my DIY chalk paint.
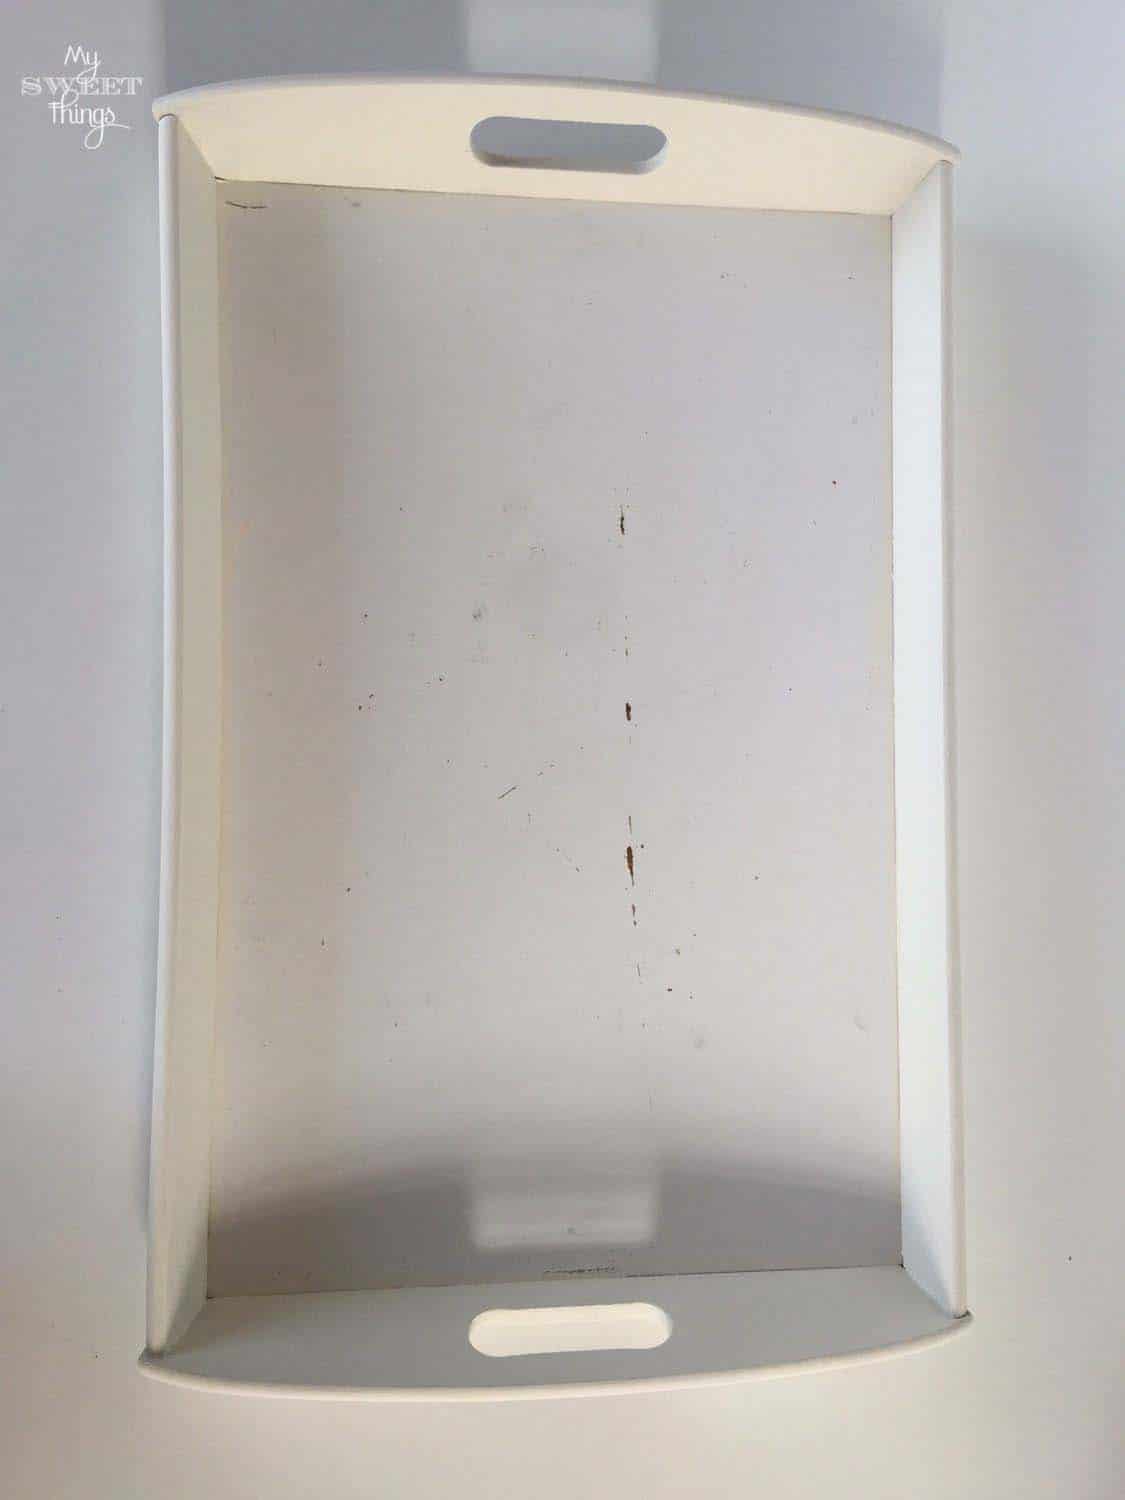
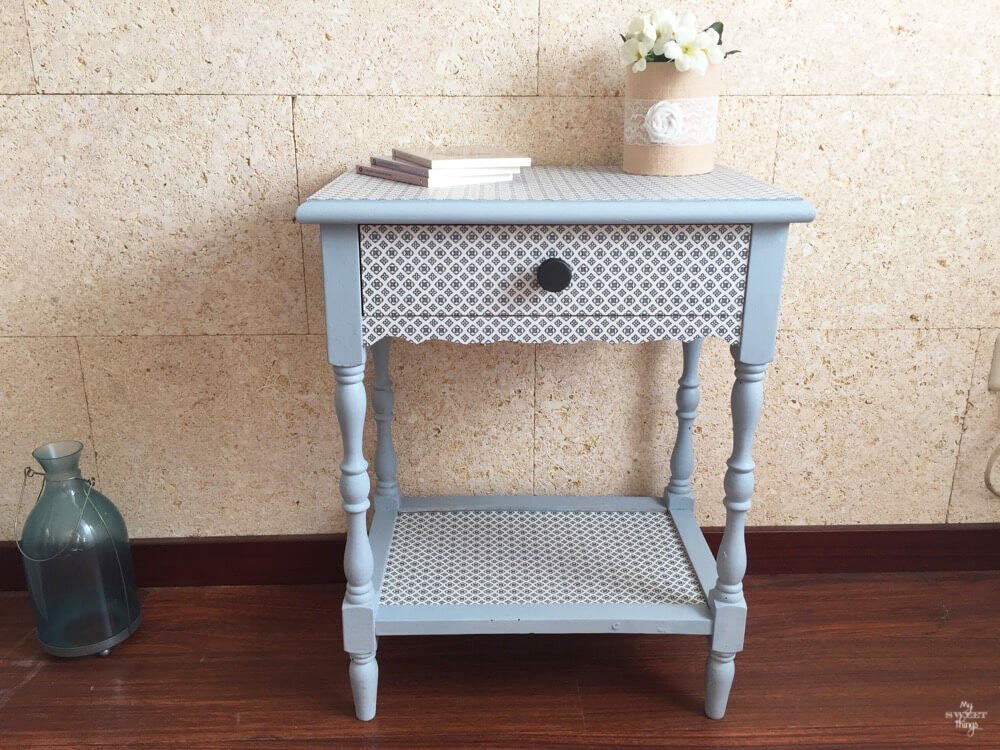
Once the paint dried I used some white glue mixed with water and applied it with a brush to the base of the tray, as my plan was to use wrapping paper to decoupage it. I’ve done it millions of times even on furniture, like this decoupaged bednight table
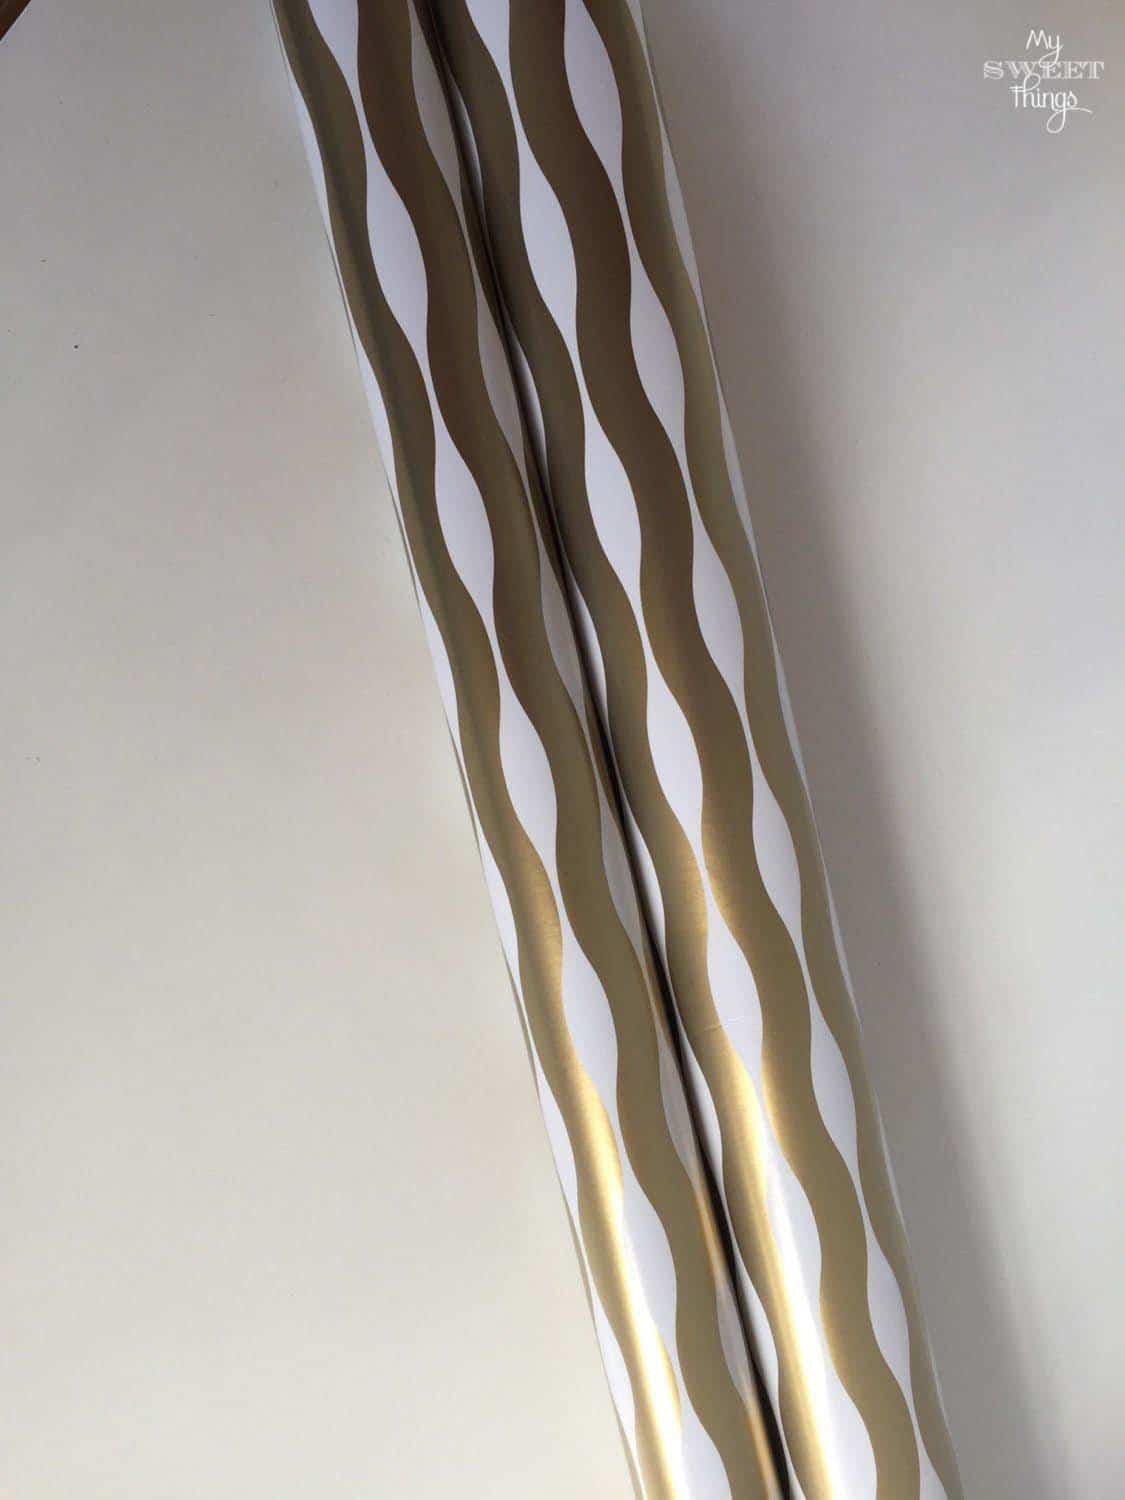
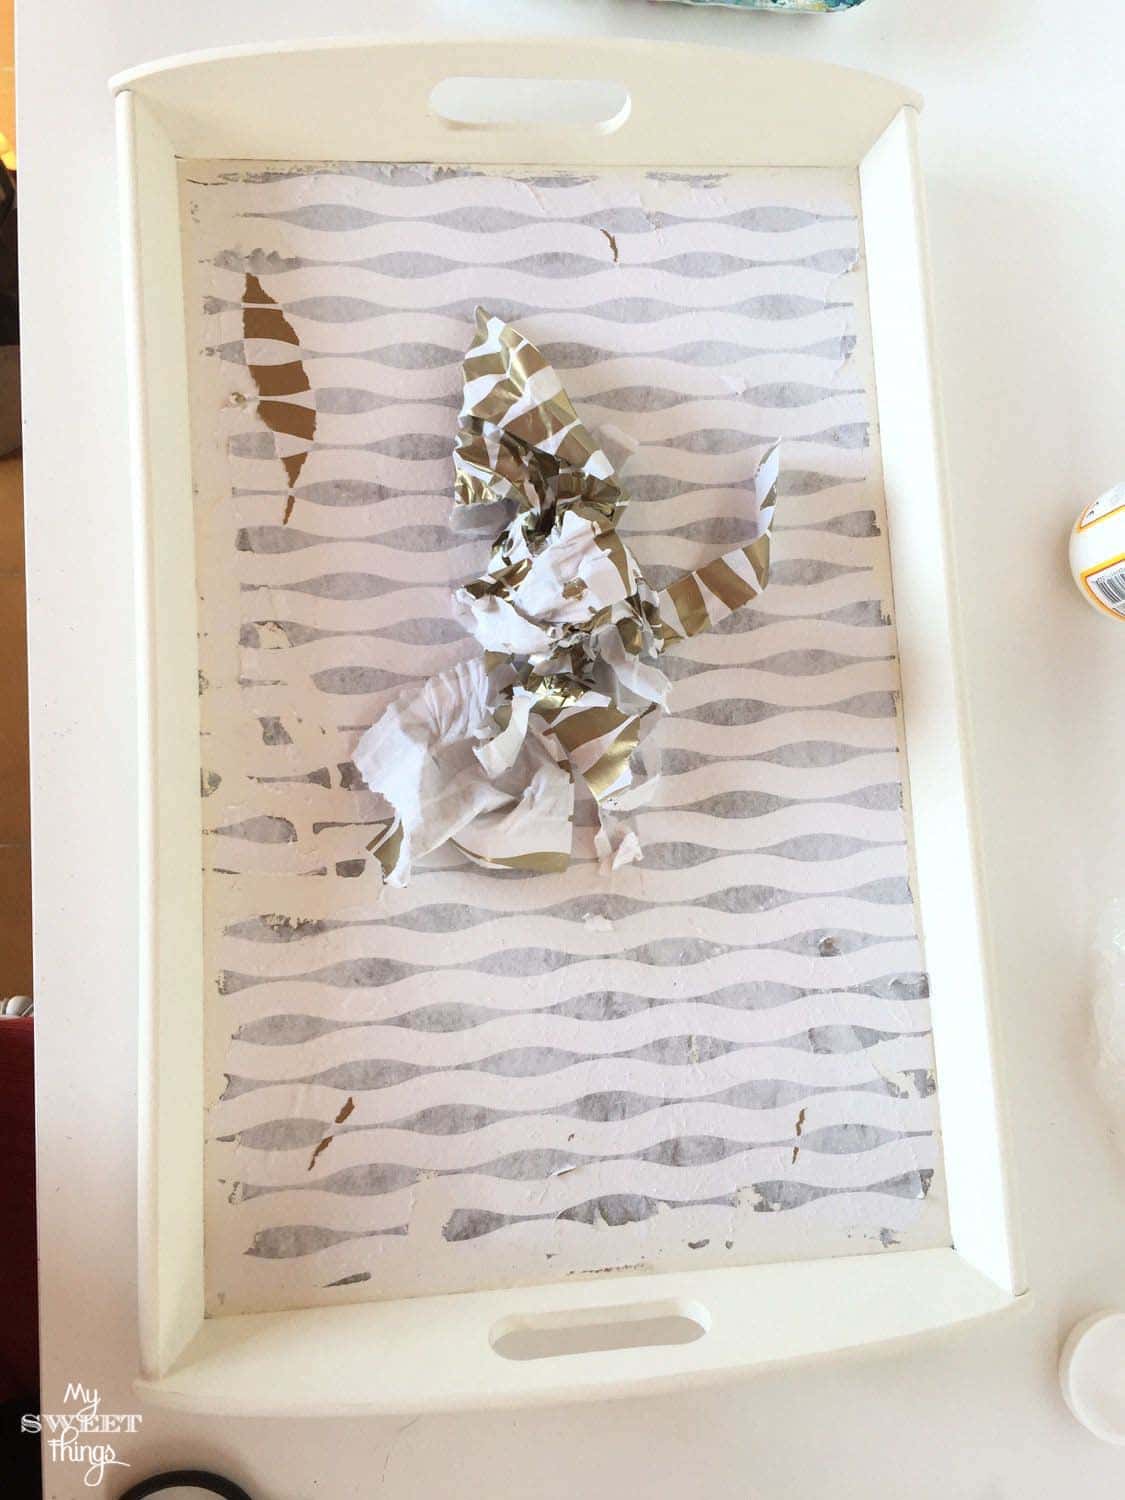
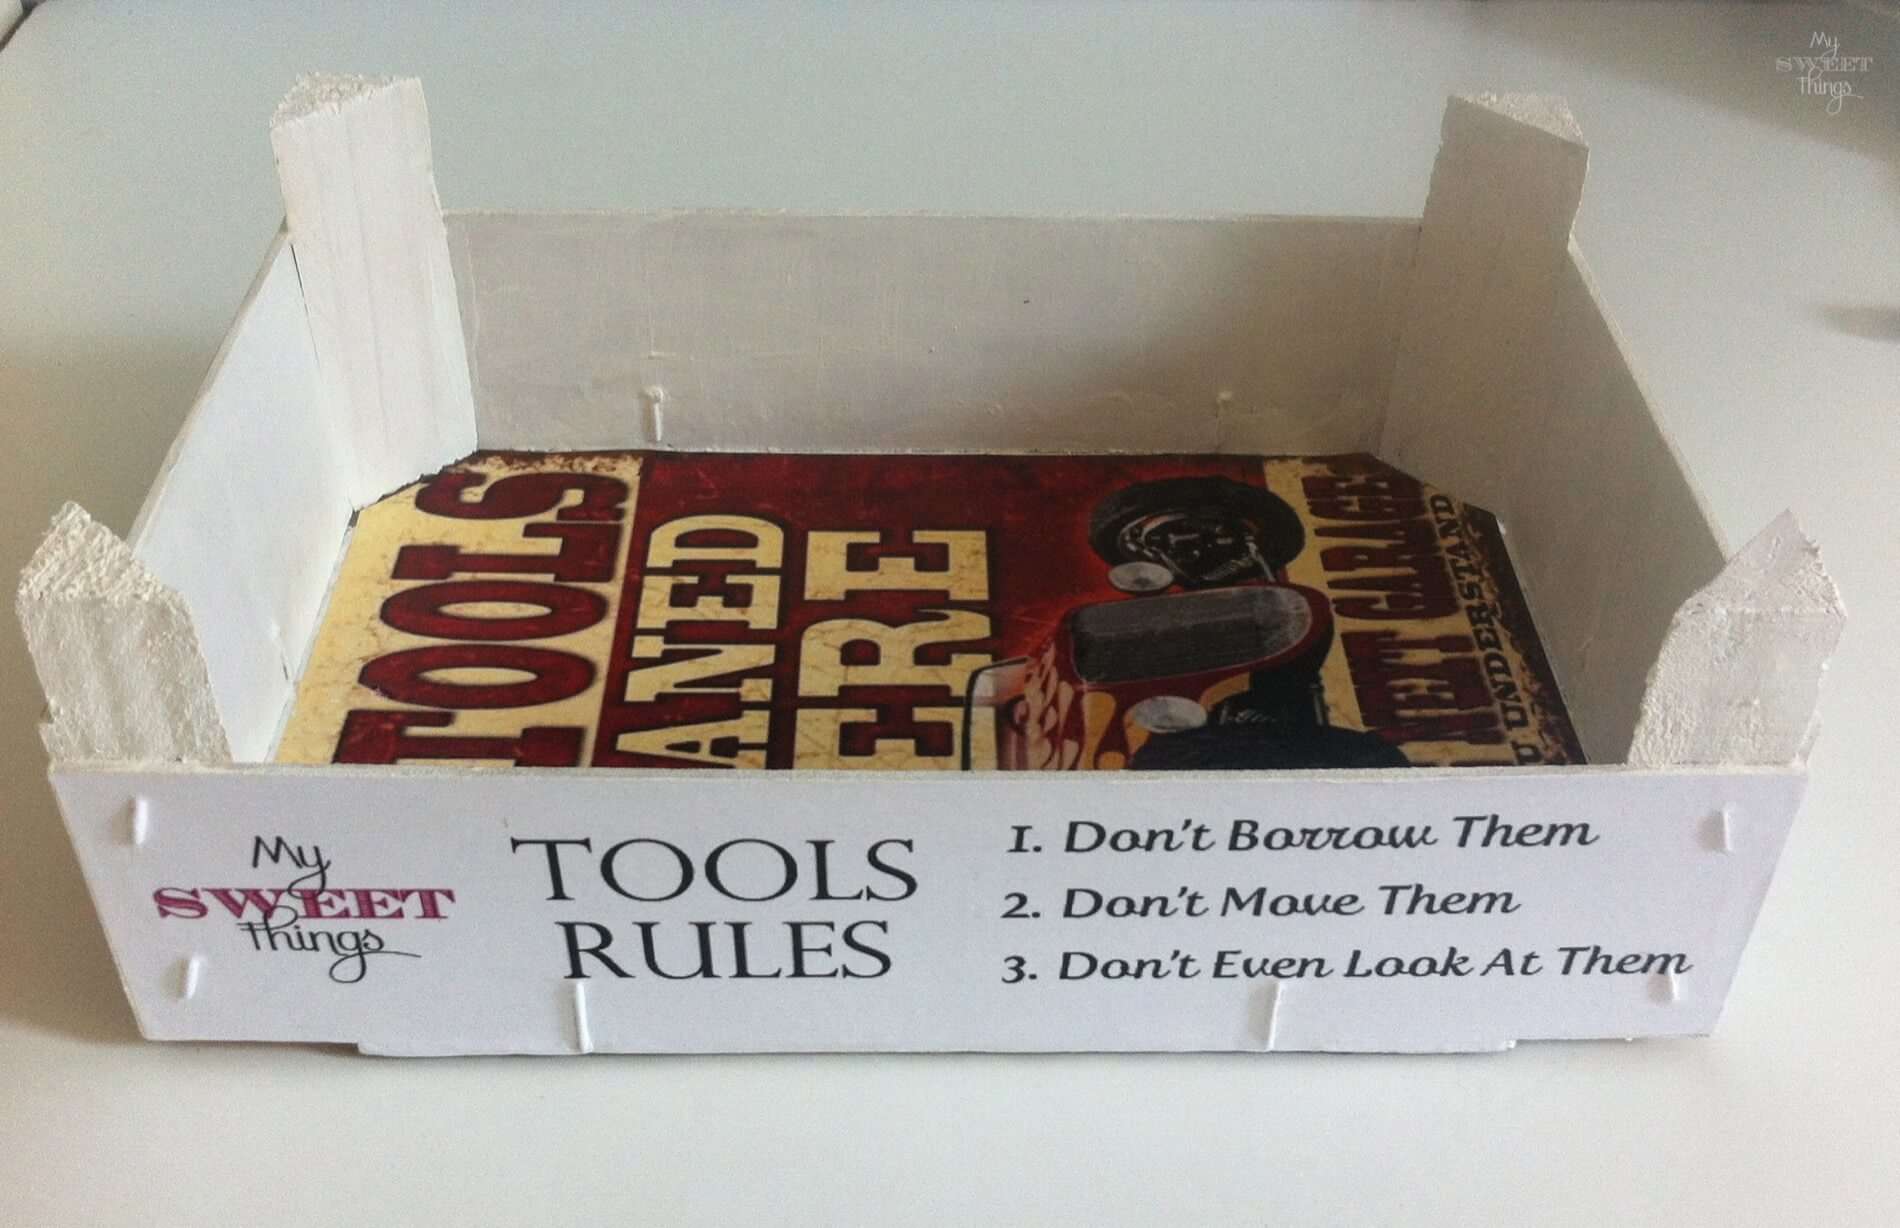
But don’t ask me why this time the paper, the tray, or me didn’t want to cooperate and I ended up with a huge mess of wrinkles and air bubbles.
I teared off all the paper and was tempted to throw the tray out of the window, I promise!
It took the life of me to get rid of all the paper still stuck on the tray and I was so fed up with it that it sat hidden and forgotten for more than a year. Thankfully it survived my last move!
Then one day I woke up feeling brave so when I saw the tray I thought it would be the perfect day to finish it.
Sorry I don’t have any pictures from the process because I wan’t sure I could succeed but I will explain what I did.
I painted everything in an off-white color using again my homemade chalk paint. Then I used a brownish color to paint a star and glued some twine around the handles.
Voilà!
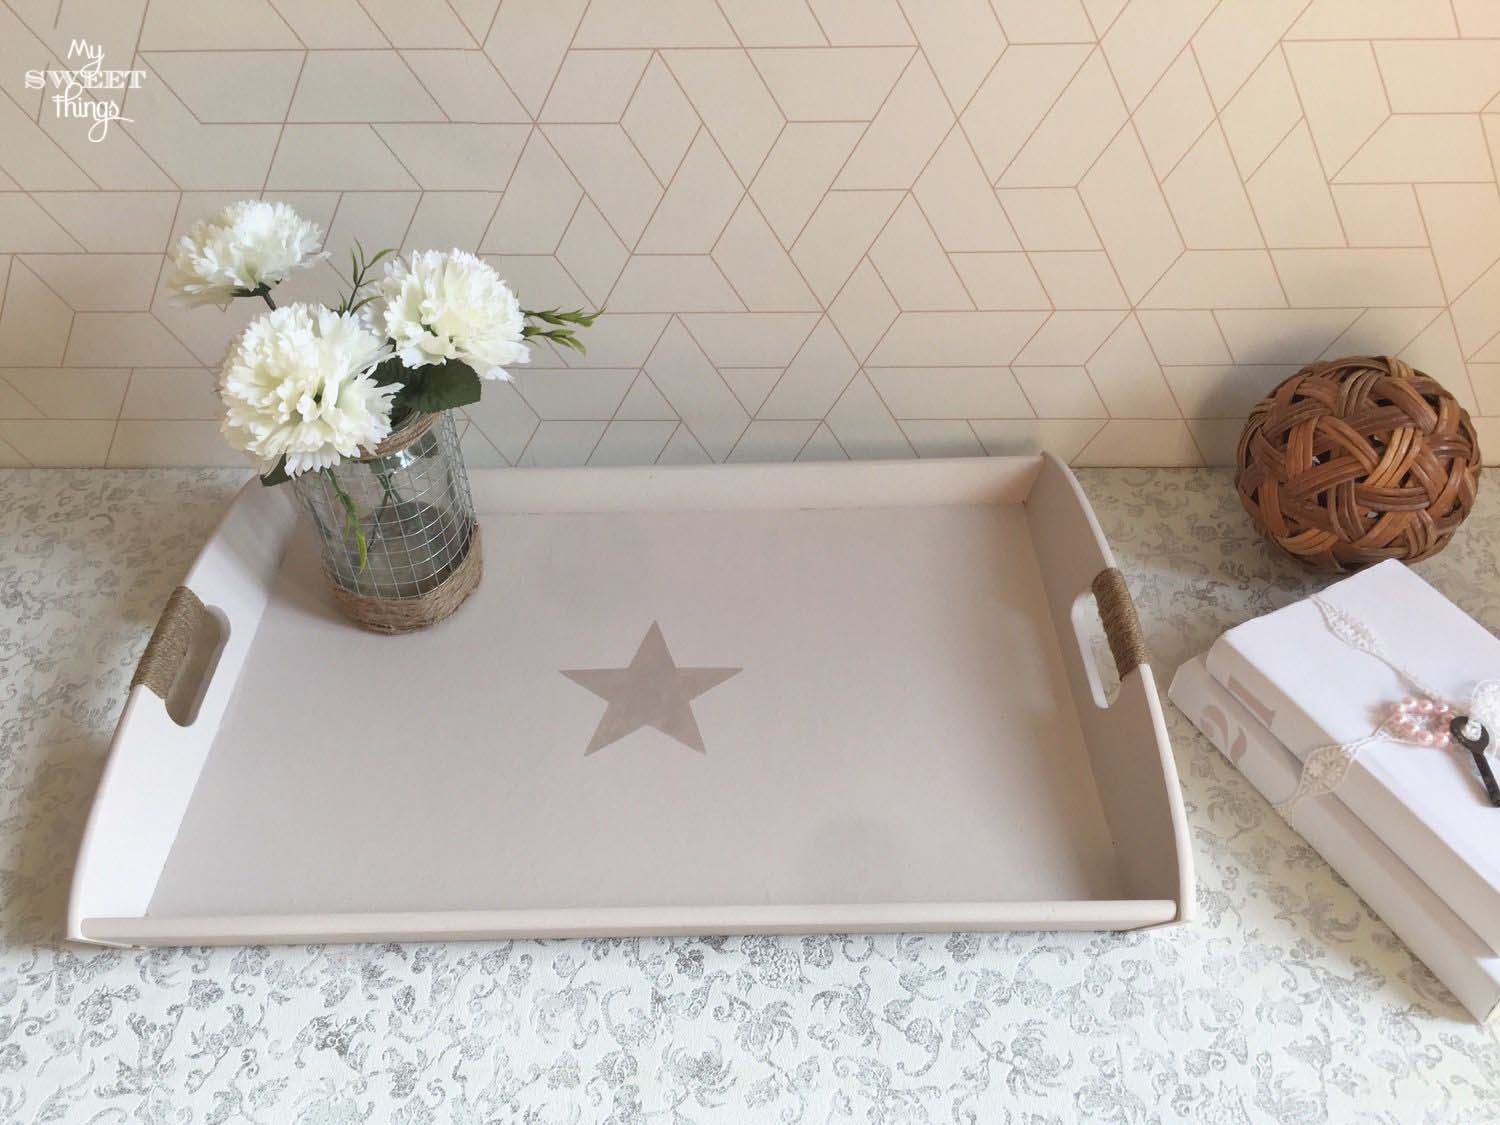
Much better that the first “modern” idea.

Now I can say it is really a rustic wooden tray.
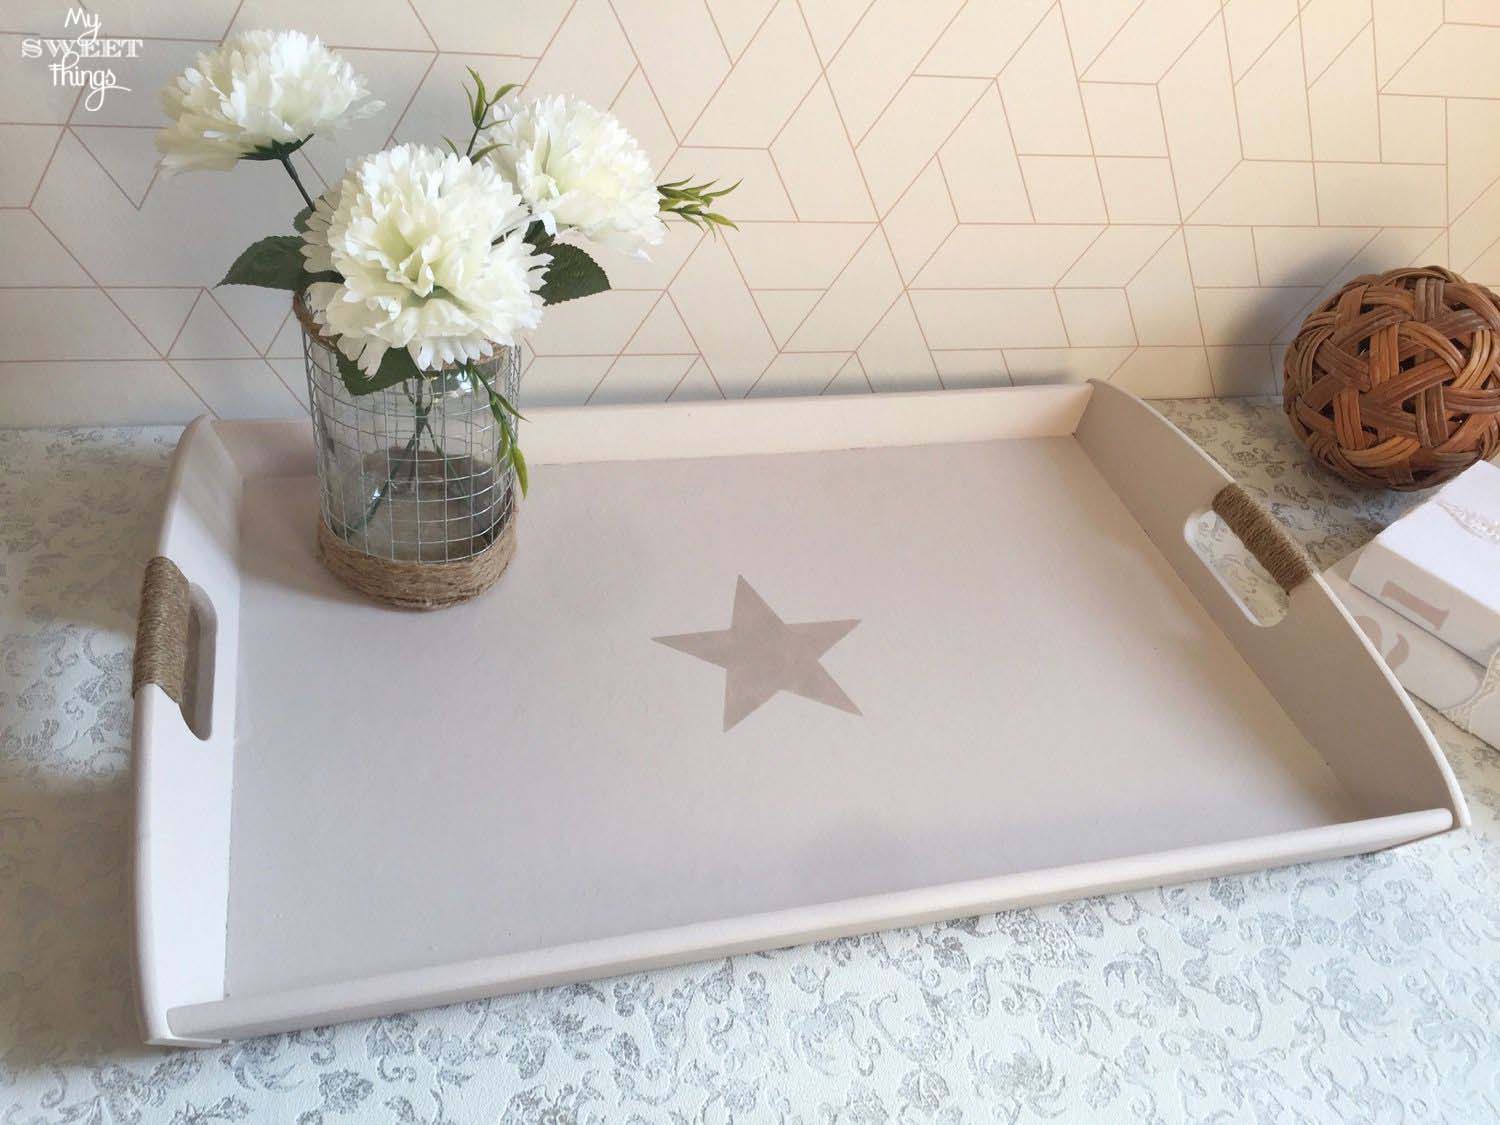
It found a new home really fast and I know the owner loves it.

I hope you liked it as much as I do and remember, sharing is caring!
And now for more thrifty goodness!

I love this! The rope added to the handles is the cutest 🙂
I love a good tray makeover! This looks great with the star and rope handles.
Your tray is lovely! Love how it turned out!
Oh how I love this tray. Trays are the best aren’t they? They can be used for so many things and we can make them exactly what we want them to look like. Great upcycle – love it.
Very nice Pili! I love the rope on the handles.
I love that you wrapped twine around the handles! It’s amazing how much that small touch really makes the tray!
Very pretty makeover Pili and you know how much I love the twine.
UGH I hate it when that happens with a project. So frustrating. Love how the second attempt at making over the tray looks Pili. It’s a classic. No wonder someone snapped it up so quickly
I love how this tray turned out! It’s always frustrating when something doesn’t work out the first time isn’t it? But it looks so lovely now!
The tray turned out so cute! I’m glad you decided to give it another try because it is fabulous!!
Well in the end you got a great tray that looks fabulous. I hate it when things don’t go as planned. I probably would have thrown it out the window. LOL!
Privacy Overview