Hi, friends!!
Welcome to the first 2020 Thrift Store Challenge post!! If you are new to the blog and don’t know what it is, I’ve paired up with other talented ladies to bring you a monthly Thrift Store Decor Upcycle Challenge. Each month we will create a new home decor piece from an item(s) we’ve found at a thrift store, yard sale, resale shop etc. There is no budget or specific theme so we are free to let our creativity run wild!

The Rules:
- Upcycle an item(s) from a thrift store, resale store, or garage sale into a new piece of decor.
- There’s no monthly theme.
- There’s no budget to stick to.
Meet the Hosts
Angela | Simply Beautiful By Angela – Pili | My Sweet Things – Beverly | Across the Blvd – Gail | Purple Hues and Me – Chas | Chas’ Crazy Creations – Michelle | Our Craft Mom – Meredith | Thriftwood Home – Kathleen | Our Hopeful Home – Jenny | Cookies Coffee and Crafts
Driving as usual found an old chair on the curb. Of course I stopped the car and went to check if it was worth anything.
It was quite beaten but the back was very nice, it had beautiful spindles so I decided to take it home with me and we’ll see was I was going to do with it.
It sat surrounded by many other free finds for months until I decided to clean a bit the place, so I cut all the spindles and one legs with my miter saw and discarded the rest.
Sorry I didn’t remember to take any picture… Do you know that feeling when you just need to declutter? Then you know.
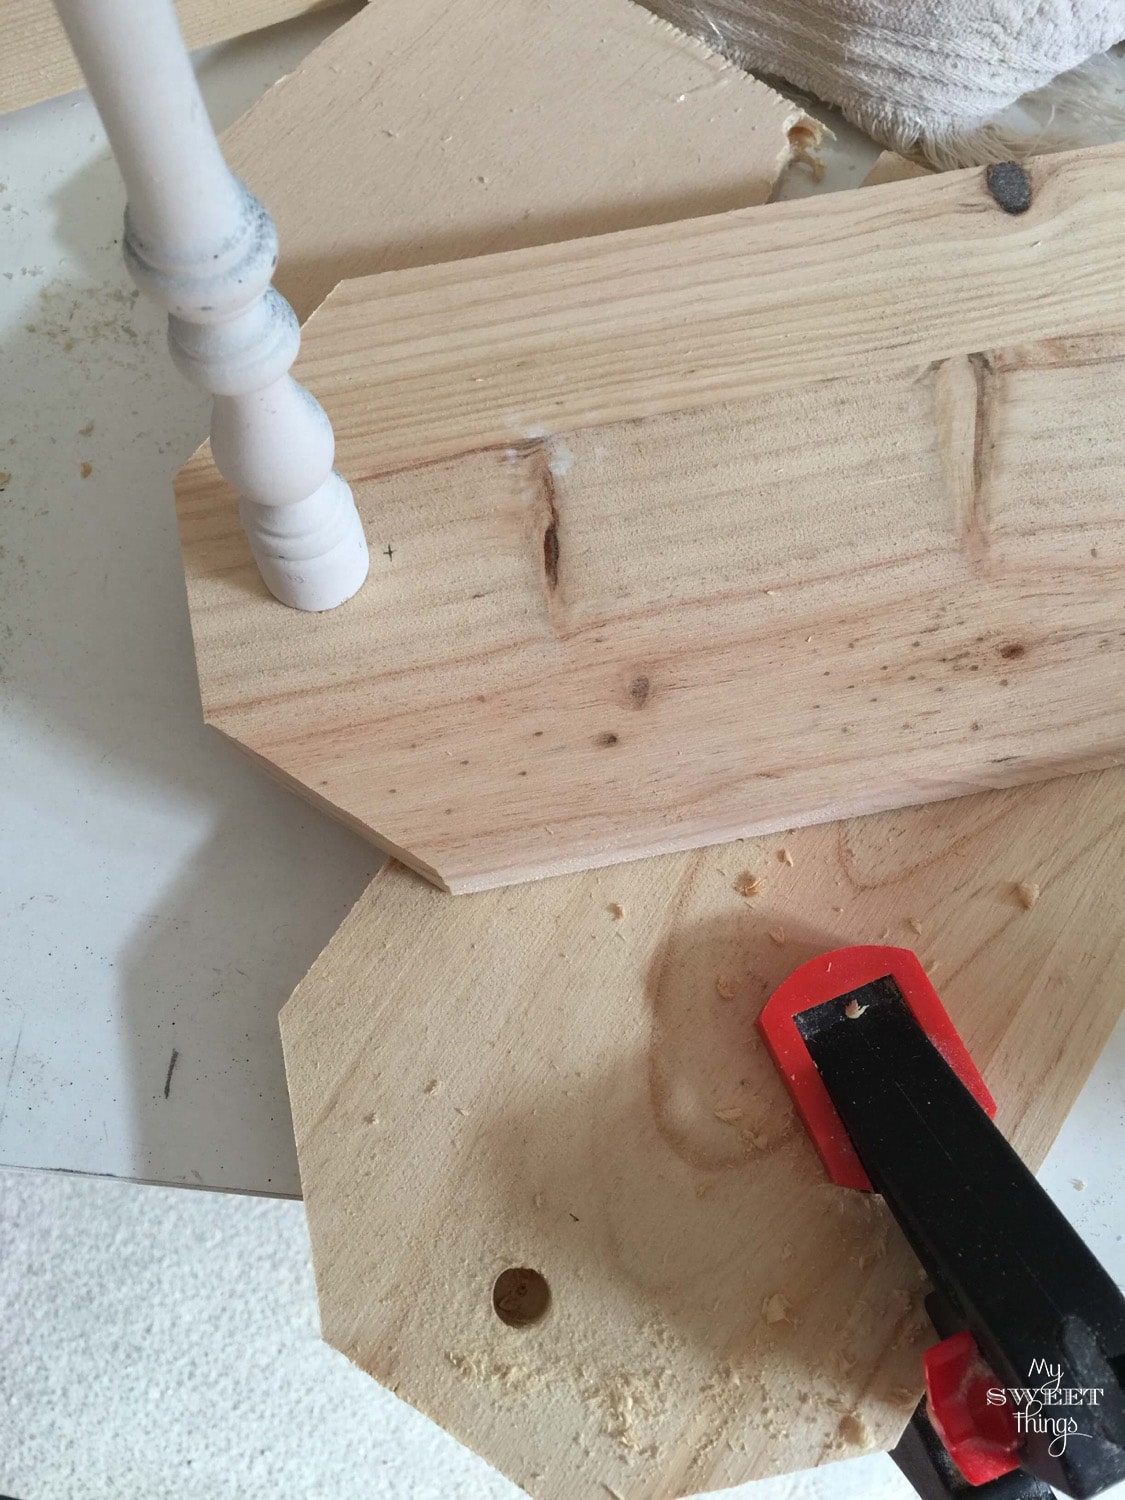
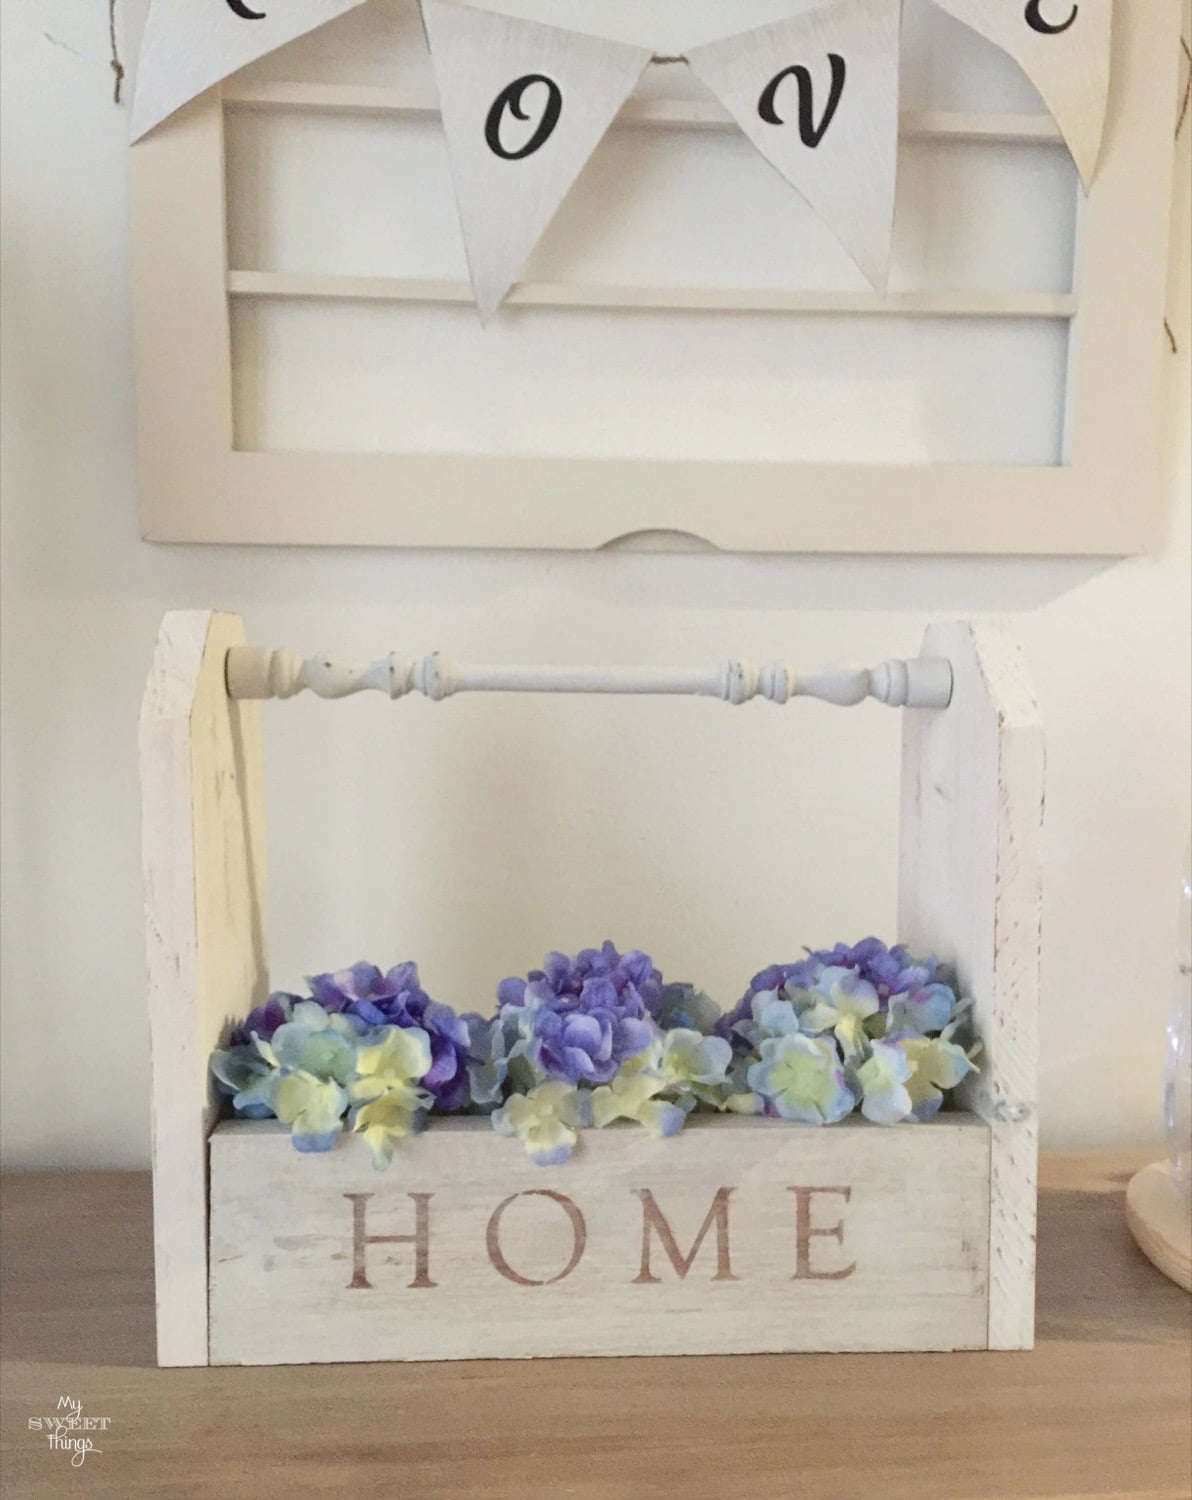
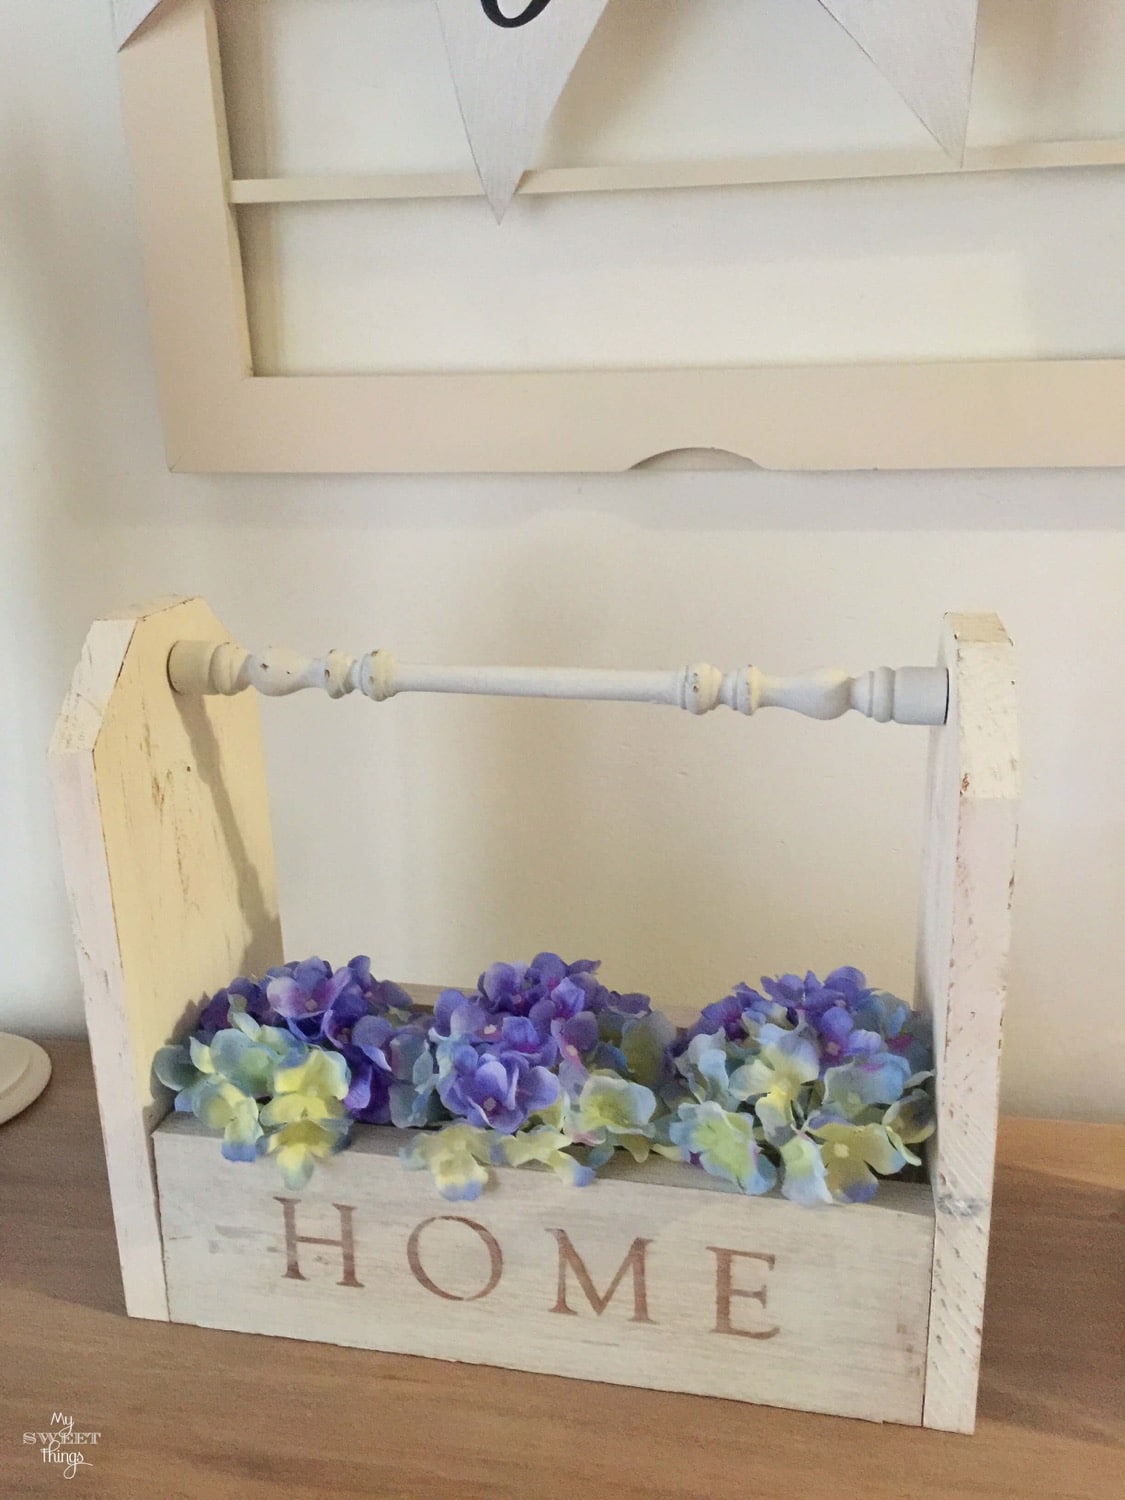
I also cut some pieces of pine wood I had around and my DIY caddy was progressing.
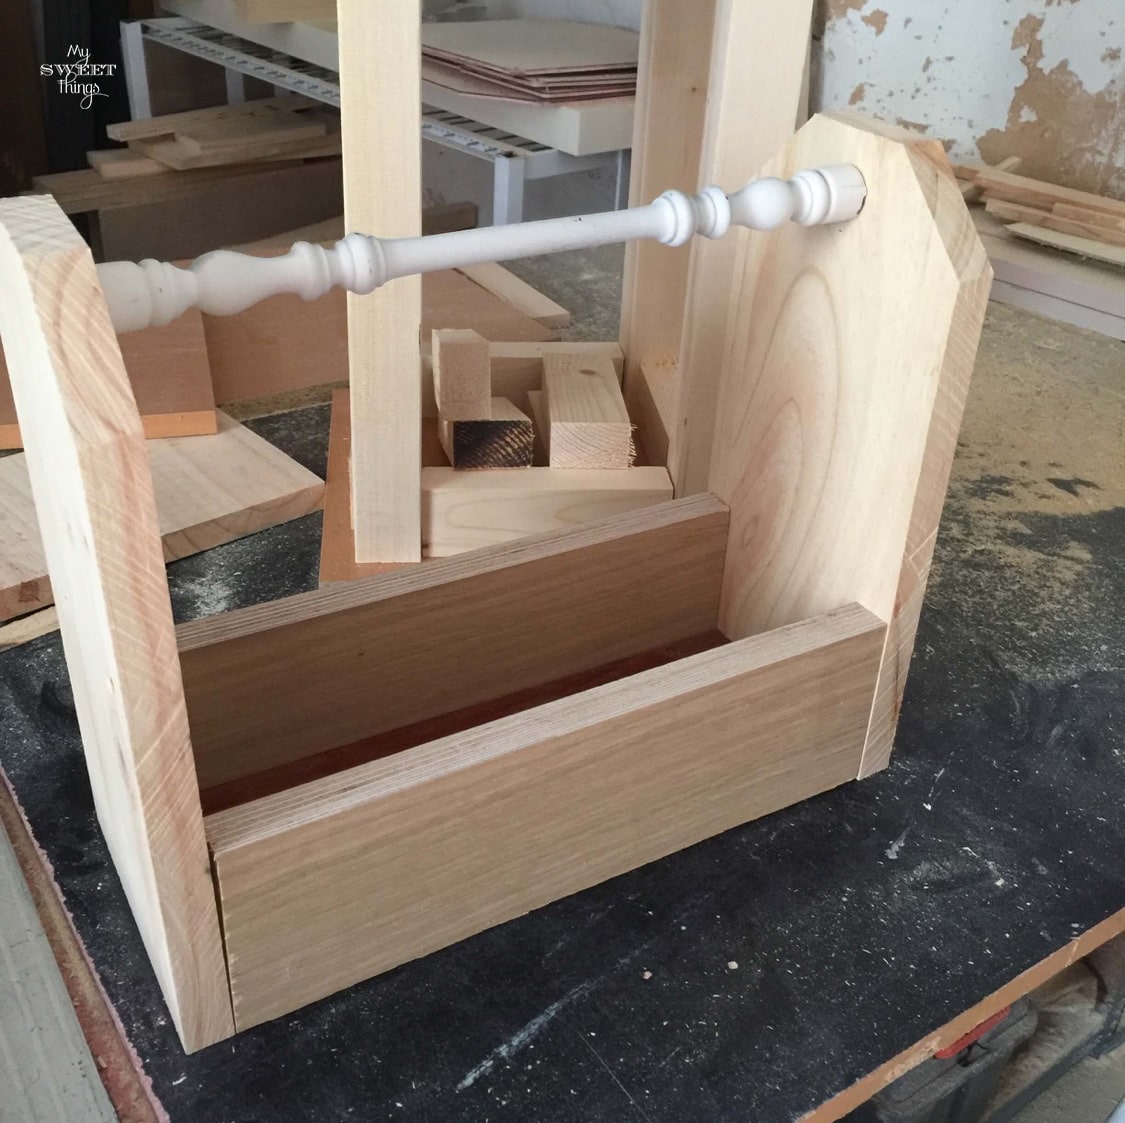
Don’t be scared about my workshop… it’s a tiny space in our almost 300 year old house. You can see some improvements like the hallway makeover, the kitchen makeover and the entryway makeover.
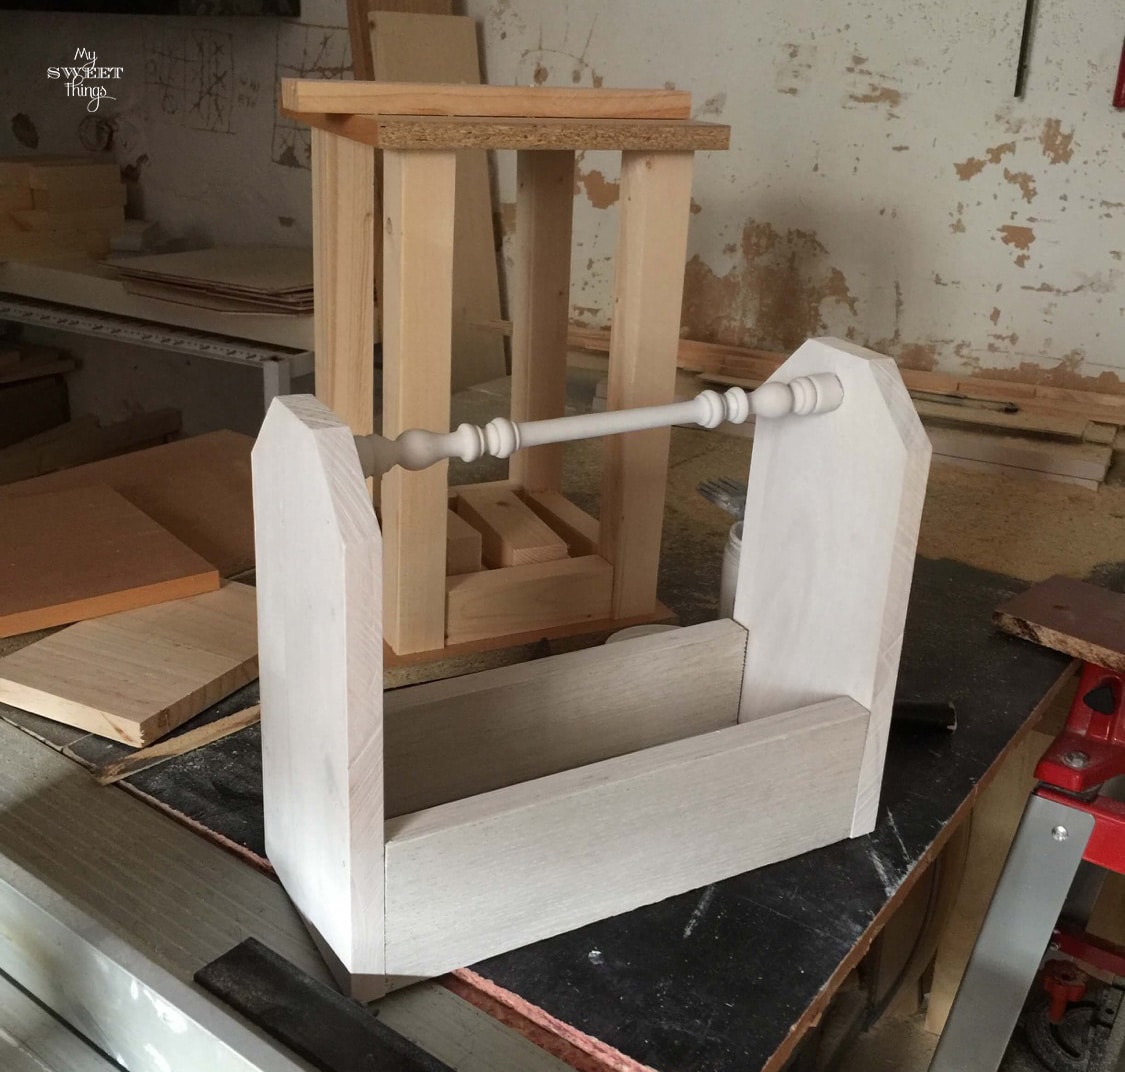
I used a nail gun and glue to put everything together, and then painted white with my DIY chalk paint.
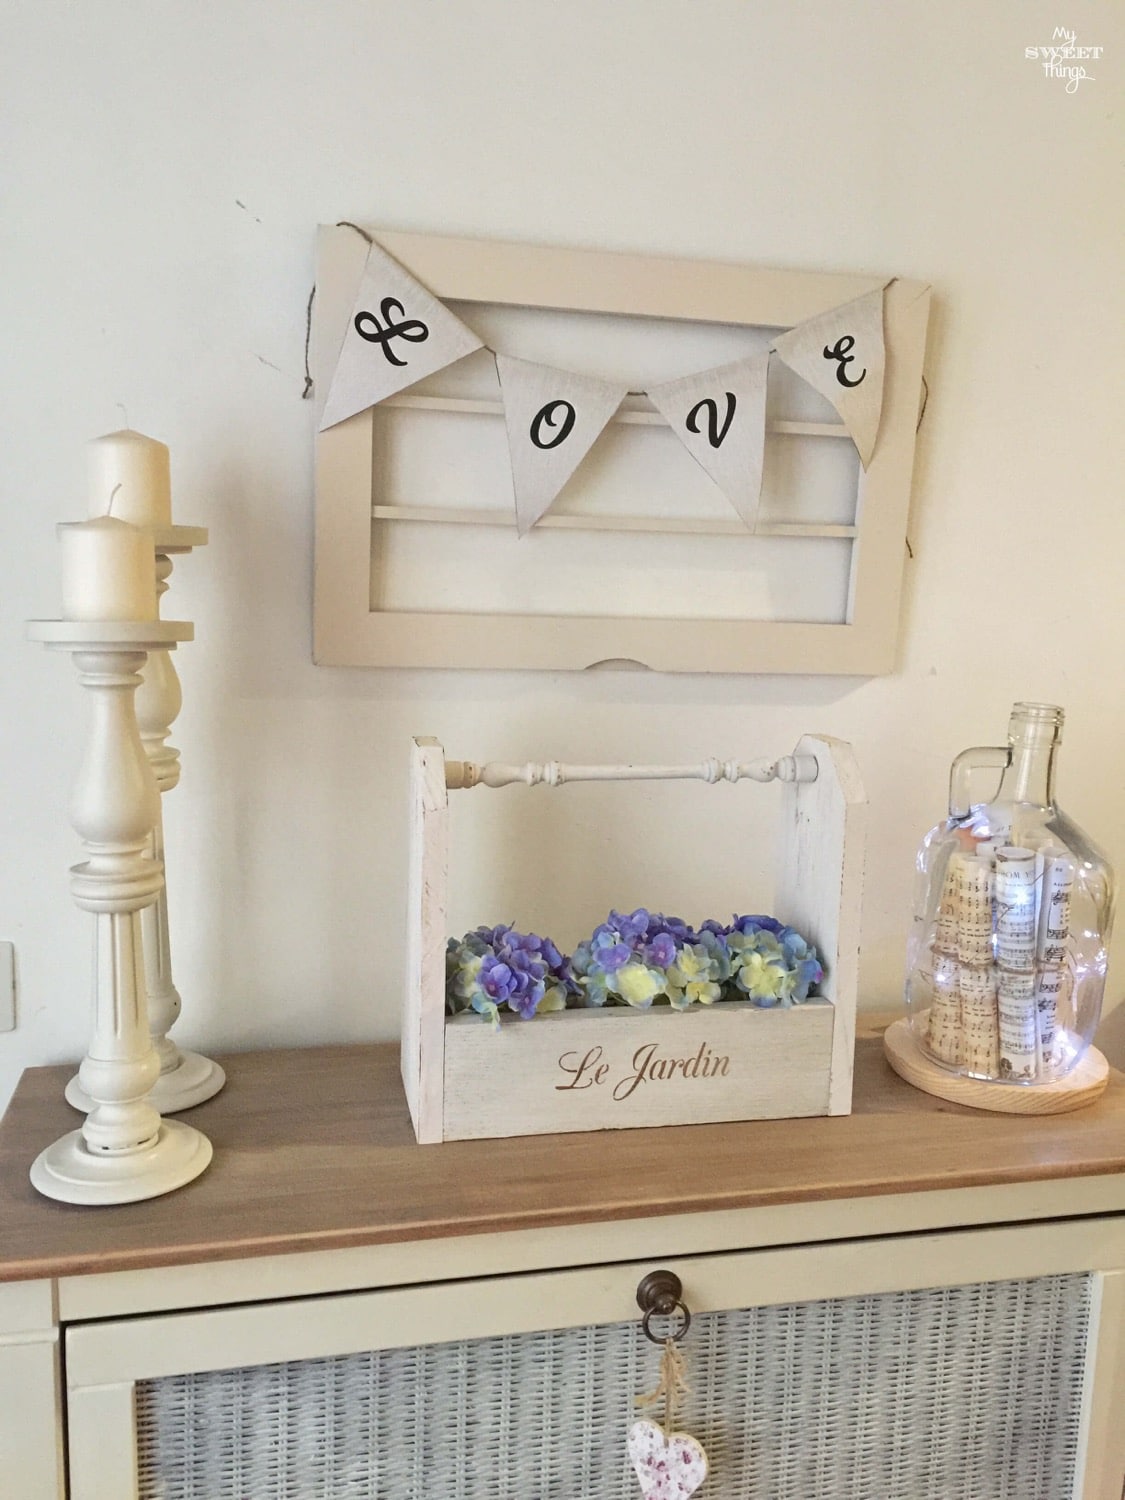
I decided to use this DIY caddy as home decor before the girls realized it was perfect for their stuff, which is endless!
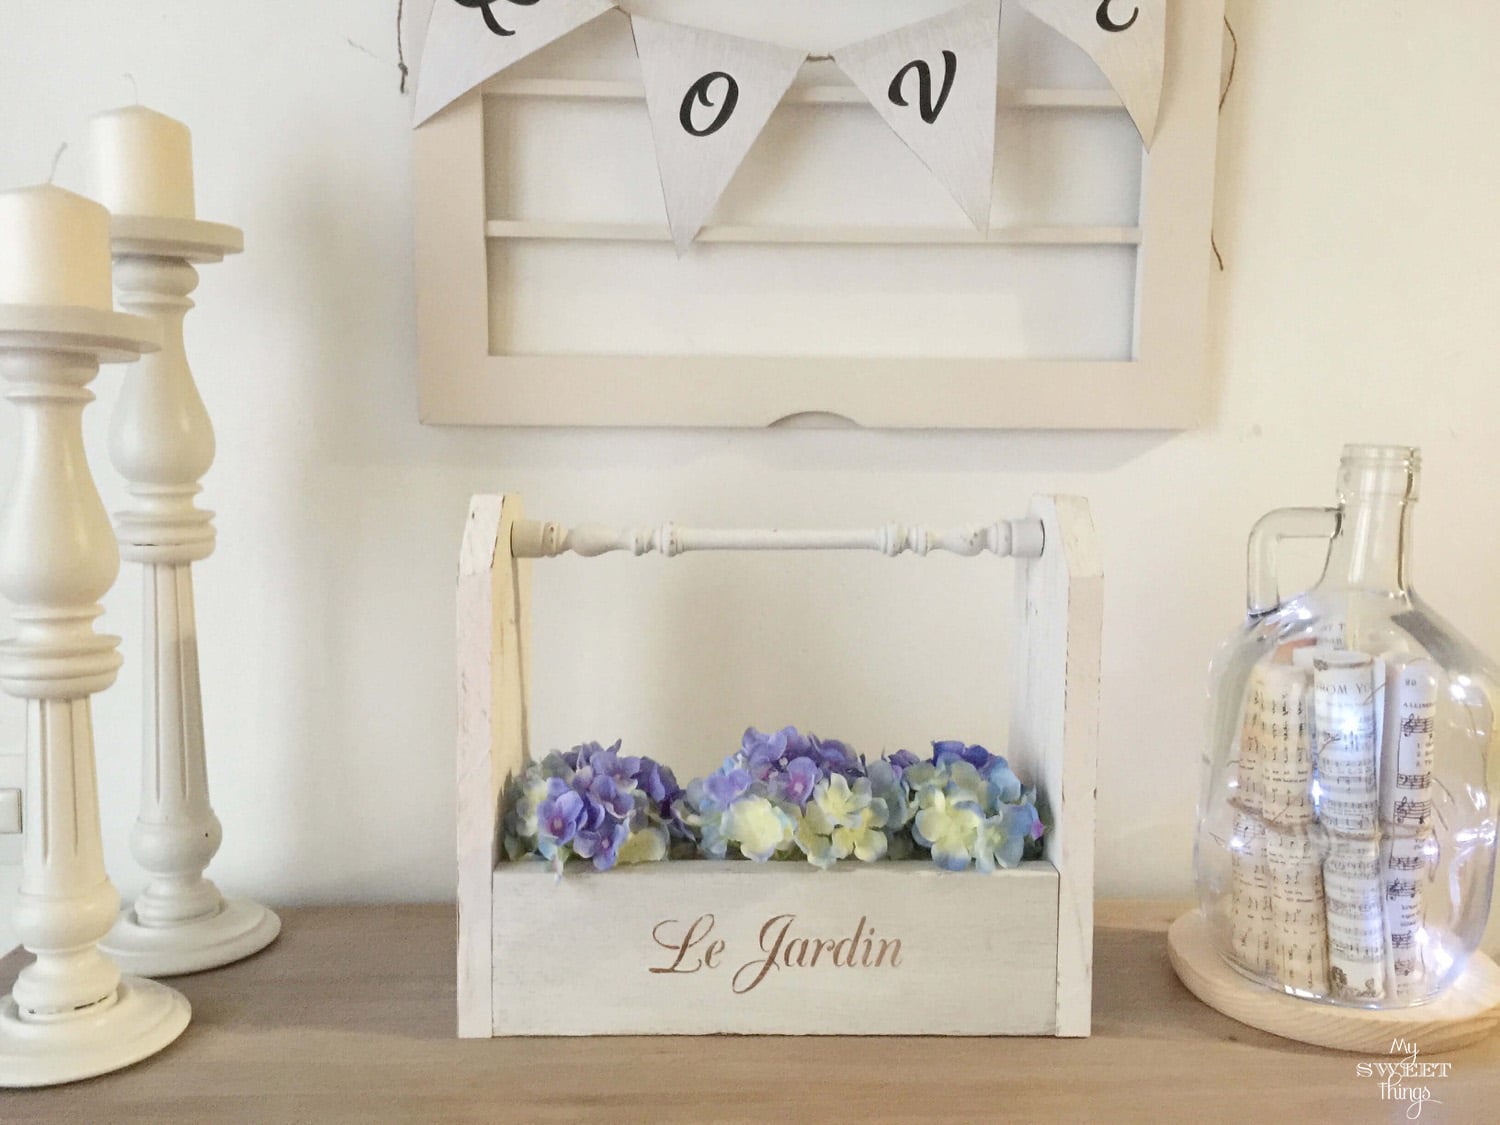
I also used my Silhouette Cameo to design some stencils and added different words on each side.

I also distressed it a bit, that way it seems it’s an old caddy.
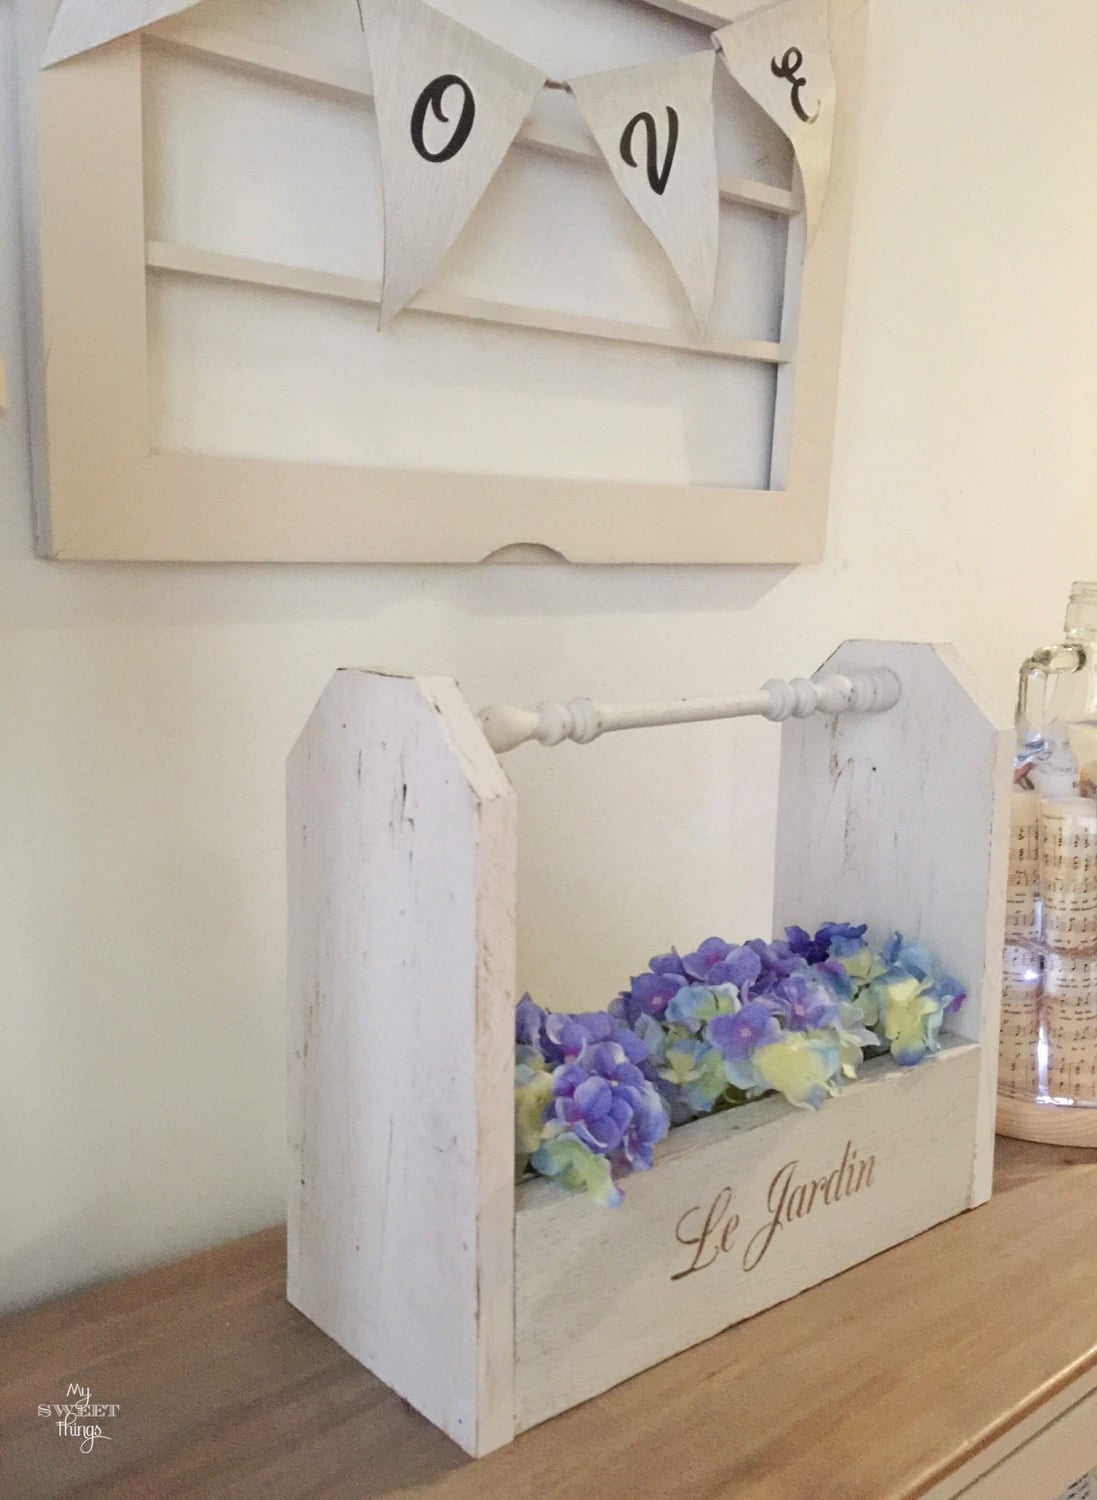
Here I used a different word, I like I can change it depending on where I have it displayed.
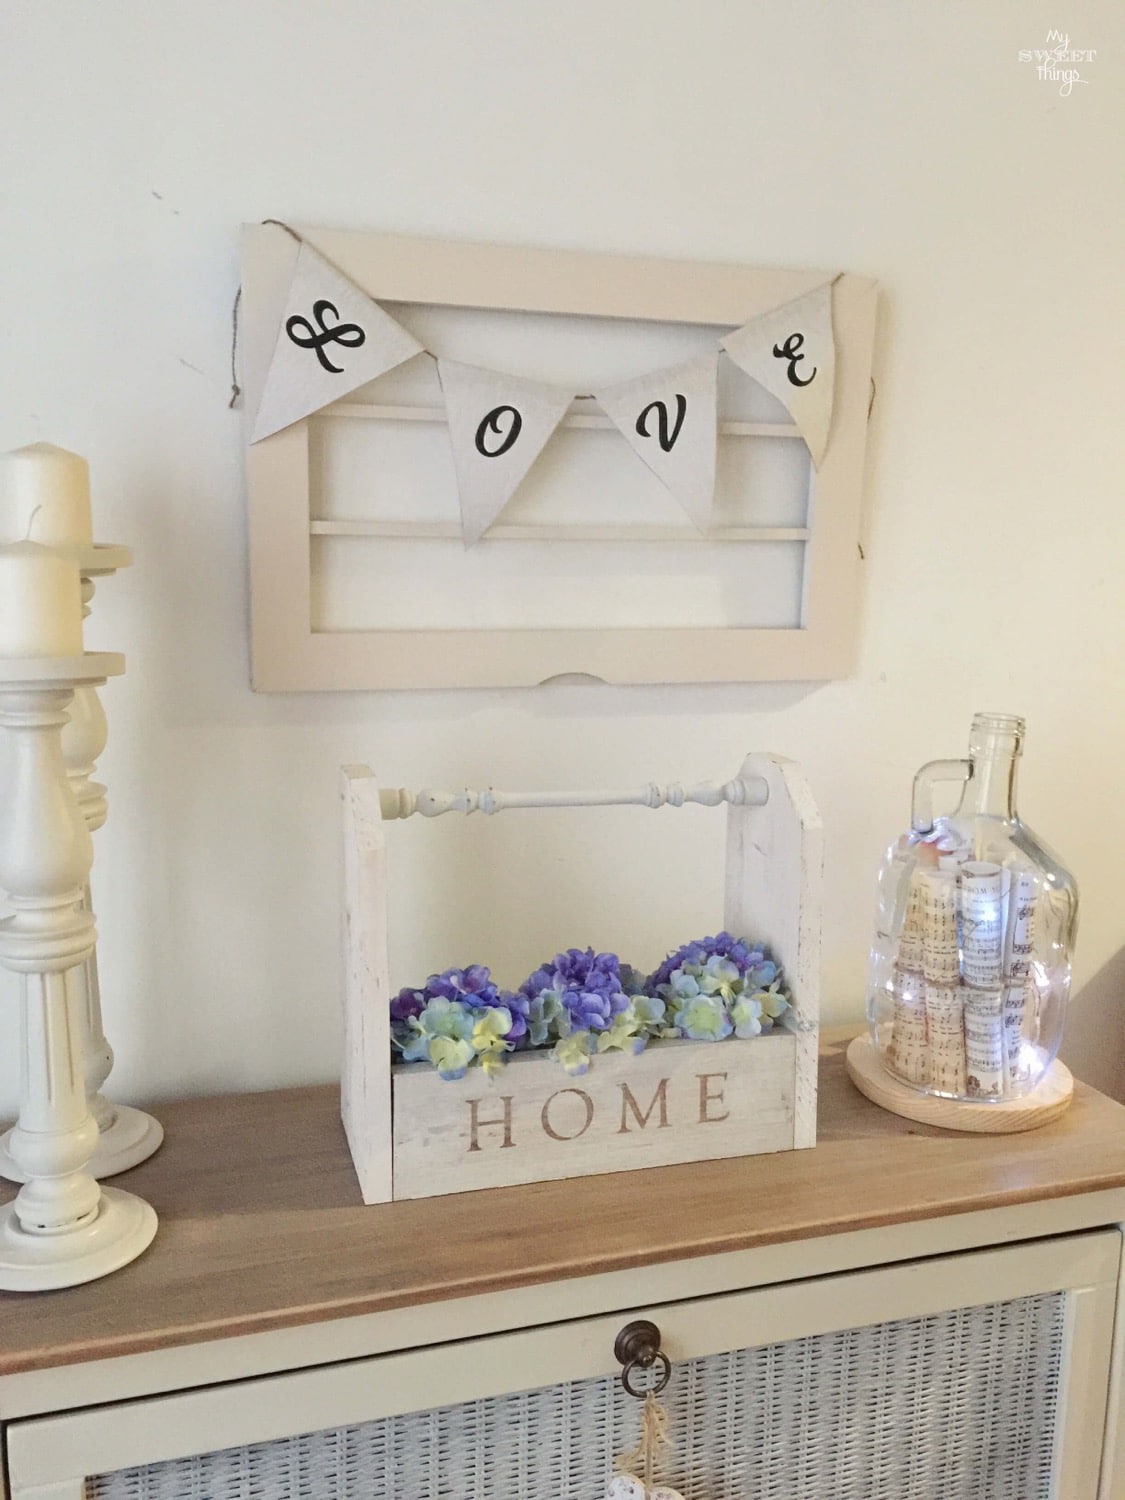
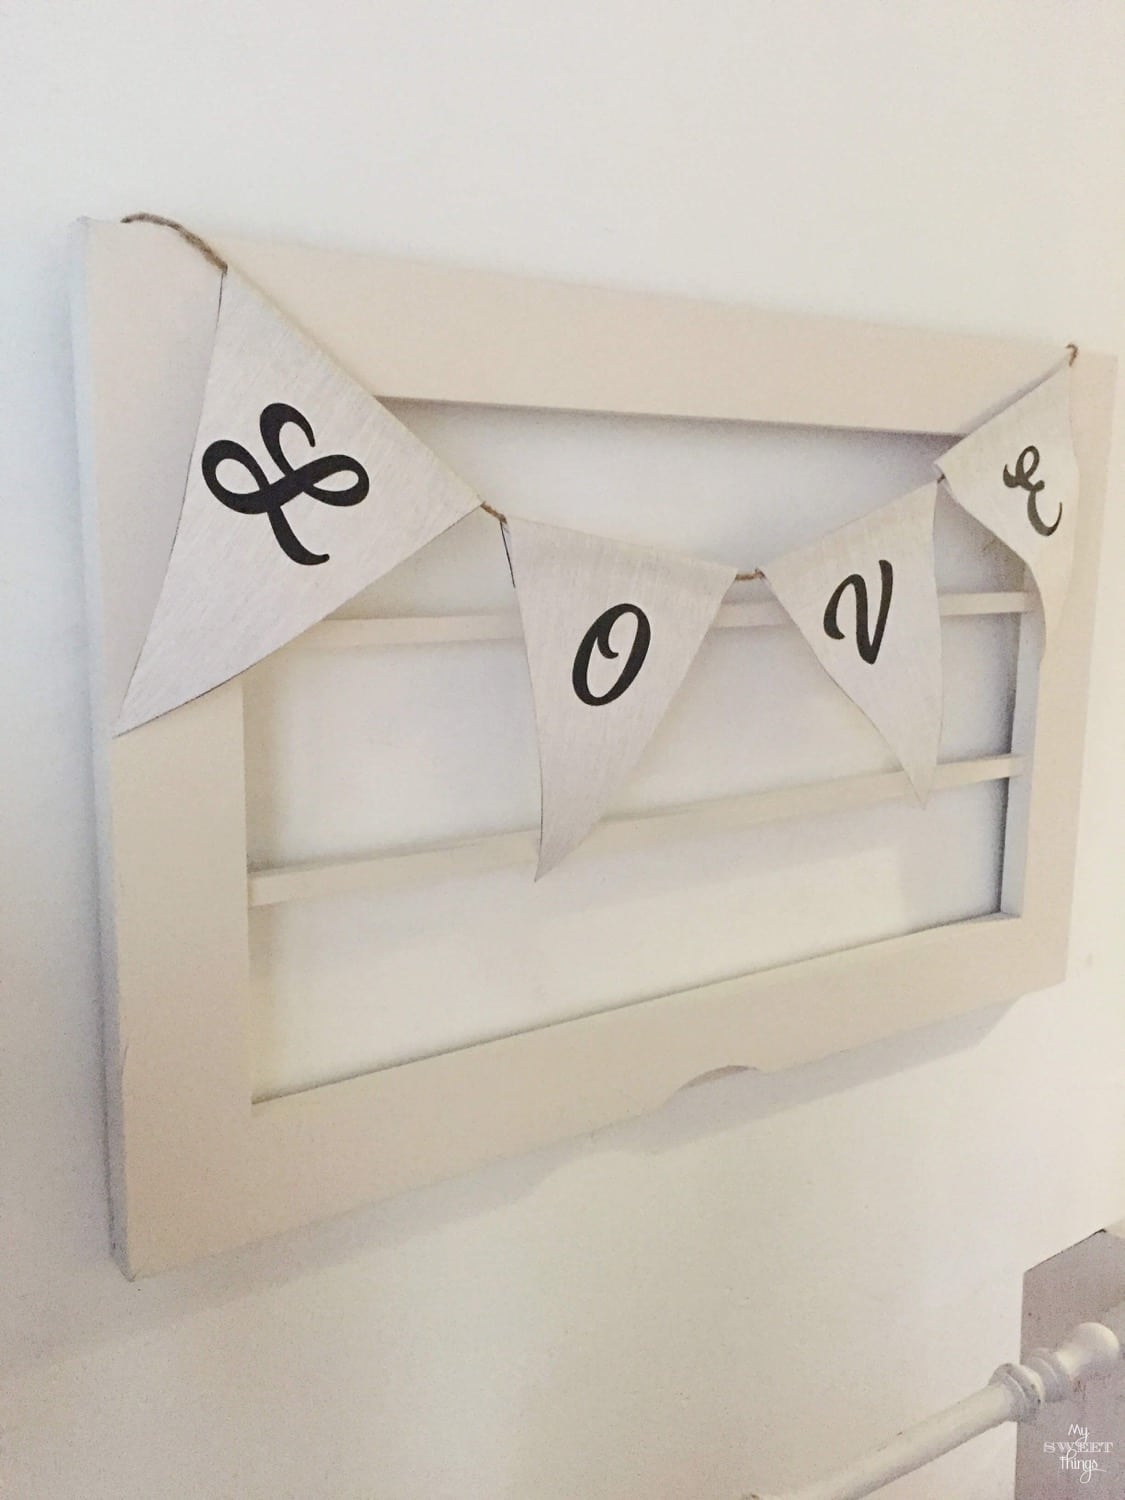
The garland is made out of paper even it seems fabric. You can download it for free in this post (there is HOME & LOVE wording)
Doesn’t it look cute? I like my DIY caddy a lot!
The glass bottle is really cute too. I just printed some music paper and added fairy lights.
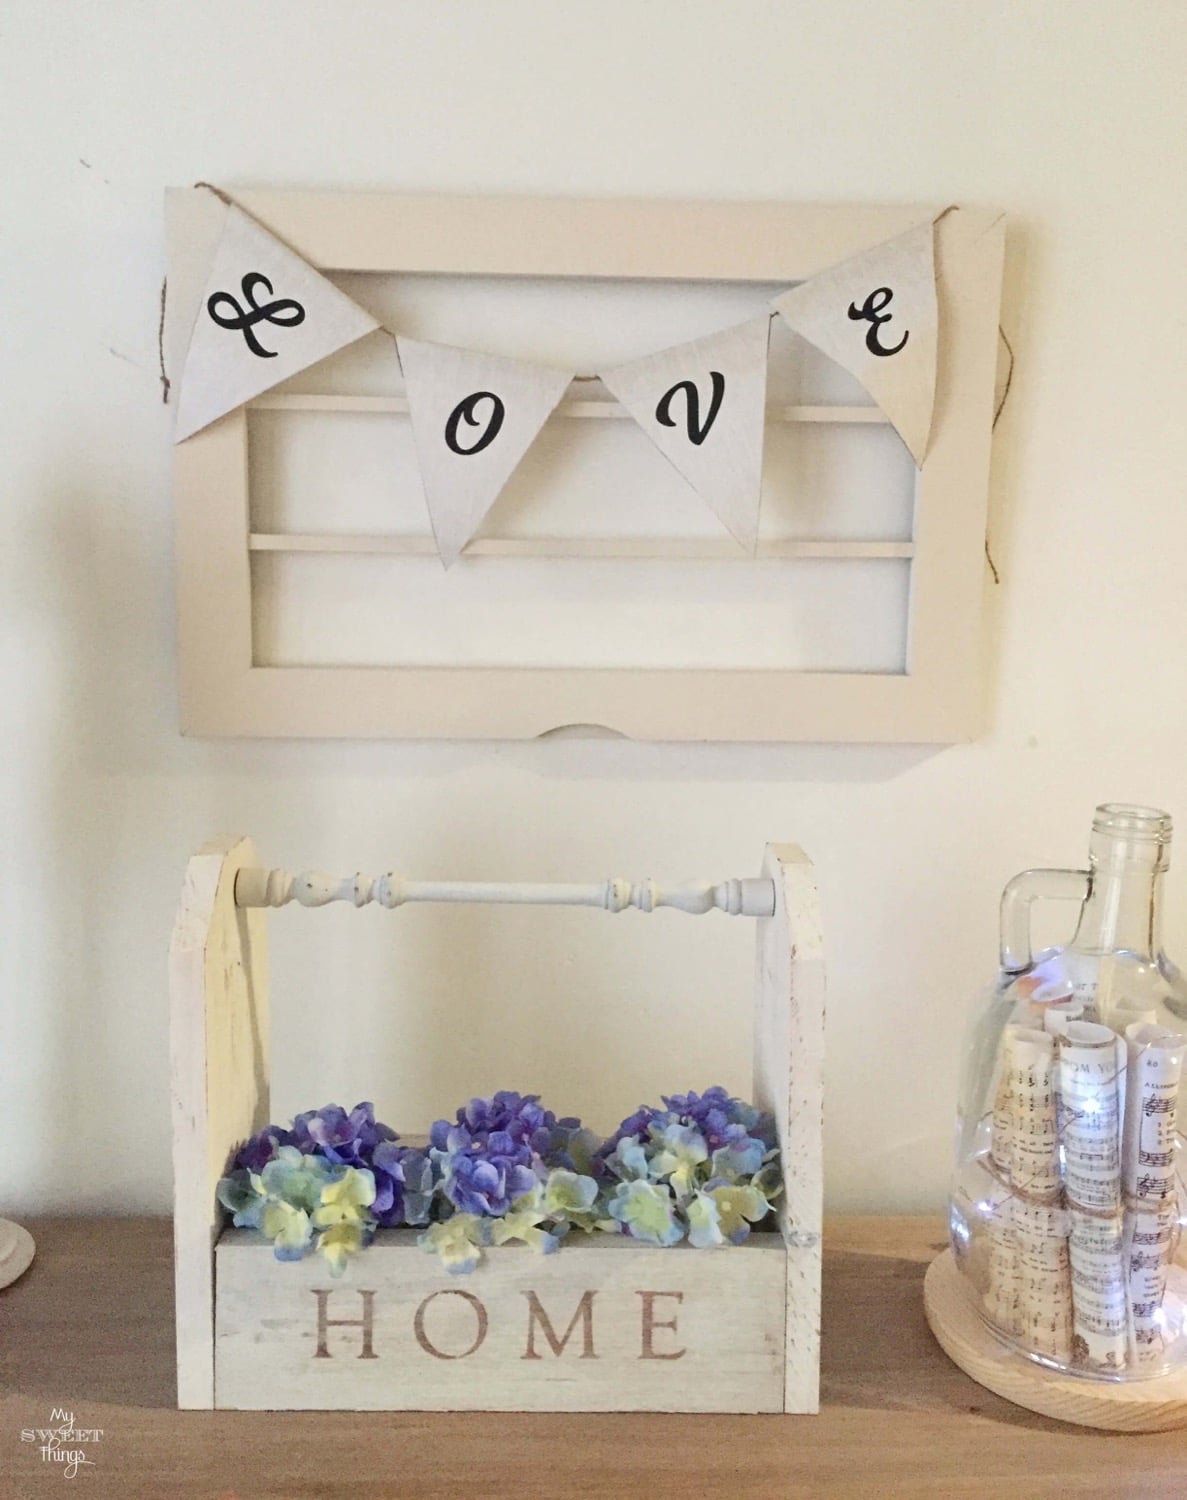
This window was also a free find, you can read the full blog post of it and another pretty one.
Thank you so much for stopping by!
Now that’s a great way to repurpose a spindle. You really do know how to take something to a whole new level and I love the idea of putting different words on either side. It makes so much sense